2011 SUBARU IMPREZA WRX STI check
[x] Cancel search: checkPage 184 of 459
Black plate (186,1)
北米Model "A1110BE-C" EDITED: 2010/ 12/ 17
4-12
Climate control
properly and become damaged, the sys-
tem may not be able to control the interior
temperature correctly. To avoid damaging
the sensors, observe the following pre-
cautions.
– Do not subject the sensors to impact.
– Keep water away from the sensors.
– Do not cover the sensors.
The sensors are located as follows.
– Solar sensor: beside the windshield
defroster grille.
– Interior air temperature sensor: near
the ignition switch.
– Outside temperature sensor: behind
the front grille.
Operating tips for heater and
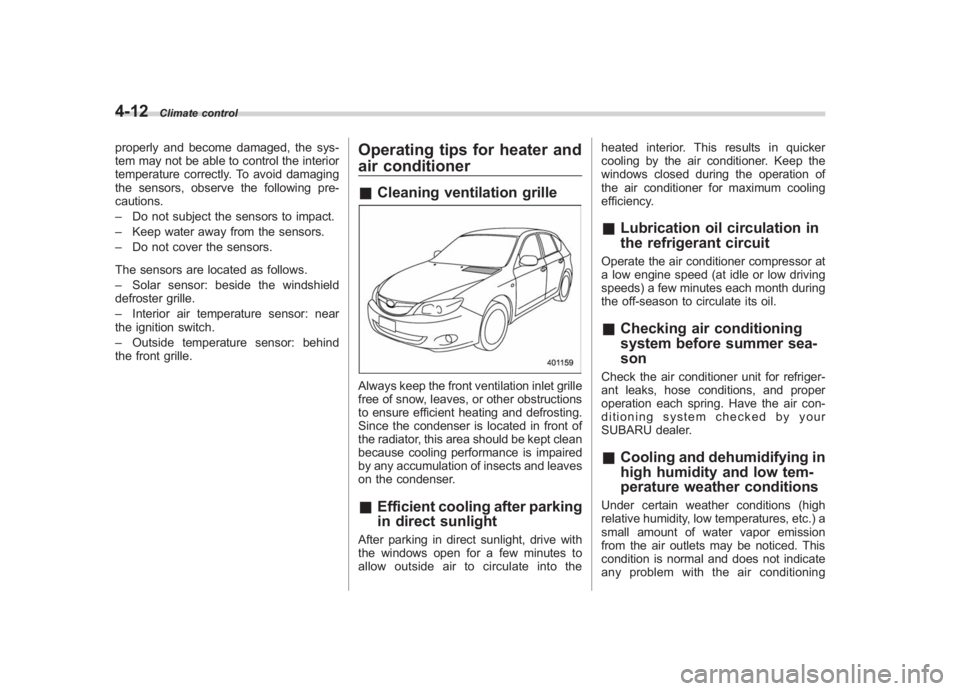
air conditioner& Cleaning ventilation grilleAlways keep the front ventilation inlet grille
free of snow, leaves, or other obstructions
to ensure efficient heating and defrosting.
Since the condenser is located in front of
the radiator, this area should be kept clean
because cooling performance is impaired
by any accumulation of insects and leaves
on the condenser.&Efficient cooling after parking
in direct sunlightAfter parking in direct sunlight, drive with
the windows open for a few minutes to
allow outside air to circulate into the heated interior. This results in quicker
cooling by the air conditioner. Keep the
windows closed during the operation of
the air conditioner for maximum cooling
efficiency.
&
Lubrication oil circulation in
the refrigerant circuitOperate the air conditioner compressor at
a low engine speed (at idle or low driving
speeds) a few minutes each month during
the off-season to circulate its oil.&Checking air conditioning
system before summer sea-
sonCheck the air conditioner unit for refriger-
ant leaks, hose conditions, and proper
operation each spring. Have the air con-
ditioning system checked by your
SUBARU dealer.&Cooling and dehumidifying in
high humidity and low tem-
perature weather conditionsUnder certain weather conditions (high
relative humidity, low temperatures, etc.) a
small amount of water vapor emission
from the air outlets may be noticed. This
condition is normal and does not indicate
any problem with the air conditioning
Page 185 of 459
Black plate (187,1)
北米Model "A1110BE-C" EDITED: 2010/ 12/ 17
system.& Air conditioner compressor
shut-off when engine is
heavily loadedTo improve acceleration and gas mileage,
the air conditioner compressor is designed
to temporarily shut off during air condi-
tioner operation whenever the accelerator
is fully depressed such as during rapid
acceleration or when driving on a steep
upgrade.&Refrigerant for your climate
control systemYour air conditioner uses ozone friendly
refrigerant HFC134a. Therefore, the meth-
od of adding, changing or checking the
refrigerant is different from the method for
CFC12 (freon). Consult your SUBARU
dealer for service. Repairs needed as a
result of using the wrong refrigerant are
not covered under warranty.
Air filtration systemReplace the filter element according to the
replacement schedule as follows. This
schedule should be followed to maintain
the filter ’s dust collection ability. Under
extremely dusty conditions, the filter
should be replaced more frequently. It is
recommended that you have your filter
checked or replaced by your SUBARU
dealer. For replacement, use only a
genuine SUBARU air filter kit.Replacement schedule:
Every 12 months or 7,500 miles (12,000
km) whichever comes first
CAUTION
Contact your SUBARU dealer if the
following occurs, even if it is not yet
time to change the filter:
. Reduction of the airflow through
the vents.
. Windshield gets easily fogged or
misted.NOTEThe filter can influence the air condi-
tioning, heating and defroster perfor- mance if not properly maintained.
&
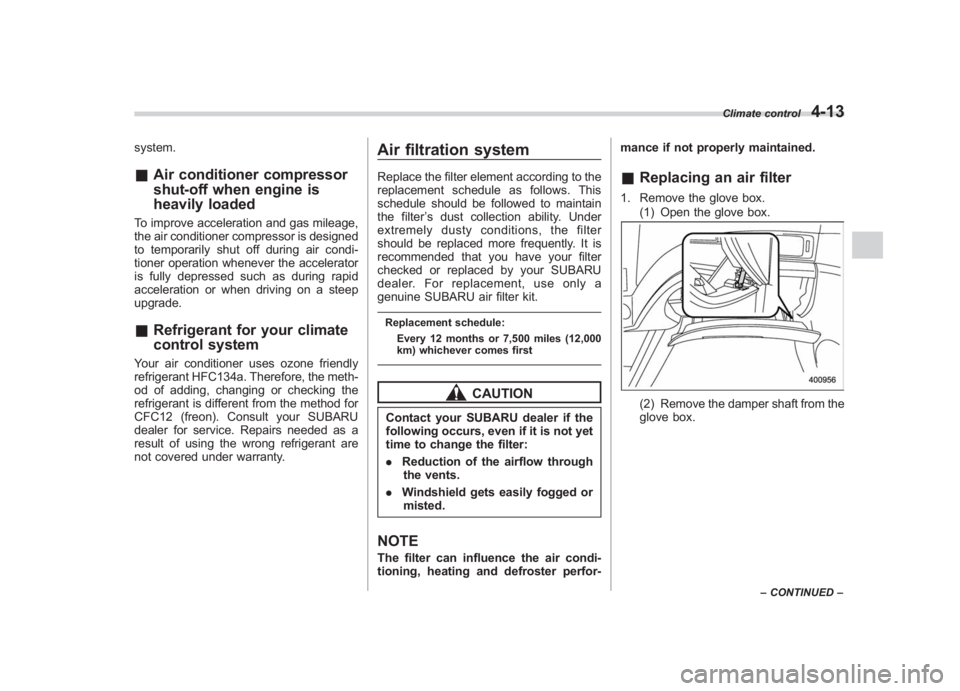
Replacing an air filter1. Remove the glove box.
(1) Open the glove box.
(2) Remove the damper shaft from the
glove box.
Climate control
4-13
–CONTINUED –
4
Page 190 of 459
Black plate (10,1)
北米Model "A1110BE-C" EDITED: 2010/ 11/ 17
Audio
Selecting category (only when connecting
iPod
®) .............................................................. 5-41
Display selection ................................................ 5-42
Folder selection (only when connecting USB storage device) ................................................ 5-42
When “CHECK DEVICE ”is displayed .................. 5-42
Audio control buttons (if equipped) .................. 5-42
MODE button..................................................... 5-42
“
” and “
”buttons ......................................... 5-43
Volume control buttons ...................................... 5-44
MUTE button (models without Hands-free system) ............................................................ 5-44
Bluetooth
®audio (type C audio) ....................... 5-45
Media format..................................................... 5-45
Setting Bluetooth
®audio .................................... 5-45
Bluetooth
®audio operation ................................ 5-45
Hands-free system (if equipped) ...................... 5-46
Tips for the Hands-free system.......................... 5-47
Certification for the Hands-free system ............... 5-48
Safety precautions ............................................. 5-49
Using the Hands-free system ............................. 5-49
Bluetooth
®setting ............................................. 5-59
Page 211 of 459
Black plate (213,1)
北米Model "A1110BE-C" EDITED: 2010/ 12/ 17
CD player operationNOTE. Make sure to always insert a disc
with the label side up. If a disc is
inserted with the label side down, the
player displays “CHECK DISC ”. Refer
to “When the following messages are
displayed ”F 5-33.
. If a disc is inserted during a radio
broadcast, the disc will interrupt the
broadcast.
. After the last song finishes, the disc
will automatically return to track 1 (the
first track on the disc) and will auto-
matically play back.
. The player is designed to be able to
play music CD-Rs and music CD-RWs,
but it may not be able to play certain
ones.
. CDs (i.e., 8 cm/3 inch CDs) are not
supported, and if inserted, they will be
immediately ejected.
. Copyright protected WMA/AAC files
will not be played by the system. The
player will automatically skip to the
next file (track).
. CDs that can be played back are
accompanied by the following restric-
tions.
–Maximum number of folders: 255
– Maximum number of files in a folder: 255
–
Maximum number of files on a
CD: 510
& Play fileMP3:
. Based on MPEG1, 2 and 2.5 Layer3
. Sampling rate (kHz): 48, 44.1, 32, 24,
22.05, 16, 12, 11.025, 8
. Bit rate (kbps): 8 to 320
. Supports variable bit rates
WMA:
. Based on Windows Media Audio 9
. Bit rate (kbps): 32 to 192
AAC (type C audio):
. Based on MPEG4 AAC (ISO/IEC
14496-12: 2003+iTune Meta-data Specifi-
cation)
. Sampling rate (kHz): 48, 44.1, 32, 24,
22.05, 16, 12, 11.025, 8
. Bit rate (kbps): 8 to 320
. Number of channels: 1 to 2ch&How to insert a CD (type A
and C)Hold a disc with a finger in the center hole
while gripping the edge of the disc, then
insert it into the slot (with the label side up) and the player will automatically pull the
disc into position.
NOTEDO NOT INSERT TWO DISCS INTO THE
DISC INSERTION SLOT AT THE SAME
TIME.&
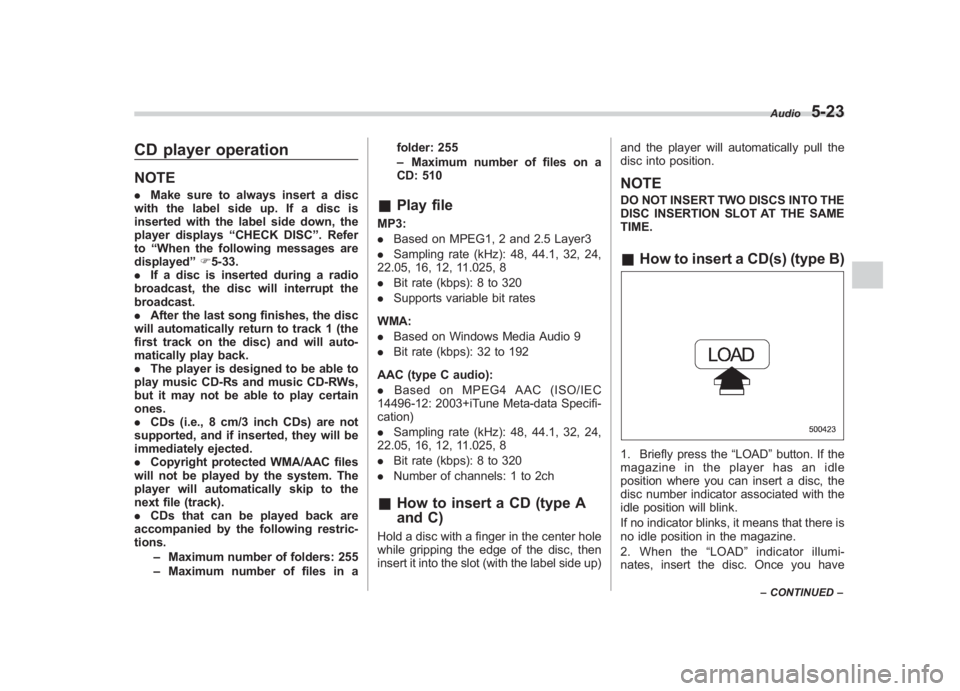
How to insert a CD(s) (type B)1. Briefly press the “LOAD”button. If the
magazine in the player has an idle
position where you can insert a disc, the
disc number indicator associated with the
idle position will blink.
If no indicator blinks, it means that there is
no idle position in the magazine.
2. When the “LOAD ”indicator illumi-
nates, insert the disc. Once you have
Audio
5-23
– CONTINUED –
5
Page 213 of 459
Black plate (215,1)
北米Model "A1110BE-C" EDITED: 2010/ 12/ 17
to insert a CD(s) (type B) ”F 5-23.
When a CD is loaded, the player will start
playback of the CD, beginning with the
first track.
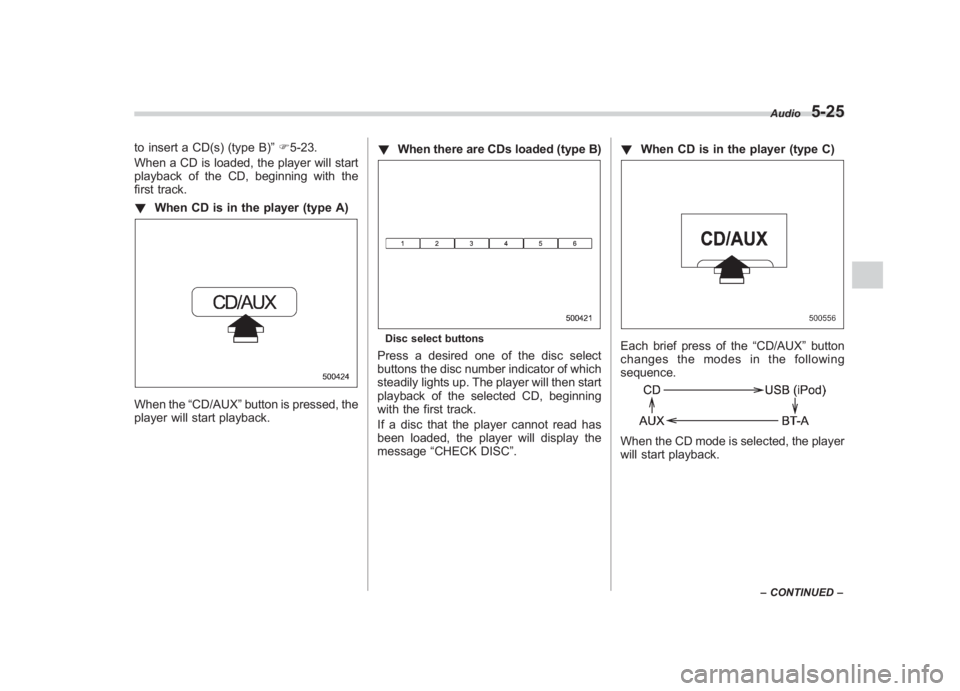
! When CD is in the player (type A)When the “CD/AUX” button is pressed, the
player will start playback. !
When there are CDs loaded (type B)
Disc select buttonsPress a desired one of the disc select
buttons the disc number indicator of which
steadily lights up. The player will then start
playback of the selected CD, beginning
with the first track.
If a disc that the player cannot read has
been loaded, the player will display the
message “CHECK DISC ”. !
When CD is in the player (type C)
Each brief press of the “CD/AUX”button
changes the modes in the following
sequence.When the CD mode is selected, the player
will start playback.
Audio
5-25
– CONTINUED –
5
Page 221 of 459
Black plate (223,1)
北米Model "A1110BE-C" EDITED: 2010/ 12/ 17
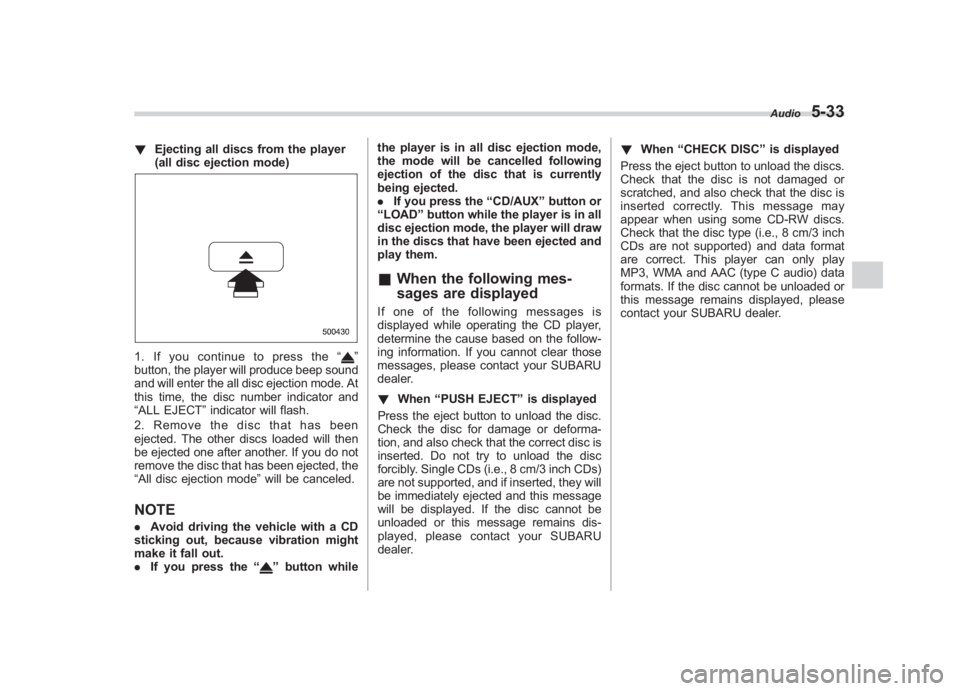
! Ejecting all discs from the player
(all disc ejection mode)1. If you continue to press the “
”
button, the player will produce beep sound
and will enter the all disc ejection mode. At
this time, the disc number indicator and
“ALL EJECT ”indicator will flash.
2. Remove the disc that has been
ejected. The other discs loaded will then
be ejected one after another. If you do not
remove the disc that has been ejected, the
“All disc ejection mode ”will be canceled.
NOTE. Avoid driving the vehicle with a CD
sticking out, because vibration might
make it fall out.
. If you press the “
”button while the player is in all disc ejection mode,
the mode will be cancelled following
ejection of the disc that is currently
being ejected.
.
If you press the “CD/AUX ”button or
“ LOAD ”button while the player is in all
disc ejection mode, the player will draw
in the discs that have been ejected and
play them.
& When the following mes-
sages are displayedIf one of the following messages is
displayed while operating the CD player,
determine the cause based on the follow-
ing information. If you cannot clear those
messages, please contact your SUBARU
dealer.
! When “PUSH EJECT ”is displayed
Press the eject button to unload the disc.
Check the disc for damage or deforma-
tion, and also check that the correct disc is
inserted. Do not try to unload the disc
forcibly. Single CDs (i.e., 8 cm/3 inch CDs)
are not supported, and if inserted, they will
be immediately ejected and this message
will be displayed. If the disc cannot be
unloaded or this message remains dis-
played, please contact your SUBARU
dealer. !
When “CHECK DISC ”is displayed
Press the eject button to unload the discs.
Check that the disc is not damaged or
scratched, and also check that the disc is
inserted correctly. This message may
appear when using some CD-RW discs.
Check that the disc type (i.e., 8 cm/3 inch
CDs are not supported) and data format
are correct. This player can only play
MP3, WMA and AAC (type C audio) data
formats. If the disc cannot be unloaded or
this message remains displayed, please
contact your SUBARU dealer.
Audio
5-33
5
Page 223 of 459
Black plate (225,1)
北米Model "A1110BE-C" EDITED: 2010/ 12/ 17
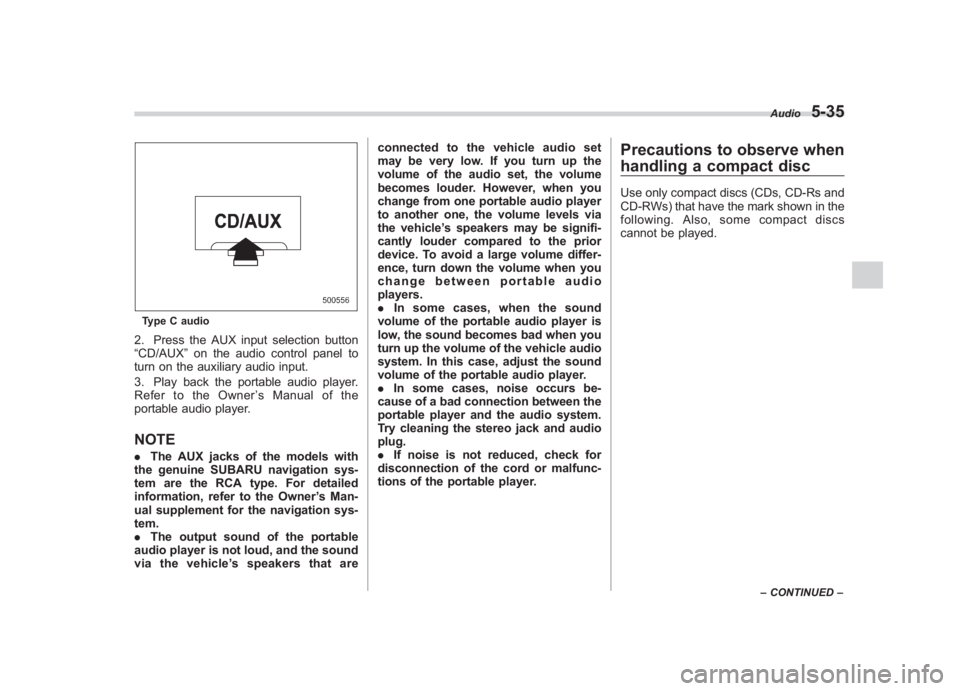
Type C audio2. Press the AUX input selection button
“CD/AUX ”on the audio control panel to
turn on the auxiliary audio input.
3. Play back the portable audio player.
Refer to the Owner ’s Manual of the
portable audio player.NOTE. The AUX jacks of the models with
the genuine SUBARU navigation sys-
tem are the RCA type. For detailed
information, refer to the Owner ’s Man-
ual supplement for the navigation sys-
tem.
. The output sound of the portable
audio player is not loud, and the sound
via the vehicle ’s speakers that are connected to the vehicle audio set
may be very low. If you turn up the
volume of the audio set, the volume
becomes louder. However, when you
change from one portable audio player
to another one, the volume levels via
the vehicle
’s speakers may be signifi-
cantly louder compared to the prior
device. To avoid a large volume differ-
ence, turn down the volume when you
change between portable audio
players.
. In some cases, when the sound
volume of the portable audio player is
low, the sound becomes bad when you
turn up the volume of the vehicle audio
system. In this case, adjust the sound
volume of the portable audio player.
. In some cases, noise occurs be-
cause of a bad connection between the
portable player and the audio system.
Try cleaning the stereo jack and audio
plug.
. If noise is not reduced, check for
disconnection of the cord or malfunc-
tions of the portable player.
Precautions to observe when
handling a compact discUse only compact discs (CDs, CD-Rs and
CD-RWs) that have the mark shown in the
following. Also, some compact discs
cannot be played.
Audio
5-35
– CONTINUED –
5
Page 226 of 459
Black plate (228,1)
北米Model "A1110BE-C" EDITED: 2010/ 12/ 17
5-38
Audio
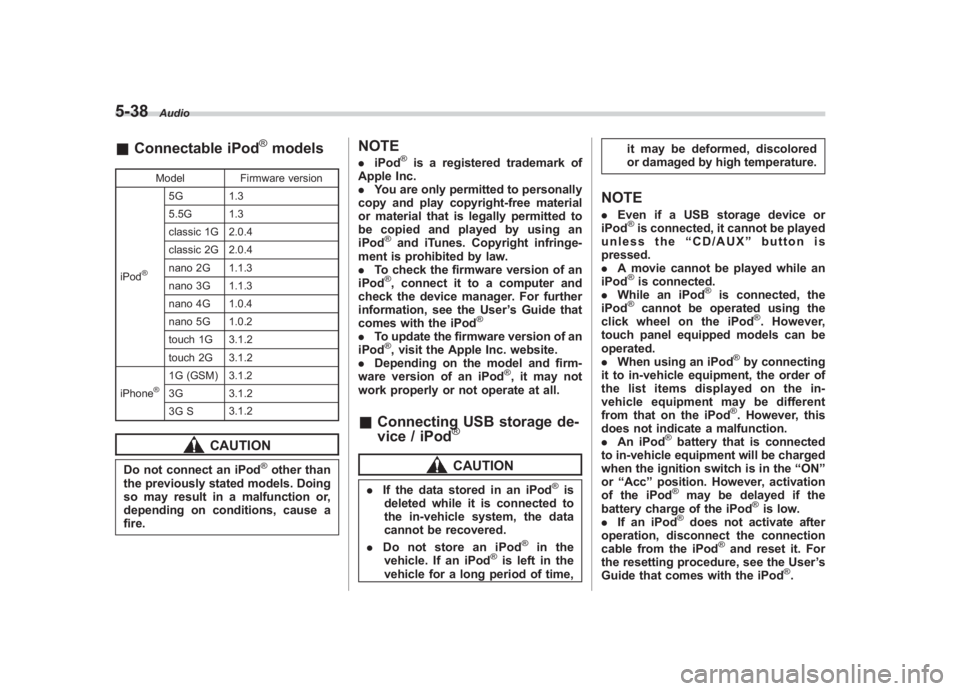
& Connectable iPod
®models
Model Firmware version
iPod
®
5G 1.3
5.5G 1.3
classic 1G 2.0.4
classic 2G 2.0.4
nano 2G 1.1.3
nano 3G 1.1.3
nano 4G 1.0.4
nano 5G 1.0.2
touch 1G 3.1.2
touch 2G 3.1.2
iPhone
®
1G (GSM) 3.1.2
3G 3.1.2
3G S 3.1.2
CAUTION
Do not connect an iPod
®other than
the previously stated models. Doing
so may result in a malfunction or,
depending on conditions, cause a
fire.
NOTE. iPod
®is a registered trademark of
Apple Inc.
. You are only permitted to personally
copy and play copyright-free material
or material that is legally permitted to
be copied and played by using an
iPod
®and iTunes. Copyright infringe-
ment is prohibited by law.
. To check the firmware version of an
iPod®, connect it to a computer and
check the device manager. For further
information, see the User ’s Guide that
comes with the iPod
®
. To update the firmware version of an
iPod
®, visit the Apple Inc. website.
. Depending on the model and firm-
ware version of an iPod
®, it may not
work properly or not operate at all.
& Connecting USB storage de-
vice / iPod
®CAUTION
. If the data stored in an iPod
®is
deleted while it is connected to
the in-vehicle system, the data
cannot be recovered.
. Do not store an iPod
®
in the
vehicle. If an iPod
®is left in the
vehicle for a long period of time, it may be deformed, discolored
or damaged by high temperature.
NOTE.
Even if a USB storage device or
iPod
®is connected, it cannot be played
unless the “CD/AUX ”button is
pressed.
. A movie cannot be played while an
iPod®is connected.
. While an iPod
®
is connected, the
iPod
®
cannot be operated using the
click wheel on the iPod
®. However,
touch panel equipped models can be
operated.
. When using an iPod
®by connecting
it to in-vehicle equipment, the order of
the list items displayed on the in-
vehicle equipment may be different
from that on the iPod®. However, this
does not indicate a malfunction.
. An iPod
®battery that is connected
to in-vehicle equipment will be charged
when the ignition switch is in the “ON ”
or “Acc ”position. However, activation
of the iPod®
may be delayed if the
battery charge of the iPod
®is low.
. If an iPod
®does not activate after
operation, disconnect the connection
cable from the iPod
®and reset it. For
the resetting procedure, see the User ’s
Guide that comes with the iPod
®.