Page 190 of 459
Black plate (10,1)
北米Model "A1110BE-C" EDITED: 2010/ 11/ 17
Audio
Selecting category (only when connecting
iPod
®) .............................................................. 5-41
Display selection ................................................ 5-42
Folder selection (only when connecting USB storage device) ................................................ 5-42
When “CHECK DEVICE ”is displayed .................. 5-42
Audio control buttons (if equipped) .................. 5-42
MODE button..................................................... 5-42
“
” and “
”buttons ......................................... 5-43
Volume control buttons ...................................... 5-44
MUTE button (models without Hands-free system) ............................................................ 5-44
Bluetooth
®audio (type C audio) ....................... 5-45
Media format..................................................... 5-45
Setting Bluetooth
®audio .................................... 5-45
Bluetooth
®audio operation ................................ 5-45
Hands-free system (if equipped) ...................... 5-46
Tips for the Hands-free system.......................... 5-47
Certification for the Hands-free system ............... 5-48
Safety precautions ............................................. 5-49
Using the Hands-free system ............................. 5-49
Bluetooth
®setting ............................................. 5-59
Page 204 of 459
Black plate (206,1)
北米Model "A1110BE-C" EDITED: 2010/ 12/ 17
5-16
Audio
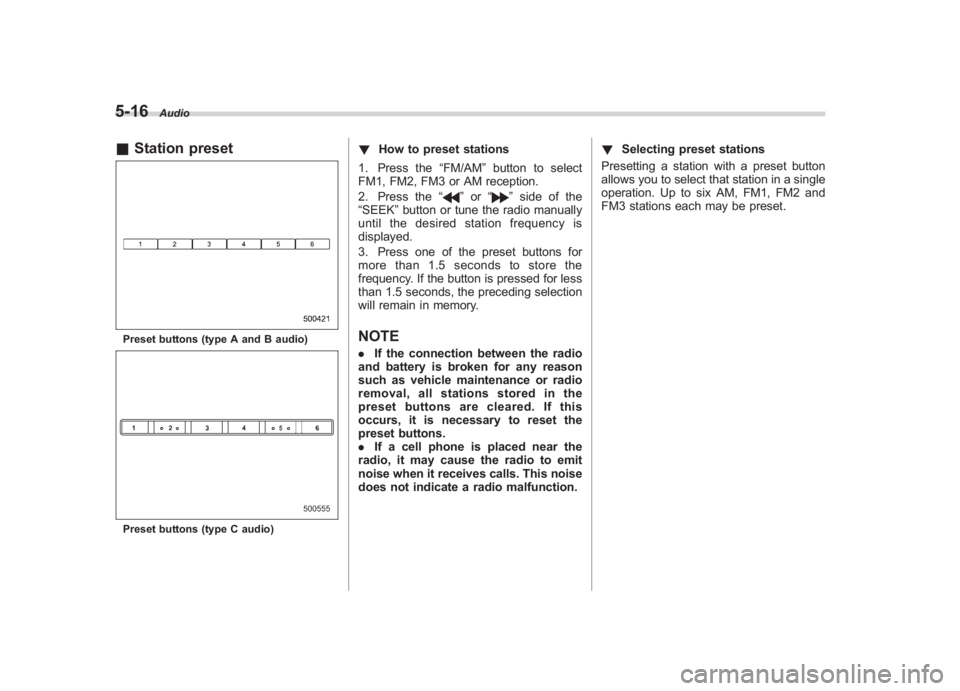
& Station presetPreset buttons (type A and B audio)Preset buttons (type C audio)
! How to preset stations
1. Press the “FM/AM”button to select
FM1, FM2, FM3 or AM reception.
2. Press the “
”or “
”side of the
“SEEK ”button or tune the radio manually
until the desired station frequency is
displayed.
3. Press one of the preset buttons for
more than 1.5 seconds to store the
frequency. If the button is pressed for less
than 1.5 seconds, the preceding selection
will remain in memory.
NOTE. If the connection between the radio
and battery is broken for any reason
such as vehicle maintenance or radio
removal, all stations stored in the
preset buttons are cleared. If this
occurs, it is necessary to reset the
preset buttons.
. If a cell phone is placed near the
radio, it may cause the radio to emit
noise when it receives calls. This noise
does not indicate a radio malfunction. !
Selecting preset stations
Presetting a station with a preset button
allows you to select that station in a single
operation. Up to six AM, FM1, FM2 and
FM3 stations each may be preset.
Page 209 of 459
Black plate (211,1)
北米Model "A1110BE-C" EDITED: 2010/ 12/ 17
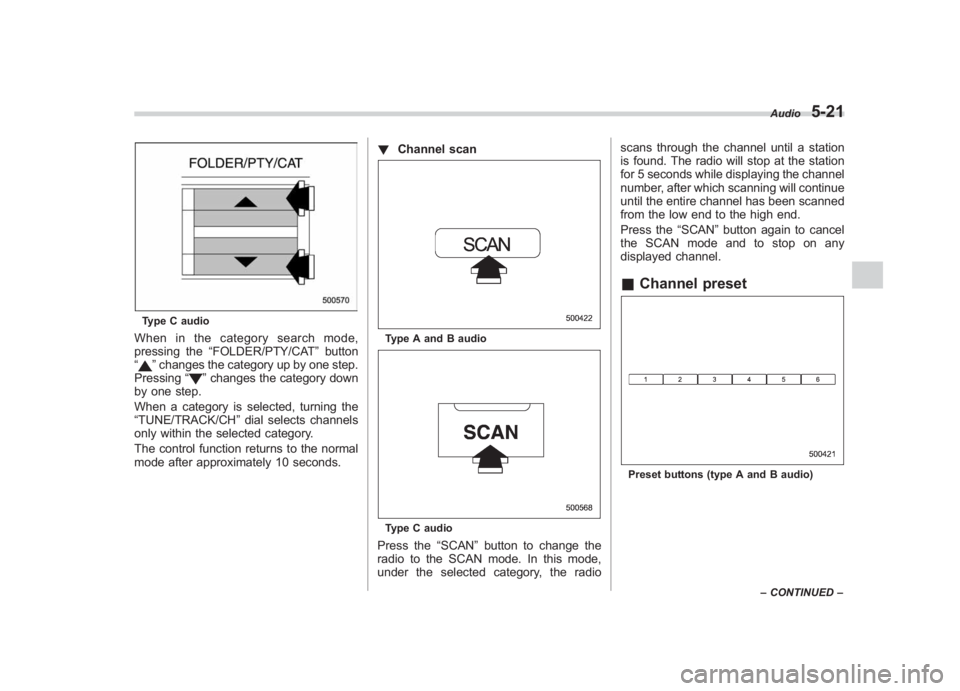
Type C audioWhen in the category search mode,
pressing the “FOLDER/PTY/CAT ”button
“
” changes the category up by one step.
Pressing “
”changes the category down
by one step.
When a category is selected, turning the
“TUNE/TRACK/CH ”dial selects channels
only within the selected category.
The control function returns to the normal
mode after approximately 10 seconds. !
Channel scan
Type A and B audioType C audioPress the “SCAN”button to change the
radio to the SCAN mode. In this mode,
under the selected category, the radio scans through the channel until a station
is found. The radio will stop at the station
for 5 seconds while displaying the channel
number, after which scanning will continue
until the entire channel has been scanned
from the low end to the high end.
Press the
“SCAN”button again to cancel
the SCAN mode and to stop on any
displayed channel.
& Channel presetPreset buttons (type A and B audio) Audio
5-21
–
CONTINUED –
5
Page 210 of 459
Black plate (212,1)
北米Model "A1110BE-C" EDITED: 2010/ 12/ 17
5-22
Audio
Preset buttons (type C audio)! How to preset channels
1. Press the “SAT”button to select SAT1,
SAT2 and SAT3 reception.
2. Select the desired channel.
3. Press one of the preset buttons for
more than 1.5 seconds to store the
channel. If the button is pressed for less
than 1.5 seconds, the preceding selection
will remain in memory.
NOTEIf the connection between the radio and
battery is broken for any reason such
as vehicle maintenance or radio re-
moval, all channels stored in the preset
buttons are cleared. If this occurs, it is
necessary to reset the preset buttons.
! Selecting preset channels
Presetting a channel with a preset button
allows you to select that channel in a
single operation. Up to six SAT1, SAT2
and SAT3 channels each may be preset.& Display selectionType A and B audio
Type C audioPress the “TEXT”button while receiving
the satellite radio to change the display as
follows.
Page 212 of 459
Black plate (214,1)
北米Model "A1110BE-C" EDITED: 2010/ 12/ 17
5-24
Audio
inserted the disc, the “LOAD”indicator will
turn off. The disc will then be automatically
drawn in, and the player will begin to play
back the first track of the disc.
. To insert more discs in succession,
repeat Steps 1 and 2. The magazine will
be loaded with discs in the ascending
order of position number.
If you do not insert any disc in 15 seconds
after you have pressed the “LOAD”button,
the player will begin to play back the first
track of the last disc you have inserted.
. The disc indicator steadily lights up if a
disc is already inserted in the correspond-
ing position of the magazine.
. While the player is in the loading mode,
if you press “FM/AM”or “SAT ”button, the
player will enter the standby mode. Press
the “CD/AUX ”button to start playback.
! Inserting a disc in a desired posi-
tion
1. Briefly press the “LOAD”button. If the
magazine in the player has an idle
position where you can insert a disc, the
disc number indicator associated with the
idle position will blink.
The positions in the magazine the indica-
tor of which steadily lights up are already
loaded with discs.
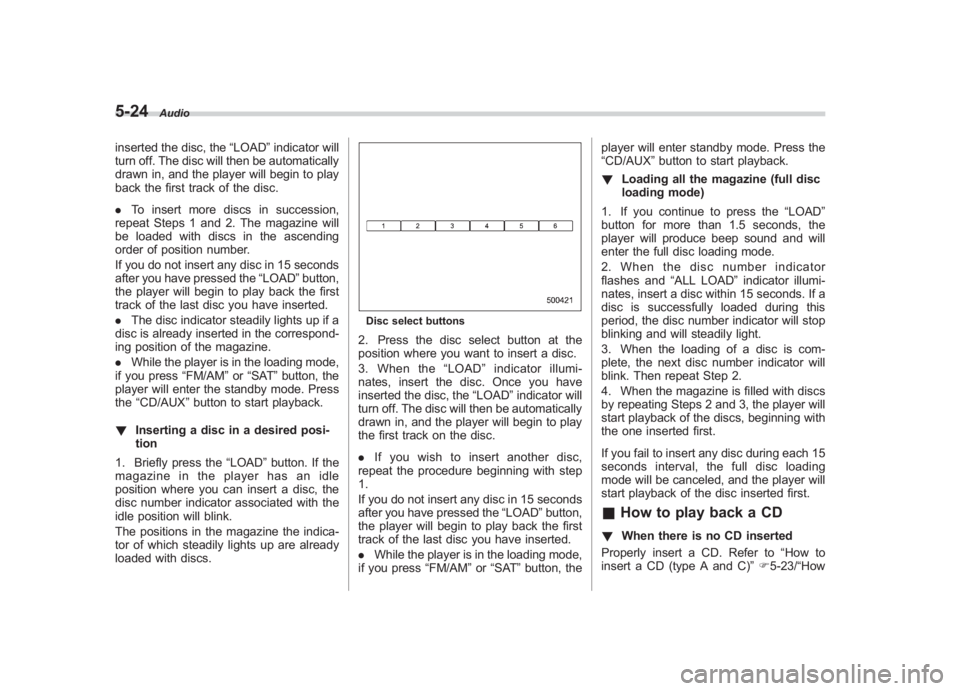
Disc select buttons2. Press the disc select button at the
position where you want to insert a disc.
3. When the “LOAD ”indicator illumi-
nates, insert the disc. Once you have
inserted the disc, the “LOAD”indicator will
turn off. The disc will then be automatically
drawn in, and the player will begin to play
the first track on the disc.
. If you wish to insert another disc,
repeat the procedure beginning with step
1.
If you do not insert any disc in 15 seconds
after you have pressed the “LOAD” button,
the player will begin to play back the first
track of the last disc you have inserted.
. While the player is in the loading mode,
if you press “FM/AM”or “SAT ”button, the player will enter standby mode. Press the
“CD/AUX
”button to start playback.
! Loading all the magazine (full disc
loading mode)
1. If you continue to press the “LOAD”
button for more than 1.5 seconds, the
player will produce beep sound and will
enter the full disc loading mode.
2. When the disc number indicator
flashes and “ALL LOAD” indicator illumi-
nates, insert a disc within 15 seconds. If a
disc is successfully loaded during this
period, the disc number indicator will stop
blinking and will steadily light.
3. When the loading of a disc is com-
plete, the next disc number indicator will
blink. Then repeat Step 2.
4. When the magazine is filled with discs
by repeating Steps 2 and 3, the player will
start playback of the discs, beginning with
the one inserted first.
If you fail to insert any disc during each 15
seconds interval, the full disc loading
mode will be canceled, and the player will
start playback of the disc inserted first.
& How to play back a CD! When there is no CD inserted
Properly insert a CD. Refer to “How to
insert a CD (type A and C) ”F 5-23/ “How
Page 213 of 459
Black plate (215,1)
北米Model "A1110BE-C" EDITED: 2010/ 12/ 17
to insert a CD(s) (type B) ”F 5-23.
When a CD is loaded, the player will start
playback of the CD, beginning with the
first track.
! When CD is in the player (type A)When the “CD/AUX” button is pressed, the
player will start playback. !
When there are CDs loaded (type B)
Disc select buttonsPress a desired one of the disc select
buttons the disc number indicator of which
steadily lights up. The player will then start
playback of the selected CD, beginning
with the first track.
If a disc that the player cannot read has
been loaded, the player will display the
message “CHECK DISC ”. !
When CD is in the player (type C)
Each brief press of the “CD/AUX”button
changes the modes in the following
sequence.When the CD mode is selected, the player
will start playback.
Audio
5-25
– CONTINUED –
5
Page 219 of 459
Black plate (221,1)
北米Model "A1110BE-C" EDITED: 2010/ 12/ 17
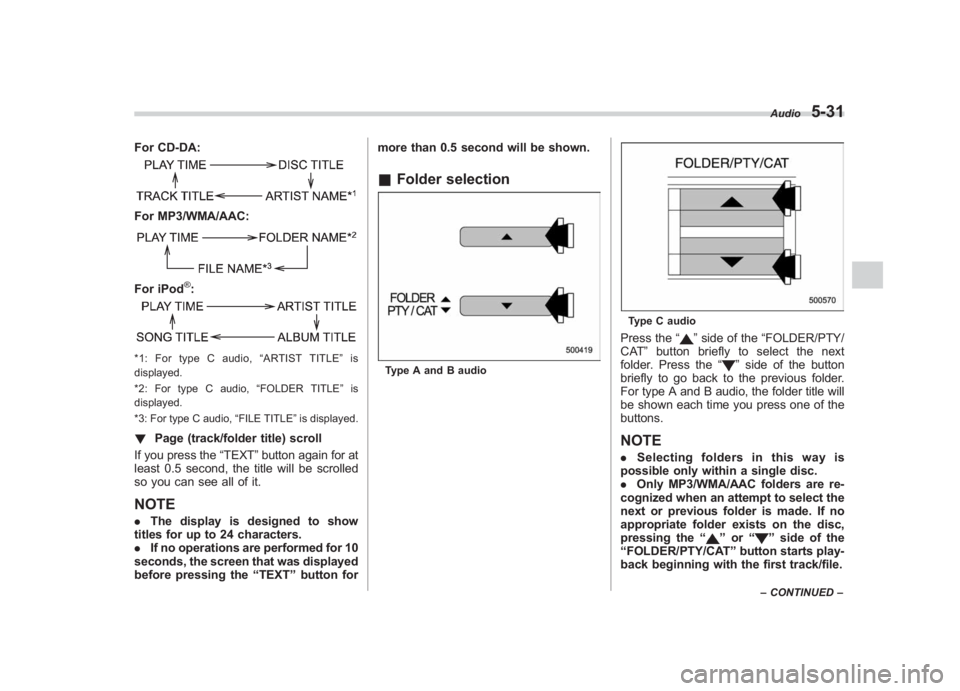
For CD-DA:For MP3/WMA/AAC:For iPod
®:
*1: For type C audio, “ARTIST TITLE” is
displayed.
*2: For type C audio, “FOLDER TITLE” is
displayed.
*3: For type C audio, “FILE TITLE ”is displayed.! Page (track/folder title) scroll
If you press the “TEXT”button again for at
least 0.5 second, the title will be scrolled
so you can see all of it.NOTE. The display is designed to show
titles for up to 24 characters.
. If no operations are performed for 10
seconds, the screen that was displayed
before pressing the “TEXT ”button for more than 0.5 second will be shown.
&
Folder selectionType A and B audio
Type C audioPress the “
”side of the “FOLDER/PTY/
CAT ”button briefly to select the next
folder. Press the “
”side of the button
briefly to go back to the previous folder.
For type A and B audio, the folder title will
be shown each time you press one of the
buttons.
NOTE. Selecting folders in this way is
possible only within a single disc.
. Only MP3/WMA/AAC folders are re-
cognized when an attempt to select the
next or previous folder is made. If no
appropriate folder exists on the disc,
pressing the “
”or “
”side of the
“ FOLDER/PTY/CAT ”button starts play-
back beginning with the first track/file.Audio
5-31
– CONTINUED –
5
Page 220 of 459
Black plate (222,1)
北米Model "A1110BE-C" EDITED: 2010/ 12/ 17
5-32
Audio
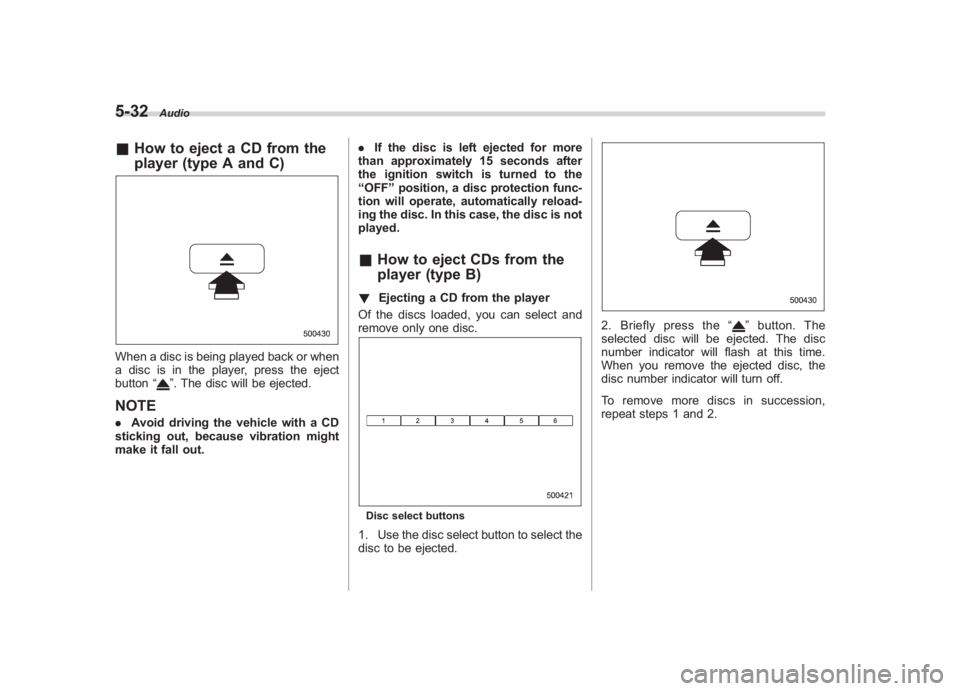
& How to eject a CD from the
player (type A and C)When a disc is being played back or when
a disc is in the player, press the eject
button “
”. The disc will be ejected.
NOTE.Avoid driving the vehicle with a CD
sticking out, because vibration might
make it fall out. .
If the disc is left ejected for more
than approximately 15 seconds after
the ignition switch is turned to the
“ OFF ”position, a disc protection func-
tion will operate, automatically reload-
ing the disc. In this case, the disc is not
played.
& How to eject CDs from the
player (type B)! Ejecting a CD from the player
Of the discs loaded, you can select and
remove only one disc.Disc select buttons1. Use the disc select button to select the
disc to be ejected.
2. Briefly press the “
”button. The
selected disc will be ejected. The disc
number indicator will flash at this time.
When you remove the ejected disc, the
disc number indicator will turn off.
To remove more discs in succession,
repeat steps 1 and 2.