Page 333 of 458
9-6In case of emergency
B) Except models with 16-inch wheel tires
The jack handle is stored under the floor of
the trunk (4-door) or the cargo area (5-
door). The jack and towing hook are
stored in the tool bucket that is located in
the recess of the spare tire wheel.
Also, the tools in the tool bag can be
stored in the tool bucket as illustrated.
For how to use the jack, refer to “Flat tires ”
F 9-6. Flat tires
If you have a flat tire while driving, never
brake suddenly; keep driving straight
ahead while gradually reducing speed.
Then slowly pull off the road to a safeplace. &
Changing a flat tire
WARNING
. Do not jack up the vehicle on an
incline or a loose road surface.
The jack can come out of the
jacking point or sink into the
ground and this can result in a
severe accident.
. Use only the jack provided with
your vehicle. The jack supplied
with the vehicle is designed only
for changing a tire. Never get
under the vehicle while support-
ing the vehicle with this jack. .
Always turn off the engine before
raising the flat tire off the ground
using the jack. Never swing or
push the vehicle supported with
the jack. The jack can come out
of the jacking point due to a jolt
and this can result in a severeaccident.
1. Park on a hard, level surface, when-
ever possible, then stop the engine.
2. Set the parking brake securely and
shift the shift lever in reverse (MT models)
or the select lever to the “P ” (Park)
position (AT models).
3. Turn on the hazard warning flasher
and have everyone get out of the vehicle.
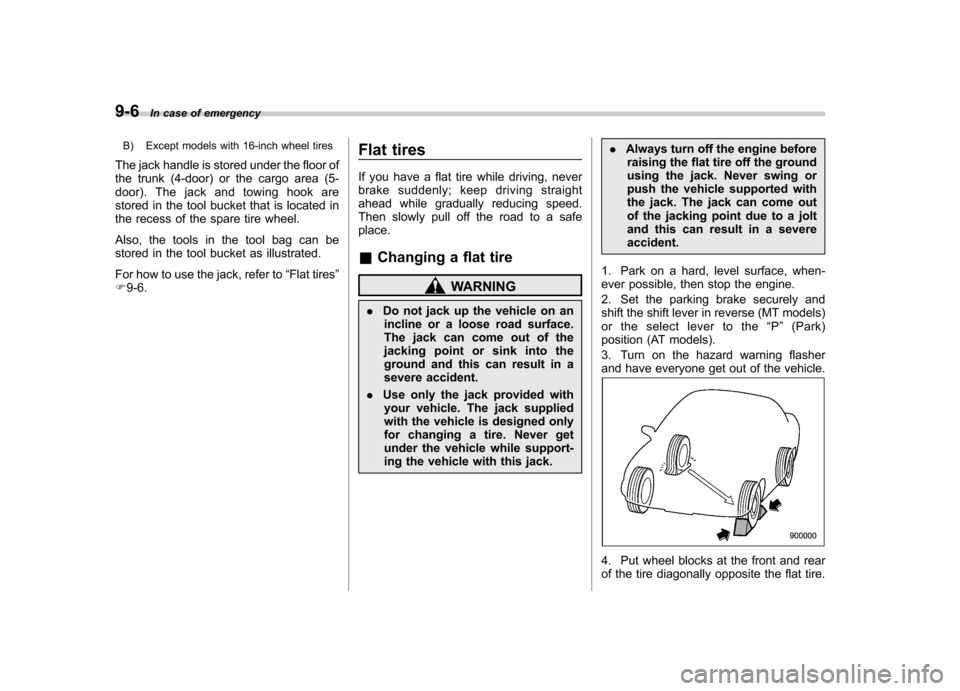
4. Put wheel blocks at the front and rear
of the tire diagonally opposite the flat tire.
Page 341 of 458
9-14In case of emergency
Towing
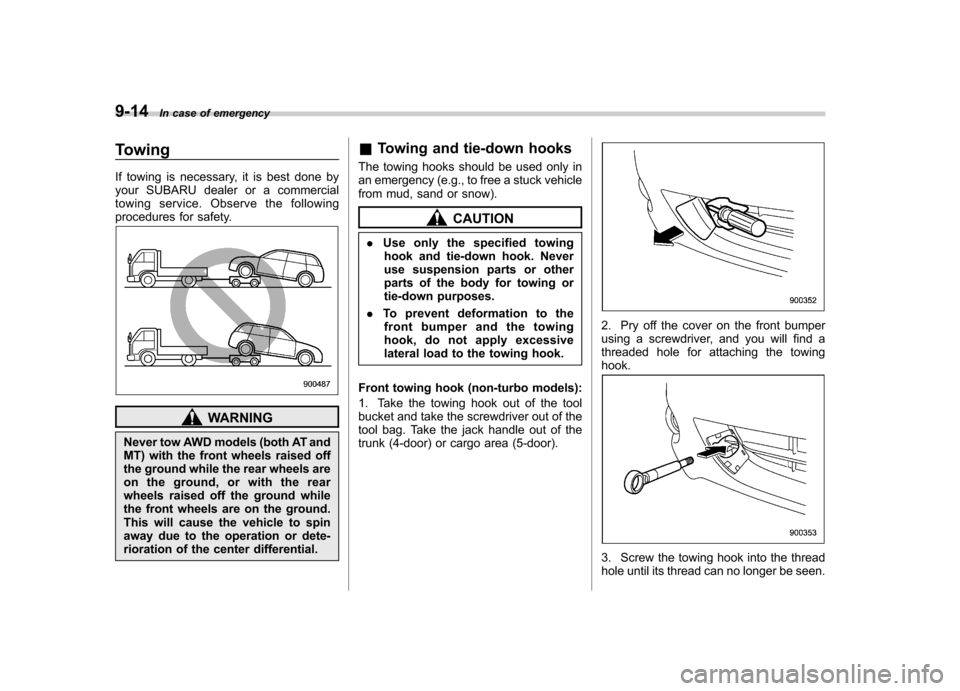
If towing is necessary, it is best done by
your SUBARU dealer or a commercial
towing service. Observe the following
procedures for safety.
WARNING
Never tow AWD models (both AT and
MT) with the front wheels raised off
the ground while the rear wheels are
on the ground, or with the rear
wheels raised off the ground while
the front wheels are on the ground.
This will cause the vehicle to spin
away due to the operation or dete-
rioration of the center differential. &
Towing and tie-down hooks
The towing hooks should be used only in
an emergency (e.g., to free a stuck vehicle
from mud, sand or snow).
CAUTION
. Use only the specified towing
hook and tie-down hook. Never
use suspension parts or other
parts of the body for towing or
tie-down purposes.
. To prevent deformation to the
front bumper and the towing
hook, do not apply excessive
lateral load to the towing hook.
Front towing hook (non-turbo models):
1. Take the towing hook out of the tool
bucket and take the screwdriver out of the
tool bag. Take the jack handle out of the
trunk (4-door) or cargo area (5-door).
2. Pry off the cover on the front bumper
using a screwdriver, and you will find a
threaded hole for attaching the towinghook.
3. Screw the towing hook into the thread
hole until its thread can no longer be seen.
Page 342 of 458
4. Tighten the towing hook securely
using the jack handle.
Front towing hook (turbo models):
1. Take the towing hook out of the tool
bucket and take the screwdriver out of the
tool bag. Take the jack handle out of the
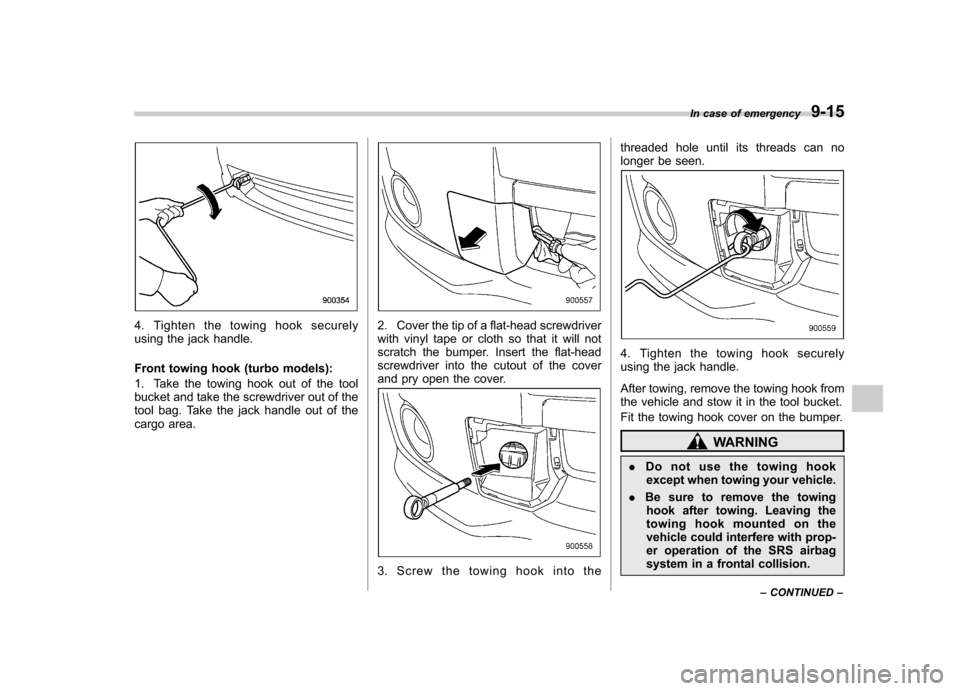
cargo area.2. Cover the tip of a flat-head screwdriver
with vinyl tape or cloth so that it will not
scratch the bumper. Insert the flat-head
screwdriver into the cutout of the cover
and pry open the cover.
3. Screw the towing hook into thethreaded hole until its threads can no
longer be seen.
4. Tighten the towing hook securely
using the jack handle.
After towing, remove the towing hook from
the vehicle and stow it in the tool bucket.
Fit the towing hook cover on the bumper.
WARNING
. Do not use the towing hook
except when towing your vehicle.
. Be sure to remove the towing
hook after towing. Leaving the
towing hook mounted on the
vehicle could interfere with prop-
er operation of the SRS airbag
system in a frontal collision. In case of emergency
9-15
– CONTINUED –
Page 343 of 458
9-16In case of emergency
Rear towing hook:
1. Take the towing hook out of the tool
bucket and take the screwdriver out of the
tool bag. Take the jack handle out of the
trunk (4-door) or cargo area (5-door).
2. Pry off the cover on the rear bumper
using a screwdriver, and you will find a
threaded hole for attaching the towinghook.
3. Screw the towing hook into the thread
hole until its thread can no longer be seen.
4. Tighten the towing hook securely
using the jack handle.
After towing, remove the towing hook from the vehicle and stow it in the tool bucket.
Fit the towing hook cover on the bumper.
WARNING
Do not use the towing hook except
when towing your vehicle.
Front tie-down hooks:
The front tie-down hooks are located
between each of the front tires and the
front bumper.
Page 344 of 458
Rear tie-down hooks:
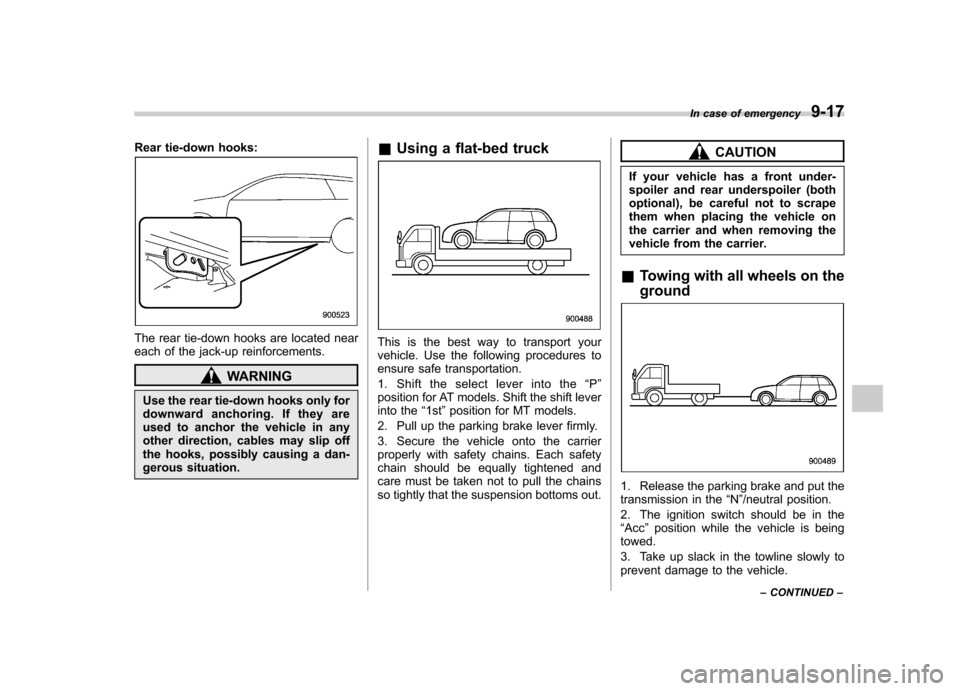
The rear tie-down hooks are located near
each of the jack-up reinforcements.
WARNING
Use the rear tie-down hooks only for
downward anchoring. If they are
used to anchor the vehicle in any
other direction, cables may slip off
the hooks, possibly causing a dan-
gerous situation. &
Using a flat-bed truck
This is the best way to transport your
vehicle. Use the following procedures to
ensure safe transportation.
1. Shift the select lever into the “P ”
position for AT models. Shift the shift lever
into the “1st ”position for MT models.
2. Pull up the parking brake lever firmly.
3. Secure the vehicle onto the carrier
properly with safety chains. Each safety
chain should be equally tightened and
care must be taken not to pull the chains
so tightly that the suspension bottoms out.
CAUTION
If your vehicle has a front under-
spoiler and rear underspoiler (both
optional), be careful not to scrape
them when placing the vehicle on
the carrier and when removing the
vehicle from the carrier.
& Towing with all wheels on the ground
1. Release the parking brake and put the
transmission in the “N ”/neutral position.
2. The ignition switch should be in the“ Acc ”position while the vehicle is being
towed.
3. Take up slack in the towline slowly to
prevent damage to the vehicle. In case of emergency
9-17
– CONTINUED –
Page 345 of 458
9-18In case of emergency
WARNING
. Never turn the ignition switch to
the “LOCK ”position while the
vehicle is being towed because
the steering wheel and the direc-
tion of the wheels will be locked.
. Remember that the brake booster
and power steering do not func-
tion when the engine is not
running. Because the engine is
turned off, it will take greater
effort to operate the brake pedal
and steering wheel.
CAUTION
. If transmission failure occurs,
transport your vehicle on a flat-
bed truck.
. Do not run the engine while being
towed using this method. Trans-
mission damage could result if
the vehicle is towed with the
engine running.
. For models with automatic trans-
mission, the traveling speed
must be limited to less than 20
mph (30 km/h) and the traveling
distance to less than 31 miles (50
km). For greater speeds and distances, transport your vehicle
on a flat-bed truck.
Rear gate
–if the rear gate
cannot be unlocked
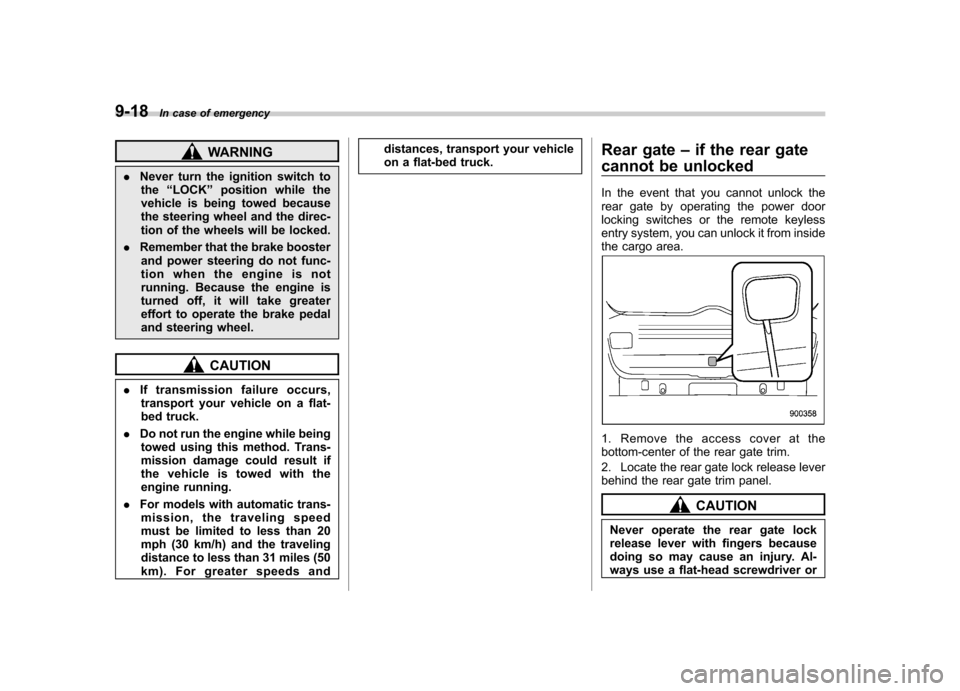
In the event that you cannot unlock the
rear gate by operating the power door
locking switches or the remote keyless
entry system, you can unlock it from inside
the cargo area.
1. Remove the access cover at the
bottom-center of the rear gate trim.
2. Locate the rear gate lock release lever
behind the rear gate trim panel.
CAUTION
Never operate the rear gate lock
release lever with fingers because
doing so may cause an injury. Al-
ways use a flat-head screwdriver or
Page 358 of 458
&When checking or servicing
in the engine compartment
while the engine is running
WARNING
A running engine can be dangerous.
Keep your fingers, hands, clothing,
hair and tools away from the cooling
fan, belts and any other moving
engine parts. Removing rings,
watches and ties is advisable. Engine hood
To open the hood:
1. If the wiper blades are lifted off the
windshield, return them to their originalposition.
2. Pull the hood release knob under the
instrument panel.
3. Release the secondary hood release
by moving the lever between the front
grille and the hood toward the left.
4. Lift up the hood.
To close the hood:
1. Lower the hood to a height of approxi-
mately 5.9 in (15 cm) above its closed
position and then let it drop.
2. After closing the hood, be sure the
hood is securely locked.
If this does not close the hood, release it
from a slightly higher position. Do not push
thehoodforciblytocloseit.Itcould
deform the metal.Maintenance and service
11-5
– CONTINUED –
Page 395 of 458
11-42Maintenance and service
& Rear window wiper blade assembly
1. Raise the wiper arm off the rear
window.
2. Turn the wiper blade assembly coun- terclockwise.
3. Pull the wiper blade assembly toward
you to remove it from the wiper arm.
4. Install the wiper blade assembly to the
wiper arm. Make sure that it locks in place.
5. Hold the wiper arm by hand and slowly
lower it in position. &
Rear window wiper blade rubber
1. Pull out the end of the blade rubber
assembly to unlock it from the plasticsupport.