Page 180 of 458

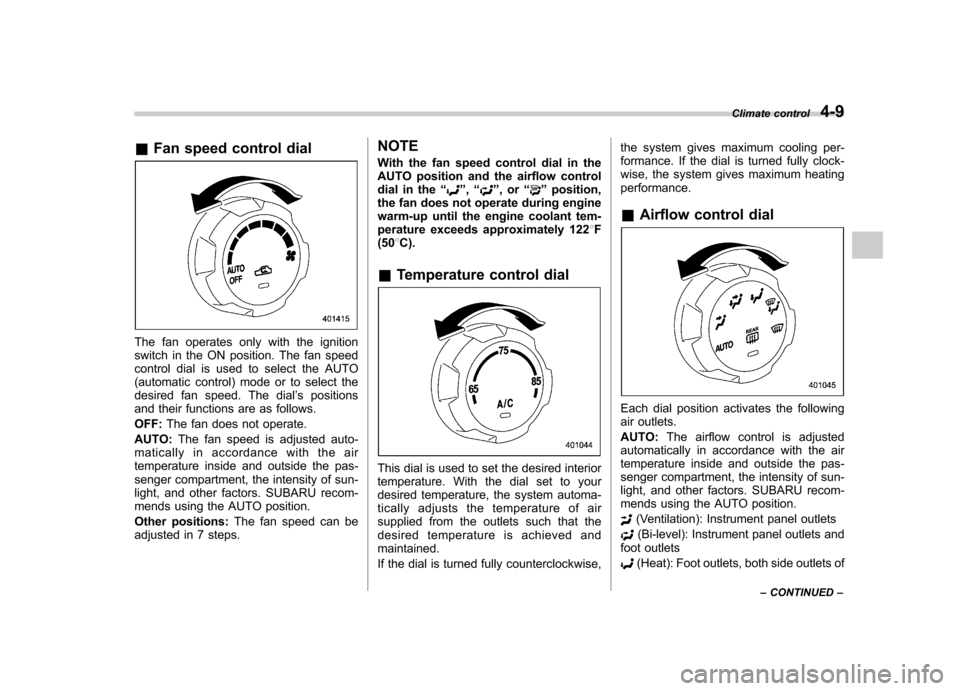
&Fan speed control dial
The fan operates only with the ignition
switch in the ON position. The fan speed
control dial is used to select the AUTO
(automatic control) mode or to select the
desired fan speed. The dial ’s positions
and their functions are as follows. OFF: The fan does not operate.
AUTO: The fan speed is adjusted auto-
maticallyinaccordancewiththeair
temperature inside and outside the pas-
senger compartment, the intensity of sun-
light, and other factors. SUBARU recom-
mends using the AUTO position.
Other positions: The fan speed can be
adjusted in 7 steps. NOTE
With the fan speed control dial in the
AUTO position and the airflow control
dial in the
“
”, “”,or “”position,
the fan does not operate during engine
warm-up until the engine coolant tem-
perature exceeds approximately 122 8F
(50 8C).
& Temperature control dial
This dial is used to set the desired interior
temperature. With the dial set to your
desired temperature, the system automa-
tically adjusts the temperature of air
supplied from the outlets such that the
desired temperature is achieved andmaintained.
If the dial is turned fully counterclockwise, the system gives maximum cooling per-
formance. If the dial is turned fully clock-
wise, the system gives maximum heatingperformance. &
Airflow control dial
Each dial position activates the following
air outlets. AUTO: The airflow control is adjusted
automatically in accordance with the air
temperature inside and outside the pas-
senger compartment, the intensity of sun-
light, and other factors. SUBARU recom-
mends using the AUTO position.
(Ventilation): Instrument panel outlets
(Bi-level): Instrument panel outlets and
foot outlets
(Heat): Foot outlets, both side outlets of Climate control
4-9
– CONTINUED –
Page 183 of 458

4-12Climate control
properly and become damaged, the sys-
tem may not be able to control the interior
temperature correctly. To avoid damaging
the sensors, observe the following pre-cautions. –Do not subject the sensors to impact.
– Keep water away from the sensors.
– Do not cover the sensors.
The sensors are located as follows.– Solar sensor: beside the windshield
defroster grille.– Interior air temperature sensor: near
the ignition switch.– Outside temperature sensor: behind
the front grille. Operating tips for heater and
air conditioner &
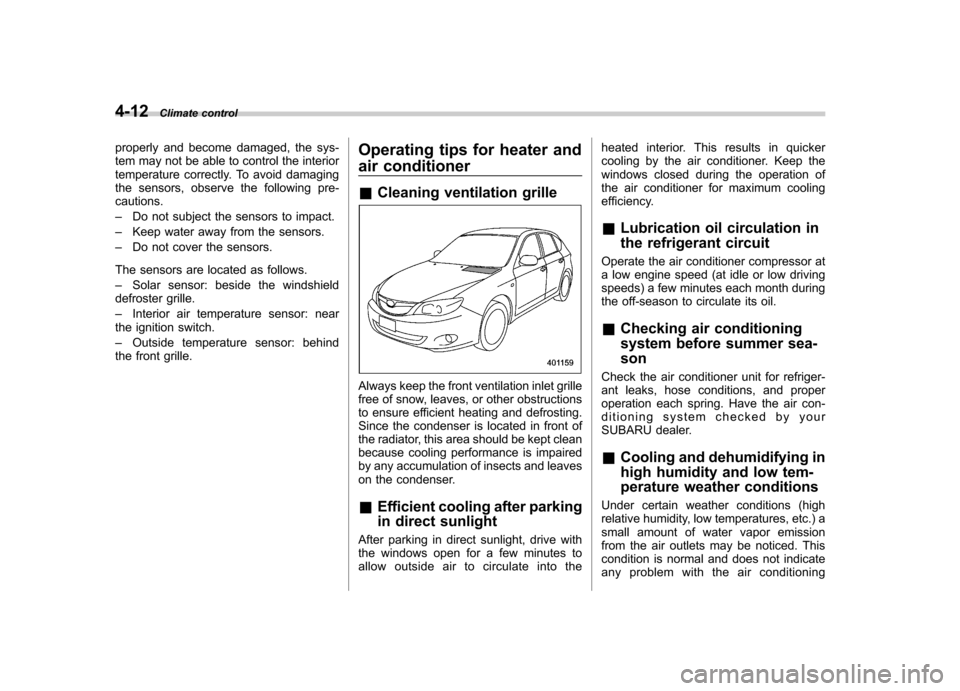
Cleaning ventilation grille
Always keep the front ventilation inlet grille
free of snow, leaves, or other obstructions
to ensure efficient heating and defrosting.
Since the condenser is located in front of
the radiator, this area should be kept clean
because cooling performance is impaired
by any accumulation of insects and leaves
on the condenser. &Efficient cooling after parking
in direct sunlight
After parking in direct sunlight, drive with
the windows open for a few minutes to
allow outside air to circulate into the heated interior. This results in quicker
cooling by the air conditioner. Keep the
windows closed during the operation of
the air conditioner for maximum cooling
efficiency. &
Lubrication oil circulation in
the refrigerant circuit
Operate the air conditioner compressor at
a low engine speed (at idle or low driving
speeds) a few minutes each month during
the off-season to circulate its oil. & Checking air conditioning
system before summer sea-son
Check the air conditioner unit for refriger-
ant leaks, hose conditions, and proper
operation each spring. Have the air con-
ditioning system checked by your
SUBARU dealer. & Cooling and dehumidifying in
high humidity and low tem-
perature weather conditions
Under certain weather conditions (high
relative humidity, low temperatures, etc.) a
small amount of water vapor emission
from the air outlets may be noticed. This
condition is normal and does not indicate
any problem with the air conditioning
Page 192 of 458
&Type A audio set (if equipped)The audio set will operate only when the
ignition switch is in the “Acc ”or “ON ”
position. . Power and sound controls: refer to
page 5-8. Radio operation: refer to page 5-12
. Satellite radio operation (if equipped):
refer to page 5-17. CD (compact disc) player operation:
refer to page 5-23. Auxiliary input jack: refer to page 5-34 Audio
5-5
– CONTINUED –
Page 193 of 458
5-6Audio
& Type B audio set (if equipped)
The audio set will operate only when the
ignition switch is in the “Acc ”or “ON ”
position. . Power and sound controls: refer to
page 5-8. Radio operation: refer to page 5-12
. Satellite radio operation (if equipped):
refer to page 5-17. CD (compact disc) player operation:
refer to page 5-23. Auxiliary input jack: refer to page 5-34
Page 194 of 458
&Type C audio set (if equipped)The audio set will operate only when the
ignition switch is in the “Acc ”or “ON ”
position. . Power and sound controls: refer to
page 5-8. Radio operation: refer to page 5-12
. Satellite radio operation (if equipped):
refer to page 5-17. CD (compact disc) player operation:
refer to page 5-23. Auxiliary input jack: refer to page 5-34
. USB storage device/iPod
®operation:
refer to page 5-37. Hands-free system: refer to page 5-46 Audio
5-7
Page 217 of 458

5-30Audio
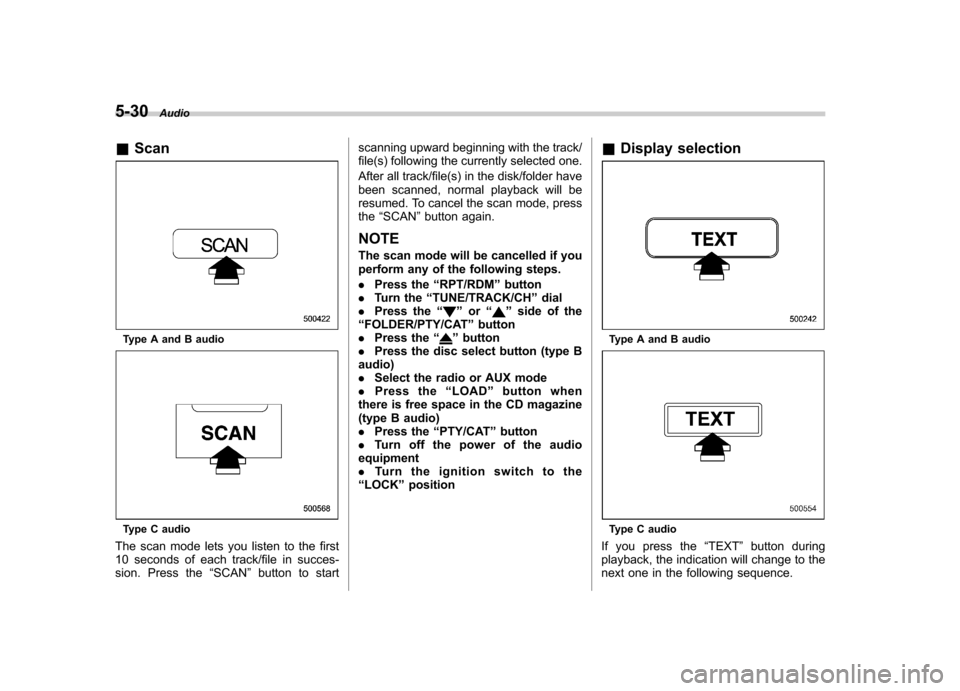
& Scan
Type A and B audio
Type C audio
The scan mode lets you listen to the first
10 seconds of each track/file in succes-
sion. Press the “SCAN ”button to start scanning upward beginning with the track/
file(s) following the currently selected one.
After all track/file(s) in the disk/folder have
been scanned, normal playback will be
resumed. To cancel the scan mode, pressthe
“SCAN ”button again.
NOTE
The scan mode will be cancelled if you
perform any of the following steps. . Press the “RPT/RDM ”button
. Turn the “TUNE/TRACK/CH ”dial
. Press the “
”or “”side of the
“ FOLDER/PTY/CAT ”button
. Press the “
”button
. Press the disc select button (type B
audio) . Select the radio or AUX mode
. Press the “LOAD ”button when
there is free space in the CD magazine
(type B audio). Press the “PTY/CAT ”button
. Turn off the power of the audio
equipment. Turn the ignition switch to the
“ LOCK ”position &
Display selectionType A and B audio
Type C audio
If you press the “TEXT ”button during
playback, the indication will change to the
next one in the following sequence.
Page 219 of 458

5-32Audio
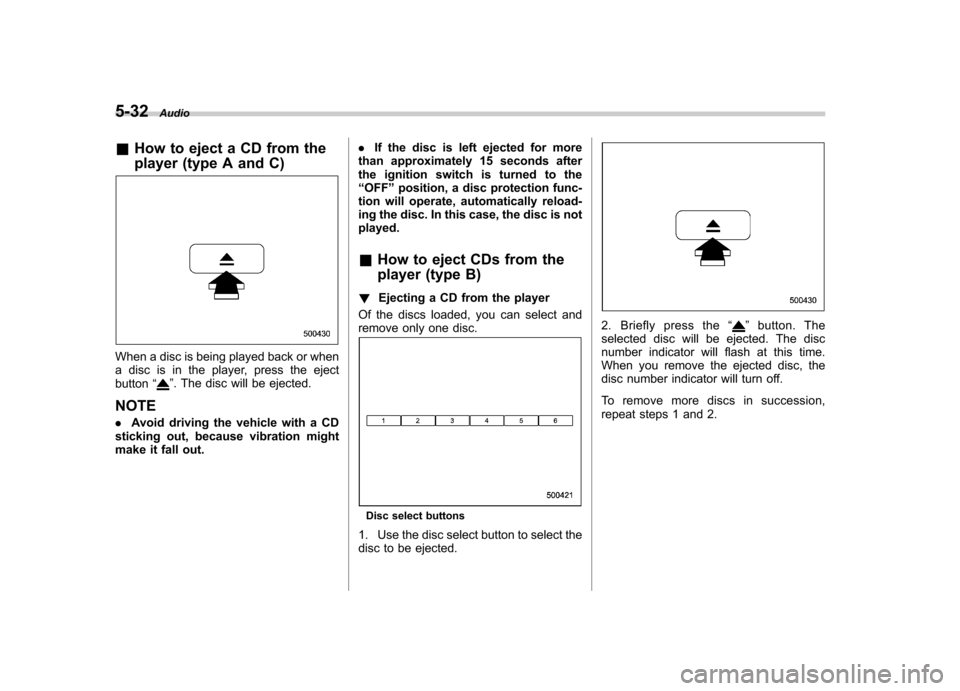
& How to eject a CD from the
player (type A and C)
When a disc is being played back or when
a disc is in the player, press the ejectbutton “
”. The disc will be ejected.
NOTE . Avoid driving the vehicle with a CD
sticking out, because vibration might
make it fall out. .
If the disc is left ejected for more
than approximately 15 seconds after
the ignition switch is turned to the“ OFF ”position, a disc protection func-
tion will operate, automatically reload-
ing the disc. In this case, the disc is notplayed.
& How to eject CDs from the
player (type B)
! Ejecting a CD from the player
Of the discs loaded, you can select and
remove only one disc.
Disc select buttons
1. Use the disc select button to select the
disc to be ejected.
2. Briefly press the “”button. The
selected disc will be ejected. The disc
number indicator will flash at this time.
When you remove the ejected disc, the
disc number indicator will turn off.
To remove more discs in succession,
repeat steps 1 and 2.
Page 225 of 458

5-38Audio
&Connectable iPod®models
Model Firmware version
iPod
®
5G 1.3
5.5G 1.3
classic 1G 2.0.4
classic 2G 2.0.4
nano 2G 1.1.3
nano 3G 1.1.3
nano 4G 1.0.4
nano 5G 1.0.2
touch 1G 3.1.2
touch 2G 3.1.2
iPhone
®1G (GSM) 3.1.2
3G 3.1.2
3G S 3.1.2
CAUTION
Do not connect an iPod
®other than
the previously stated models. Doing
so may result in a malfunction or,
depending on conditions, cause a fire. NOTE .
iPod
®is a registered trademark of
Apple Inc. . You are only permitted to personally
copy and play copyright-free material
or material that is legally permitted to
be copied and played by using aniPod
®and iTunes. Copyright infringe-
ment is prohibited by law.. To check the firmware version of an
iPod
®, connect it to a computer and
check the device manager. For further
information, see the User ’s Guide that
comes with the iPod
®
. To update the firmware version of an
iPod®, visit the Apple Inc. website.
. Depending on the model and firm-
ware version of an iPod
®, it may not
work properly or not operate at all. & Connecting USB storage de-
vice / iPod
®
CAUTION
. If the data stored in an iPod
®is
deleted while it is connected to
the in-vehicle system, the data
cannot be recovered.
. Do not store an iPod
®in the
vehicle. If an iPod®is left in the
vehicle for a long period of time, it may be deformed, discolored
or damaged by high temperature.
NOTE . Even if a USB storage device or
iPod
®is connected, it cannot be played
unless the “CD/AUX ”button is
pressed. . A movie cannot be played while an
iPod
®is connected.
. While an iPod®is connected, the
iPod®cannot be operated using the
click wheel on the iPod®. However,
touch panel equipped models can beoperated.. When using an iPod
®by connecting
it to in-vehicle equipment, the order of
the list items displayed on the in-
vehicle equipment may be different
from that on the iPod
®. However, this
does not indicate a malfunction. . An iPod
®battery that is connected
to in-vehicle equipment will be charged
when the ignition switch is in the “ON ”
or “Acc ”position. However, activation
of the iPod
®may be delayed if the
battery charge of the iPod®is low.
. If an iPod®does not activate after
operation, disconnect the connection
cable from the iPod
®and reset it. For
the resetting procedure, see the User ’s
Guide that comes with the iPod
®.