Page 91 of 124
NAV (navigation system)
90The following settings are possible in the navigation setup menu:Main navigation menuEnter a destination
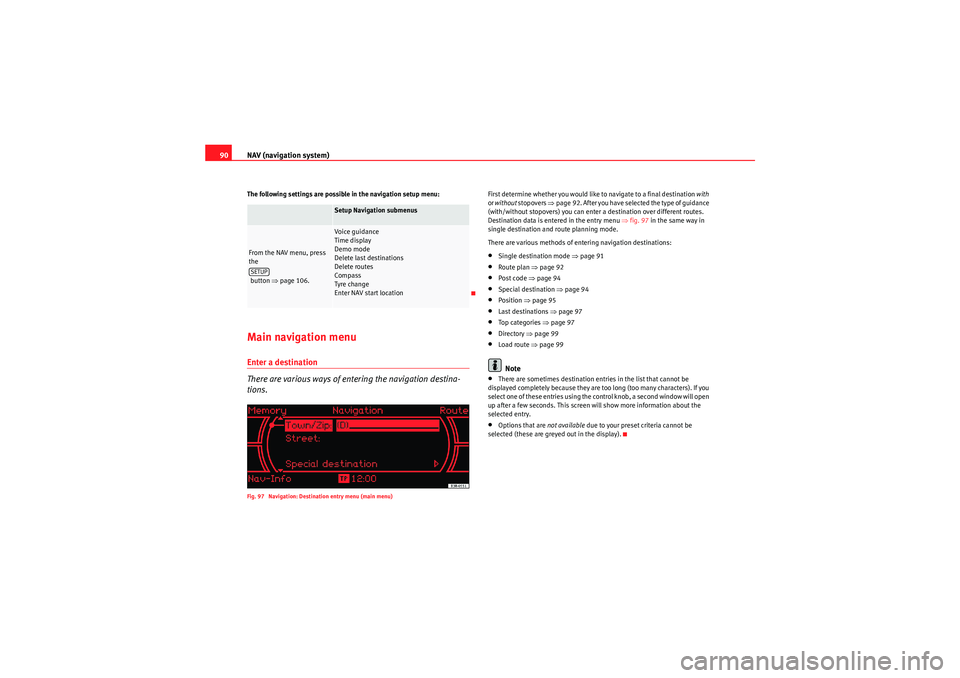
There are various ways of entering the navigation destina-
tions.Fig. 97 Navigation: Destination entry menu (main menu)
First determine whether you would like to navigate to a final destination with
or without stopovers ⇒page 92. After you have selected the type of guidance
(with/without stopovers) you can enter a destination over different routes.
Destination data is entered in the entry menu ⇒fig. 97 in the same way in
single destination and route planning mode.
There are various methods of entering navigation destinations:•Single destination mode ⇒ page 91•Route plan ⇒page 92•Post code ⇒page 94•Special destination ⇒page 94•Position ⇒page 95•Last destinations ⇒page 97•To p ca tego ri es ⇒ page 97•Directory ⇒page 99•Load route ⇒ page 99Note
•There are sometimes destination entries in the list that cannot be
displayed completely because they are too long (too many characters). If you
select one of these entries using the control knob, a second window will open
up after a few seconds. This screen will show more information about the
selected entry.•Options that are not available due to your preset criteria cannot be
selected (these are greyed out in the display).
Setup Navigation submenus
From the NAV menu, press
the
button ⇒page 106.
Voice guidance
Time display
Demo mode
Delete last destinations
Delete routes
Compass
Tyre change
Enter NAV start location
SETUP
Media System 1.0_EN.book Seite 90 Donnerstag, 10. September 2009 1:52 13
Page 94 of 124
NAV (navigation system)93
Operating
RADIO, CD/MP3
TEL (telephone)
NAV, INFO
SETUP
– Press the control button Start ⇒ page 92, fig. 99 to begin the
route guidance.A soon as a number appears on the right in the entry field (e.g. 23
⇒ page 91, fig. 98) you can select the option List in the speller to select a
town from the list. The number indicates how many towns are included in
the list.
The navigation system also remembers your last destinations and displays
possible matches in the speller entry space. You can also select one of these
destinations by pressing and holding the rotary pushbutton to copy the desti-
nation into the destination input menu ⇒ page 90, fig. 97.
You can switch from the speller for letters to the speller for numbers to be able
to enter special characters (e.g. dash, apostrophe or full stop) for a town
name or to enter a post code for a town ⇒page 94.
Follow the directions shown in the dash panel display ⇒page 88 and the
spoken cues ⇒page 87.
Selecting “City Centre”
The navigation system considers the centre of the location indicated as the
final destination.
Selecting “Street”
You can specify the destination more precisely by entering a street name.
After entering a street name, you can also define your destination more
specifically by entering an Intersection or House No (number).
Selecting “Special destination in town”
You can select a special destination in the specified city. For example, you can
navigate directly to tourist attractions or public facilities (e.g. hospital,
cinema, recreation areas). If you would like to find a particular special destination independently of the
city, select
Special destination ⇒ page 94 in the destination entry menu after
selecting the country.
Note
•Once you have entered a city in the keyboard, you can confirm the entry
by pressing and holding down the control knob. When you have entered the
first few letters of a place name and can already see the place you wish to
select listed in the speller display, you can press the rotary pushbutton (long
press) to switch to the list of places.•Once the destinations have been entered, they can be stored in the direc-
tory ⇒ page 100 from where they can be loaded (using the “Load route”
⇒ page 99 function) for reuse as a navigation destination.•Route options can be changed at any time during the route guidance; the
system will then recalculate the route accordingly ⇒page 95.
A1
A1
Media System 1.0_EN.book Seite 93 Donnerstag, 10. September 2009 1:52 13
Page 100 of 124
NAV (navigation system)99
Operating
RADIO, CD/MP3
TEL (telephone)
NAV, INFO
SETUP
– Select Find entry
14) to file the destination under an existing
directory card.
– Select Display as top destination ⇒ page 98, fig. 108 and press
the control knob. A filled tick box next to this menu option indi-
cates that is activated ⇒ page 20.
– Select Store entry.
Use the option Store in directory to assign an entry in your directory to a
destination ⇒page 91.
Addresses that have been marked as top destinations will be listed in the
destination entry menu and can be selected directly from there ⇒page 96.
If you store a navigation destination in a directory entry that already has an
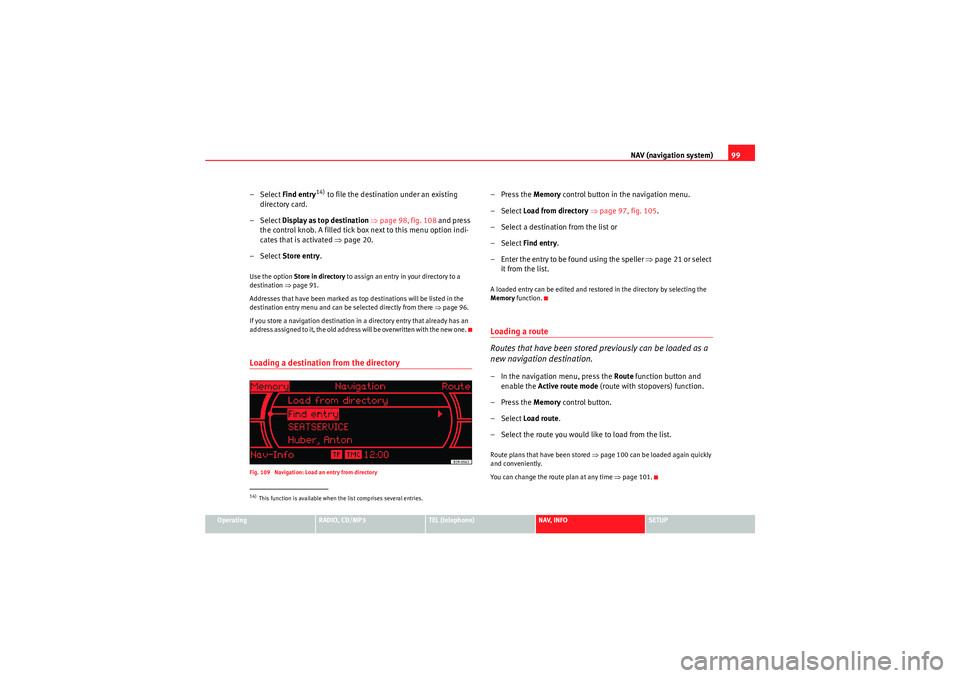
address assigned to it, the old address will be overwritten with the new one.Loading a destination from the directoryFig. 109 Navigation: Load an entry from directory
–Press the Memory control button in the navigation menu.
– Select Load from directory ⇒ page 97, fig. 105 .
– Select a destination from the list or
– Select Find entry.
– Enter the entry to be found using the speller ⇒page 21 or select
it from the list.A loaded entry can be edited and restored in the directory by selecting the
Memory function.Loading a route
Routes that have been stored previously can be loaded as a
new navigation destination.– In the navigation menu, press the Route function button and
enable the Active route mode (route with stopovers) function.
–Press the Memory control button.
– Select Load route .
– Select the route you would like to load from the list.Route plans that have been stored ⇒page 100 can be loaded again quickly
and conveniently.
You can change the route plan at any time ⇒page 101.
14)This function is available when the list comprises several entries.
Media System 1.0_EN.book Seite 99 Donnerstag, 10. September 2009 1:52 13
Page 101 of 124
NAV (navigation system)
100Storing a route
Calculated routes can be stored and subsequently loaded as
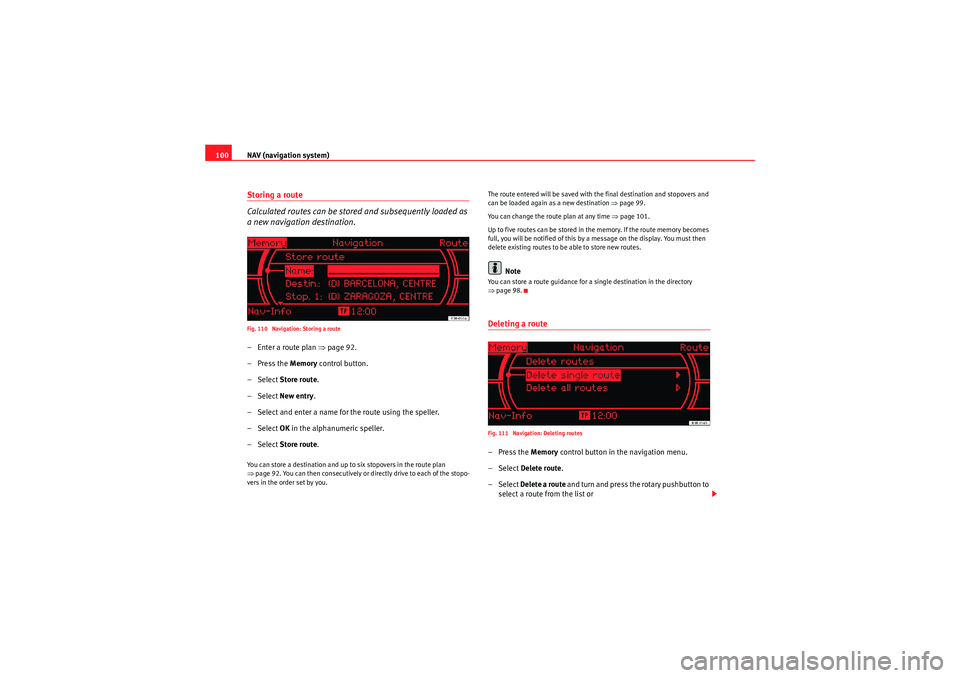
a new navigation destination.Fig. 110 Navigation: Storing a route– Enter a route plan ⇒page 92.
–Press the Memory control button.
– Select Store route .
– Select New entry .
– Select and enter a name for the route using the speller.
– Select OK in the alphanumeric speller.
– Select Store route .You can store a destination and up to six stopovers in the route plan
⇒page 92. You can then consecutively or directly drive to each of the stopo-
vers in the order set by you. The route entered will be saved with the final destination and stopovers and
can be loaded again as a new destination
⇒page 99.
You can change the route plan at any time ⇒ page 101.
Up to five routes can be stored in the memory. If the route memory becomes
full, you will be notified of this by a message on the display. You must then
delete existing routes to be able to store new routes.
Note
You can store a route guidance for a single destination in the directory
⇒ page 98.Deleting a routeFig. 111 Navigation: Deleting routes–Press the Memory control button in the navigation menu.
– Select Delete route .
– Select Delete a route and turn and press the rotary pushbutton to
select a route from the list or
Media System 1.0_EN.book Seite 100 Donnerstag, 10. September 2009 1:52 13
Page 107 of 124
NAV (navigation system)
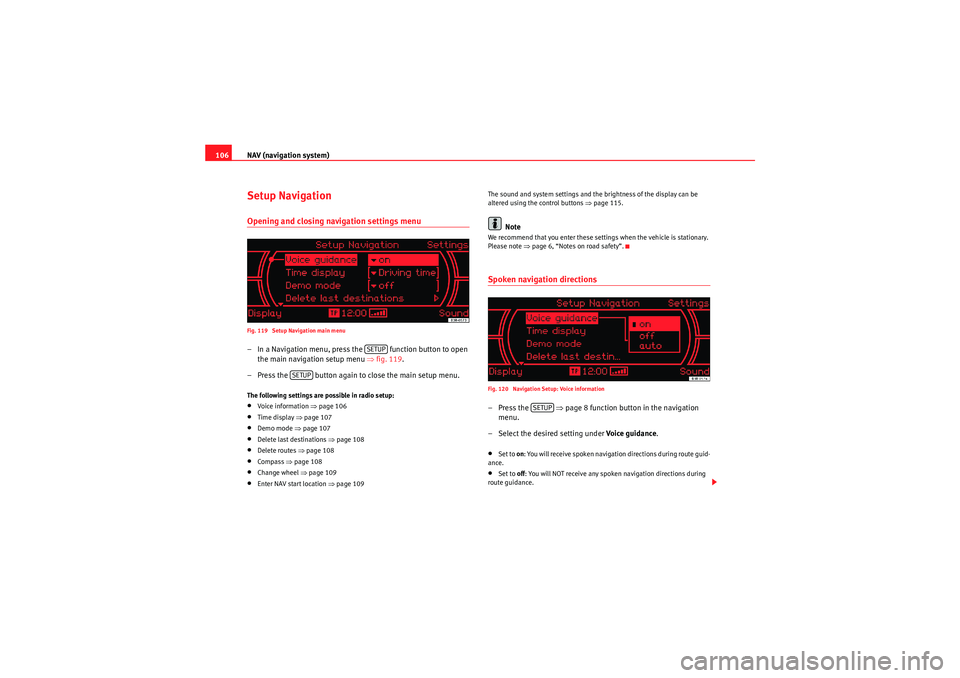
106Setup NavigationOpening and closing navigation settings menuFig. 119 Setup Navigation main menu– In a Navigation menu, press the function button to open
the main navigation setup menu ⇒fig. 119 .
– Press the button again to close the main setup menu.The following settings are possible in radio setup:•Voice information ⇒ page 106•Time display ⇒page 107•Demo mode ⇒ page 107•Delete last destinations ⇒page 108•Delete routes ⇒page 108•Compass ⇒page 108•Change wheel ⇒ page 109•Enter NAV start location ⇒ page 109 The sound and system settings and the brightness of the display can be
altered using the control buttons ⇒
page 115.
Note
We recommend that you enter these settings when the vehicle is stationary.
Please note ⇒page 6, “Notes on road safety”.Spoken navigation directionsFig. 120 Navigation Setup: Voice information–Press the ⇒page 8 function button in the navigation
menu.
– Select the desired setting under Voice guidance.•Set to on: You will receive spoken navigation directions during route guid-
ance.•Set to off: You will NOT receive any spoken navigation directions during
route guidance.
SETUP
SETUP
SETUP
Media System 1.0_EN.book Seite 106 Donnerstag, 10. September 2009 1:52 13