Page 89 of 236

4
VISIBILITY
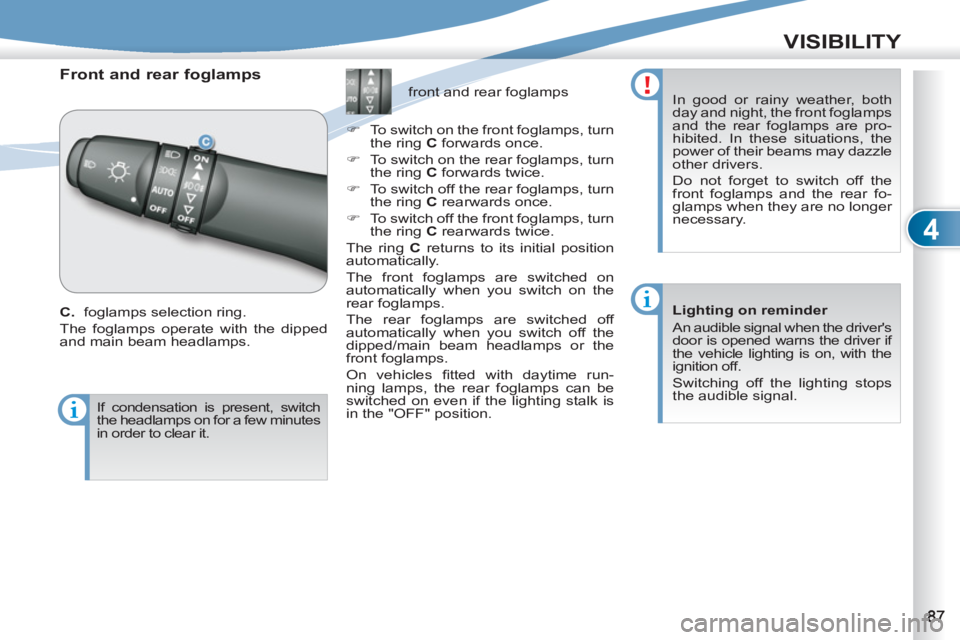
Front and rear foglamps
C.
foglamps selection ring.
The foglamps operate with the dipped
and main beam headlamps.
front and rear foglamps
�)
To switch on the front foglamps, turn
the ring C
forwards once.
�)
To switch on the rear foglamps, turn
the ring C
forwards twice.
�)
To switch off the rear foglamps, turn
the ring C
rearwards once.
�)
To switch off the front foglamps, turn
the ring C
rearwards twice.
The ring C
returns to its initial position
automatically.
The front foglamps are switched on
automatically when you switch on the
rear foglamps.
The rear foglamps are switched off
automatically when you switch off the
dipped/main beam headlamps or the
front foglamps.
On vehicles fi tted with daytime run-
ning lamps, the rear foglamps can be
switched on even if the lighting stalk is
in the "OFF" position.
In good or rainy weather, both
day and night, the front foglamps
and the rear foglamps are pro-
hibited. In these situations, the
power of their beams may dazzle
other drivers.
Do not forget to switch off the
front foglamps and the rear fo-
glamps when they are no longer
necessary.
Lighting on reminder
An audible signal when the driver's
door is opened warns the driver if
the vehicle lighting is on, with the
ignition off.
Switching off the lighting stops
the audible signal.
If condensation is present, switch
the headlamps on for a few minutes
in order to clear it.
Page 90 of 236

4
VISIBILITY
In foggy weather or in snow, the
sunshine sensor may detect suf-
fi cient light. The lighting will not
come on automatically.
Do not cover the sunshine sen-
sor, the associated functions will
no longer be controlled.
Daytime running lamps *
On vehicles which are equipped with daytime
running lamps, the dipped beam headlamps
come on when the vehicle is started.
*
According to country.
Automatic switching off
When the lights stalk is at "dipped head-lamps or main beam headlamps", if the
ignition switch is at "LOCK" or "ACC" or
if the key has been removed from the
ignition switch, the lights switch off au-
tomatically when the driver's door is
opened
.
Automatic illumination of headlamps
The sidelamps and the dipped beam
headlamps come on automatically, with-
out any action on the part of the driver,
if a low level of exterior light is detected
or if the wipers are switched on.
When the light returns to a suffi cient
level or the wipers are switched off, the
lighting is switched off automatically.
The sensor is located at the base of the
windscreen.
Contact a PEUGEOT dealer or a quali-
fi ed workshop to adjust the sensitivity
of the sensor.
The sensitivity of the automatic
illumination of headlamps can be
confi gured via the colour screen
"Equipment" menu. This warning lamp comes on
in the instrument panel.
The instruments and controls (instrument
panel, multifunction screen, air condition-
ing control panel, ...) are illuminated.
Page 91 of 236

4
VISIBILITY
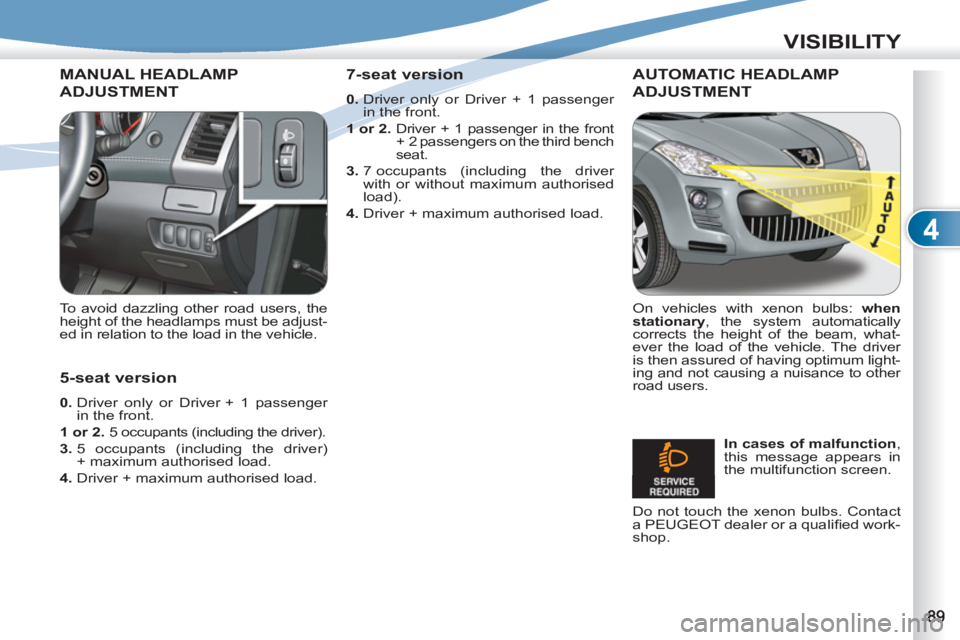
MANUAL HEADLAMP
ADJUSTMENT
To avoid dazzling other road users, the
height of the headlamps must be adjust-
ed in relation to the load in the vehicle.
AUTOMATIC HEADLAMP
ADJUSTMENT
On vehicles with xenon bulbs: when
stationary
, the system automatically
corrects the height of the beam, what-
ever the load of the vehicle. The driver
is then assured of having optimum light-
ing and not causing a nuisance to other
road users.
In cases of malfunction
,
this message appears in
the multifunction screen.
7-seat version
0.
Driver only or Driver + 1 passenger
in the front.
1 or 2.
Driver + 1 passenger in the front
+ 2 passengers on the third bench
seat.
3.
7 occupants (including the driver
with or without maximum authorised
load).
4.
Driver + maximum authorised load.
5-seat version
0.
Driver only or Driver + 1 passenger
in the front.
1 or 2.
5 occupants (including the driver).
3.
5 occupants (including the driver)
+ maximum authorised load.
4.
Driver + maximum authorised load.
Do not touch the xenon bulbs. Contact
a PEUGEOT dealer or a qualifi ed work-
shop.
Page 92 of 236

4
VISIBILITY
WIPER CONTROLCONTROLS
Manual controls
The wiper commands are issued directly
by the driver by means of the stalk A
and
the ring B
.
single wipe.
Windscreen wipers
A.
wiping speed selection stalk:
park.
intermittent (the speed can be
set manually),
slow.
fast.
B.
intermittent operation or rain sensor
sensitivity adjustment ring.
You can increase or decrease:
●
the wiping frequency when the in-
termittent mode is active,
●
the sensitivity of the rain sensor
when the automatic mode is active.
- "+": high sensitivity.
- "-": low sensitivity.
Windscreen wash
Pull the wiper stalk towards you. The
windscreen wash then the wipers oper-
ate for a set time.
The headlamp wash is also activated if
the dipped
beam
headlamps are on
.
Headlamp wash
Press the end of the lighting stalk to
activate the headlamp wash, when the
dipped beam headlamps are on.
Certain windscreen wiper func-
tions (intermittent operation, ...)
can be confi gured via the colour
screen "Equipment" menu.
Model with AUTO wiping
Model with intermittent wiping
Programming
An automatic control mode is also avail-
able, the automatic rain sensitive wind-
screen wipers.
automatic rain sensitive wipers
(the speed can be set manually).
or
Page 129 of 236
8
CHECKS
PETROL ENGINE
1.
Screenwash and headlamp wash
reservoir.
2.
Coolant reservoir.
3.
Power steering fl uid reservoir.
4.
Brake fl uid reservoir.
5.
Fusebox.
6.
Battery.
7.
CVT gearbox dipstick.
8.
Radiator cap.
9.
Engine oil dipstick.
10.
Engine oil fi ller cap.
11 .
Air fi lter. Access for checking the levels of the various fl uids and the replacement of certain components.
Page 130 of 236
8
CHECKS
SEL ENGINEDIESEL EN
Access for checking the levels of the various fl uids and the replacement of certain components.
1.
Coolant reservoir.
2.
Power steering fl uid reservoir.
3.
Screenwash and headlamp wash
reservoir.
4.
Brake fl uid reservoir.
5.
Fusebox.
6.
Battery.
7.
Engine oil dipstick.
8.
Engine oil fi ller cap.
9.
Air fi lter.
Page 131 of 236

8
CHECKS
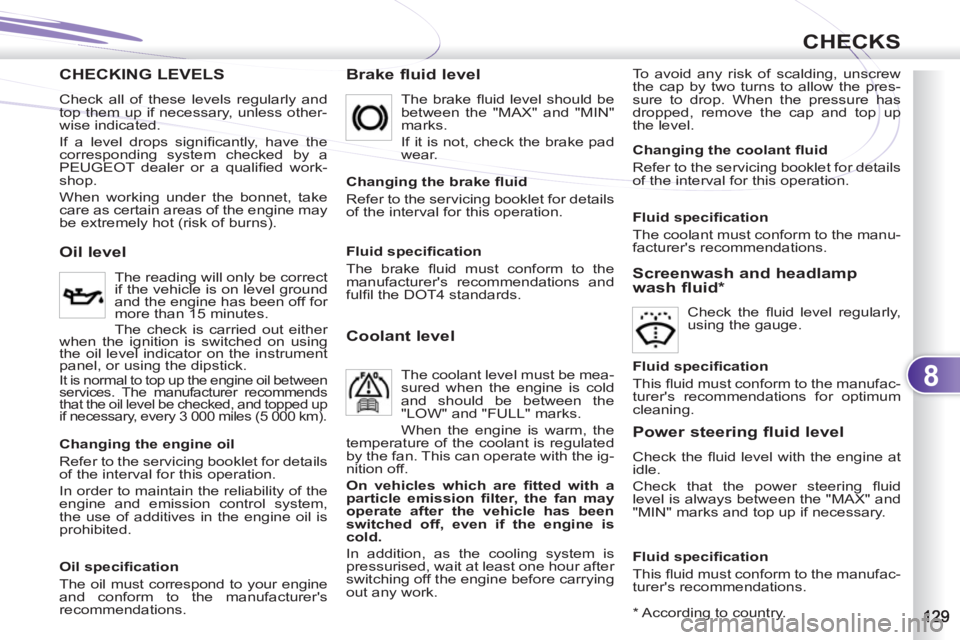
CHECKING LEVELS
Brake fluid level
To avoid any risk of scalding, unscrew
the cap by two turns to allow the pres-
sure to drop. When the pressure has
dropped, remove the cap and top up
the level.
Oil level
The reading will only be correct
if the vehicle is on level ground
and the engine has been off for
more than 15 minutes.
The check is carried out either
when the ignition is switched on using
the oil level indicator on the instrument
panel, or using the dipstick.
It is normal to top up the engine oil between
services. The manufacturer recommends
that the oil level be checked, and topped up
if necessary, every 3 000 miles (5 000 km).
The brake fl uid level should be
between the "MAX" and "MIN"
marks.
If it is not, check the brake pad
wear.
Changing the brake fl uid
Refer to the servicing booklet for details
of the interval for this operation.
Coolant level
The coolant level must be mea-
sured when the engine is cold
and should be between the
"LOW" and "FULL" marks.
When the engine is warm, the
temperature of the coolant is regulated
by the fan. This can operate with the ig-
nition off.
On vehicles which are fi tted with a
particle emission fi lter, the fan may
operate after the vehicle has been
switched off, even if the engine is
cold.
In addition, as the cooling system is
pressurised, wait at least one hour after
switching off the engine before carrying
out any work.
Screenwash and headlamp
wash
fluid*
Check the fl uid level regularly,
using the gauge.
*
According to country.
Changing the engine oil
Refer to the servicing booklet for details
of the interval for this operation.
In order to maintain the reliability of the
engine and emission control system,
the use of additives in the engine oil is
prohibited.
Oil specifi cation
The oil must correspond to your engine
and conform to the manufacturer's
recommendations.
Fluid specifi cation
The brake fl uid must conform to the
manufacturer's recommendations and
fulfi l the DOT4 standards.
Changing the coolant fl uid
Refer to the servicing booklet for details
of the interval for this operation.
Fluid specifi cation
The coolant must conform to the manu-
facturer's recommendations.
Fluid specifi cation
This fl uid must conform to the manufac-
turer's recommendations for optimum
cleaning.
Power steering fluid level
Check the fl uid level with the engine at
idle.
Check that the power steering fl uid
level is always between the "MAX" and
"MIN" marks and top up if necessary.
Fluid specifi cation
This fl uid must conform to the manufac-
turer's recommendations.
Check all of these levels regularly and
top them up if necessary, unless other-
wise indicated.
If a level drops signifi cantly, have the
corresponding system checked by a
PEUGEOT dealer or a qualifi ed work-
shop.
When working under the bonnet, take
care as certain areas of the engine may
be extremely hot (risk of burns).
Page 139 of 236
9
PRACTICAL INFORMATION
CHANGING A BULB CHANG
Handle the bulbs using a dry
cloth.
Do not clean the headlamps
using a dry or abrasive cloth,
or using detergent or solvent
products,
use a sponge and
soapy water. In some weather conditions (e.g.
low temperature or humidity), the
presence of misting on the internal
surface of the glass of the head-
lamps and rear lamps is normal; it
disappears after the lamps have
been on for a few minutes.
Front lamps
1.
Direction indicators
(PY21W - 21 W).
2.
Dipped beam headlamps
(H11 - 55 W)
or xenon bulb (D2S - 35 W).
3.
Sidelamps (W5W - 5 W).
4.
Main beam headlamps
(H7 - 55 W).
5.
Front foglamps
(H11 - 55 W).
WARNING: RISK OF
ELECTROCUTION
Xenon bulbs must be replaced by a
PEUGEOT dealer or a qualifi ed work-
shop.