Page 110 of 424

Features and controls
3-21
3
NOTE�The system will be armed even if the engine hood is open,
but when the system is set, be sure that the engine hood is
locked.
�The system will be disarmed if, while the theft-alarm indi-
cator (located in the front center of the dashboard) is illu-
minated, all doors are unlocked by remote control
transmitter.
�The system will be disarmed if, while the theft-alarm indi-
cator is illuminated, the ignition key is turned to the “ON”
or “ACC”.
�The system will not be armed if a door is not completely
closed. If this happens, rearm the system as described
above.
�The trunk lid can only be opened by remote control trans-
mitter without triggering or disarming the system even
after the system has been armed. When it is closed, the
system will be rearmed.
�The driver should not arm the system until first confirm-
ing that all passengers have left the vehicle. If the driver
arms the system with passenger(s) in the vehicle, the
alarm may be activated when the passenger(s) open the
door.Alarm stage
N00510400116
The alarm will be activated if any of the following occur while
the vehicle is parked and the system is armed.
1. One of the doors or the trunk is opened without the remote
control transmitter.
2. The engine hood is opened from the outside.
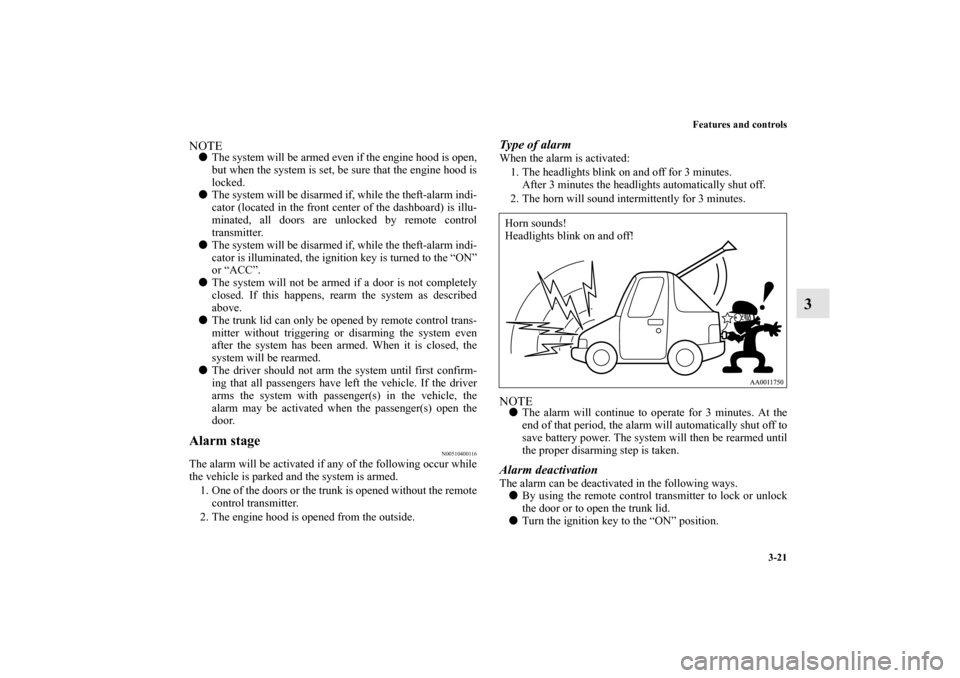
Type of alarmWhen the alarm is activated:
1. The headlights blink on and off for 3 minutes.
After 3 minutes the headlights automatically shut off.
2. The horn will sound intermittently for 3 minutes.NOTE�The alarm will continue to operate for 3 minutes. At the
end of that period, the alarm will automatically shut off to
save battery power. The system will then be rearmed until
the proper disarming step is taken.Alarm deactivationThe alarm can be deactivated in the following ways.
�By using the remote control transmitter to lock or unlock
the door or to open the trunk lid.
�Turn the ignition key to the “ON” position.Horn sounds!
Headlights blink on and off!
BK0121200US.book 21 ページ 2010年4月14日 水曜日 午前11時24分
Page 111 of 424

3-22 Features and controls
3
Disarmed stage
N00510500074
The system will be disarmed when either of the following steps
are taken:
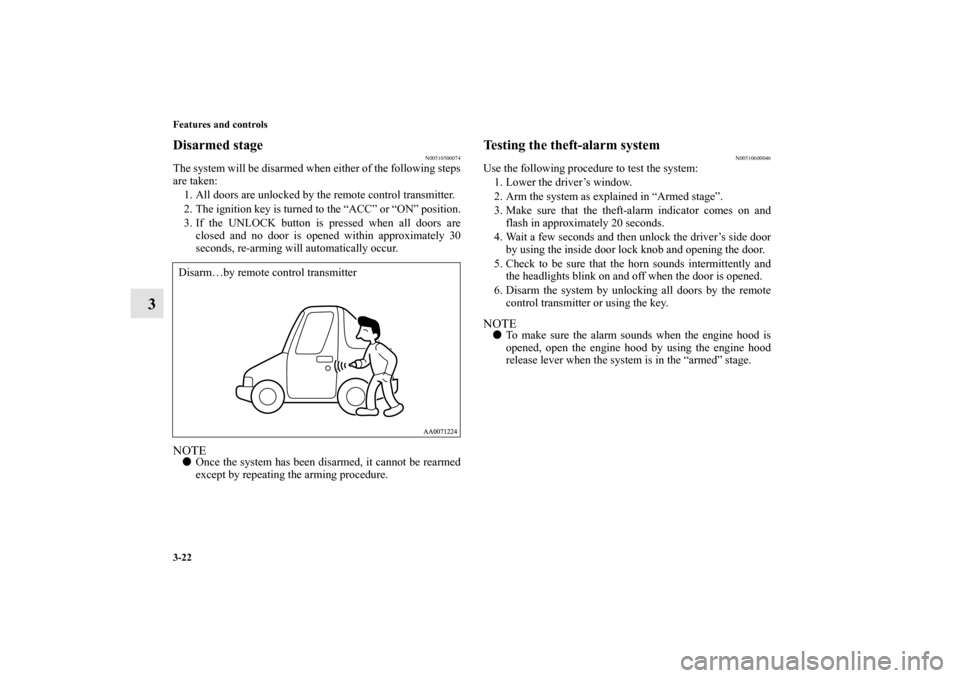
1. All doors are unlocked by the remote control transmitter.
2. The ignition key is turned to the “ACC” or “ON” position.
3. If the UNLOCK button is pressed when all doors are
closed and no door is opened within approximately 30
seconds, re-arming will automatically occur.NOTE�Once the system has been disarmed, it cannot be rearmed
except by repeating the arming procedure.
Testing the theft-alarm system
N00510600046
Use the following procedure to test the system:
1. Lower the driver’s window.
2. Arm the system as explained in “Armed stage”.
3. Make sure that the theft-alarm indicator comes on and
flash in approximately 20 seconds.
4. Wait a few seconds and then unlock the driver’s side door
by using the inside door lock knob and opening the door.
5. Check to be sure that the horn sounds intermittently and
the headlights blink on and off when the door is opened.
6. Disarm the system by unlocking all doors by the remote
control transmitter or using the key.NOTE�To make sure the alarm sounds when the engine hood is
opened, open the engine hood by using the engine hood
release lever when the system is in the “armed” stage.
Disarm…by remote control transmitterBK0121200US.book 22 ページ 2010年4月14日 水曜日 午前11時24分
Page 117 of 424
3-28 Features and controls
3
�Do not put any wax on the weatherstrip (black rubber)
around the sunroof opening. If it is waxed, the
weatherstrip cannot maintain a weatherproof seal with the
sunroof.
�After washing the vehicle or after rain be sure to wipe off
any water that is on the sunroof before operating it.
�Operating the sunroof repeatedly with the engine turned
off will run down the battery. Operate the sunroof only
while the engine is running.
Parking brake
N00511400139
To park the vehicle, first bring it to a complete stop, fully
engage the parking brake, and then set the selector lever to “P”
(PARK) position.To apply 1- Pull the lever up without pushing the button at the end of
hand grip.
When the parking brake is set and the ignition key is in the
“ON” position, the brake warning light in the instrument
cluster will come on.
Before driving, be sure to release the parking brake.
BK0121200US.book 28 ページ 2010年4月14日 水曜日 午前11時24分
Page 118 of 424
Features and controls
3-29
3
To release When parking on a hill, apply the parking brake and turn the
front wheels toward the curb on a downhill grade, away from
the curb on an uphill grade.
Steering wheel tilt lock lever
N00511500156
To adjust the steering wheel height, release the tilt lock lever
while holding the steering wheel by hand, and raise or lower
the steering wheel to the desired height.
After adjustment, securely lock the lever by pulling it upward.
1- Pull the lever up slightly.
2- Press and hold the button at the end of the hand grip.
3- Push the lever downward.
CAUTION
!�Before driving, be sure that the parking brake is
fully released and brake warning light is off.
If a vehicle is driven without releasing the parking
brake, the brakes will be overheated, resulting in
ineffective braking and possible brake failure.
1- Locked
2- Released
BK0121200US.book 29 ページ 2010年4月14日 水曜日 午前11時24分
Page 120 of 424
Features and controls
3-31
3
Adjust the inside mirror to maximize the view through the rear
window.To adjust the vertical mirror positionIt is possible to move the mirror up and down to adjust its posi-
tion.
To reduce the glareType 1The day/night knob (A) at the bottom of the mirror can be used
to adjust the mirror to reduce the glare from the headlights of
vehicles behind you during night driving.1- Daytime position
2- Night position
BK0121200US.book 31 ページ 2010年4月14日 水曜日 午前11時24分
Page 121 of 424

3-32 Features and controls
3
Type 2When the headlights of the vehicles behind you are very bright,
the reflection factor of the rearview mirror is automatically
changed to reduce the glare.
Normally, use the automatic mode. When the switch (1) is
pressed, the indicator (2) illuminates and the reflection factor
of the mirror is automatically changed.
When the switch (4) is pressed, the reflection factor of the mir-
ror will not change.NOTE�Do not hang items on, or spray glass cleaner on the sensor
(3), as reduced sensitivity could result.
�For HomeLink® Wireless Control System, please refer to
“HomeLink® Wireless Control System” on page 3-124.
Outside rearview mirrors
N00512200189
Adjust the outside rearview mirrors only after making any seat
adjustments so you have a clear view to the rear of the vehicle.
WA R N I N G
!�Do not attempt to adjust the outside rearview mir-
rors while driving. This can be dangerous.
Be sure to adjust the mirrors before driving.�Your passenger’s side mirror is convex. The objects
you see in the mirror will look smaller and farther
away than they appear in a regular flat mirror.
Do not use this mirror to estimate the distance of
vehicles following you when changing lanes.
BK0121200US.book 32 ページ 2010年4月14日 水曜日 午前11時24分
Page 122 of 424
Features and controls
3-33
3
To adjust the mirror positionThe outside rearview mirrors can be adjusted when the ignition
key is in the “ON” or “ACC” position.
Move the lever (A) to the same side as the mirror you wish to
adjust.
Press the switch (B) to adjust the mirror position. NOTE�After adjusting, return the lever to the “•” (off) position.
Heated mirror
(if so equipped)
N00549300133
When the rear window defogger switch is pressed, the outside
rearview mirrors are defogged or defrosted. Current will flow
through the heater element inside the mirrors, thus clearing
away frost or condensation.
The indicator light (C) will illuminate while the defogger is on.
The heater will be turned off automatically in about 17 min-
utes.
L- Left outside mirror adjustment
R- Right outside mirror adjustment
1- Up
2- Down
3- Right
4- Left
BK0121200US.book 33 ページ 2010年4月14日 水曜日 午前11時24分
Page 123 of 424

3-34 Features and controls
3Ignition switch
N00512400657
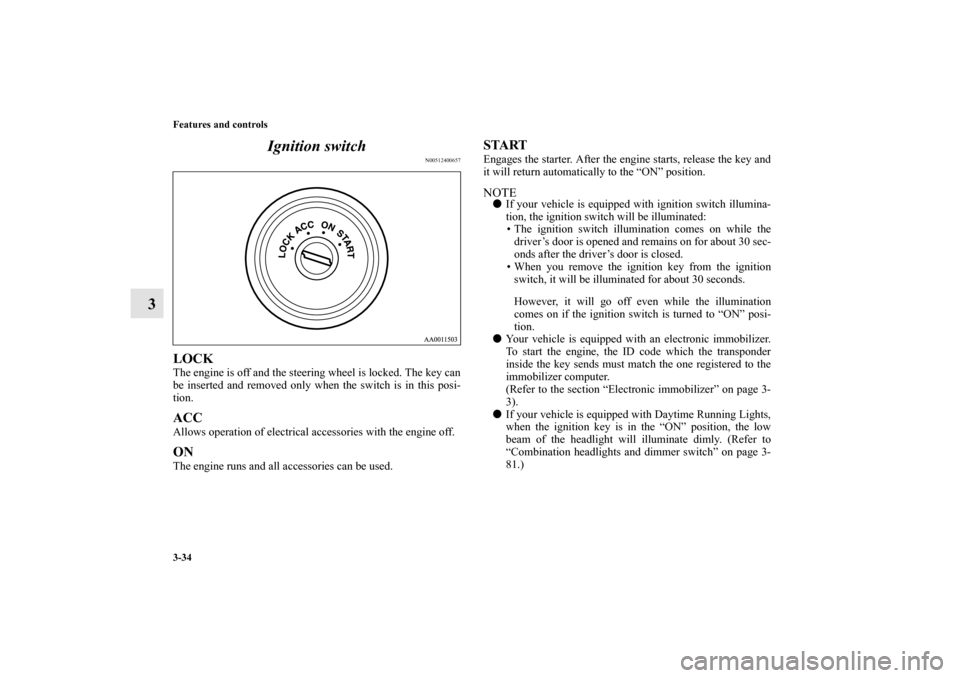
LOCKThe engine is off and the steering wheel is locked. The key can
be inserted and removed only when the switch is in this posi-
tion. ACCAllows operation of electrical accessories with the engine off. ON The engine runs and all accessories can be used.
START Engages the starter. After the engine starts, release the key and
it will return automatically to the “ON” position.NOTE�If your vehicle is equipped with ignition switch illumina-
tion, the ignition switch will be illuminated:
• The ignition switch illumination comes on while the
driver’s door is opened and remains on for about 30 sec-
onds after the driver’s door is closed.
• When you remove the ignition key from the ignition
switch, it will be illuminated for about 30 seconds.
However, it will go off even while the illumination
comes on if the ignition switch is turned to “ON” posi-
tion.
�Your vehicle is equipped with an electronic immobilizer.
To start the engine, the ID code which the transponder
inside the key sends must match the one registered to the
immobilizer computer.
(Refer to the section “Electronic immobilizer” on page 3-
3).
�If your vehicle is equipped with Daytime Running Lights,
when the ignition key is in the “ON” position, the low
beam of the headlight will illuminate dimly. (Refer to
“Combination headlights and dimmer switch” on page 3-
81.)
BK0121200US.book 34 ページ 2010年4月14日 水曜日 午前11時24分