2011 MINI Clubman display
[x] Cancel search: displayPage 113 of 256

Destination entryNAVIGATION
111
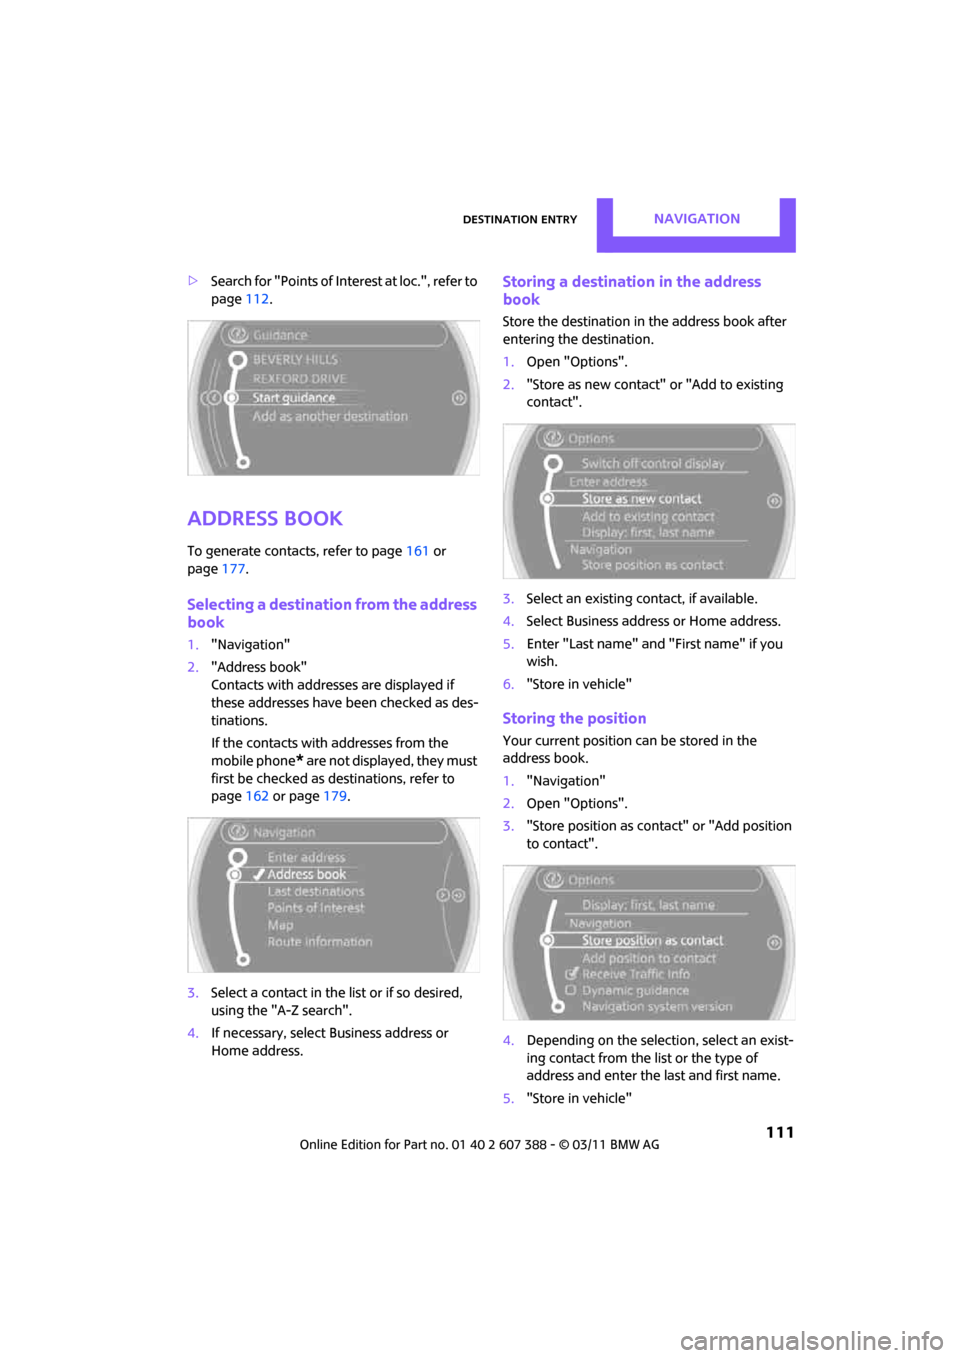
>Search for "Points of Inte rest at loc.", refer to
page 112.
Address book
To generate contacts, refer to page 161 or
page 177.
Selecting a destination from the address
book
1."Navigation"
2. "Address book"
Contacts with addresses are displayed if
these addresses have been checked as des-
tinations.
If the contacts with addresses from the
mobile phone
* are not displayed, they must
first be checked as destinations, refer to
page 162 or page 179.
3. Select a contact in the list or if so desired,
using the "A-Z search".
4. If necessary, select Business address or
Home address.
Storing a destination in the address
book
Store the destination in the address book after
entering the destination.
1. Open "Options".
2. "Store as new contact" or "Add to existing
contact".
3. Select an existing contact, if available.
4. Select Business address or Home address.
5. Enter "Last name" and "First name" if you
wish.
6. "Store in vehicle"
Storing the position
Your current position can be stored in the
address book.
1."Navigation"
2. Open "Options".
3. "Store position as cont act" or "Add position
to contact".
4. Depending on the selection, select an exist-
ing contact from the list or the type of
address and enter the last and first name.
5. "Store in vehicle"
Page 115 of 256

Destination entryNAVIGATION
113
Accessing search for special
destinations
1."Navigation"
2. Select "Points of Interest"
search.
A-Z search
1."A-Z search"
2. "Town/City"
3. "Category"
4. "Category details"
For some special destin ations, it is possible
to select several catego ry details. Move the
MINI joystick to the left to exit category
details.
or
5. "Keyword"
6. Enter keyword.
A list of the special destinations is displayed.
7. Select the special destination.
8. Select the symbol.
9. "Start guidance" or "Add as another destina-
tion".
If several details are stored, then you can
scroll through the pages.
If a phone number is available, a connection
can be established, if desired.
Category search
1."Category search"
2. "Search destination"
3. Select or enter town/city.
4. "Category"
5. Select category.
6. "Category details"
For some special destin ations, it is possible
to select several catego ry details. Move the
MINI joystick to the left to exit category
details. 7.
"Start search"
A list of the special destinations is displayed.
8. Select the special destination.
Details are displayed.
9. Select the symbol.
10. "Start guidance" or "Add as another destina-
tion".
If several details are stored, then you can scroll
through the pages. If a phone number is avail-
able, a connection can be established, if desired.
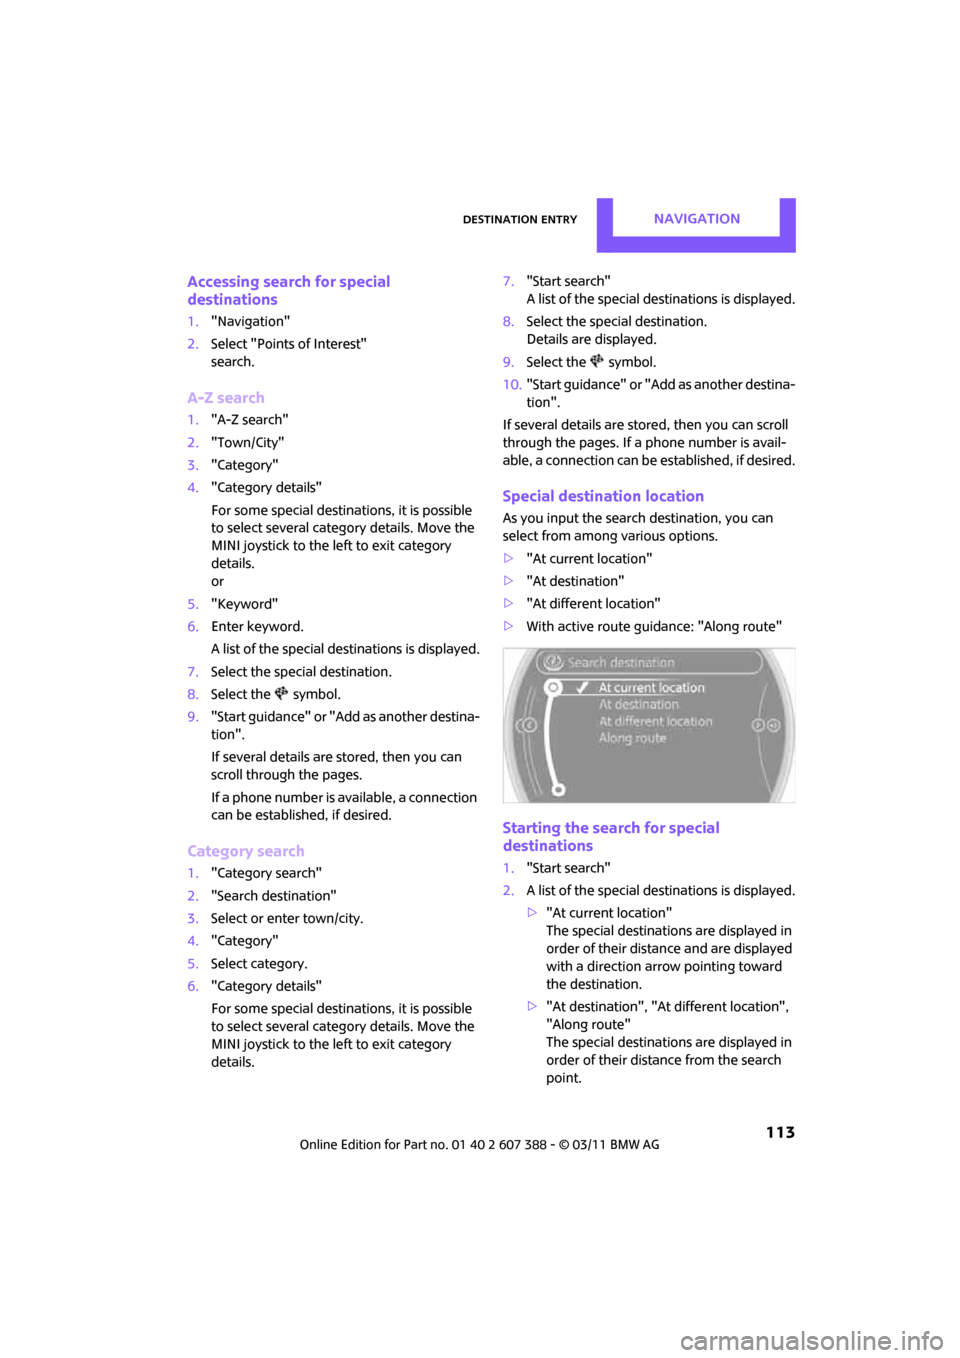
Special destination location
As you input the search destination, you can
select from among various options.
>"At current location"
> "At destination"
> "At different location"
> With active route gu idance: "Along route"
Starting the search for special
destinations
1."Start search"
2. A list of the special destinations is displayed.
>"At current location"
The special destinations are displayed in
order of their distance and are displayed
with a direction arro w pointing toward
the destination.
> "At destination", "At different location",
"Along route"
The special destinations are displayed in
order of their distance from the search
point.
Page 116 of 256

NAVIGATIONDestination entry
114
>Destinations of the selected category are
displayed in the map display as symbols.
The display depends on the map scale
and the category.
3. Highlight special destination.
4. Select the special destination.
5. Select the symbol.
6. "Start guidance" or "Add as another destina-
tion".
Displaying special destinations in the
map
To display symbols of the special destinations in
the map:
1. "Navigation"
2. "Map"
3. Open "Options".
4. "Display Points of Interest"
5. Select the settings.
Entering the destination
via map
If you only know the loca tion of a destination or
street, then you can enter the destination with
the aid of the map.
Selecting the destination
1. "Navigation"
2. "Map"
The map shows the curre nt position of the
vehicle.
3. "Interactive map"
4. Select the destination with the cross-hairs.
>Changing scale: turn the MINI joystick.
> Moving map: move the MINI joystick in
the corresponding direction.
> Shifting map diag onally: move the
MINI joystick in the corresponding direc-
tion and rotate the MINI joystick.
5. Press the MINI joystick to display additional
menu items.
>Select the symbol: "Start guidance" or
"Add as another destination".
> "Find points of interest": the search for
special destinations is started.
Specifying the street
If the system does not detect any street, then a
street name in the vicinity or the coordinates of
the destination are displayed.
Additional functions
In the interactive map, th e scale can be adjusted
and the visible map section can be shifted. You
can also access other func tions by pressing the
MINI joystick:
Page 117 of 256

Destination entryNAVIGATION
115
>Select the symbol and "Start guid-
ance" if necessary.
> "Exit interactive map"
> Map display
> "Display de stination"
The section of the map around the desti-
nation is displayed.
> "Display current location"
The section of the map around the cur-
rent position is displayed.
> "Find points of interest", refer to
page 112.
Entering destination via
voice*
General information
>Voice activation system, refer to page 21.
> When entering a destinat ion by voice, it is
possible to switch between voice input and
the on-board computer
> Having the possible spoken commands read
aloud: {Voice commands }
Saying the entries
>Countries, towns/cities, streets, and inter-
sections can be either spoken aloud as an
entire words or spelle d in the system lan-
guage, refer to page 66.
Example: to enter a destination in a US state
as a complete word, the system language
must be English. >
Spell the entry if the language of the area is
different from the system language.
> Speak the letters smoothly and avoid exces-
sive emphasis and pauses.
Entering a town/city
The town/city can be spelled or entered as an
entire word
*.
The methods of entry depend on the nav-
igation data in use and the country and
language settings. <
2. Wait for the system prompt for the town/
city.
3. Say the name of the town/city or if neces-
sary, spell at least the first three letters.
Similar-sounding town s/cities that cannot
be differentiated by the system are com-
piled in a separate list and displayed as a town/
city followed by three dots.
If necessary, select this entry with {Yes }. Then
select the desired city/town in this list. <
1.{City } or {Spell city }.
4. Select city/town:
>To select a recommended town/city:
{Yes }
> Select other city/town: {New entry }
> To select an entry, e. g. {Entry … }
> To show other entries in the list:
{Next page }
> Spell the entry: {Spell city }
Page 120 of 256

NAVIGATIONRoute guidance
118
Route guidance
Starting route guidance
1."Navigation"
2. "Enter address"
3. Select the destination.
4. "Accept destination"
5. "Start guidance"
> The route is displayed on the on-board com-
puter.
> The distance to the destination/intermedi-
ate destination and the estimated time of
arrival are displayed in the map view.
> The arrow display is displayed on the
on-board computer, if so desired.
Terminating route
guidance
In the arrow or map view
1."Navigation"
2. "Map"
3. Select the symbol.
4. "Stop guidance"
Continuing route
guidance
If the destination was not reached during the
last trip, route guidance can be resumed.
"Resume guidance"
Route criteria
General information
>You can influence the calculated route by
selecting certain criteria.
> Route criteria can be changed during desti-
nation input and during route guidance.
> Street types are part of the navigation data
and are taken into account in route plan-
ning, e.g. avoiding highways.
> The proposed route can differ from personal
experience.
> The settings are stored for the remote con-
trol currently in use.
> Route guidance with traffic information,
refer to page 124.
Changing route criteria
1."Navigation"
2. "Map"
3. "Route preference"
4. Selecting a criterion:
> "Fast route": time-optimized route
through a combination of the least possi-
ble distance and stretches of road that
allow rapid driving.
> "Efficient route": optimized combi-
nation of the fastest and shortest possi-
ble route.
> "Short route": shor t distance without
taking time into account.
> "Alternative routes": suggestions of addi-
tional alternate routes during route guid-
ance.
Page 121 of 256

Route guidanceNAVIGATION
119
5.Select additional route criteria, if desired.
Where possible, the selected criteria will be
avoided on the route.
>"Avoid highways": avoid highways
where possible.
> "Avoid toll roads": avoid toll roads where
possible.
> "Avoid ferries": avoid ferries where possi-
ble.
The setting applies to the current route and to
the planning of future routes.
If the route criteria "Avoid highways",
"Avoid toll roads", or "Avoid ferries" are
selected, then this can prolong the calculation
time for the route. <
Route
There are various views of the route available
during route guidance:
>Arrow display
> List of streets and towns/cities
> Map view, refer to page 120
Arrow display
The following information is displayed during
route guidance:
>Large arrow: current direction of travel.
> Small arrow: indicates the next change of
direction.
> Intersection view.
> Lane information. >
Traffic information.
> Distance to the next change of direction.
> Street name of the next change of direction.
Lane information
In the arrow display, the recommended lanes of
multi-lane roads are each marked with a trian-
gle.
>Filled triangle: optimum lane.
> Empty triangle: likewise possible lane. It can,
however, also be possible to briefly make
additional lane changes.
List of roads or towns/cities on the route
If the route guidance has been started, then you
can display a list of the roads and towns/cities on
the route. The distance to be traveled and traffic
bulletins are displayed for each segment of the
route.
1. "Navigation"
2. "Route information"
3. Highlight a section.
Taking detours
During route guidance, prompt the navigation
system to bypass certain route segments. In
doing so, you will specify how many kilometers
to travel before returning to the original route.
1. "Navigation"
2. "Route information"
Page 122 of 256

NAVIGATIONRoute guidance
120
3."New route for:"
4. Turn the MINI joystick: enter the desired
mileage.
5. Press the MINI joystick.
Resuming the original route
If the route section should no longer be
bypassed:
1."Navigation"
2. "Route information"
3. "New route for:"
4. "Remove blocking"
Recommended refueling
The remaining driving range is calculated, and
gas stations along the route are shown.
1."Navigation"
2. "Route information"
3. "Recommended refuel"
A list of gas stations is displayed.
4. Selecting a gas station.
5. Select the symbol.
6. "Start guidance": the guidance to the
selected gas station is started.
"Add as another destination": the gas sta-
tion is included in the route.
Map display
Displaying map view
1."Navigation"
2. "Map"
Overview
1Toolbar
2 Route segment with traffic obstruction
3 Road sign for traffic obstruction
4 Planned route
5 Current location
6 Upper status box
7 Lower status box
Lines on the map
In the map view, streets and roads are depicted
with different colors and lines according to their
classification. Dotted lines represent railroad
and ferry connections. National borders are
depicted with thin lines.
Traffic obstructions
Small triangles along the planned route identify
route segments with traffic obstructions,
depending on map scale. The direction of the tri-
angles indicates the direction of the obstruction.
Road signs classify the obstructions.
> Red road sign: the obst ruction relates to the
planned route or direction of travel.
Page 123 of 256

Route guidanceNAVIGATION
121
>Gray road sign: the obstruction does not
relate to the planned route or direction of
travel.
Traffic information, refer to page 122.
Planned route
After route guidance is started, the planned
route is displayed on the map.
Status boxes
Show/hide: press the MINI joystick.
>Upper status box: time, phone details, and
entertainment details.
> Lower status box: symbol for active route
guidance, traffic inform ation status, arrival
time, and distance from destination.
Toolbar
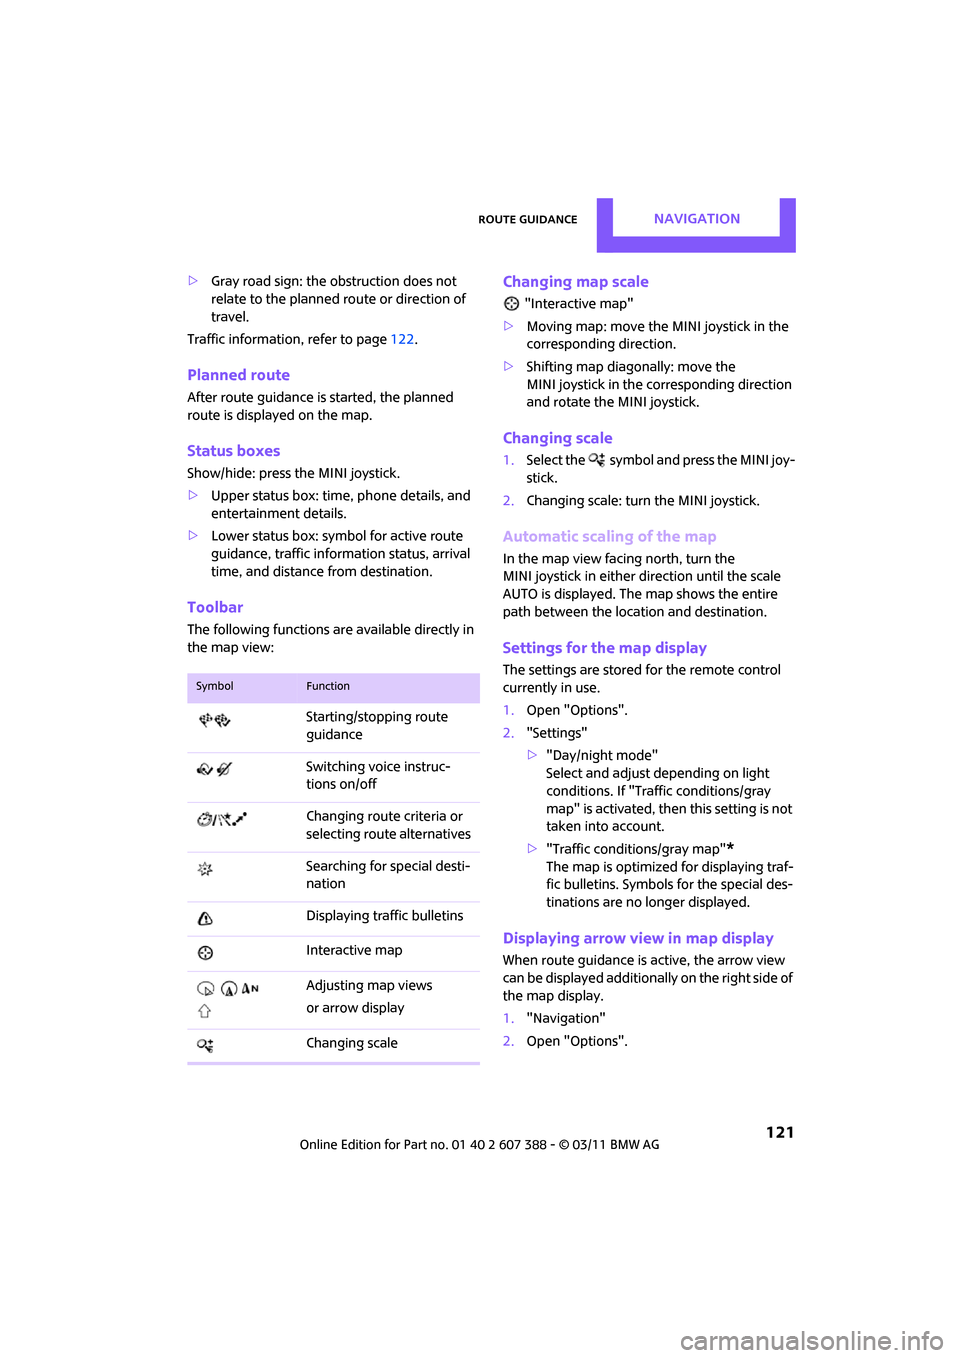
The following functions ar e available directly in
the map view:
Changing map scale
"Interactive map"
> Moving map: move the MINI joystick in the
corresponding direction.
> Shifting map diag onally: move the
MINI joystick in the corresponding direction
and rotate the MINI joystick.
Changing scale
1. Select the symbol and press the MINI joy-
stick.
2. Changing scale: turn the MINI joystick.
Automatic scaling of the map
In the map view facing north, turn the
MINI joystick in either direction until the scale
AUTO is displayed. The map shows the entire
path between the location and destination.
Settings for the map display
The settings are stored for the remote control
currently in use.
1.Open "Options".
2. "Settings"
>"Day/night mode"
Select and adjust depending on light
conditions. If "Traffic conditions/gray
map" is activated, then this setting is not
taken into account.
> "Traffic conditions/gray map"
*
The map is optimized for displaying traf-
fic bulletins. Symbols for the special des-
tinations are no longer displayed.
Displaying arrow view in map display
When route guidance is active, the arrow view
can be displayed additionally on the right side of
the map display.
1. "Navigation"
2. Open "Options".
SymbolFunction
Starting/stopping route
guidance
Switching voice instruc-
tions on/off
Changing route criteria or
selecting rout e alternatives
Searching for special desti-
nation
Displaying traffic bulletins
Interactive map
Adjusting map views
or arrow display
Changing scale