2011 MERCEDES-BENZ SLS steering
[x] Cancel search: steeringPage 248 of 436

The easy-entry/exit feature can be activated
or deactivated in the Convenience submenu
of the control system ( Y page 286).GWarning!
You must make sure no one can become
trapped or injured by the moving steering
wheel when the easy-entry/exit feature is
activated.
To stop steering wheel movement, move
steering wheel adjustment stalk or press one
of the memory position buttons.
Do not leave children unattended in the
vehicle, or with access to an unlocked vehicle.
Children could open the driver’s door and
unintentionally activate the easy-entry/exit
feature, which could result in an accident
and/or serious personal injury.
With the easy-entry/exit feature activated,
the steering wheel will return to its last set
position when
R you close the driver’s door with the ignition
switched on
R when you insert the SmartKey into the
starter switch or press the KEYLESS-GO
start/stop button once with the driver’s
door closed
i The last set steering wheel position is
stored when the ignition is switched off or
the position is stored in memory
( Y page 249).
With the easy-entry/exit feature activated,
the steering wheel tilts upwards when
R you remove the SmartKey from the starter
switch
R when you open the driver’s door with the
KEYLESS-GO start/stop button in position
1 or the SmartKey in starter switch position
0 or 1
i When the current position for the steering
wheel is in the uppermost tilt position, the
steering wheel will no longer be able to
move upward when the easy-entry/exit
feature is activated.
The adjustment procedure is briefly
interrupted when the engine is started.GWarning!
Let the system complete the adjustment
procedure before setting the vehicle in
motion. All steering wheel adjustment must
be completed before setting the vehicle in
motion. Driving off with the steering wheel
still adjusting could cause the driver to lose
control of the vehicle.
Crash-responsive exit aid
When you open the driver’s door after an
accident has occurred, the steering column
moves up. The position of the SmartKey in the
starter switch is insignificant. This function
facilitates exiting as well as rescue of vehicle
occupants.
The crash-responsive exit aid can only be
triggered when the easy-entry/exit feature is
activated via the control system.
Mirrors
Notes
Adjust the interior and exterior rear view
mirrors before driving so that you have a good
view of the road and traffic conditions.
Interior rear view mirror
XAdjust the interior rear view mirror
manually.
Exterior rear view mirrors
GWarning!
Exercise care when using the passenger-side
exterior rear view mirror. The mirror surface
is convex (outwardly curved surface for a
wider field of view). Objects in mirror are
closer than they appear. Check your interior
246MirrorsControls in detail
BA 197 USA, CA Edition A 2011; 1; 27, en-UShereepeVersion: 3.0.3.52010-03-24T15:31:10+01:00 - Seite 246
Page 251 of 436
The exterior rear view mirrors fold out
automatically as soon as the vehicle is
unlocked and the driver’s or passenger door
is subsequently opened.
Memory function
Notes
With the memory function you can store up
to three different configurations per front
seat.
Each memory position button on the driver’s
side can store all of the following settings:
RSeat position and dorsal support
RSteering wheel position
RExterior rear view mirrors’ position
GWarning!
Do not activate the memory function while
driving. Activating the memory function while
driving could cause the driver to lose control
of the vehicle.
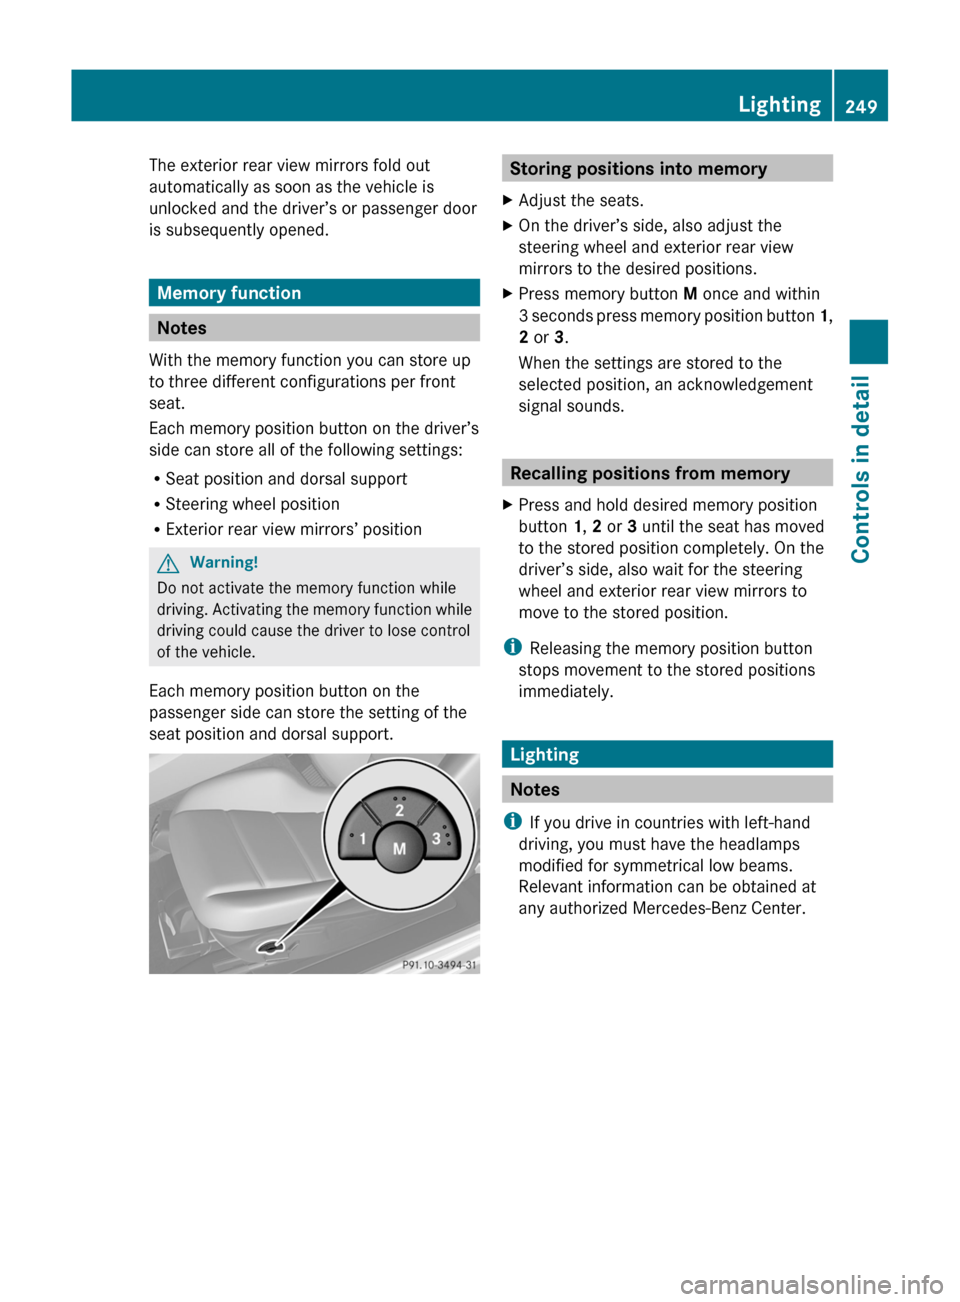
Each memory position button on the
passenger side can store the setting of the
seat position and dorsal support.
Storing positions into memoryXAdjust the seats.XOn the driver’s side, also adjust the
steering wheel and exterior rear view
mirrors to the desired positions.
XPress memory button M once and within
3 seconds press memory position button 1,
2 or 3.
When the settings are stored to the
selected position, an acknowledgement
signal sounds.
Recalling positions from memory
XPress and hold desired memory position
button 1, 2 or 3 until the seat has moved
to the stored position completely. On the
driver’s side, also wait for the steering
wheel and exterior rear view mirrors to
move to the stored position.
iReleasing the memory position button
stops movement to the stored positions
immediately.
Lighting
Notes
iIf you drive in countries with left-hand
driving, you must have the headlamps
modified for symmetrical low beams.
Relevant information can be obtained at
any authorized Mercedes-Benz Center.
Lighting249Controls in detailBA 197 USA, CA Edition A 2011; 1; 27, en-UShereepeVersion: 3.0.3.52010-03-24T15:31:10+01:00 - Seite 249Z
Page 253 of 436
Once the low-beam headlamps are on, the
high-beam headlamps are also available.
Daytime running lamp mode
In Canada, the daytime running lamp mode is
mandatory and therefore in a constant mode.
In the USA, the daytime running lamp mode
is activated by default.
XMake sure the daytime running lamp mode
is activated in the control system, see
“Switching daytime running lamp mode on
or off (USA only)” ( Y page 284).XTurn the exterior lamp switch to position
c .
When the engine is running and the
ambient light is bright, the daytime running
lamps come on.
In low ambient lighting conditions, the
following lamps will come on additionally:
R Low-beam headlamps
R Parking lamps 5
R green indicator lamp L in the
instrument cluster
You can only switch on the high-beam
headlamps when the low-beam headlamps
are on.
The high-beam flasher is available at all times.
Canada only
When the engine is running, and you
R shift from a driving position to park
position P with the vehicle at a standstill,
the daytime running lamps or the low-beam
headlamps will go out with a delay of
3 minutes
R turn the exterior lamp switch to position
T , the daytime running lamps and the
parking lamps 5
come on in bright ambient
lighting conditions.
R turn the exterior lamp switch to position
L , the manual headlamp mode has
priority over the daytime running lamp
mode
The corresponding exterior lamps come on
( Y page 250).
USA only
When the engine is running, and you turn the
exterior lamp switch to position T or
L , the manual headlamp mode has
priority over the daytime running lamp mode.
The corresponding exterior lamps come on
( Y page 250).
Locator lighting
The locator lighting is described in the
“Control system” section, see “Switching
locator lighting on or off” ( Y page 285).
Combination switch
Turn signals
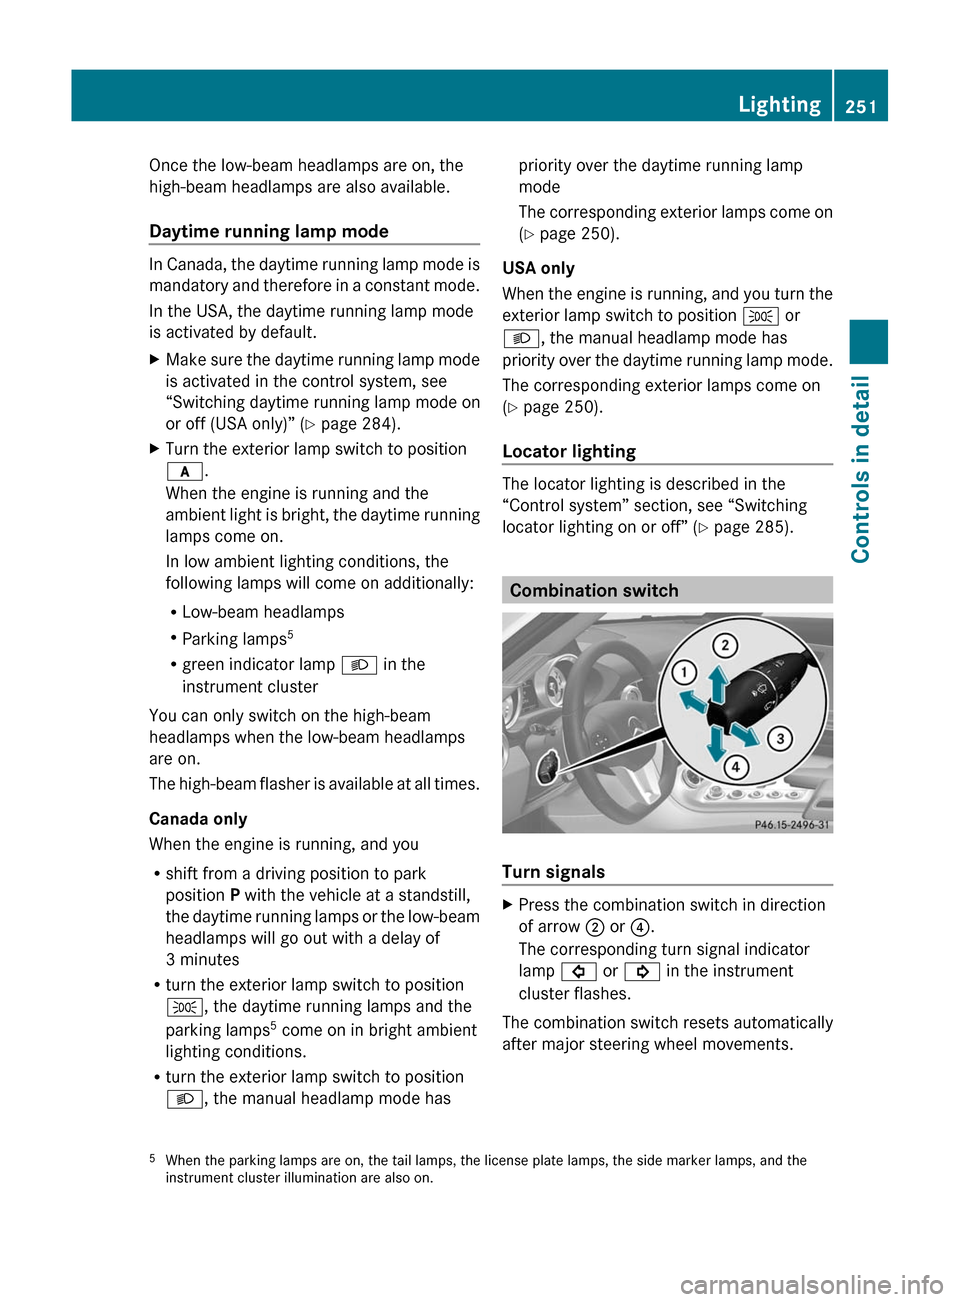
XPress the combination switch in direction
of arrow ; or ?.
The corresponding turn signal indicator
lamp # or ! in the instrument
cluster flashes.
The combination switch resets automatically
after major steering wheel movements.
5 When the parking lamps are on, the tail lamps, the license plate lamps, the side marker lamps, and the
instrument cluster illumination are also on.Lighting251Controls in detailBA 197 USA, CA Edition A 2011; 1; 27, en-UShereepeVersion: 3.0.3.52010-03-24T15:31:10+01:00 - Seite 251Z
Page 259 of 436

XAim the transmitter eye of the SmartKey at
the driver’s outside door handle.XPress button % on the SmartKey to
unlock the vehicle.
Keep button % pressed until the door
windows have reached the desired
position.XRelease button % on the SmartKey to
interrupt the opening procedure.
Convenience closing feature
When locking the vehicle, you can close the
door windows.
GWarning!
When closing the door windows, make sure
there is no danger of anyone being harmed by
the closing procedure.
If potential danger exists, proceed as follows:
R Release button & to stop the closing
procedure. To open, press and hold button
% . To continue the closing procedure
after making sure that there is no danger of
anyone being harmed by the closing
procedure, press and hold button &.
The SmartKey must be in close proximity to
the driver’s outside door handle.
XAim the transmitter eye of the SmartKey at
the driver’s outside door handle.XPress button & on the SmartKey to lock
the vehicle.XPress and hold button & on the
SmartKey until the door windows are
closed completely.XRelease button & on the SmartKey to
interrupt the extending procedure.
Driving and parking
Safety notes
GWarning!
Make sure absolutely no objects are
obstructing the pedals’ range of movement.
Keep the driver’s footwell clear of all
obstacles. If there are any floormats or
carpets in the footwell, make sure the pedals
still have sufficient clearance.
During sudden driving or braking maneuvers
the objects could get caught between or
under the pedals. You could then no longer
brake or accelerate. This could lead to
accidents and injury.
GWarning!
With the engine not running, there is no power
assistance for the brake and steering
systems. In this case, it is important to keep
in mind that a considerably higher degree of
effort is necessary to brake and steer the
vehicle. Adapt your driving accordingly.
Driving and parking257Controls in detailBA 197 USA, CA Edition A 2011; 1; 27, en-UShereepeVersion: 3.0.3.52010-03-24T15:31:10+01:00 - Seite 257Z
Page 264 of 436
iIf you have not fastened your seat belt,
the following conditions must be met in
order for the electronic parking brake to
release automatically:
R The driver’s door is closed and you shift
the transmission out of park position P.
or
R The driver’s door is closed and you drive
faster than 2 mph (3 km/h).
Emergency braking with electronic
parking brake
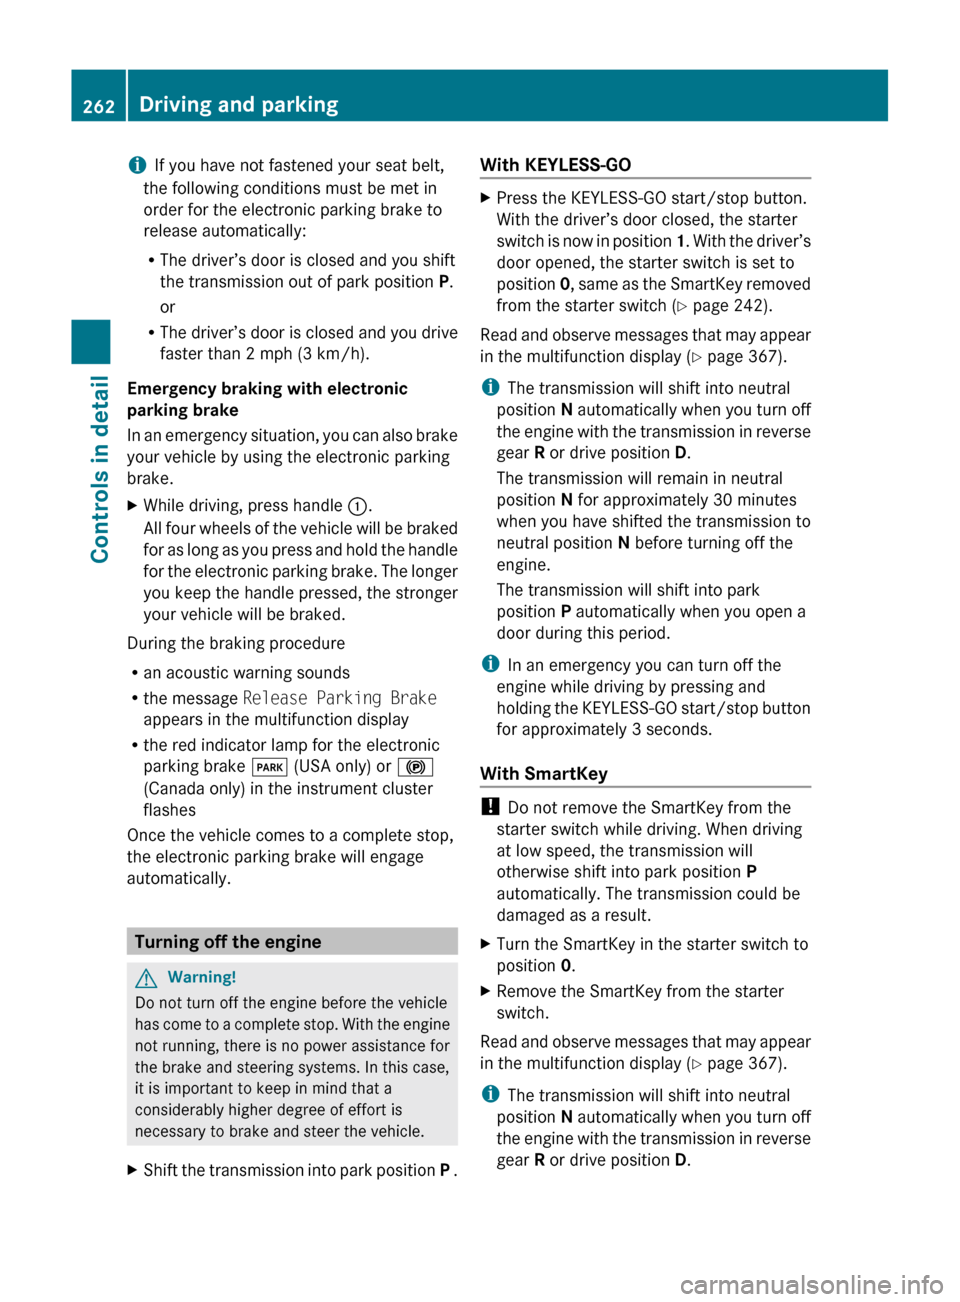
In an emergency situation, you can also brake
your vehicle by using the electronic parking
brake.XWhile driving, press handle :.
All four wheels of the vehicle will be braked
for as long as you press and hold the handle
for the electronic parking brake. The longer
you keep the handle pressed, the stronger
your vehicle will be braked.
During the braking procedure
R an acoustic warning sounds
R the message Release Parking Brake
appears in the multifunction display
R the red indicator lamp for the electronic
parking brake F (USA only) or !
(Canada only) in the instrument cluster
flashes
Once the vehicle comes to a complete stop,
the electronic parking brake will engage
automatically.
Turning off the engine
GWarning!
Do not turn off the engine before the vehicle
has come to a complete stop. With the engine
not running, there is no power assistance for
the brake and steering systems. In this case,
it is important to keep in mind that a
considerably higher degree of effort is
necessary to brake and steer the vehicle.
XShift the transmission into park position P .With KEYLESS-GOXPress the KEYLESS-GO start/stop button.
With the driver’s door closed, the starter
switch is now in position 1. With the driver’s
door opened, the starter switch is set to
position 0, same as the SmartKey removed
from the starter switch ( Y page 242).
Read and observe messages that may appear
in the multifunction display ( Y page 367).
i The transmission will shift into neutral
position N automatically when you turn off
the engine with the transmission in reverse
gear R or drive position D.
The transmission will remain in neutral
position N for approximately 30 minutes
when you have shifted the transmission to
neutral position N before turning off the
engine.
The transmission will shift into park
position P automatically when you open a
door during this period.
i In an emergency you can turn off the
engine while driving by pressing and
holding the KEYLESS-GO start/stop button
for approximately 3 seconds.
With SmartKey
! Do not remove the SmartKey from the
starter switch while driving. When driving
at low speed, the transmission will
otherwise shift into park position P
automatically. The transmission could be
damaged as a result.
XTurn the SmartKey in the starter switch to
position 0.XRemove the SmartKey from the starter
switch.
Read and observe messages that may appear
in the multifunction display ( Y page 367).
i The transmission will shift into neutral
position N automatically when you turn off
the engine with the transmission in reverse
gear R or drive position D.
262Driving and parkingControls in detail
BA 197 USA, CA Edition A 2011; 1; 27, en-UShereepeVersion: 3.0.3.52010-03-24T15:31:10+01:00 - Seite 262
Page 269 of 436

Automatic shift program
Program mode selector dial
C ComfortFor standard drivingS SportFor sporty drivingS+ Sport PlusFor sporty driving with
shorter shift times
M ManualFor manual gearshifting
(Y page 268)
RS RACE STARTFor optimum
acceleration from a
standing start
iProgram mode RS cannot be selected
while driving. For more information, see
“RACE START” (Y page 292).
The current program mode appears in the
multifunction display.
:Program mode indicator
iIn addition, the currently selected
program mode is indicated in red on the
program mode selector dial.
You should only change the program mode
when the transmission is in park position P.
Automatic program mode S or S+ will not be
stored. When the engine is turned off with the
automatic program mode S or S+ selected,
the transmission will go to the automatic
program mode C when the engine is
restarted.
XTurn the program mode selector dial until
the letter of the desired program mode
appears in the multifunction display.
Selecting program mode C means:
RThe vehicle starts out more gentle, both
forward and reverse, except when driving
off with full throttle.
RTraction and driving stability are improved
on icy roads.
RUpshifts occur earlier even when you give
more gas. The engine then operates at
lower revolutions and the wheels are less
likely to spin.
Selecting program mode S means that
upshifts occur later.
One-touch gearshifting
With the transmission in drive position D and
driving in automatic program mode C, S, or
S+, you can limit or extend the gear range
using the gear selector lever or the steering
wheel gearshift control.
For information on using the gear selector
lever or the steering wheel gearshift control
in manual program mode M, see “Manual shift
program” (Y page 268).
Steering wheel gearshift control
AMG SPEEDSHIFT DCT 7-SPEED Transmission267Controls in detailBA 197 USA, CA Edition A 2011; 1; 27, en-UShereepeVersion: 3.0.3.52010-03-24T15:31:10+01:00 - Seite 267Z
Page 270 of 436
iYou cannot shift with the steering wheel
gearshift control when the transmission is
in park position P, neutral position N, or
reverse gear R.
Limiting gear range GWarning!
On slippery road surfaces, never downshift in
order to obtain braking action. This could
result in drive wheel slip and reduced vehicle
control. Your vehicle’s ABS will not prevent
this type of loss of control.
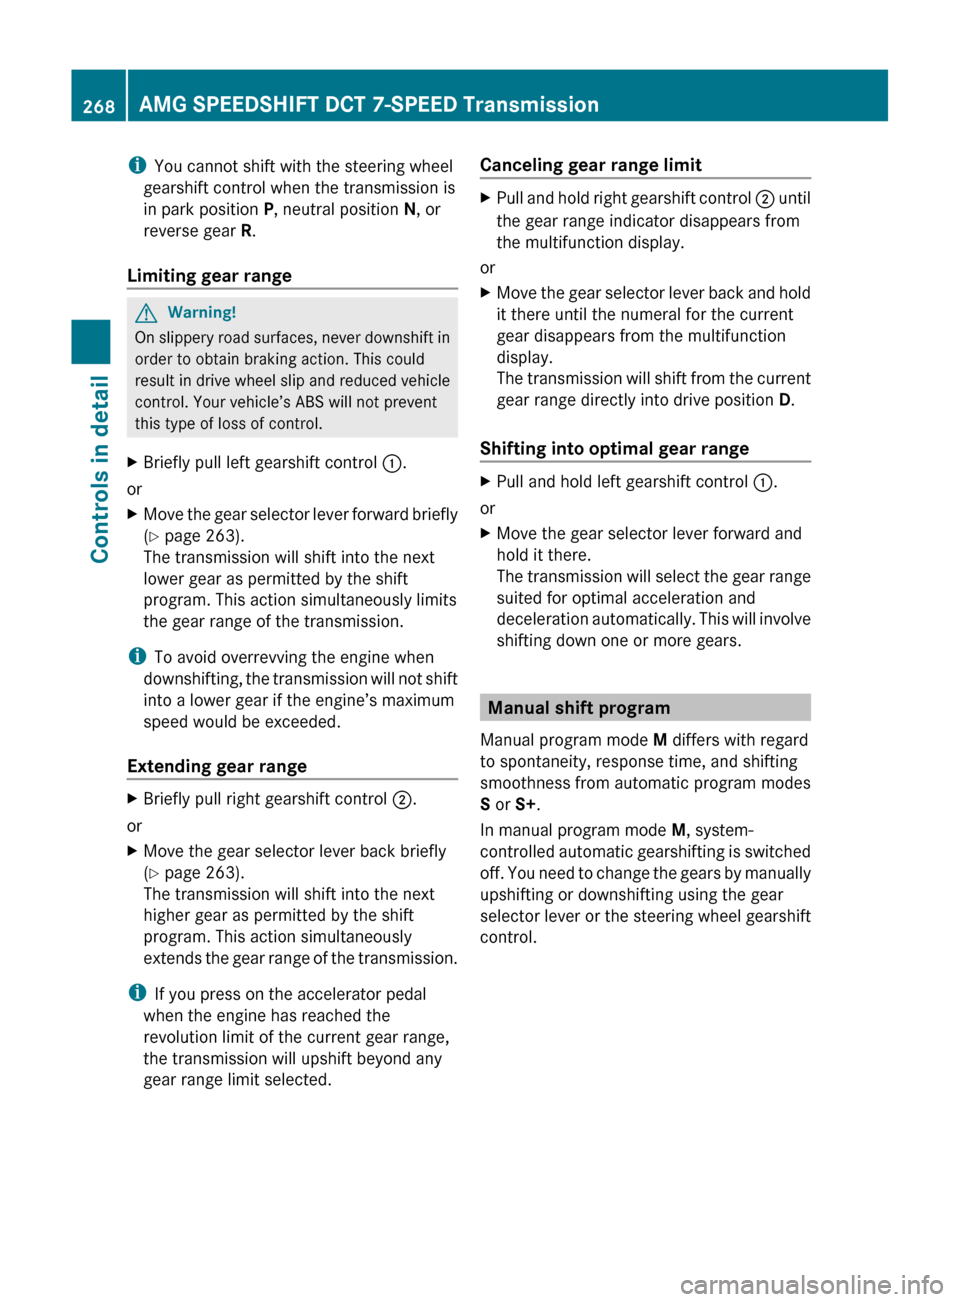
XBriefly pull left gearshift control :.
or
XMove the gear selector lever forward briefly
( Y page 263).
The transmission will shift into the next
lower gear as permitted by the shift
program. This action simultaneously limits
the gear range of the transmission.
i To avoid overrevving the engine when
downshifting, the transmission will not shift
into a lower gear if the engine’s maximum
speed would be exceeded.
Extending gear range
XBriefly pull right gearshift control ;.
or
XMove the gear selector lever back briefly
( Y page 263).
The transmission will shift into the next
higher gear as permitted by the shift
program. This action simultaneously
extends the gear range of the transmission.
i If you press on the accelerator pedal
when the engine has reached the
revolution limit of the current gear range,
the transmission will upshift beyond any
gear range limit selected.
Canceling gear range limitXPull and hold right gearshift control ; until
the gear range indicator disappears from
the multifunction display.
or
XMove the gear selector lever back and hold
it there until the numeral for the current
gear disappears from the multifunction
display.
The transmission will shift from the current
gear range directly into drive position D.
Shifting into optimal gear range
XPull and hold left gearshift control :.
or
XMove the gear selector lever forward and
hold it there.
The transmission will select the gear range
suited for optimal acceleration and
deceleration automatically. This will involve
shifting down one or more gears.
Manual shift program
Manual program mode M differs with regard
to spontaneity, response time, and shifting
smoothness from automatic program modes
S or S+.
In manual program mode M, system-
controlled automatic gearshifting is switched
off. You need to change the gears by manually
upshifting or downshifting using the gear
selector lever or the steering wheel gearshift
control.
268AMG SPEEDSHIFT DCT 7-SPEED TransmissionControls in detail
BA 197 USA, CA Edition A 2011; 1; 27, en-UShereepeVersion: 3.0.3.52010-03-24T15:31:10+01:00 - Seite 268
Page 274 of 436
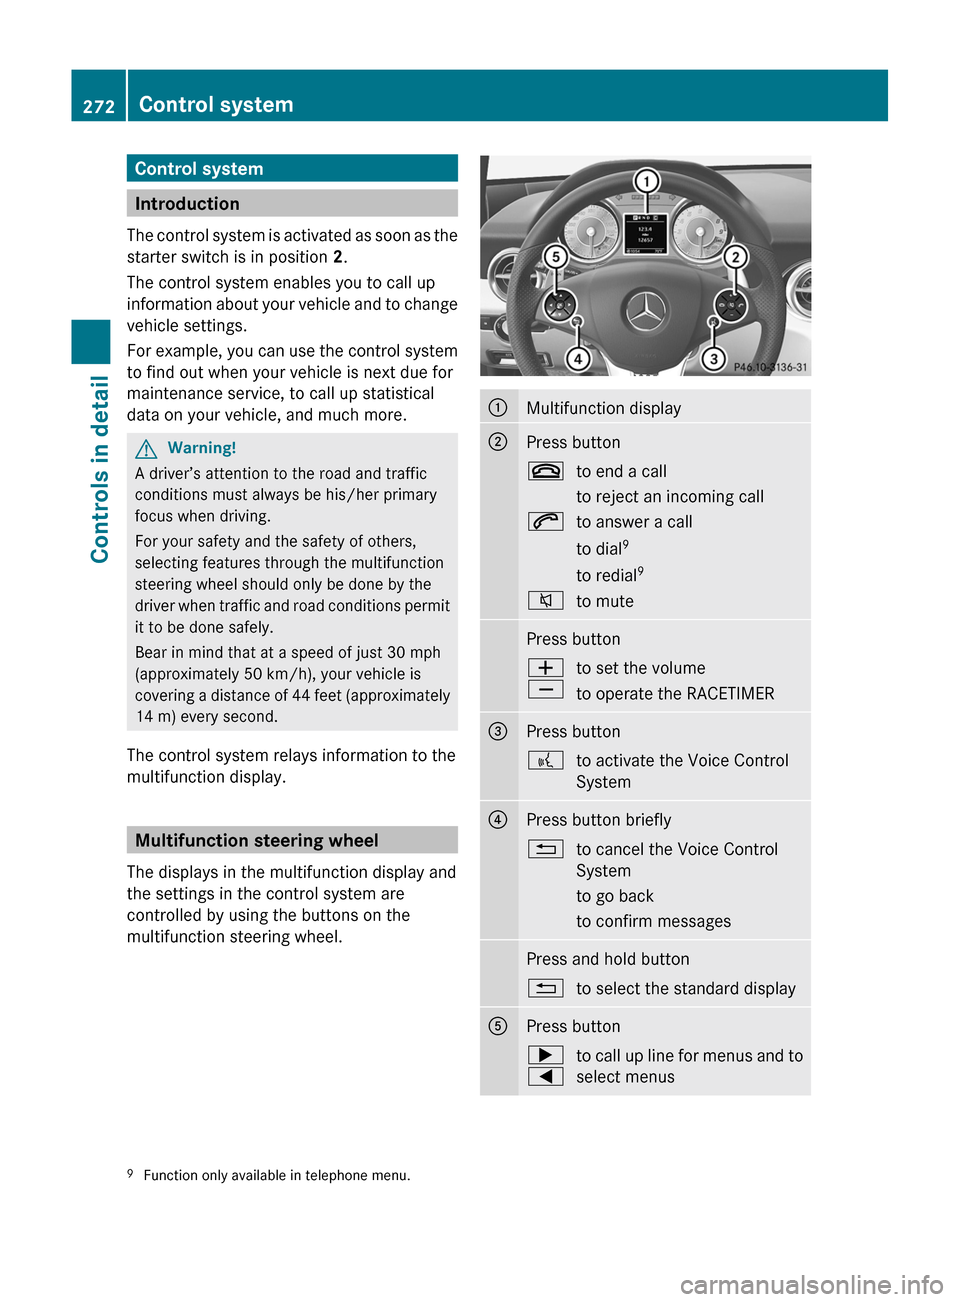
Control system
Introduction
The control system is activated as soon as the
starter switch is in position 2.
The control system enables you to call up
information about your vehicle and to change
vehicle settings.
For example, you can use the control system
to find out when your vehicle is next due for
maintenance service, to call up statistical
data on your vehicle, and much more.
GWarning!
A driver’s attention to the road and traffic
conditions must always be his/her primary
focus when driving.
For your safety and the safety of others,
selecting features through the multifunction
steering wheel should only be done by the
driver when traffic and road conditions permit
it to be done safely.
Bear in mind that at a speed of just 30 mph
(approximately 50 km/h), your vehicle is
covering a distance of 44 feet (approximately
14 m) every second.
The control system relays information to the
multifunction display.
Multifunction steering wheel
The displays in the multifunction display and
the settings in the control system are
controlled by using the buttons on the
multifunction steering wheel.
:Multifunction display;Press button~to end a call
to reject an incoming call6to answer a call
to dial 9
to redial 98to mutePress buttonW
Xto set the volume
to operate the RACETIMER=Press button?to activate the Voice Control
System?Press button briefly%to cancel the Voice Control
System
to go back
to confirm messagesPress and hold button%to select the standard displayAPress button;
=to call up line for menus and to
select menus9 Function only available in telephone menu.272Control systemControls in detail
BA 197 USA, CA Edition A 2011; 1; 27, en-UShereepeVersion: 3.0.3.52010-03-24T15:31:10+01:00 - Seite 272