2011 MERCEDES-BENZ SLK55AMG warning
[x] Cancel search: warningPage 103 of 312

Refer to separate COMAND system
operating instructions.
X Press button V or U repeatedly until
the Audio/DVD menu appears in the
multifunction display. Example illustration
:
Disc number
; Current track
X Selecting next or previous track: Press
button * or & briefly.
X Selecting a track from the track list
(quick search): Press and hold button
* or &.
The current track does not appear during
Audio AUX mode operation.
Operating video DVD This function is only available if your vehicle
is equipped with the COMAND system.
X
Switch on the COMAND system and select
DVD-Video. Refer to separate COMAND
system operating instructions.
X Press button V or U repeatedly until
the Audio/DVD menu appears in the
multifunction display. :
Disc number
; Current scene
X Press button * or & to select a
scene. Navigation menu
The Navigation menu contains the functions
needed to operate your navigation system.
X Press button V or U repeatedly until
the Navigation menu appears in the
multifunction display.
The message shown in the multifunction
display depends on the status of the
navigation system:
R With the COMAND system switched off,
the message NAVI Off appears in the
multifunction display.
R With the COMAND system switched on
but route guidance not activated, the
direction of travel and, if applicable, the
name of the street currently traveled on
appear in the multifunction display.
R With the COMAND system switched on
and route guidance activated, the
direction of travel and maneuver
instructions appear in the multifunction
display.
Please refer to separate COMAND system
operating instructions for instructions on how
to activate the route guidance system. Vehicle status message memory
menu
Use the Vehicle status message memory
menu to scan malfunction and warning
messages that may be stored in the memory.
Such messages appear in the multifunction
display and are based on conditions or
system status the vehicle’s system has
recorded.
The Vehicle status message memory menu
only appears if messages have been stored. G
Warning!
Malfunction and warning messages are only
indicated for certain systems and are
intentionally not very detailed. The
malfunction and warning messages are Control system
101Controls in detail
171_AKB; 3; 60, en-US
d2ureepe, Version: 2.11.8.1 2009-05-11T16:00:23+02:00 - Seite 101 Z
Page 104 of 312
simply a reminder with respect to the
operation of certain systems. They do not
replace the owner’s and/or driver’s
responsibility to maintain the vehicle’s
operating safety. Have all required
maintenance and safety checks performed on
the vehicle. Bring the vehicle to an authorized
Mercedes-Benz Center to address the
malfunction and warning messages.
X Press button V or U repeatedly until
the Vehicle status message memory
menu appears in the multifunction display.
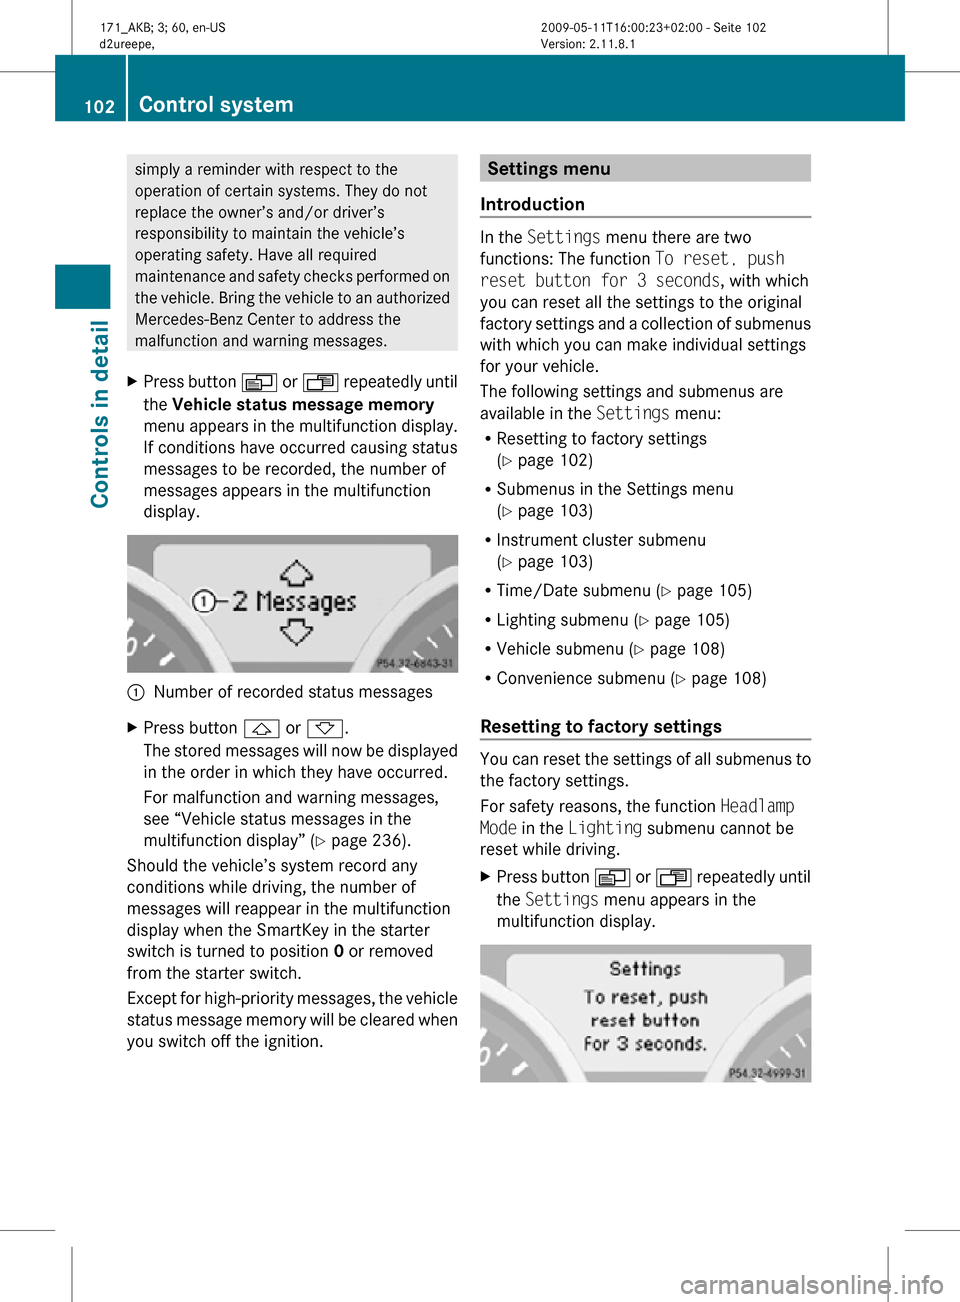
If conditions have occurred causing status
messages to be recorded, the number of
messages appears in the multifunction
display. :
Number of recorded status messages
X Press button & or *.
The stored messages will now be displayed
in the order in which they have occurred.
For malfunction and warning messages,
see “Vehicle status messages in the
multifunction display” ( Y page 236).
Should the vehicle’s system record any
conditions while driving, the number of
messages will reappear in the multifunction
display when the SmartKey in the starter
switch is turned to position 0 or removed
from the starter switch.
Except for high-priority messages, the vehicle
status message memory will be cleared when
you switch off the ignition. Settings menu
Introduction In the
Settings menu there are two
functions: The function To reset, push
reset button for 3 seconds, with which
you can reset all the settings to the original
factory settings and a collection of submenus
with which you can make individual settings
for your vehicle.
The following settings and submenus are
available in the Settings menu:
R Resetting to factory settings
(Y page 102)
R Submenus in the Settings menu
(Y page 103)
R Instrument cluster submenu
(Y page 103)
R Time/Date submenu ( Y page 105)
R Lighting submenu ( Y page 105)
R Vehicle submenu ( Y page 108)
R Convenience submenu ( Y page 108)
Resetting to factory settings You can reset the settings of all submenus to
the factory settings.
For safety reasons, the function
Headlamp
Mode in the Lighting submenu cannot be
reset while driving.
X Press button V or U repeatedly until
the Settings menu appears in the
multifunction display. 102
Control systemControls in detail
171_AKB; 3; 60, en-US
d2ureepe,
Version: 2.11.8.1 2009-05-11T16:00:23+02:00 - Seite 102
Page 110 of 312
X
Move the selection marker with button
W or X to the Lighting submenu.
X Press button & or * repeatedly until
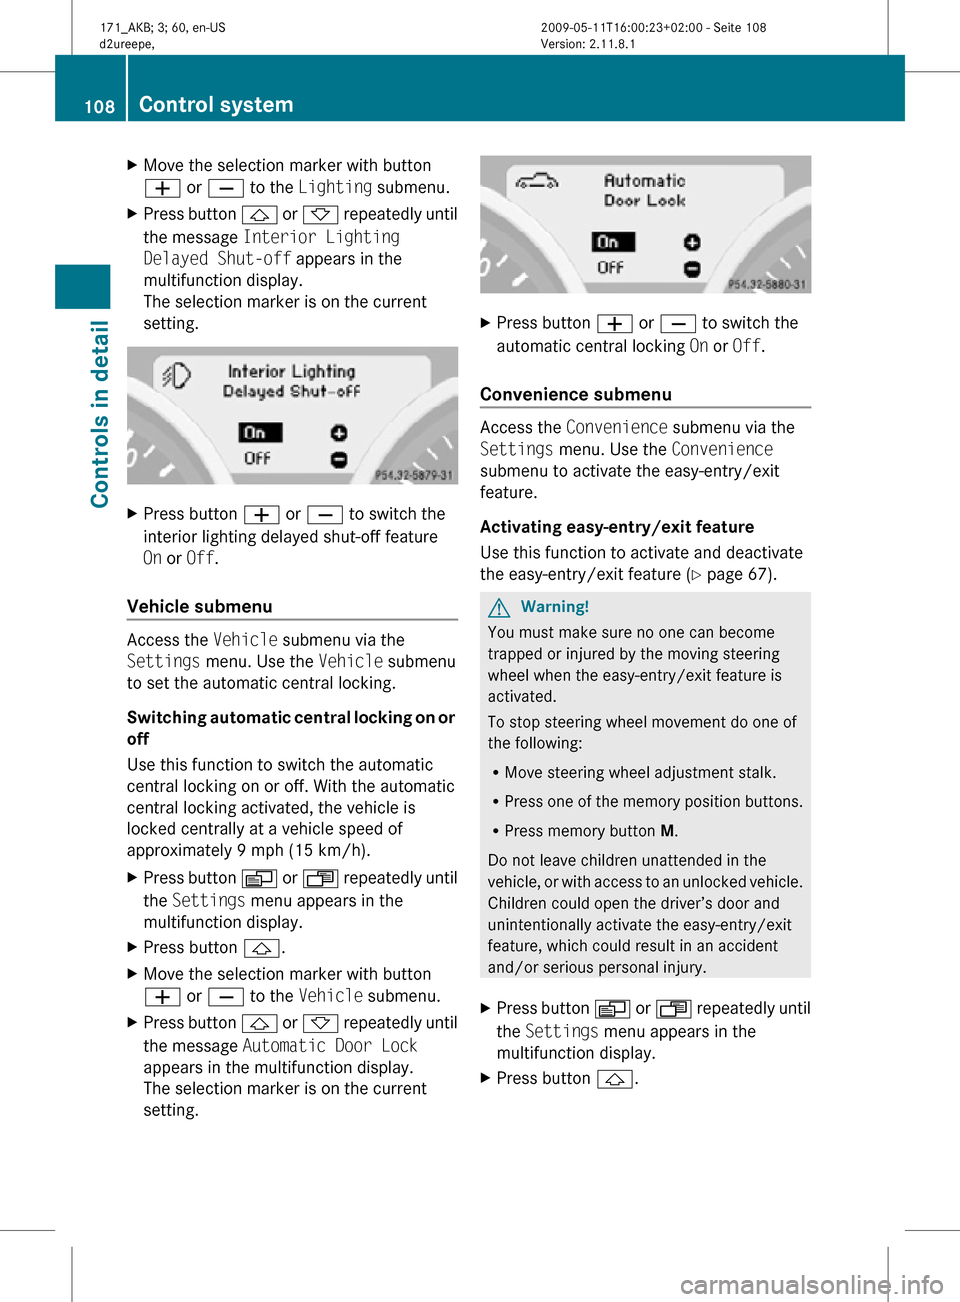
the message Interior Lighting
Delayed Shut-off appears in the
multifunction display.
The selection marker is on the current
setting. X
Press button W or X to switch the
interior lighting delayed shut-off feature
On or Off.
Vehicle submenu Access the
Vehicle submenu via the
Settings menu. Use the Vehicle submenu
to set the automatic central locking.
Switching automatic central locking on or
off
Use this function to switch the automatic
central locking on or off. With the automatic
central locking activated, the vehicle is
locked centrally at a vehicle speed of
approximately 9 mph (15 km/h).
X Press button V or U repeatedly until
the Settings menu appears in the
multifunction display.
X Press button &.
X Move the selection marker with button
W or X to the Vehicle submenu.
X Press button & or * repeatedly until
the message Automatic Door Lock
appears in the multifunction display.
The selection marker is on the current
setting. X
Press button W or X to switch the
automatic central locking On or Off.
Convenience submenu Access the
Convenience submenu via the
Settings menu. Use the Convenience
submenu to activate the easy-entry/exit
feature.
Activating easy-entry/exit feature
Use this function to activate and deactivate
the easy-entry/exit feature (Y page 67). G
Warning!
You must make sure no one can become
trapped or injured by the moving steering
wheel when the easy-entry/exit feature is
activated.
To stop steering wheel movement do one of
the following:
R Move steering wheel adjustment stalk.
R Press one of the memory position buttons.
R Press memory button M.
Do not leave children unattended in the
vehicle, or with access to an unlocked vehicle.
Children could open the driver’s door and
unintentionally activate the easy-entry/exit
feature, which could result in an accident
and/or serious personal injury.
X Press button V or U repeatedly until
the Settings menu appears in the
multifunction display.
X Press button &. 108
Control systemControls in detail
171_AKB; 3; 60, en-US
d2ureepe,
Version: 2.11.8.1 2009-05-11T16:00:23+02:00 - Seite 108
Page 112 of 312
Resetting fuel consumption statistics
X
Press button U or V repeatedly until
the message From Start appears in the
multifunction display.
X Press button & or * repeatedly until
the reading that you want to reset appears
in the multifunction display.
X Press and hold the reset button . in the
instrument cluster until the respective
values are reset to 0.
The fuel consumption statistics reset
automatically to 0 after 99 999 miles or
9 999 hours, whichever occurs first.
Distance to empty X
Press button U or V repeatedly until
the message From Start appears in the
multifunction display.
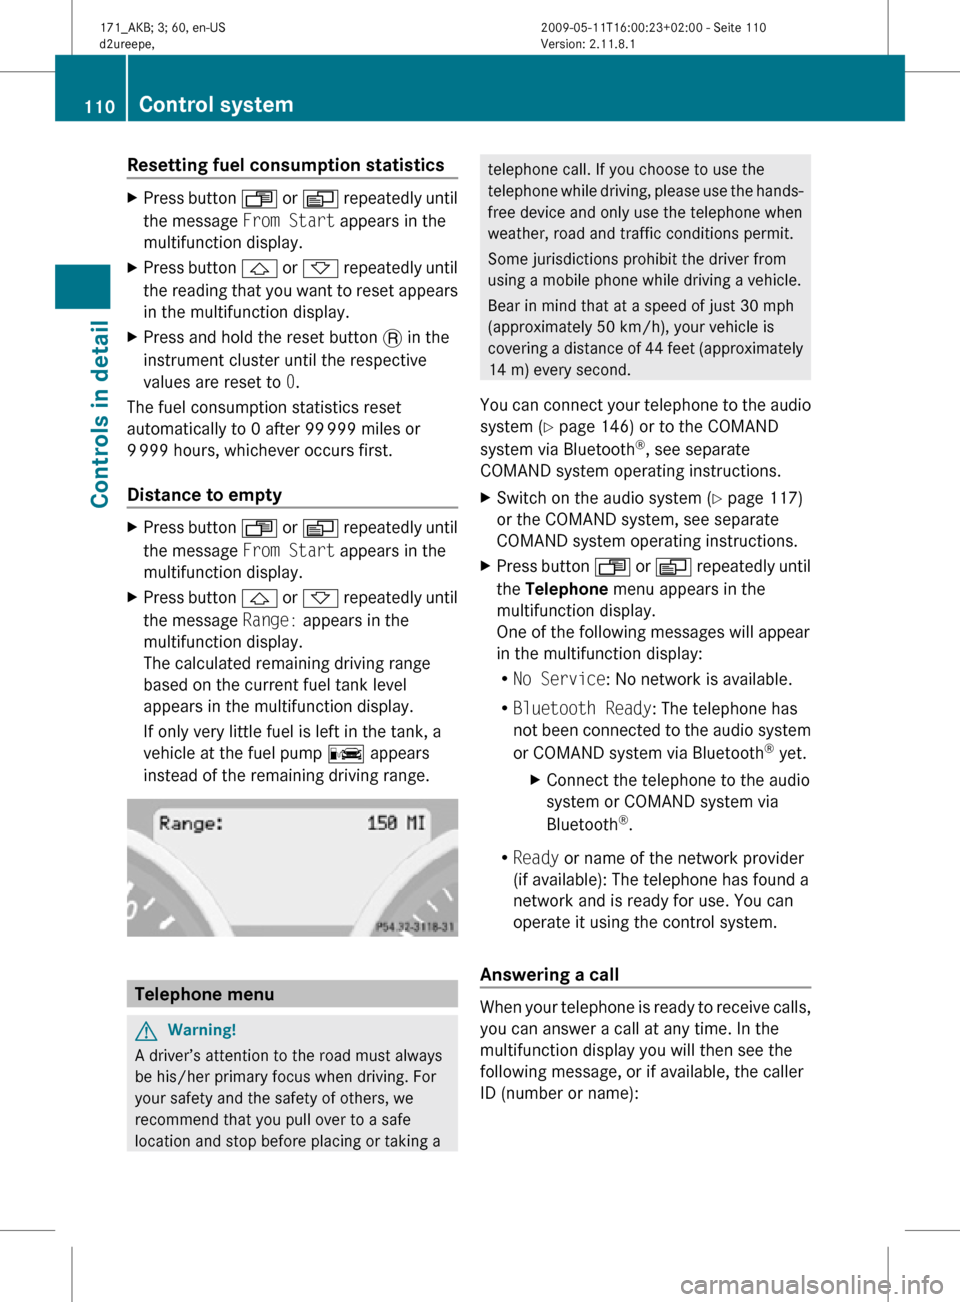
X Press button & or * repeatedly until
the message Range: appears in the
multifunction display.
The calculated remaining driving range
based on the current fuel tank level
appears in the multifunction display.
If only very little fuel is left in the tank, a
vehicle at the fuel pump C appears
instead of the remaining driving range. Telephone menu
G
Warning!
A driver’s attention to the road must always
be his/her primary focus when driving. For
your safety and the safety of others, we
recommend that you pull over to a safe
location and stop before placing or taking a telephone call. If you choose to use the
telephone while driving, please use the hands-
free device and only use the telephone when
weather, road and traffic conditions permit.
Some jurisdictions prohibit the driver from
using a mobile phone while driving a vehicle.
Bear in mind that at a speed of just 30 mph
(approximately 50 km/h), your vehicle is
covering a distance of 44 feet (approximately
14 m) every second.
You can connect your telephone to the audio
system (Y page 146) or to the COMAND
system via Bluetooth ®
, see separate
COMAND system operating instructions.
X Switch on the audio system ( Y page 117)
or the COMAND system, see separate
COMAND system operating instructions.
X Press button U or V repeatedly until
the Telephone menu appears in the
multifunction display.
One of the following messages will appear
in the multifunction display:
R No Service: No network is available.
R Bluetooth Ready: The telephone has
not been connected to the audio system
or COMAND system via Bluetooth ®
yet.
X Connect the telephone to the audio
system or COMAND system via
Bluetooth ®
.
R Ready or name of the network provider
(if available): The telephone has found a
network and is ready for use. You can
operate it using the control system.
Answering a call When your telephone is ready to receive calls,
you can answer a call at any time. In the
multifunction display you will then see the
following message, or if available, the caller
ID (number or name):110
Control systemControls in detail
171_AKB; 3; 60, en-US
d2ureepe,
Version: 2.11.8.1 2009-05-11T16:00:23+02:00 - Seite 110
Page 114 of 312
Audio system
Audio and telephone operation
These instructions are intended to help you
become familiar with your Mercedes-Benz
audio system. They contain useful tips and a
detailed description of the user functions. G
Warning!
In order to avoid distraction which could lead
to an accident, the driver should enter system
settings with the vehicle at a standstill and
operate the system only when road and traffic
conditions permit. Always pay full attention to
traffic conditions first before operating
system controls while driving.
Bear in mind that at a speed of just 30 mph
(approximately 50 km/h), your vehicle is
covering a distance of 44 feet (approximately
14 m) every second. Operating safety
G
Warning!
Any alterations made to electronic
components can cause malfunctions.
The radio, amplifier, CD changer, satellite
radio, and telephone are interconnected.
When one of the components is not
operational or has not been removed/
replaced properly, the function of other
components may be impaired.
This condition might seriously impair the
operating safety of your vehicle. We recommend that you have any service
work
on electronic components carried out at
an authorized Mercedes-Benz Center. Audio system components
With the audio system you can operate the
following main functions:
R Audio function with the radio, Satellite
radio,
disc (CD audio or MP3 mode), Audio
AUX and external audio devices
R the mobile phone with the phone book
R various system settings
In addition, the audio system can also be
operated with the multifunction steering
wheel (Y page 94).
In these instructions, the keypad (right side
of audio control unit) and the function buttons
are referred to as “buttons”.
Audio control unit With the audio control unit you can
R
switch the audio system on/off
R adjust the volume
R select the operating modes
R enter telephone numbers and accept,
reject, initiate and end telephone calls
R load and eject CDs 112
Audio system
Controls in detail
171_AKB; 3; 60, en-US
d2ureepe,
Version: 2.11.8.1 2009-05-11T16:00:23+02:00 - Seite 112
Page 123 of 312
Reset
i
You can reset the audio system back to
its factory settings. In this case, all personal
data (e.g. address book entries, call lists,
paired mobile phones, and presets) are
deleted. We recommend that you reset the
values before selling your vehicle.
X i Q System Settings Q Reset.
A prompt appears asking whether you
really want to reset.
X Select Yes or No.
If you select Yes another prompt will
appear asking whether you really want to
reset.
X Select Yes or No.
If you select Yes, the audio system will be
reset and restarted.
Setting the system language X
i Q System Settings Q
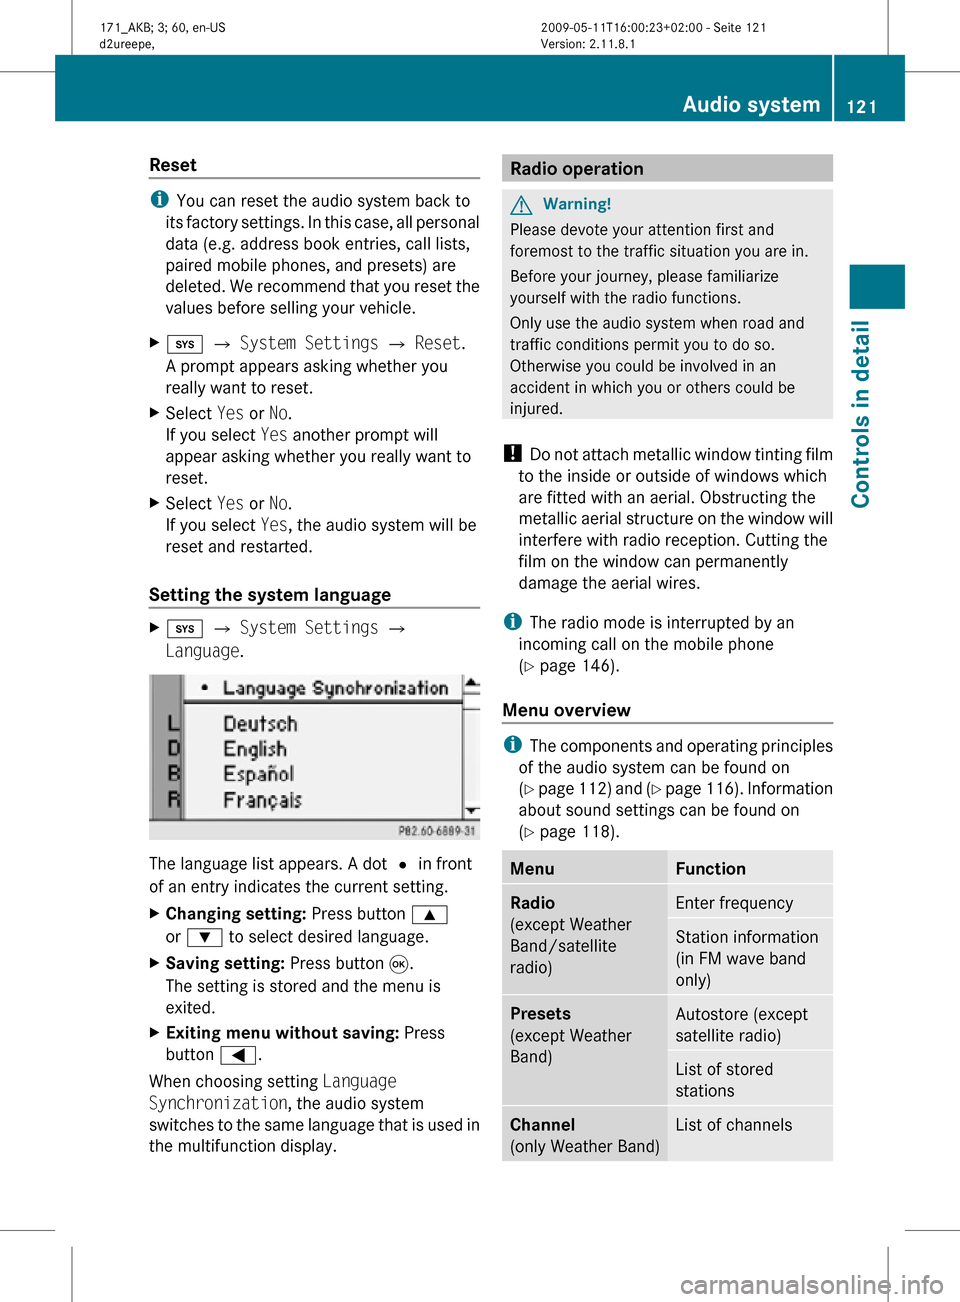
Language. The language list appears. A dot
# in front
of an entry indicates the current setting.
X Changing setting: Press button 9
or : to select desired language.
X Saving setting: Press button 9.
The setting is stored and the menu is
exited.
X Exiting menu without saving: Press
button =.
When choosing setting Language
Synchronization, the audio system
switches to the same language that is used in
the multifunction display. Radio operation
G
Warning!
Please devote your attention first and
foremost to the traffic situation you are in.
Before your journey, please familiarize
yourself with the radio functions.
Only use the audio system when road and
traffic conditions permit you to do so.
Otherwise you could be involved in an
accident in which you or others could be
injured.
! Do not attach metallic window tinting film
to the inside or outside of windows which
are fitted with an aerial. Obstructing the
metallic aerial structure on the window will
interfere with radio reception. Cutting the
film on the window can permanently
damage the aerial wires.
i The radio mode is interrupted by an
incoming call on the mobile phone
(Y page 146).
Menu overview i
The components and operating principles
of the audio system can be found on
(Y page 112) and (Y page 116). Information
about sound settings can be found on
(Y page 118). Menu Function
Radio
(except Weather
Band/satellite
radio)
Enter frequency
Station information
(in FM wave band
only)
Presets
(except Weather
Band)
Autostore (except
satellite radio)
List of stored
stations
Channel
(only Weather Band)
List of channels Audio system
121Controls in detail
171_AKB; 3; 60, en-US
d2ureepe, Version: 2.11.8.1 2009-05-11T16:00:23+02:00 - Seite 121 Z
Page 127 of 312
X
Press button 9 or : to select
Autostore.
X Press button 9.
The audio system searches for receivable
stations. A corresponding message is
displayed. The available stations are
automatically stored in the station
memory. The first received station will be
automatically played.
X Canceling storage procedure: Select
Cancel and press 9 while the message
Rewriting
memory... is being displayed.
Displaying information You can display program information or other
additional information when provided by the
radio station you are listening to.
X
Press button m.
The available information appears. The
content and scope of the information
depends on the radio station.
X Closing screen:
Press button m, k,
=, ;, or 9. Satellite radio
G
Warning!
Please devote your attention first and
foremost to the traffic situation you are in.
Before your journey, please familiarize
yourself with the radio functions.
Only use the audio system when road and
traffic conditions permit you to do so.
Otherwise you could be involved in an
accident in which you or others could be
injured.
Submenu overview i
The
components and operating principles
of the audio system can be found on
(Y page 112) and ( Y page 116). Menu Submenu
Sat
Channel List
Channel Entry
Service
Presets
Station presets
Info
Information menu (if
available)
Category (Cat.)
All channels
Select category
Sound
Treble
Bass
Balance
Surround Sound
Satellite radio
i
Additional
satellite radio equipment and a
subscription to SIRIUS XM Satellite Radio
service provider are required for the
satellite radio operation described in this
chapter.
Contact an authorized Mercedes-Benz
Center for details and availability for your
vehicle.
SIRIUS XM Satellite Radio provides over
130 channels of digital-quality radio,
including 100 % commercial-free music,
sports, news and entertainment. SIRIUS XM
Satellite Radio uses a fleet of high-power
satellites to broadcast 24 hours per day,
coast to coast, in the contiguous U. S. and
Canada.
This diverse, satellite-delivered programming
is available for a monthly subscription fee.
For more information and service availability
call the SIRIUS XM Service Center at
1-888-539-7474 (Y page 130), or visit
www.sirius.com (USA) or
www.siriuscanada.ca (Canada). Audio system
125
Controls in detail
171_AKB; 3; 60, en-US
d2ureepe, Version: 2.11.8.1 2009-05-11T16:00:23+02:00 - Seite 125 Z
Page 133 of 312
CD and MP3 mode
Submenu overview Menu Submenu
CD or MP3
Normal Track
Sequence
Random Tracks
Random Folders
(MP3 mode only)
AUX
Track list (Audio
CD) or Folder
(MP3)
Select track (CD
mode only)
Select folder and/or
tracks (MP3 mode
only)
CD changer or
other media
Media selection
Sound
Treble
Bass
Balance
Surround sound
i
The components and operating principles
of the audio system can be found on
(Y page 112) and ( Y page 116).
The audio system is fitted with a CD changer.
The CD changer can play audio CDs as well
as CDs with MP3 or WMA files.
The available menu options will vary
depending on the equipment and the type of
CD.
Safety precautions G
Warning!
The CD changer is classified as a Class 1 laser
product.
You must not open the casing. There
is a risk of exposure to invisible laser radiation if you open the casing, or if the casing is faulty
or damaged.
The CD changer does not contain any parts
that you are able to maintain yourself. For
safety
reasons, all maintenance work must be
carried out by qualified technicians. G
Warning!
In order to avoid distraction which could lead
to an accident, the driver should insert or
eject CDs with the vehicle at a standstill and
operate
the audio system only if permitted by
road, weather and traffic conditions.
Bear in mind that at a speed of just 30 mph
(approximately 50 km/h), your vehicle is
covering a distance of 44 feet (approximately
14 m) every second.
General notes i
Audio CDs with copy protection are not
compatible
with the CD audio standard and
therefore may not be able to be played by
the CD changer. There may be playback
problems when playing copied discs.
There is a large variety of discs, disc-writing
software and writers available. This variety
means that there is no guarantee that the
system will be able to play discs that you
have written/copied yourself.
There may be playback problems if you use
CD-R or CD-RW type discs you have
compiled yourself with a storage capacity
of more than 700 MB. These CDs are not
compatible with currently applicable
standards.
! Do not affix stickers or labels to the CDs,
they can become warped due to the heat
that develops in the CD changer.
In certain situations, the CDs can then no
longer be ejected and cause damage to the
CD changer. Such damage is not covered
by the Mercedes-Benz Limited Warranty. Audio system
131
Controls in detail
171_AKB; 3; 60, en-US
d2ureepe, Version: 2.11.8.1 2009-05-11T16:00:23+02:00 - Seite 131 Z