2011 MERCEDES-BENZ S-Class steering
[x] Cancel search: steeringPage 476 of 524

Installing/removing the towing eye
Installing the towing eye
XRemove the towing eye from the vehicle
tool kit (Y page 462).
GWarning
The exhaust tail pipe may be hot. You could
burn yourself if you touch the tail pipe. Be
particularly careful when removing the rear
cover.
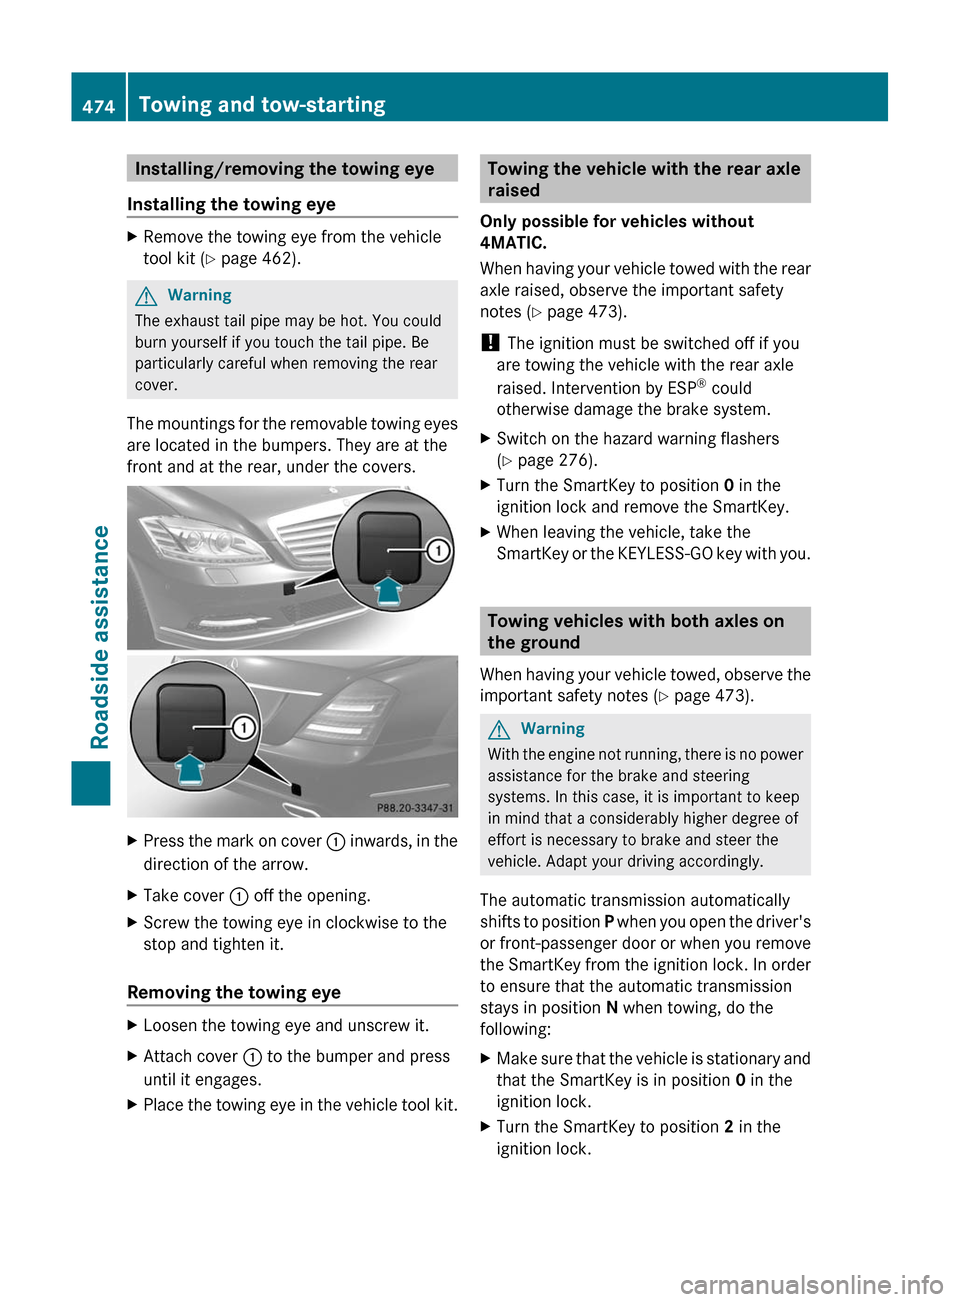
The mountings for the removable towing eyes
are located in the bumpers. They are at the
front and at the rear, under the covers.
XPress the mark on cover : inwards, in the
direction of the arrow.
XTake cover : off the opening.XScrew the towing eye in clockwise to the
stop and tighten it.
Removing the towing eye
XLoosen the towing eye and unscrew it.XAttach cover : to the bumper and press
until it engages.
XPlace the towing eye in the vehicle tool kit.Towing the vehicle with the rear axle
raised
Only possible for vehicles without
4MATIC.
When having your vehicle towed with the rear
axle raised, observe the important safety
notes (Y page 473).
! The ignition must be switched off if you
are towing the vehicle with the rear axle
raised. Intervention by ESP® could
otherwise damage the brake system.
XSwitch on the hazard warning flashers
(Y page 276).
XTurn the SmartKey to position 0 in the
ignition lock and remove the SmartKey.
XWhen leaving the vehicle, take the
SmartKey or the KEYLESS-GO key with you.
Towing vehicles with both axles on
the ground
When having your vehicle towed, observe the
important safety notes (Y page 473).
GWarning
With the engine not running, there is no power
assistance for the brake and steering
systems. In this case, it is important to keep
in mind that a considerably higher degree of
effort is necessary to brake and steer the
vehicle. Adapt your driving accordingly.
The automatic transmission automatically
shifts to position P when you open the driver's
or front-passenger door or when you remove
the SmartKey from the ignition lock. In order
to ensure that the automatic transmission
stays in position N when towing, do the
following:
XMake sure that the vehicle is stationary and
that the SmartKey is in position 0 in the
ignition lock.
XTurn the SmartKey to position 2 in the
ignition lock.
474Towing and tow-startingRoadside assistance
Page 477 of 524

On vehicles with KEYLESS-GO, use the
SmartKey instead of the Start/Stop button
( Y page 299).XDepress and hold the brake pedal.XShift the automatic transmission to
position N.XRelease the brake pedal.XRelease the electric parking brake.XSwitch on the hazard warning flashers
( Y page 276).XLeave the SmartKey inserted in the ignition
lock in position 2.
i
When towing with the hazard warning
flashers switched on, use the combination
switch as usual to signal in which direction
you are changing. In this case, only the
indicator lamps for the direction of travel
flash. When you reset the combination
switch, the hazard warning flashers start
flashing again.
Transporting the vehicle
The towing eye can be used to pull the vehicle
onto a trailer or transporter for transporting
purposes.
XTurn the SmartKey to position 2 in the
ignition lock.XShift the automatic transmission to
position N.
As soon as the vehicle has been loaded:
XPrevent the vehicle from rolling away by
applying the electric parking brake.XShift the automatic transmission to
position P.XTurn the SmartKey to position 0 in the
ignition lock and remove the SmartKey.XSecure the vehicle.
! Only lash the vehicle down by the wheels
or wheel rims, not by parts of the vehicle
such as axle or steering components.
Otherwise, the vehicle could be damaged.
Fuses
Important safety notes
The fuses in your vehicle serve to close down
faulty circuits. If a fuse blows, all the
components on the circuit and their functions
will fail.
GWarning
Only use fuses approved by Mercedes-Benz
with the specified amperage for the system in
question and do not attempt to repair or
bridge a blown fuse. Using other than
approved fuses or using repaired or bridged
fuses may cause an overload leading to a fire,
and/or cause damage to electrical
components and/or systems. Have the cause
determined and remedied by an authorized
Mercedes-Benz Center.
Blown fuses must be replaced with fuses of
the same rating, which you can recognize by
the color and value. The fuse ratings are listed
in the fuse allocation chart. An authorized
Mercedes-Benz Center will be happy to
advise you.
i If a fuse has blown, visit a breakdown
service or an authorized Mercedes-Benz
Center.
If the newly inserted fuse also blows, have the
cause traced and rectified at a qualified
specialist workshop, e.g. an authorized
Mercedes-Benz Center.
! Only use fuses that have been approved
for Mercedes-Benz vehicles and which
have the correct fuse rating for the system
concerned. Otherwise, components or
systems could be damaged.
Before changing a fuse
XPark the vehicle and apply the electric
parking brake.XSwitch off all electrical consumers.XRemove the key from the ignition lock.Fuses475Roadside assistanceZ
Page 485 of 524

"Technical Data" section to avoid damage
to the vehicle or the wheels.
R Only use snow chains when driving on an
area completely covered by snow. Do not
exceed the maximum permissible speed of
30 mph (50 km/h). Remove the snow
chains as soon as possible when you are no
longer driving on snow-covered roads.
R Local regulations may restrict the use of
snow chains. Applicable regulations must
be observed if you wish to mount snow
chains.
R Snow chains must not be mounted on
emergency spare wheels.
If you intend to mount snow chains, please
bear the following points in mind:
R you may not attach snow chains to all
wheel-tire combinations; see the "Tires and
wheels" section in the "Technical data"
chapter.
R mount snow chains only in pairs and only
on the rear wheels. Observe the
manufacturer's installation instructions.
! If snow chains are mounted on the front
wheels, the snow chains could grind
against the bodywork or components of the
chassis. This could result in damage to the
vehicle or the tires.
! Vehicles with steel wheels
If you wish to mount snow chains to steel
wheels, make sure that you remove the
respective wheels' hubcaps first. The
hubcaps may otherwise be damaged.
i You may wish to deactivate
ESP ®
(Y page 69) when pulling away with
snow chains installed. This way you can
allow the wheels to spin in a controlled
manner, achieving an increased driving
force (cutting action).Tire pressure
Tire pressure specifications
GWarning
Follow recommended tire inflation pressures.
Do not underinflate tires. Underinflated tires
wear excessively and/or unevenly, adversely
affect handling and fuel economy, and are
more likely to fail from being overheated.
Do not overinflate tires. Overinflated tires can
adversely affect handling and ride comfort,
wear unevenly, increase stopping distance,
and result in sudden deflation (blowout)
because they are more likely to become
punctured or damaged by road debris,
potholes etc.
Do not overload the tires by exceeding the
specified load limit as indicated on the Tire
and Loading Information placard on the
driver's door B-pillar. Overloading the tires
can overheat them, possibly causing a
blowout. Overloading the tires can also result
in handling or steering problems, or brake
failure.
You will find a table of recommended tire
pressures on the Tire and Loading
Information placard on the B-pillar on the
driver's side ( Y page 490). You will find a
table of tire pressures for various operating
conditions on the inside of your vehicle's fuel
filler flap.
Use a suitable pressure gauge. The outer
appearance of a tire does not permit any
reliable conclusion about the tire pressure.
On vehicles equipped with the electronic tire
pressure monitor, the tire pressure can be
checked using the on-board computer.
GWarning
Should the tire pressure drop repeatedly:
Tire pressure483Tires and wheelsZ
Page 488 of 524

Rfail from being overheated
R adversely affect handling
Overinflated tiresGWarning
Follow recommended tire inflation pressures.
Do not overinflate tires. Overinflated tires can
adversely affect handling and ride comfort,
wear unevenly, increase stopping distance,
and result in sudden deflation (blowout)
because they are more likely to become
punctured or damaged by road debris,
potholes etc.
Overinflated tires can:
R adversely affect handling
R wear excessively and/or unevenly
R be more likely to become damaged
R adversely affect ride comfort
R increase stopping distance
Maximum tire pressure
GWarning
Never exceed the maximum tire inflation
pressure. Follow recommended tire inflation
pressures.
Do not underinflate tires. Underinflated tires
wear excessively and/or unevenly, adversely
affect handling and fuel economy, and are
more likely to fail from being overheated.
Do not overinflate tires. Overinflated tires can
adversely affect handling and ride comfort,
wear unevenly, increase stopping distance,
and result in sudden deflation (blowout)
because they are more likely to become
punctured or damaged by road debris,
potholes etc.
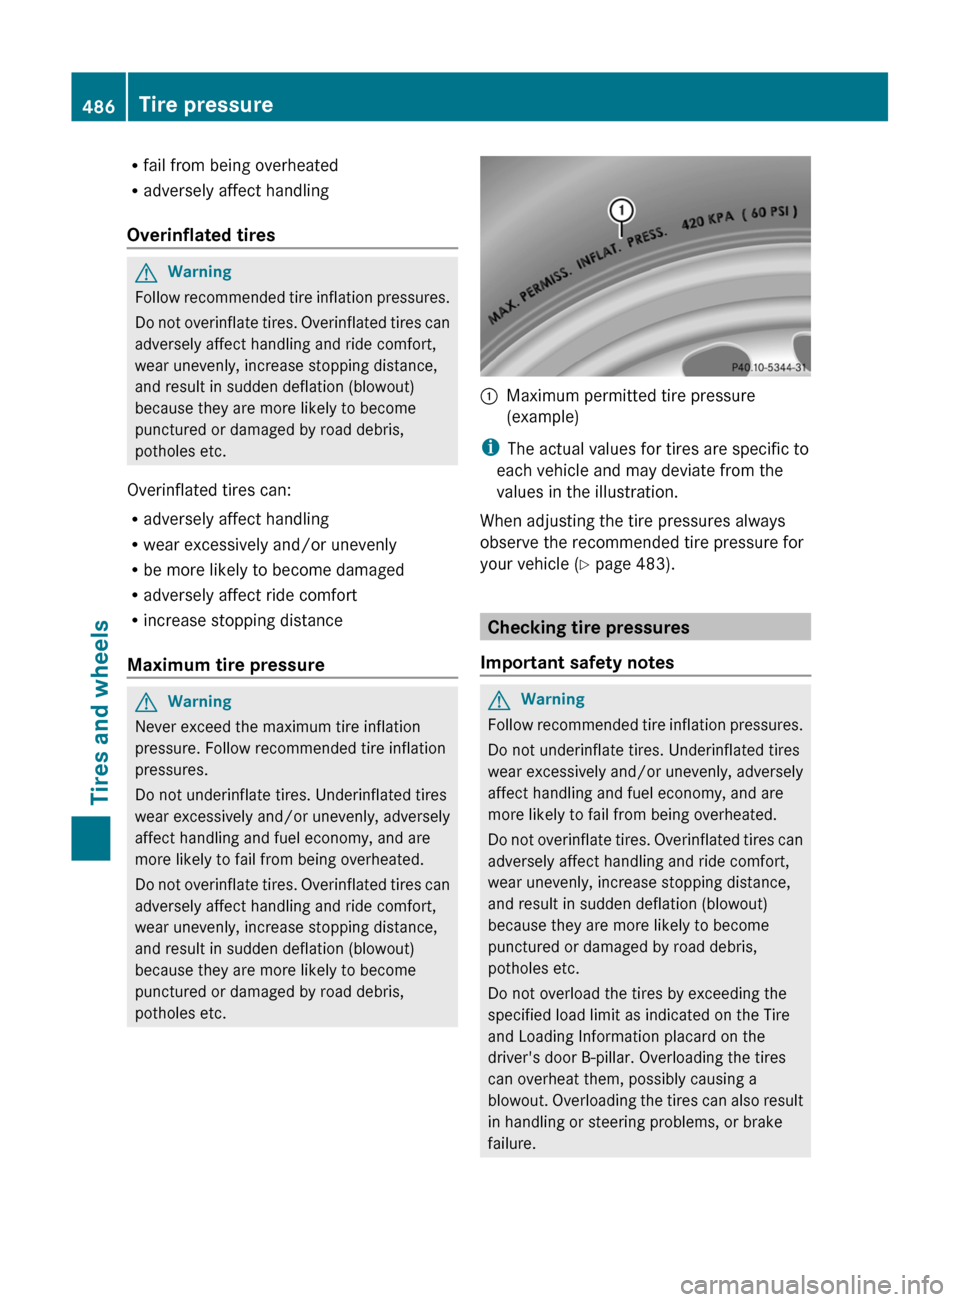
:Maximum permitted tire pressure
(example)
i The actual values for tires are specific to
each vehicle and may deviate from the
values in the illustration.
When adjusting the tire pressures always
observe the recommended tire pressure for
your vehicle ( Y page 483).
Checking tire pressures
Important safety notes
GWarning
Follow recommended tire inflation pressures.
Do not underinflate tires. Underinflated tires
wear excessively and/or unevenly, adversely
affect handling and fuel economy, and are
more likely to fail from being overheated.
Do not overinflate tires. Overinflated tires can
adversely affect handling and ride comfort,
wear unevenly, increase stopping distance,
and result in sudden deflation (blowout)
because they are more likely to become
punctured or damaged by road debris,
potholes etc.
Do not overload the tires by exceeding the
specified load limit as indicated on the Tire
and Loading Information placard on the
driver's door B-pillar. Overloading the tires
can overheat them, possibly causing a
blowout. Overloading the tires can also result
in handling or steering problems, or brake
failure.
486Tire pressureTires and wheels
Page 492 of 524

XPress the 9 or : button to select
Tire Pressure .XPress the a button.
The current tire pressure of each wheel or
the Tire Pressures Displayed After
Driving A Few Minutes message is
shown in the multifunction display.XPress the : button.
The Use Current Pressures as New
Reference Values message appears in
the multifunction display.
If you wish to confirm the restart:
XPress the a button.
The Tire Pressure Monitor
Restarted message appears in the
multifunction display.
After driving for a few minutes, the system
checks whether the current tire pressures
are within the specified range. The new tire
pressures are then accepted as reference
values and monitored.
If you wish to cancel the restart:
XPress the % button.
The tire pressure values stored at the last
restart will continue to be monitored.
Loading the vehicle
Instruction labels for tires and loads
GWarning
Do not overload the tires by exceeding the
specified load limit as indicated on the Tire
and Loading Information placard on the
driver's door B-pillar. Overloading the tires
can overheat them, possibly causing a
blowout. Overloading the tires can also result
in handling or steering problems, or brake
failure.
Two instruction labels on your vehicle show
the maximum possible load.
(1)The Tire and Loading Information placard
is on the B-pillar on the driver's side. TheTire and Loading Information placard
shows the maximum possible number of
occupants and the maximum possible
vehicle load. It also contains details of the
tire sizes and corresponding pressures
for tires mounted at the factory.(2)The vehicle identification plate is on the
B-pillar on the driver's side. The vehicle
identification plate informs you of the
gross vehicle weight rating. It is made up
of the vehicle weight, all vehicle
occupants, the fuel and the cargo. You
can also find information about the
maximum gross axle weight rating of the
front and rear axle.
The maximum gross axle weight rating is
the maximum weight that can be carried
by one axle (front or rear axle). Never
exceed the maximum load or the
maximum gross axle weight rating for the
front or rear axle.:B-pillar, driver's side
Maximum permissible gross vehicle
weight rating
i The details on the Tire and Loading
Information placard illustration are only an
example. The maximum permissible gross
vehicle weight rating is vehicle-specific and
may differ from that which is illustrated.
You can find the valid maximum
permissible gross vehicle weight rating for
your vehicle on the Tire and Loading
Information placard.
490Loading the vehicleTires and wheels
Page 496 of 524

Trailer load/noseweight
The trailer load/noseweight affects the gross
weight of the vehicle. If a trailer is attached,
the trailer load/noseweight is included in the
load along with occupants and luggage. The
trailer load/noseweight is usually
approximately 10% of the gross weight of the
trailer and its cargo.
Your Mercedes-Benz is designed for
transporting persons and their luggage.
Mercedes-Benz does not recommend towing
a trailer with your vehicle.
Maximum tire load
GWarning
Do not overload the tires by exceeding the
specified load limit as indicated on the Tire
and Loading Information placard on the
driver's door B-pillar. Overloading the tires
can overheat them, possibly causing a
blowout. Overloading the tires can also result
in handling or steering problems, or brake
failure.
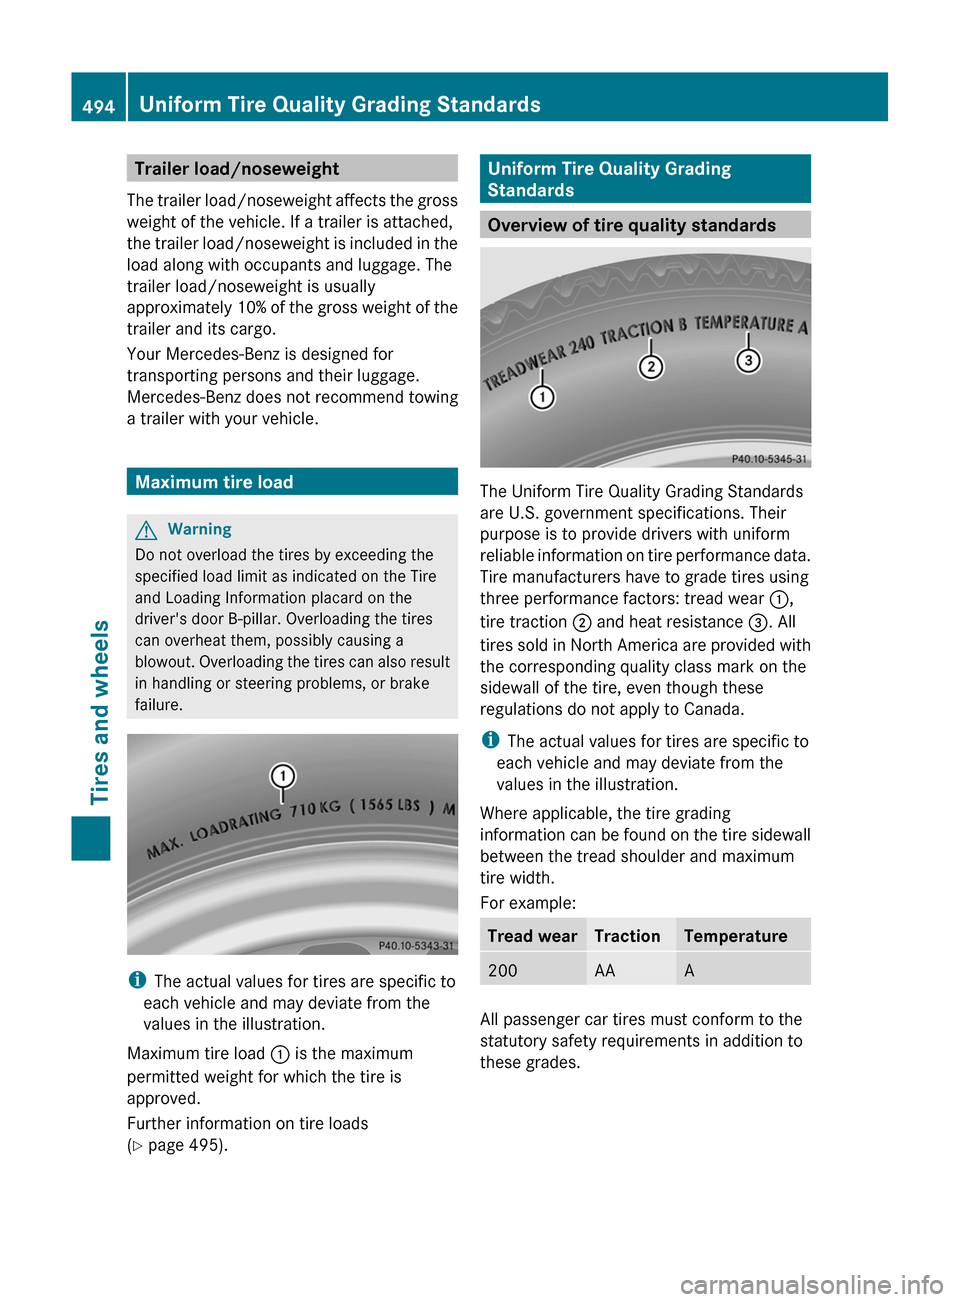
i The actual values for tires are specific to
each vehicle and may deviate from the
values in the illustration.
Maximum tire load : is the maximum
permitted weight for which the tire is
approved.
Further information on tire loads
( Y page 495).
Uniform Tire Quality Grading
Standards
Overview of tire quality standards
The Uniform Tire Quality Grading Standards
are U.S. government specifications. Their
purpose is to provide drivers with uniform
reliable information on tire performance data.
Tire manufacturers have to grade tires using
three performance factors: tread wear :,
tire traction ; and heat resistance =. All
tires sold in North America are provided with
the corresponding quality class mark on the
sidewall of the tire, even though these
regulations do not apply to Canada.
i The actual values for tires are specific to
each vehicle and may deviate from the
values in the illustration.
Where applicable, the tire grading
information can be found on the tire sidewall
between the tread shoulder and maximum
tire width.
For example:
Tread wearTractionTemperature200AAA
All passenger car tires must conform to the
statutory safety requirements in addition to
these grades.
494Uniform Tire Quality Grading StandardsTires and wheels
Page 499 of 524

ratio is calculated by dividing the tire width by
the tire height.
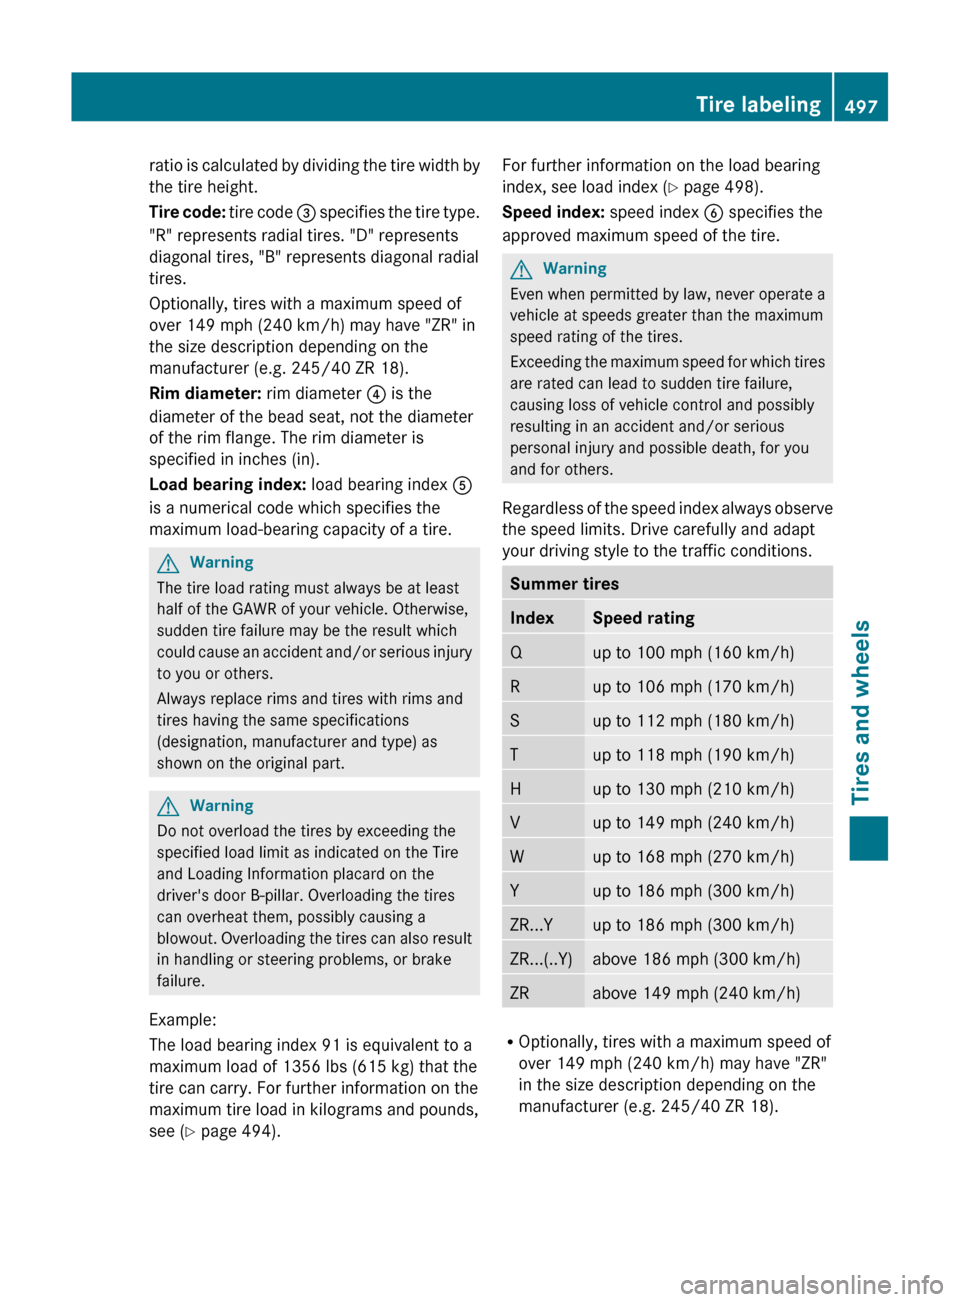
Tire code: tire code = specifies the tire type.
"R" represents radial tires. "D" represents
diagonal tires, "B" represents diagonal radial
tires.
Optionally, tires with a maximum speed of
over 149 mph (240 km/h) may have "ZR" in
the size description depending on the
manufacturer (e.g. 245/40 ZR 18).
Rim diameter: rim diameter ? is the
diameter of the bead seat, not the diameter
of the rim flange. The rim diameter is
specified in inches (in).
Load bearing index: load bearing index A
is a numerical code which specifies the
maximum load-bearing capacity of a tire.GWarning
The tire load rating must always be at least
half of the GAWR of your vehicle. Otherwise,
sudden tire failure may be the result which
could cause an accident and/or serious injury
to you or others.
Always replace rims and tires with rims and
tires having the same specifications
(designation, manufacturer and type) as
shown on the original part.
GWarning
Do not overload the tires by exceeding the
specified load limit as indicated on the Tire
and Loading Information placard on the
driver's door B-pillar. Overloading the tires
can overheat them, possibly causing a
blowout. Overloading the tires can also result
in handling or steering problems, or brake
failure.
Example:
The load bearing index 91 is equivalent to a
maximum load of 1356 lbs (615 kg) that the
tire can carry. For further information on the
maximum tire load in kilograms and pounds,
see ( Y page 494).
For further information on the load bearing
index, see load index ( Y page 498).
Speed index: speed index B specifies the
approved maximum speed of the tire.GWarning
Even when permitted by law, never operate a
vehicle at speeds greater than the maximum
speed rating of the tires.
Exceeding the maximum speed for which tires
are rated can lead to sudden tire failure,
causing loss of vehicle control and possibly
resulting in an accident and/or serious
personal injury and possible death, for you
and for others.
Regardless of the speed index always observe
the speed limits. Drive carefully and adapt
your driving style to the traffic conditions.
Summer tiresIndexSpeed ratingQup to 100 mph (160 km/h)Rup to 106 mph (170 km/h)Sup to 112 mph (180 km/h)Tup to 118 mph (190 km/h)Hup to 130 mph (210 km/h)Vup to 149 mph (240 km/h)Wup to 168 mph (270 km/h)Yup to 186 mph (300 km/h)ZR...Yup to 186 mph (300 km/h)ZR...(..Y)above 186 mph (300 km/h)ZRabove 149 mph (240 km/h)
R Optionally, tires with a maximum speed of
over 149 mph (240 km/h) may have "ZR"
in the size description depending on the
manufacturer (e.g. 245/40 ZR 18).
Tire labeling497Tires and wheelsZ
Page 513 of 524

CapacitiesVehicle modelCapacityFuel, coolant,
lubricants etc.Engine oil and
filterS 550 41
S 550 4MATIC 41
S 63 AMG9.0 US qt (8.5 l)Approved engine
oilsS 600
S 65 AMG9.5 US qt (9.0 l)Power steeringAll modelsApproximately 1.6 US qt
(1.5 l)PentosinCooling systemS 550 41
S 550 4MATIC 41Approximately 14.5 US qt
(13.7 l)MB 326.0
Anticorrosion/
AntifreezeS 600Approximately 17.4 US qt
(16.5 l)S 63 AMGApproximately 12.2 US qt
(11.5 l)S 65 AMGApproximately 14.7 US qt
(13.9 l)Tank capacityS 550 41
S 550 4MATIC 4121.9 US gal. (83 l)Premium-grade
unleaded gasoline
(at least 91 octane,
average value
between 96 RON/
86 MON)S 600
S 63 AMG
S 65 AMG23.8 US gal. (90 l)ReserveAll models except
AMG vehicles2.9 US gal. (11 l)AMG vehicles3.7 US gal. (14 l)41 BlueEFFICIENCY.Service products and capacities511Technical dataZ