2011 MERCEDES-BENZ S-Class ignition
[x] Cancel search: ignitionPage 367 of 524
The coolant temperature gauge is in the
instrument cluster on the left-hand side.
Under normal operating conditions and with
the specified coolant level, the coolant
temperature may rise to 248 ‡ (120 †).
! If the coolant temperature is too high a
display message is shown.
If the coolant temperature rises above
248 ‡(120 †), do not drive any further as
this could damage the engine.
Tachometer
The red band in the tachometer indicates the
engine's overrevving range.
! Do not drive in the overrevving range, as
this could damage the engine.
The fuel supply is interrupted to protect the
engine when the red band is reached.
Outside temperature display
The outside temperature display is in the
multifunction display.
GWarning!
The outside temperature indicator is not
designed to serve as an ice-warning device
and is therefore unsuitable for that purpose.
Indicated temperatures just above the
freezing point do not guarantee that the road
surface is free of ice. The road may still be icy,
especially in wooded areas or on bridges.
Changes in the outside temperature are
displayed after a short delay.
Operating the on-board computer
The on-board computer is activated as soon
as you turn the key to position 2 in the ignition
lock.
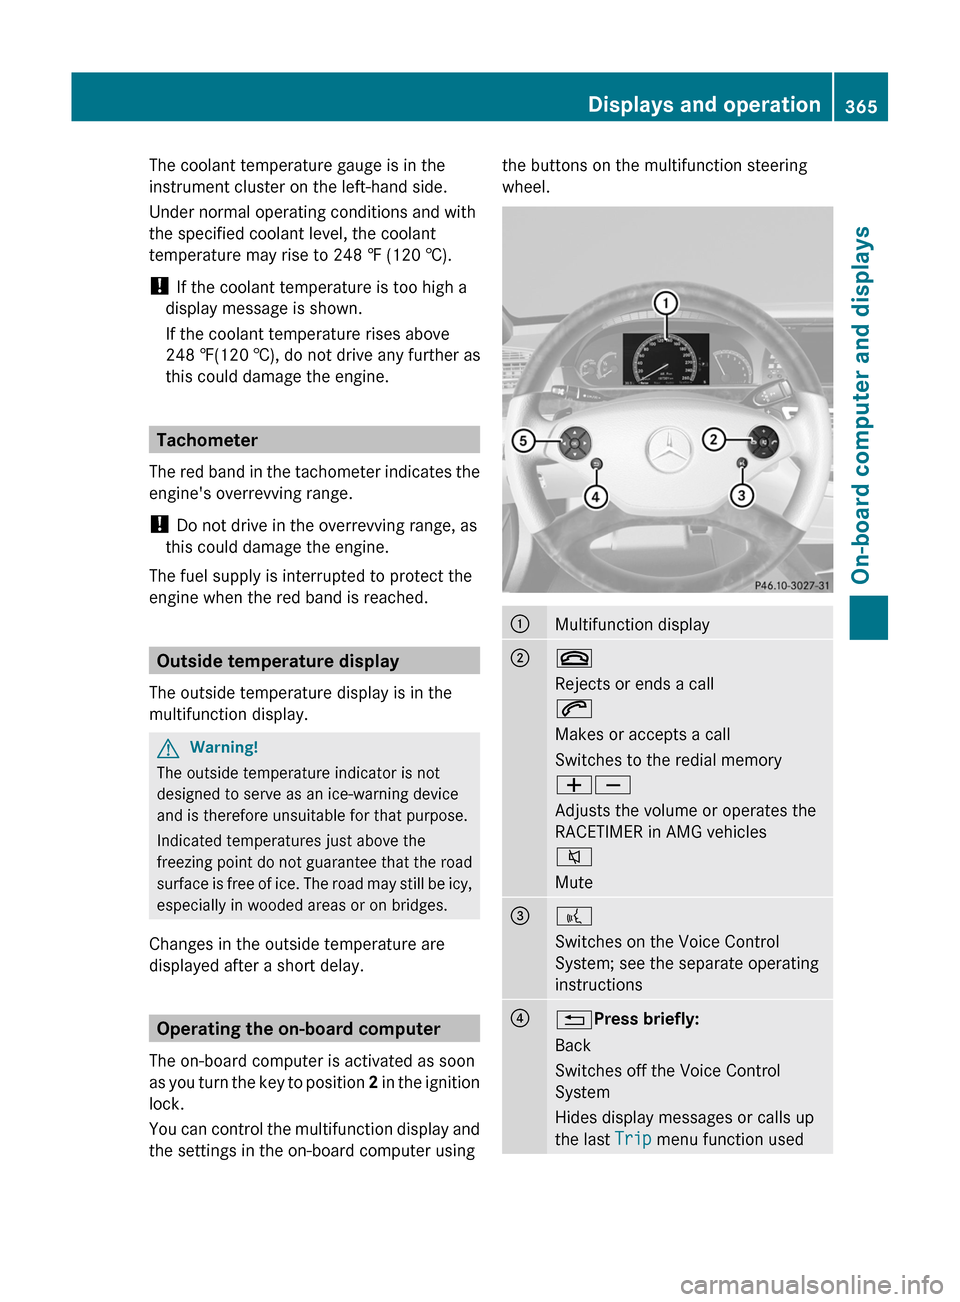
You can control the multifunction display and
the settings in the on-board computer using
the buttons on the multifunction steering
wheel.
:Multifunction display;~
Rejects or ends a call
6
Makes or accepts a call
Switches to the redial memory
WX
Adjusts the volume or operates the
RACETIMER in AMG vehicles
8
Mute
=?
Switches on the Voice Control
System; see the separate operating
instructions
?%Press briefly:
Back
Switches off the Voice Control
System
Hides display messages or calls up
the last Trip menu function used
Displays and operation365On-board computer and displaysZ
Page 368 of 524
%Press and hold:
Selects the standard display
A=;
Selects a menu
9:Press briefly:
Selects a function or scrolls through
lists
In the Audio menu: selects a stored
station, an audio track or a video
scene
In the Telephone menu: switches to
the phone book and selects a name
or a telephone number.
9:Press and hold:
In the Audio menu: selects a station
from the alphabetical list of stations,
starts station search or starts rapid
scrolling through an audio/video
disc.
In the Telephone menu: starts rapid
scrolling through the phone book.
a
Confirms selections and hides
display messages
In the Telephone menu: switches to
the phone book and starts dialing.
In the Audio menu: stops the station
search function at the desired
station.
Multifunction display
To activate the multifunction display:
Rswitch on the ignition.
Rswitch on the lights.
Ropen a door.
Values and settings as well as display
messages are shown in the multifunction
display.
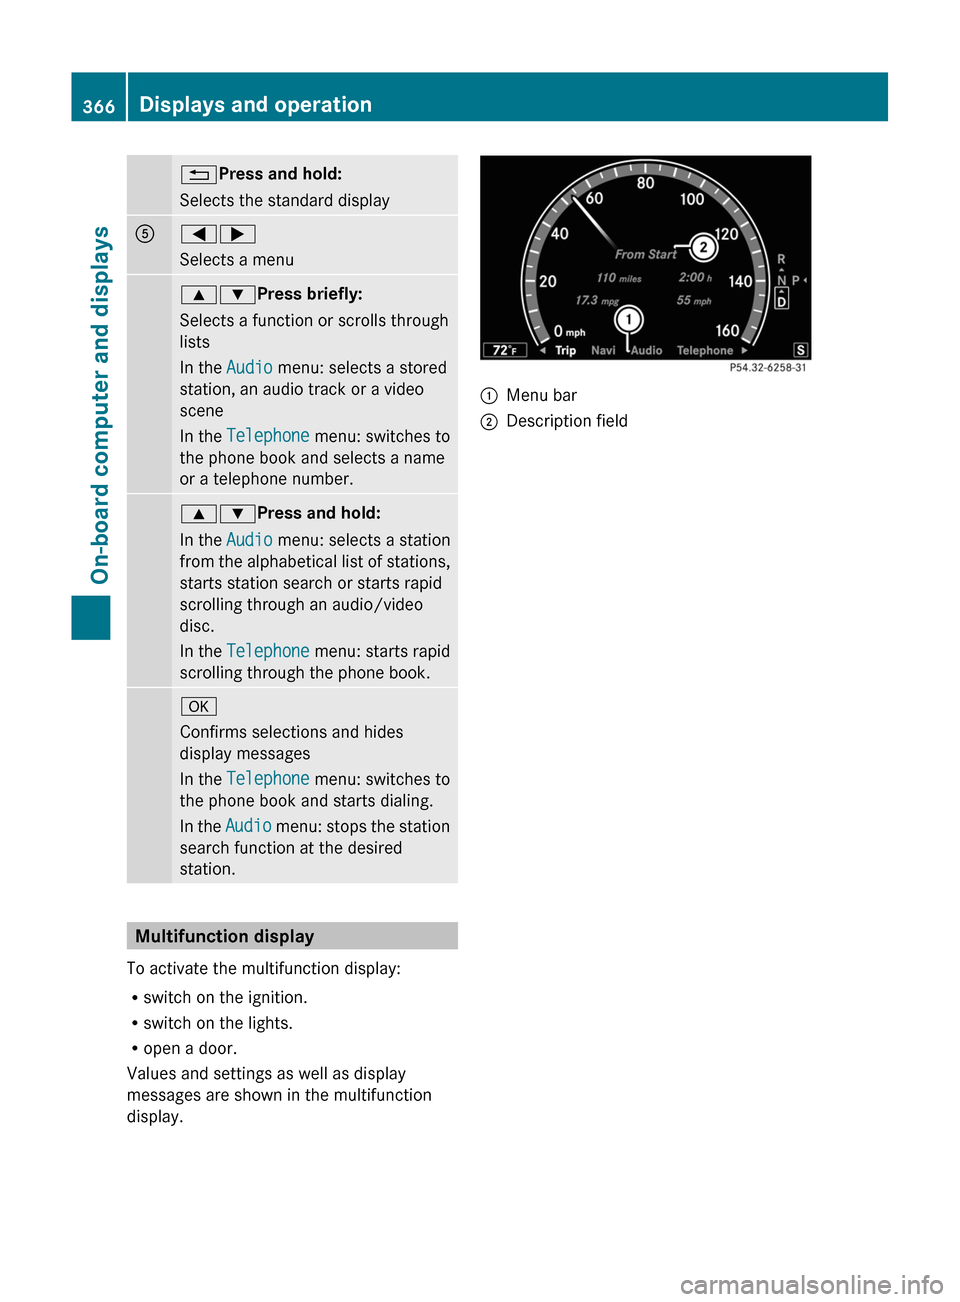
:Menu bar;Description field366Displays and operationOn-board computer and displays
Page 370 of 524
Trip menu
Standard display
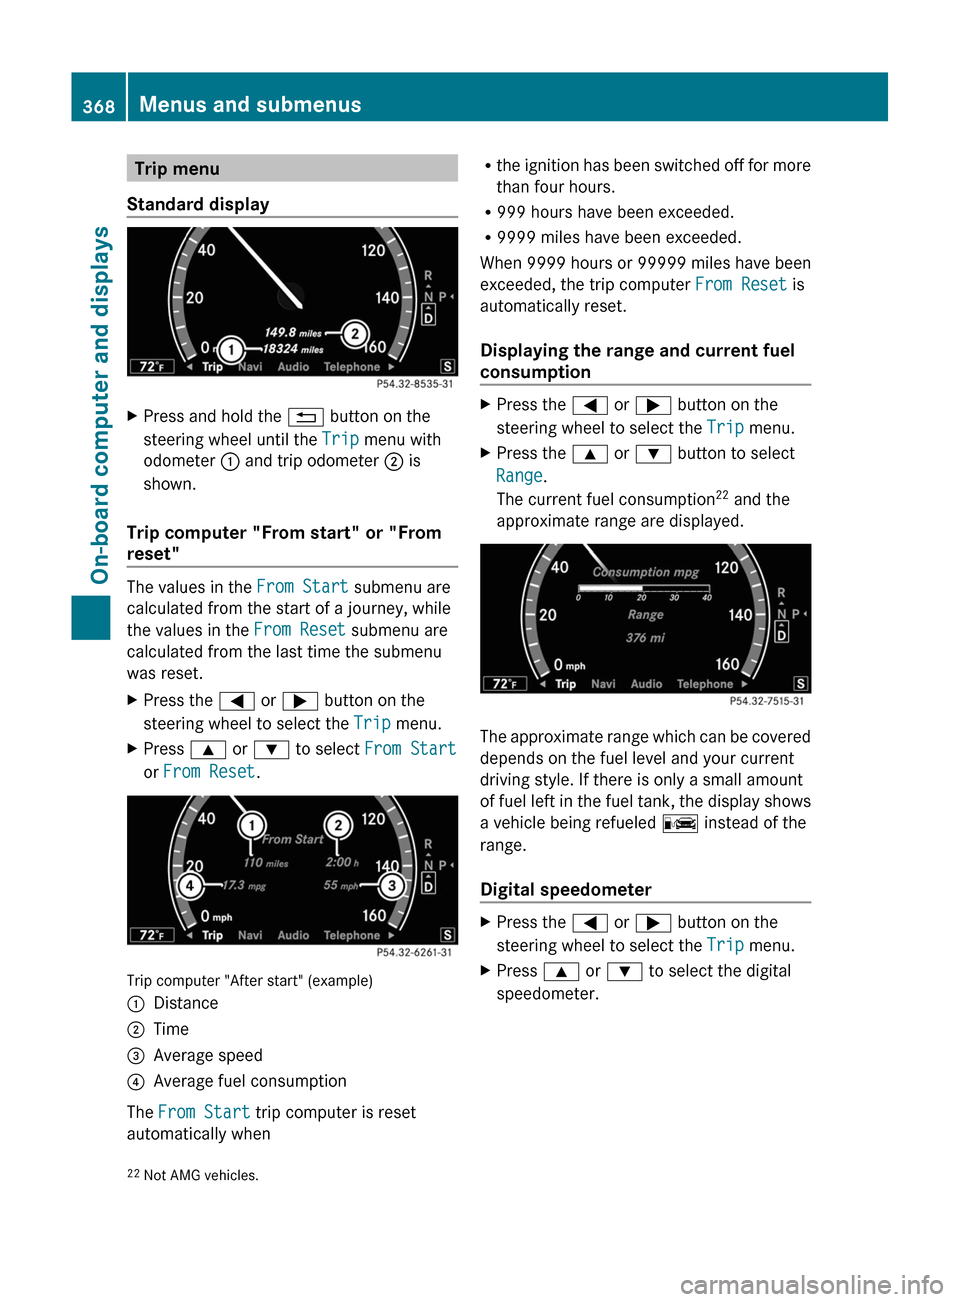
XPress and hold the % button on the
steering wheel until the Trip menu with
odometer : and trip odometer ; is
shown.
Trip computer "From start" or "From
reset"
The values in the From Start submenu are
calculated from the start of a journey, while
the values in the From Reset submenu are
calculated from the last time the submenu
was reset.
XPress the = or ; button on the
steering wheel to select the Trip menu.
XPress 9 or : to select From Start
or From Reset.
Trip computer "After start" (example)
:Distance;Time=Average speed?Average fuel consumption
The From Start trip computer is reset
automatically when
Rthe ignition has been switched off for more
than four hours.
R999 hours have been exceeded.
R9999 miles have been exceeded.
When 9999 hours or 99999 miles have been
exceeded, the trip computer From Reset is
automatically reset.
Displaying the range and current fuel
consumption
XPress the = or ; button on the
steering wheel to select the Trip menu.
XPress the 9 or : button to select
Range.
The current fuel consumption22 and the
approximate range are displayed.
The approximate range which can be covered
depends on the fuel level and your current
driving style. If there is only a small amount
of fuel left in the fuel tank, the display shows
a vehicle being refueled C instead of the
range.
Digital speedometer
XPress the = or ; button on the
steering wheel to select the Trip menu.
XPress 9 or : to select the digital
speedometer.22Not AMG vehicles.368Menus and submenusOn-board computer and displays
Page 374 of 524

Upshift indicator up ; indicates that the
engine has reached the overrevving range
when in the manual gearshift program.
Upshift indicator up ; fades out other
messages until you have shifted up.
When the engine oil temperature is below
80 †, the oil temperature is shown in blue.
Avoid driving at full engine output during this
time.
RACETIMER
Displaying and starting RACETIMER
GWarning
The RACETIMER feature is only for use on
roads and in conditions where high speed
driving is permitted. Racing on public roads is
prohibited under all circumstances. The driver
is and must always remain responsible for
following posted speed limits.
You can use the RACETIMER to store lap
times.
When RACETIMER is displayed, you cannot
adjust the volume using the W and X
buttons on the steering wheel.
XPress = or ; on the steering wheel
to select the AMG menu.
XPress the 9 button repeatedly until the
RACETIMER is shown.
:Gear indicator;Seconds indicator=RACETIMER?LapYou can start the RACETIMER when the
engine is running or if the key is in position
2 in the ignition lock.
XTo start: press the W button to start the
RACETIMER.
XTo display the intermediate time: press
X to show the intermediate time.
The intermediate time is displayed for five
seconds.
XTo stop: press the W button to stop the
RACETIMER.
The RACETIMER interrupts timing when you
stop the vehicle and turn the key to position
1 in the ignition lock. When you turn the key
to position 2 or 3 and then press the W
button, timing is continued.
Storing the lap time and starting a new lap
It is possible to store a maximum of sixteen
laps.
XPress the X button on the steering
wheel to show the intermediate time during
timing.
The intermediate time is displayed for five
seconds.
XPress the X button again within five
seconds.
The displayed intermediate time is stored
as a lap time.
Timing starts for a new lap. The new lap is
timed from when the intermediate time is
called up.
:Gear indicator;RACETIMER=Fastest lap time (best lap)372Menus and submenusOn-board computer and displays
Page 378 of 524
GWarning
When the å ESP®
OFF warning lamp is lit,
ESP ®
is deactivated.
If the ÷ ESP®
warning lamp and the
å ESP®
OFF warning lamp remain lit,
ESP ®
is not available due to a malfunction.
When ESP ®
is deactivated or not operational,
vehicle stability in standard driving
maneuvers is reduced.
Adapt your speed and driving to the prevailing
road conditions and to the non-operating
status of the ESP ®
.
XTo activate: press a again.
The å warning lamp in the instrument
cluster goes out.
Activating/deactivating PRE-SAFE ®
Brake
This function is only available with
DISTRONIC PLUS.
XPress = or ; on the steering wheel
to select the DriveAssist menu.XPress the 9 or : button to select
PRE-SAFE Brake .XPress a.
The current selection is displayed.XTo activate/deactivate: press a
again.
When PRE-SAFE ®
Brake ( Y page 71) is
activated, the multifunction display shows
the Ä symbol as long as the HOLD
function is not activated ( Y page 335).
Activating/deactivating ATTENTION
ASSIST
This function is not available in vehicles with
HYBRID.
XPress = or ; on the steering wheel
to select the DriveAssist menu.XPress 9 or : to select the
Attention Assist menu.XPress a.
The current selection is displayed.XTo activate/deactivate: press a
again.
When ATTENTION ASSIST ( Y page 347) is
activated, the À symbol appears in the
multifunction display when the ignition is on.
Activating/deactivating Blind Spot
Assist
You can use the Blind Spot Assist
function to activate Blind Spot Assist
( Y page 352) or Active Blind Spot Assist
( Y page 356).
XPress = or ; on the steering wheel
to select the DriveAssist menu.XPress 9 or : to select Blind Spot
Assist .XPress a.
The current selection is displayed.XTo activate/deactivate: press a
again.
Activating/deactivating Lane Keeping
Assist
You can use the Lane Keeping Assist
function to activate/deactivate Lane Keeping
Assist ( Y page 354) or Active Lane Keeping
Assist ( Y page 359).
XPress = or ; on the steering wheel
to select the DriveAssist menu.XPress 9 or : on the steering wheel
to select Lane Keeping Assist .XPress a.
The current selection is displayed.XTo activate/deactivate: press a
again.
When Lane Keeping Assist or Active Lane
keeping Assist is activated, the multifunction
display shows the à symbol when the
ignition is switched on.
376Menus and submenusOn-board computer and displays
Page 382 of 524
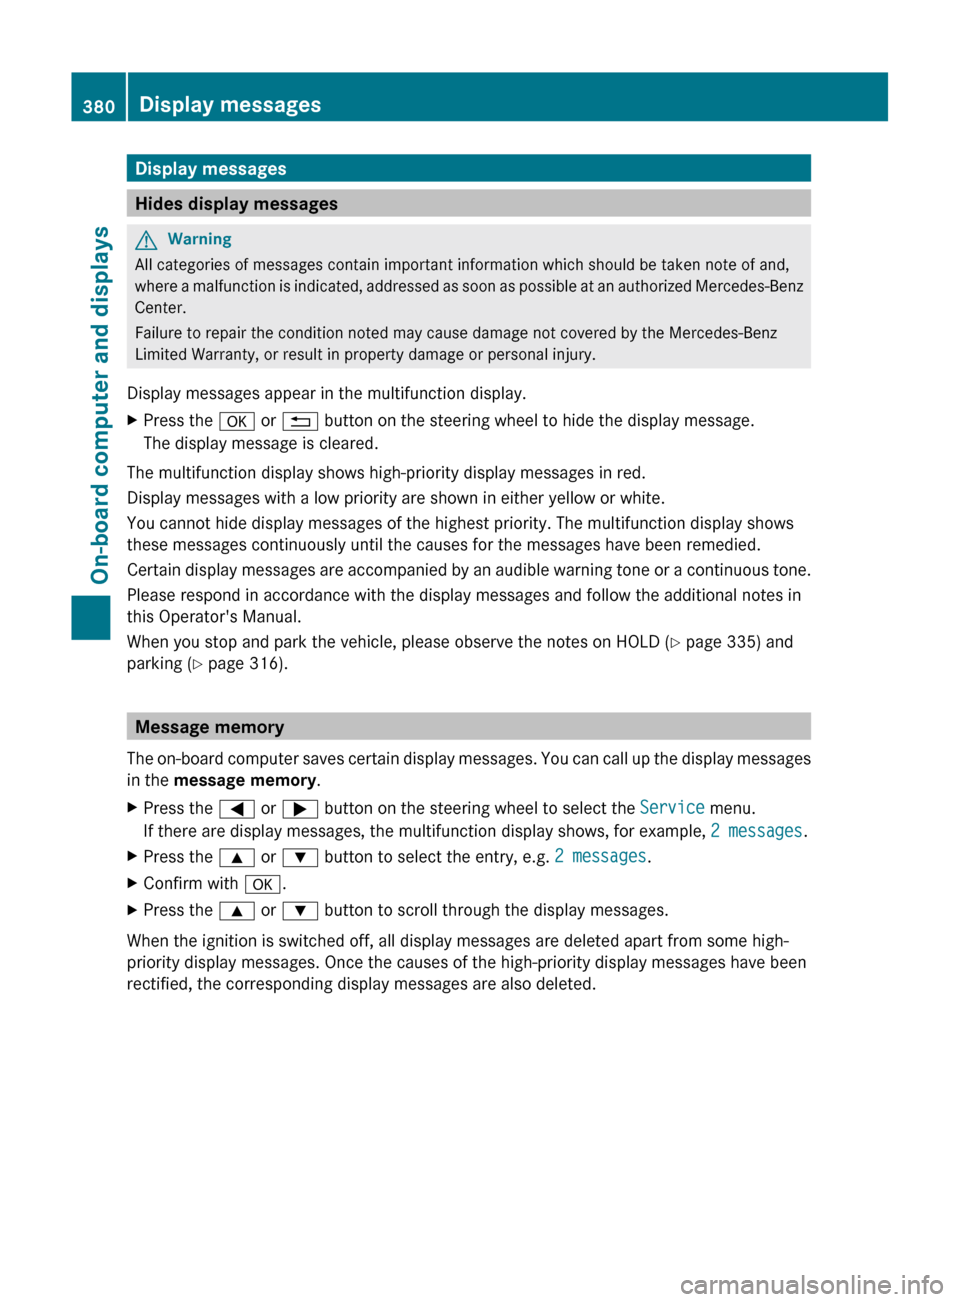
Display messages
Hides display messages
GWarning
All categories of messages contain important information which should be taken note of and,
where a malfunction is indicated, addressed as soon as possible at an authorized Mercedes-Benz
Center.
Failure to repair the condition noted may cause damage not covered by the Mercedes-Benz
Limited Warranty, or result in property damage or personal injury.
Display messages appear in the multifunction display.
XPress the a or % button on the steering wheel to hide the display message.
The display message is cleared.
The multifunction display shows high-priority display messages in red.
Display messages with a low priority are shown in either yellow or white.
You cannot hide display messages of the highest priority. The multifunction display shows
these messages continuously until the causes for the messages have been remedied.
Certain display messages are accompanied by an audible warning tone or a continuous tone.
Please respond in accordance with the display messages and follow the additional notes in
this Operator's Manual.
When you stop and park the vehicle, please observe the notes on HOLD ( Y page 335) and
parking ( Y page 316).
Message memory
The on-board computer saves certain display messages. You can call up the display messages
in the message memory .
XPress the = or ; button on the steering wheel to select the Service menu.
If there are display messages, the multifunction display shows, for example, 2 messages.XPress the 9 or : button to select the entry, e.g. 2 messages.XConfirm with a.XPress the 9 or : button to scroll through the display messages.
When the ignition is switched off, all display messages are deleted apart from some high-
priority display messages. Once the causes of the high-priority display messages have been
rectified, the corresponding display messages are also deleted.
380Display messagesOn-board computer and displays
Page 388 of 524
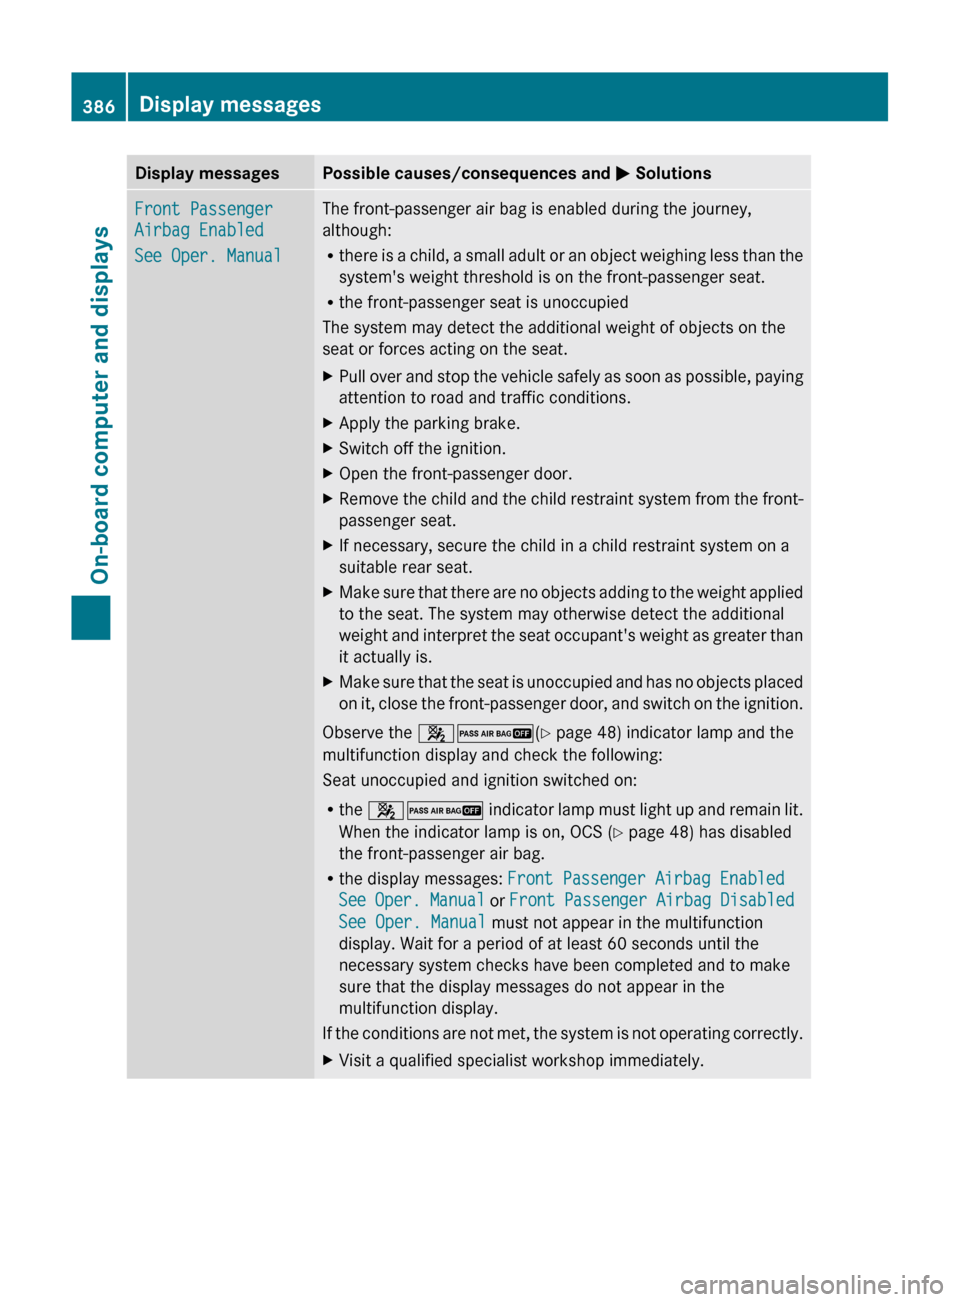
Display messagesPossible causes/consequences and M SolutionsFront Passenger
Airbag Enabled
See Oper. ManualThe front-passenger air bag is enabled during the journey,
although:
R there is a child, a small adult or an object weighing less than the
system's weight threshold is on the front-passenger seat.
R the front-passenger seat is unoccupied
The system may detect the additional weight of objects on the
seat or forces acting on the seat.XPull over and stop the vehicle safely as soon as possible, paying
attention to road and traffic conditions.XApply the parking brake.XSwitch off the ignition.XOpen the front-passenger door.XRemove the child and the child restraint system from the front-
passenger seat.XIf necessary, secure the child in a child restraint system on a
suitable rear seat.XMake sure that there are no objects adding to the weight applied
to the seat. The system may otherwise detect the additional
weight and interpret the seat occupant's weight as greater than
it actually is.XMake sure that the seat is unoccupied and has no objects placed
on it, close the front-passenger door, and switch on the ignition.
Observe the 42 (Y page 48) indicator lamp and the
multifunction display and check the following:
Seat unoccupied and ignition switched on:
R the 42 indicator lamp must light up and remain lit.
When the indicator lamp is on, OCS ( Y page 48) has disabled
the front-passenger air bag.
R the display messages: Front Passenger Airbag Enabled
See Oper. Manual or Front Passenger Airbag Disabled
See Oper. Manual must not appear in the multifunction
display. Wait for a period of at least 60 seconds until the
necessary system checks have been completed and to make
sure that the display messages do not appear in the
multifunction display.
If the conditions are not met, the system is not operating correctly.
XVisit a qualified specialist workshop immediately.386Display messagesOn-board computer and displays
Page 389 of 524
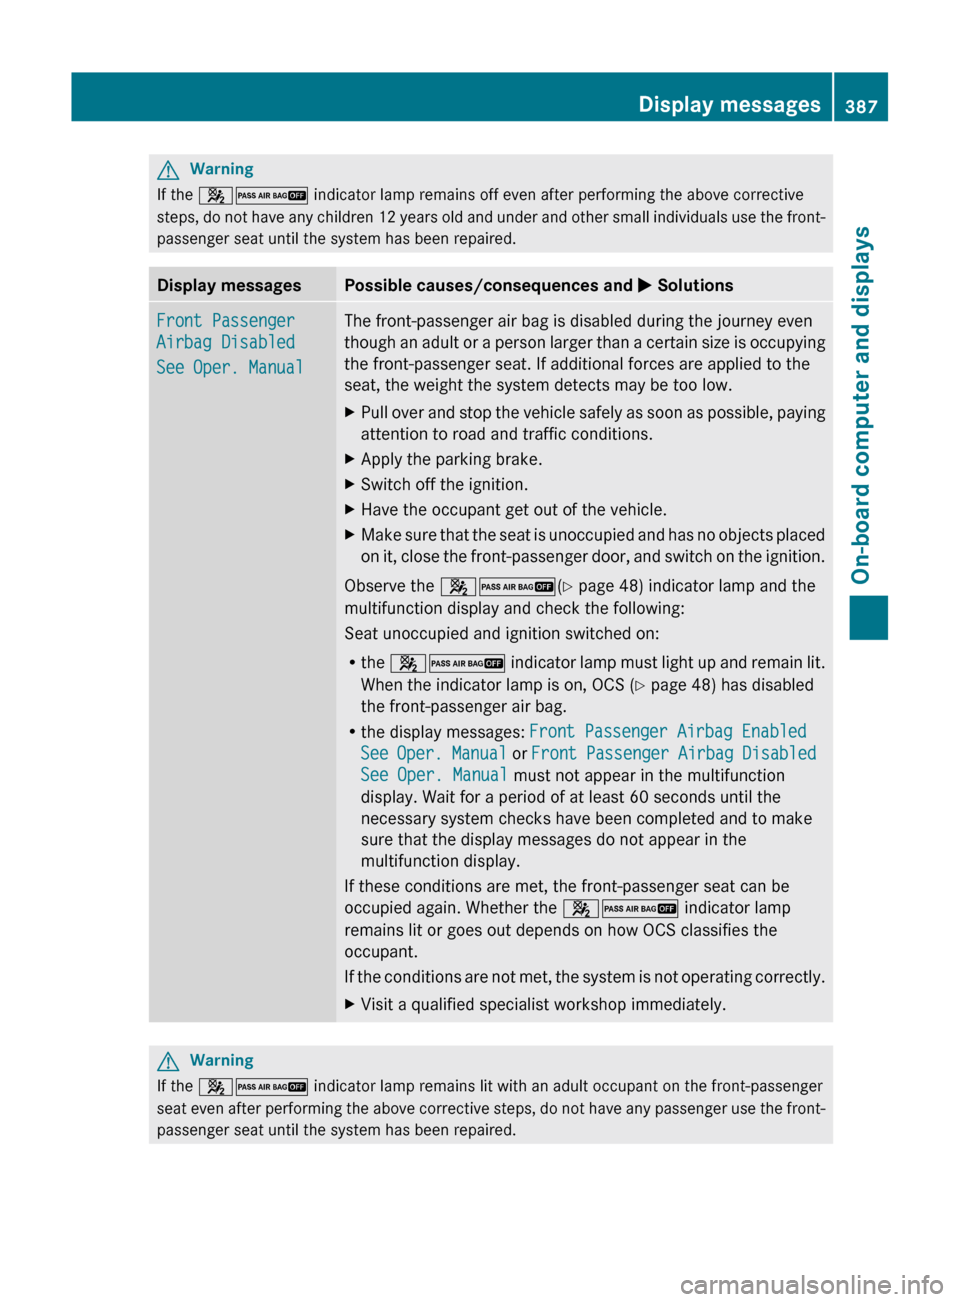
GWarning
If the 42 indicator lamp remains off even after performing the above corrective
steps, do not have any children 12 years old and under and other small individuals use the front-
passenger seat until the system has been repaired.
Display messagesPossible causes/consequences and M SolutionsFront Passenger
Airbag Disabled
See Oper. ManualThe front-passenger air bag is disabled during the journey even
though an adult or a person larger than a certain size is occupying
the front-passenger seat. If additional forces are applied to the
seat, the weight the system detects may be too low.XPull over and stop the vehicle safely as soon as possible, paying
attention to road and traffic conditions.XApply the parking brake.XSwitch off the ignition.XHave the occupant get out of the vehicle.XMake sure that the seat is unoccupied and has no objects placed
on it, close the front-passenger door, and switch on the ignition.
Observe the 42 (Y page 48) indicator lamp and the
multifunction display and check the following:
Seat unoccupied and ignition switched on:
R the 42 indicator lamp must light up and remain lit.
When the indicator lamp is on, OCS ( Y page 48) has disabled
the front-passenger air bag.
R the display messages: Front Passenger Airbag Enabled
See Oper. Manual or Front Passenger Airbag Disabled
See Oper. Manual must not appear in the multifunction
display. Wait for a period of at least 60 seconds until the
necessary system checks have been completed and to make
sure that the display messages do not appear in the
multifunction display.
If these conditions are met, the front-passenger seat can be
occupied again. Whether the 42 indicator lamp
remains lit or goes out depends on how OCS classifies the
occupant.
If the conditions are not met, the system is not operating correctly.
XVisit a qualified specialist workshop immediately.GWarning
If the 42 indicator lamp remains lit with an adult occupant on the front-passenger
seat even after performing the above corrective steps, do not have any passenger use the front-
passenger seat until the system has been repaired.
Display messages387On-board computer and displaysZ