2011 MERCEDES-BENZ GLK-Class warning light
[x] Cancel search: warning lightPage 157 of 304

GWarning!
The rear view camera is only an aid and may
display obstacles
R from a distorted perspective
R inaccurately
R may not display obstacles at all
The rear view camera does not relieve you of
the responsibility to be cautious. Take care
and pay careful attention. The rear view
camera may not show objects which are
R very close to the rear bumper
R under the rear bumper
R above the tailgate handle
You are responsible for safety at all times and
must continue to pay attention to the
immediate surroundings when parking and
maneuvering. This includes the area behind,
in front of, and beside the vehicle. Otherwise
you could endanger yourself and/or others.
GWarning!
The rear view camera either will not function
or will not function to its full capability if
R the tailgate is open
R it is raining very hard, snowing or foggy
R it is night or you are parking/maneuvering
your vehicle in an area where it is very dark
R the camera is exposed to a very bright white
light
R the immediate surroundings are
illuminated with fluorescent light (the
display may flicker)
R there is a sudden change in temperature,
e.g. if you drive into a heated garage from
the cold (lens condensation)
R the camera lens is dirty or covered
R the rear of your vehicle is damaged
In this case, have the position and setting
of the camera checked by a qualified
specialist workshop. Mercedes-Benz
recommends that you contact a Mercedes-
Benz Center for this purpose.
Do not use the rear view camera in these
situations. Otherwise you could injure
yourself or others and/or damage property
including your vehicle while parking/
maneuvering.
Activating the rear view cameraXMake sure that the SmartKey is in
position 2 in the ignition lock.XMake sure that the "rear view camera"
function is selected in COMAND (see the
separate operating instructions for
COMAND).XEngage reverse gear.
The area behind the vehicle is shown in the
COMAND display with guide lines.
Guide lines in the COMAND display
GWarning!
Use of rear view camera can be dangerous if
you are color-blind or have impaired color
vision.
Only use rear view camera if you can see and
distinguish all colored guidelines shown by
rear view camera on the COMAND system
display.
GWarning
Please note that objects that do not touch the
ground may appear to be further away than
they actually are, for example:
R the bumper of a vehicle parked behind you
R the trailer drawbar
R the ball coupling of a trailer tow hitch
R the rear end of a truck
R a slanted post
In such cases, you should not use the guide
lines to judge the distance. You may misjudge
the distance, which increases the risk of
impacting the objects.
Even if the object you approach is directly on
the ground, do not approach the object any
closer than the red guide line.
Driving systems155Driving and parkingBA 204.9 USA, CA Edition A 2011; 1; 6, en-USd2mwentsVersion: 3.0.3.62010-06-15T08:58:39+02:00 - Seite 155Z
Page 165 of 304

If the coolant temperature rises above
248 ‡(120 †), do not drive any further as
this could damage the engine.
Tachometer
The red band in the tachometer indicates the
engine's overrevving range.
! Do not drive in the overrevving range, as
this could damage the engine.
The fuel supply is interrupted to protect the
engine when the red band is reached.
Outside temperature display
The outside temperature display is in the
multifunction display.
GWarning!
The outside temperature indicator is not
designed to serve as an ice-warning device
and is therefore unsuitable for that purpose.
Indicated temperatures just above the
freezing point do not guarantee that the road
surface is free of ice. The road may still be icy,
especially in wooded areas or on bridges.
Changes in the outside temperature are
displayed after a short delay.
Speedometer with segments
The segments in the speedometer indicate
which speed range is available.
Cruise control mode:
The segments light up from the stored speed
to the maximum speed.
Operating the on-board computer
The on-board computer is activated as soon
as you turn the SmartKey to position 1 in the
ignition lock.
You can control the multifunction display and
the settings in the on-board computer using
the buttons on the multifunction steering
wheel.:Multifunction display;~6
Makes/accepts or rejects/ends a
call
WX
Adjusts the volume
8
Mute=?
Activates voice control; see the
separate operating instructions?% Press briefly:
Back
Deactivates voice control
Hides display messages% Press and hold:
Selects the standard displayA=;
Calls up the menu and menu barDisplays and operation163On-board computer and displaysBA 204.9 USA, CA Edition A 2011; 1; 6, en-USd2mwentsVersion: 3.0.3.62010-06-15T08:58:39+02:00 - Seite 163Z
Page 167 of 304

Menus and submenus
Menu overview
The number of menus shown depends on the optional equipment in the vehicle.
Function:Trip menu ( Y page 166);Navi menu (navigation details) ( Y page 167)=Audio menu ( Y page 168)?Tel menu (telephone) ( Y page 169)AServ. menu ( Y page 170)
R call up display messages ( Y page 175)
R tire pressure loss warning system (Canada only) ( Y page 269)
R tire pressure monitor (USA only) ( Y page 271)
R ASSYST PLUS service interval display ( Y page 237)BSettings (Y page 171) menu
The Audio and Tel menus differ slightly in vehicles with an audio system and vehicles with
COMAND. The examples given in this Operator's Manual apply to vehicles equipped with
COMAND.
Menus and submenus165On-board computer and displaysBA 204.9 USA, CA Edition A 2011; 1; 6, en-USd2mwentsVersion: 3.0.3.62010-06-15T08:58:39+02:00 - Seite 165Z
Page 175 of 304

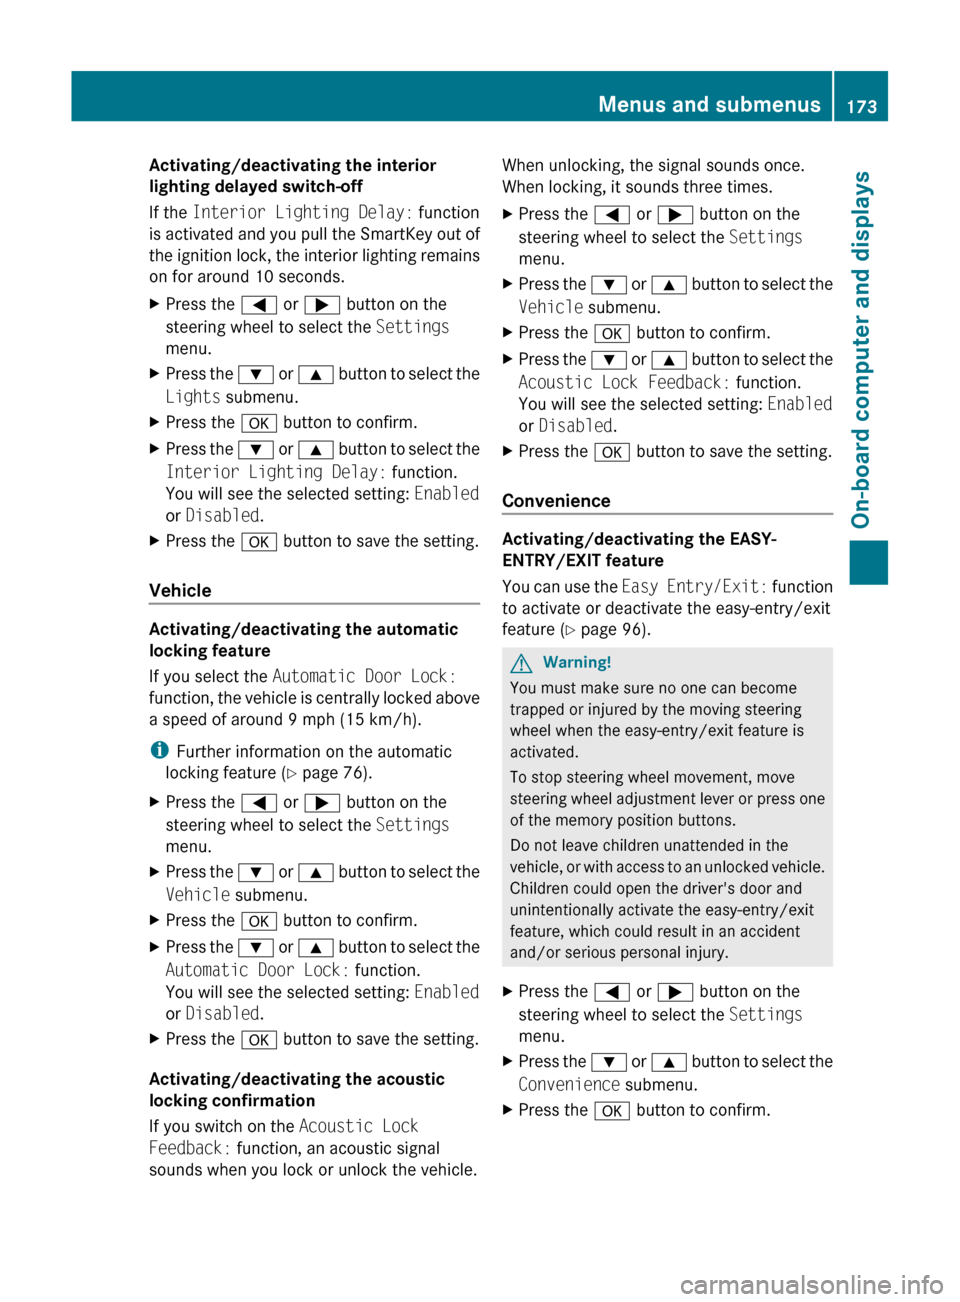
Activating/deactivating the interior
lighting delayed switch-off
If the Interior Lighting Delay: function
is activated and you pull the SmartKey out of
the ignition lock, the interior lighting remains
on for around 10 seconds. XPress the = or ; button on the
steering wheel to select the Settings
menu.XPress the : or 9 button to select the
Lights submenu.XPress the a button to confirm.XPress the : or 9 button to select the
Interior Lighting Delay: function.
You will see the selected setting: Enabled
or Disabled .XPress the a button to save the setting.
Vehicle
Activating/deactivating the automatic
locking feature
If you select the Automatic Door Lock:
function, the vehicle is centrally locked above
a speed of around 9 mph (15 km/h).
i Further information on the automatic
locking feature ( Y page 76).
XPress the = or ; button on the
steering wheel to select the Settings
menu.XPress the : or 9 button to select the
Vehicle submenu.XPress the a button to confirm.XPress the : or 9 button to select the
Automatic Door Lock: function.
You will see the selected setting: Enabled
or Disabled .XPress the a button to save the setting.
Activating/deactivating the acoustic
locking confirmation
If you switch on the Acoustic Lock
Feedback: function, an acoustic signal
sounds when you lock or unlock the vehicle.
When unlocking, the signal sounds once.
When locking, it sounds three times.XPress the = or ; button on the
steering wheel to select the Settings
menu.XPress the : or 9 button to select the
Vehicle submenu.XPress the a button to confirm.XPress the : or 9 button to select the
Acoustic Lock Feedback: function.
You will see the selected setting: Enabled
or Disabled .XPress the a button to save the setting.
Convenience
Activating/deactivating the EASY-
ENTRY/EXIT feature
You can use the Easy Entry/Exit: function
to activate or deactivate the easy-entry/exit
feature ( Y page 96).
GWarning!
You must make sure no one can become
trapped or injured by the moving steering
wheel when the easy-entry/exit feature is
activated.
To stop steering wheel movement, move
steering wheel adjustment lever or press one
of the memory position buttons.
Do not leave children unattended in the
vehicle, or with access to an unlocked vehicle.
Children could open the driver's door and
unintentionally activate the easy-entry/exit
feature, which could result in an accident
and/or serious personal injury.
XPress the = or ; button on the
steering wheel to select the Settings
menu.XPress the : or 9 button to select the
Convenience submenu.XPress the a button to confirm.Menus and submenus173On-board computer and displaysBA 204.9 USA, CA Edition A 2011; 1; 6, en-USd2mwentsVersion: 3.0.3.62010-06-15T08:58:39+02:00 - Seite 173Z
Page 178 of 304

Safety systemsDisplay messagesPossible causes/consequences and M Solutions÷
Inoperative See
Operator's ManualGRisk of accident
ESP ®
(Electronic Stability Program), BAS (Brake Assist), hill start
assist and trailer stabilization are not available due to a
malfunction. In addition, the ä and å warning lamps light
up in the instrument cluster.
The brake system continues to function normally, but without the
functions listed above.
XDrive on carefully.XVisit a qualified specialist workshop.÷
ESC Currently
Unavailable See
Operator's ManualGRisk of accident
ESP ®
, BAS, hill start assist and ESP ®
trailer stabilization are
temporarily unavailable. In addition, the ä and å warning
lamps light up in the instrument cluster.
The self-diagnosis function might not be complete, for example.
The brake system continues to function normally, but without the
functions listed above.
XCarefully drive a suitable distance making slight steering
movements at a speed above 12 mph (20 km/h).
If the display message disappears, the functions mentioned
above are available again.
If the display message continues to be displayed:
XDrive on carefully.XVisit a qualified specialist workshop.GRisk of accident
ESP ®
, BAS, hill start assist and ESP ®
trailer stabilization are
temporarily unavailable. In addition, the ä and å warning
lamps light up in the instrument cluster.
The on-board voltage may be insufficient, for example.
The brake system continues to function normally, but without the
functions listed above.
XDrive on carefully.
If the display message disappears, the functions mentioned
above are available again.
If the display message continues to be displayed:
XVisit a qualified specialist workshop.176Display messagesOn-board computer and displays
BA 204.9 USA, CA Edition A 2011; 1; 6, en-USd2mwentsVersion: 3.0.3.62010-06-15T08:58:39+02:00 - Seite 176
Page 179 of 304

Display messagesPossible causes/consequences and M SolutionsGRisk of accident
If the display message is shown and the ä warning lamp flashes
at the same time, ETS (Electronic Traction System) is deactivated.
The brakes on the drive wheels could otherwise overheat.
XLet the brakes cool down until the display message disappears
and the ä warning lamp goes out.
ETS is active again.G
Tele Aid
InoperativeUSA only: one or more main functions in the mbrace system are
malfunctioning.
Canada only: one or more of the main functions of the TELEAID
system is malfunctioning.XUSA only: have the mbrace system checked at a qualified
specialist workshop.XCanada only: have the TELEAID system checked at a qualified
specialist workshop.Check Child Seat
Pos.
See Operator's
ManualGRisk of injury
Vehicles with BabySmart™ (Canada only):
The BabySmart™ child seat is positioned incorrectly.
XInstall the child seat in the correct position.GRisk of injury
Vehicles with BabySmart™ (Canada only):
The sensor for automatic child seat recognition is faulty.
XVisit a qualified specialist workshop.6
SRS Malfunction
Service RequiredGRisk of injury
There is a malfunction in the SRS (Supplemental Restraint
System). The 6 warning lamp also lights up in the instrument
cluster.
XVisit a qualified specialist workshop.6
Front Left SRS
Malfunction
Service Required
or
Front Right SRS
Malfunction
Service RequiredGRisk of injury
SRS has malfunctioned at the front on the left or right. The 6
warning lamp also lights up in the instrument cluster.
XVisit a qualified specialist workshop.Display messages177On-board computer and displaysBA 204.9 USA, CA Edition A 2011; 1; 6, en-USd2mwentsVersion: 3.0.3.62010-06-15T08:58:39+02:00 - Seite 177Z
Page 180 of 304

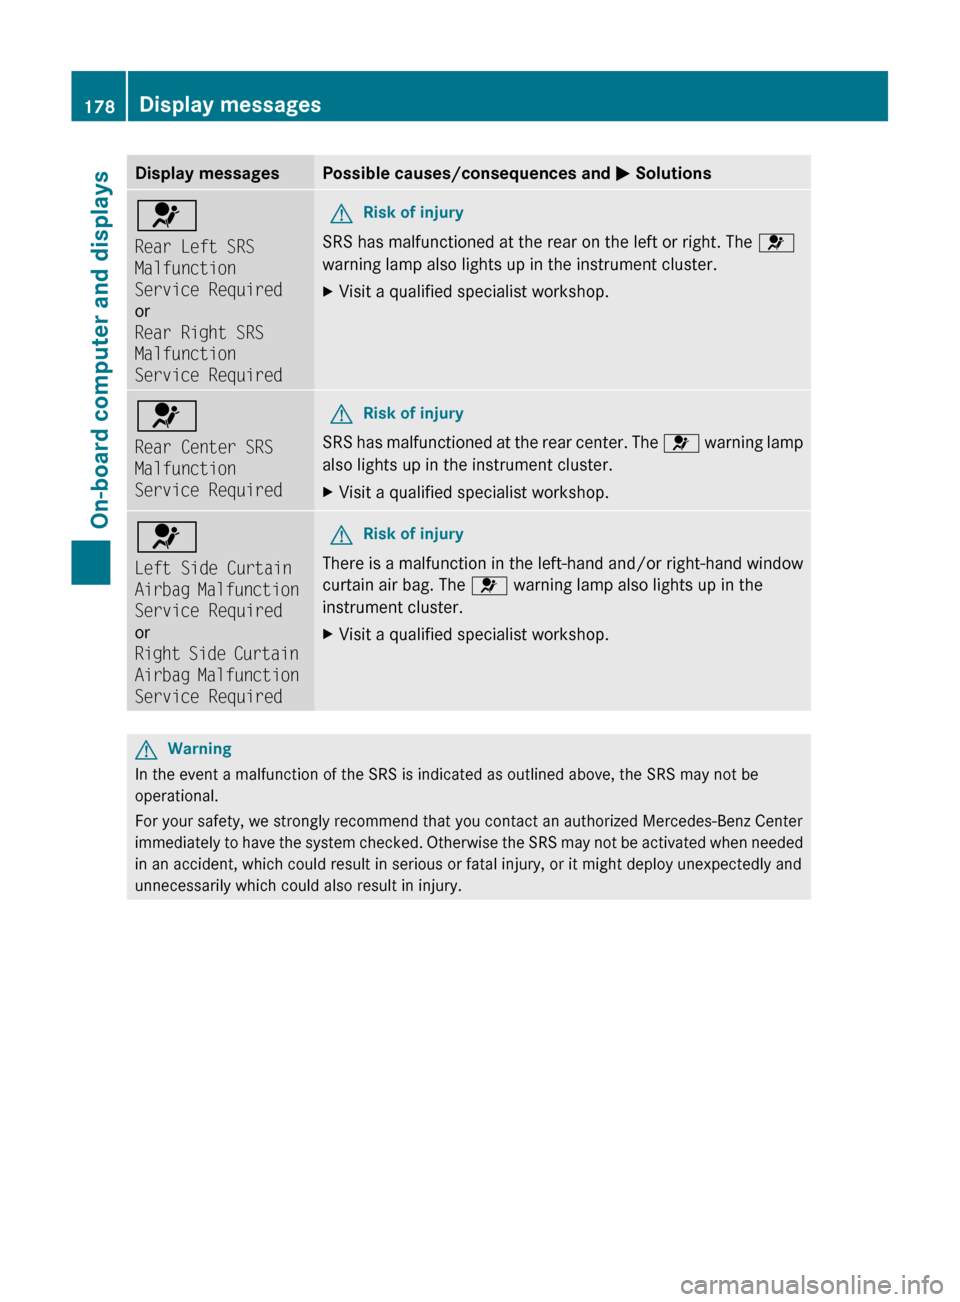
Display messagesPossible causes/consequences and M Solutions6
Rear Left SRS
Malfunction
Service Required
or
Rear Right SRS
Malfunction
Service RequiredGRisk of injury
SRS has malfunctioned at the rear on the left or right. The 6
warning lamp also lights up in the instrument cluster.
XVisit a qualified specialist workshop.6
Rear Center SRS
Malfunction
Service RequiredGRisk of injury
SRS has malfunctioned at the rear center. The 6 warning lamp
also lights up in the instrument cluster.
XVisit a qualified specialist workshop.6
Left Side Curtain
Airbag Malfunction
Service Required
or
Right Side Curtain
Airbag Malfunction
Service RequiredGRisk of injury
There is a malfunction in the left-hand and/or right-hand window
curtain air bag. The 6 warning lamp also lights up in the
instrument cluster.
XVisit a qualified specialist workshop.GWarning
In the event a malfunction of the SRS is indicated as outlined above, the SRS may not be
operational.
For your safety, we strongly recommend that you contact an authorized Mercedes-Benz Center
immediately to have the system checked. Otherwise the SRS may not be activated when needed
in an accident, which could result in serious or fatal injury, or it might deploy unexpectedly and
unnecessarily which could also result in injury.
178Display messagesOn-board computer and displays
BA 204.9 USA, CA Edition A 2011; 1; 6, en-USd2mwentsVersion: 3.0.3.62010-06-15T08:58:39+02:00 - Seite 178
Page 182 of 304

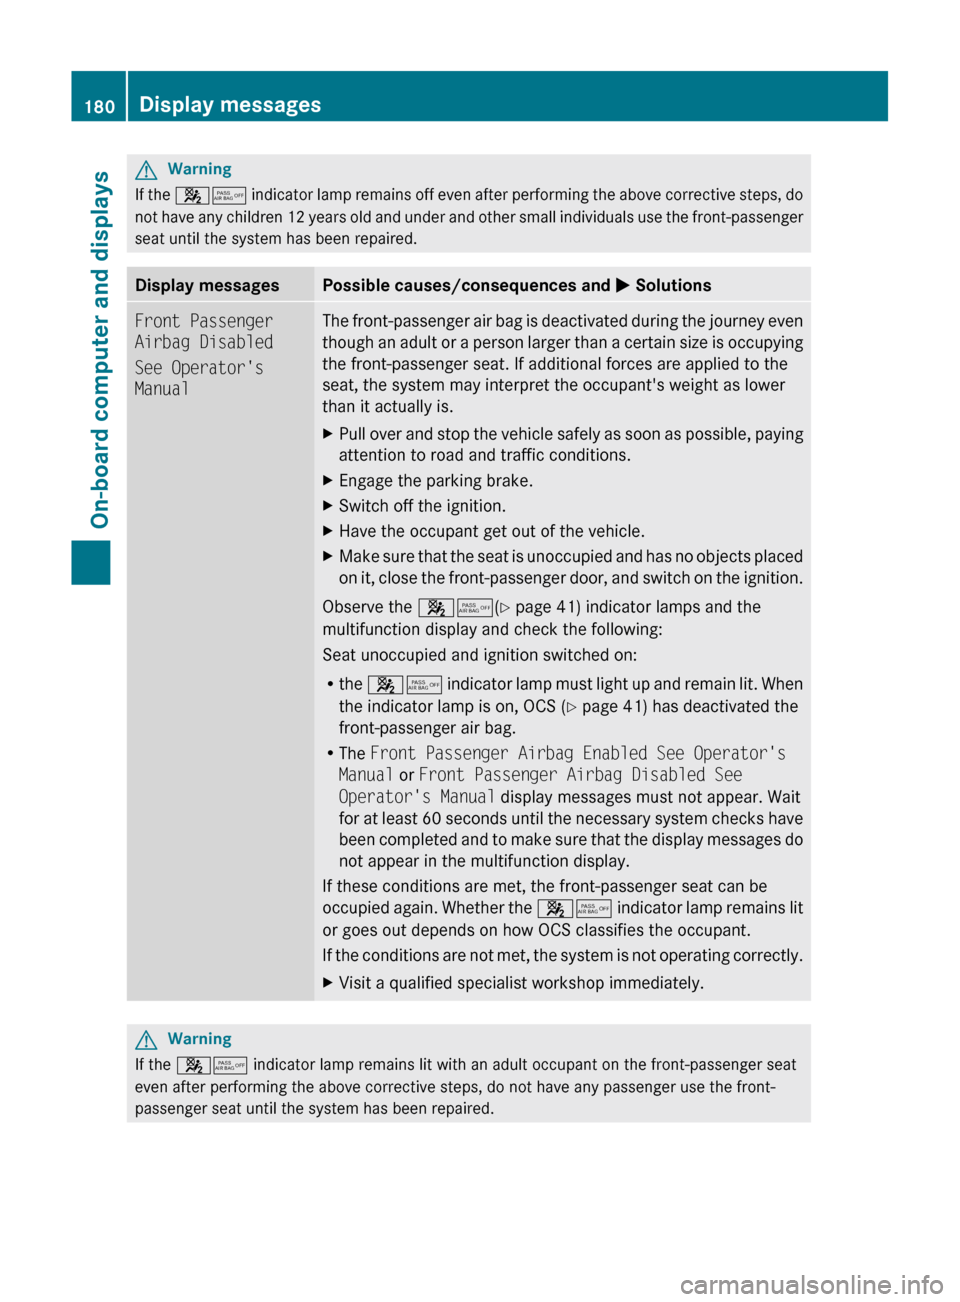
GWarning
If the 45 indicator lamp remains off even after performing the above corrective steps, do
not have any children 12 years old and under and other small individuals use the front-passenger
seat until the system has been repaired.
Display messagesPossible causes/consequences and M SolutionsFront Passenger
Airbag Disabled
See Operator's
ManualThe front-passenger air bag is deactivated during the journey even
though an adult or a person larger than a certain size is occupying
the front-passenger seat. If additional forces are applied to the
seat, the system may interpret the occupant's weight as lower
than it actually is.XPull over and stop the vehicle safely as soon as possible, paying
attention to road and traffic conditions.XEngage the parking brake.XSwitch off the ignition.XHave the occupant get out of the vehicle.XMake sure that the seat is unoccupied and has no objects placed
on it, close the front-passenger door, and switch on the ignition.
Observe the 45(Y page 41) indicator lamps and the
multifunction display and check the following:
Seat unoccupied and ignition switched on:
R the 45 indicator lamp must light up and remain lit. When
the indicator lamp is on, OCS ( Y page 41) has deactivated the
front-passenger air bag.
R The Front Passenger Airbag Enabled See Operator's
Manual or Front Passenger Airbag Disabled See
Operator's Manual display messages must not appear. Wait
for at least 60 seconds until the necessary system checks have
been completed and to make sure that the display messages do
not appear in the multifunction display.
If these conditions are met, the front-passenger seat can be
occupied again. Whether the 45 indicator lamp remains lit
or goes out depends on how OCS classifies the occupant.
If the conditions are not met, the system is not operating correctly.
XVisit a qualified specialist workshop immediately.GWarning
If the 45 indicator lamp remains lit with an adult occupant on the front-passenger seat
even after performing the above corrective steps, do not have any passenger use the front-
passenger seat until the system has been repaired.
180Display messagesOn-board computer and displays
BA 204.9 USA, CA Edition A 2011; 1; 6, en-USd2mwentsVersion: 3.0.3.62010-06-15T08:58:39+02:00 - Seite 180