2011 MERCEDES-BENZ GL350 BlueTEC high-speed level
[x] Cancel search: high-speed levelPage 177 of 376

Check list before driving off-roadXEngine oil level: check the engine oil and
top it up if necessary.
The oil supply can only be guaranteed on
steep slopes if the engine oil level is
sufficient.
! If the engine oil warning lamp lights up
while the vehicle is in motion, stop the
vehicle in a safe place as soon as possible.
Check the engine oil level. The engine oil
warning lamp warning must not be ignored.
Continuing the journey while the symbol is
displayed could lead to engine damage.
XWheel-changing tool kit: check that the
jack is working and make sure you have the
wheelbrace, a robust tow cable and a
folding spade in the vehicle.XWheels and tires: check the tire tread
depth and tire pressure. A table with the
recommended tire pressures can be found
on the B-pillar on the driver's side of your
vehicle.XCheck for damage and remove any foreign
objects, e.g. small stones, from the
wheels/tires.XReplace any missing valve caps.XReplace dented or damaged wheels.XWheels: dented or deformed wheels could
result in a loss of tire pressure and damage
the tire bead. Therefore, check the wheels
before driving off-road and replace them if
necessary.
Check list after driving off-road
GWarning
If you feel a sudden significant vibration or
ride disturbance, or you suspect that possible
damage to your vehicle has occurred, you
should turn on the hazard warning flashers,
carefully slow down, and drive with caution to
an area which is a safe distance from the road.
Inspect the tires and the vehicle underbody
for possible damage. If the vehicle appears
unsafe, have the vehicle towed to the nearest
authorized Mercedes-Benz Center or tire
dealer for repairs.
Driving over rough terrain places greater
demands on your vehicle than driving on
normal roads. After driving off-road, check
the vehicle. This allows you to detect damage
promptly and reduce the risk of an accident
to yourself and other road users.XDeactivate the off-road drive program
( Y page 204) or the LOW RANGE off-road
gear ( Y page 157).XDeactivate DSR ( Y page 203).XSet the differential lock setting to AUTO on
the selector wheel ( Y page 207).XLower the vehicle level again to a level
suitable to the road conditions, e.g. to the
highway/high-speed level.XClean the headlamps and rear lights and
check for damage.XClean the front and rear license plates.XClean the wheels/tires, wheel arch and the
underbody with a water jet. Check for
damage and remove any foreign objects.XAfter the trip, examine without fail the
entire undercarriage, wheels, tires, brakes,
bodywork structure, steering, chassis and
exhaust system for damage.XCheck whether twigs or other parts of
plants have become trapped. These
increase the risk of fire and can damage
fuel pipes, brake hoses or the rubber
bellows of the axle joints and propeller
shafts.XAfter driving for extended periods across
sand, mud, gravel, water or in similarly dirty
conditions, have the brake discs, wheels,
brake pads/linings and axle joints checked
and cleaned.XIf you detect strong vibrations after off-road
travel, check for foreign objects in the
wheels and drive train and remove them ifDriving tips175Driving and parkingBA 164.8 USA, CA Edition B 2011; 1; 2, en-USd2sboikeVersion: 3.0.3.52010-04-21T15:08:44+02:00 - Seite 175Z
Page 191 of 376
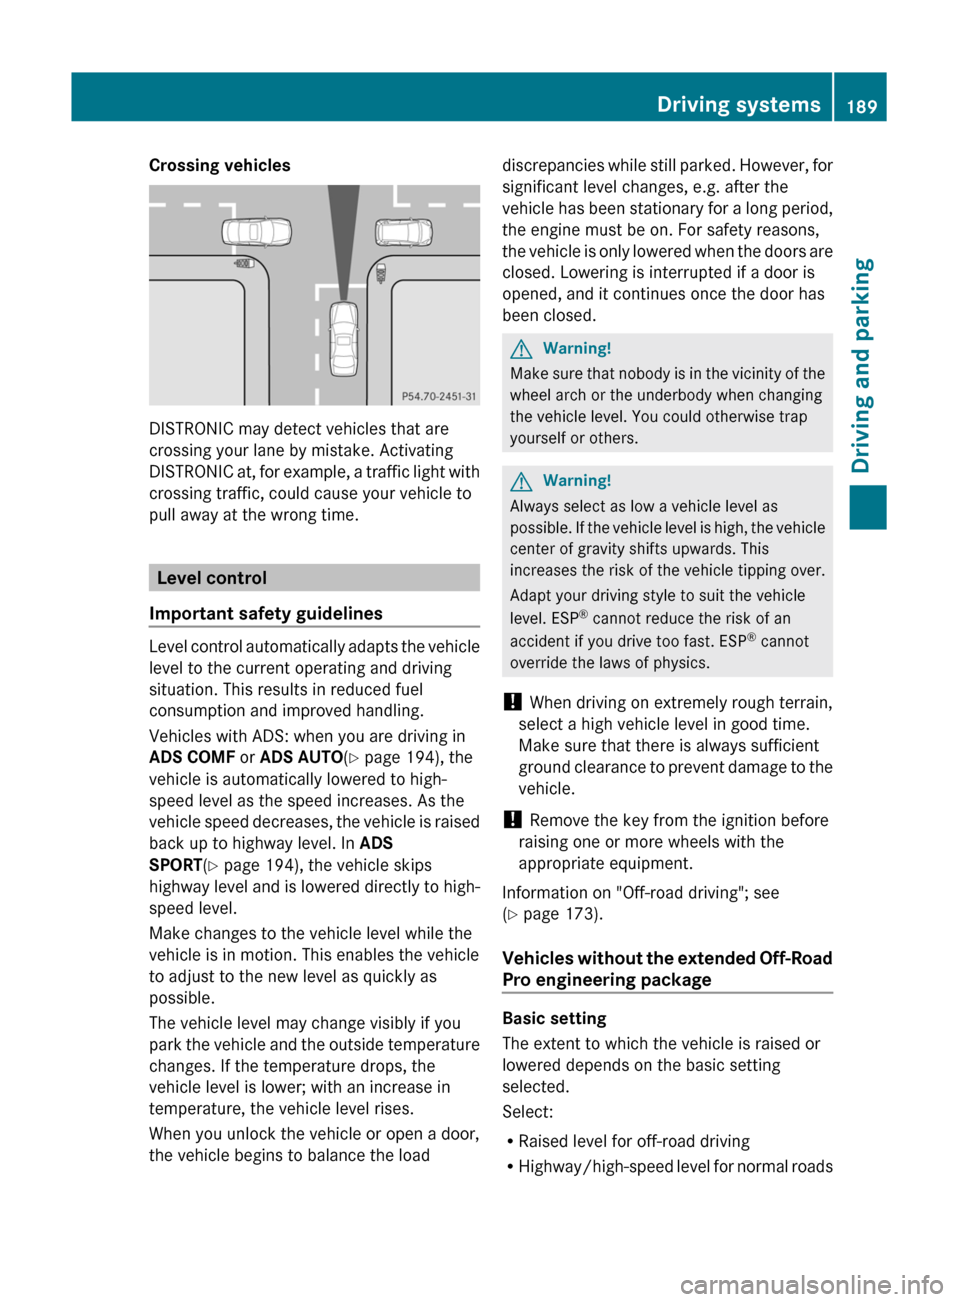
Crossing vehicles
DISTRONIC may detect vehicles that are
crossing your lane by mistake. Activating
DISTRONIC at, for example, a traffic light with
crossing traffic, could cause your vehicle to
pull away at the wrong time.
Level control
Important safety guidelines
Level control automatically adapts the vehicle
level to the current operating and driving
situation. This results in reduced fuel
consumption and improved handling.
Vehicles with ADS: when you are driving in
ADS COMF or ADS AUTO(Y page 194), the
vehicle is automatically lowered to high-
speed level as the speed increases. As the
vehicle speed decreases, the vehicle is raised
back up to highway level. In ADS
SPORT(Y page 194), the vehicle skips
highway level and is lowered directly to high-
speed level.
Make changes to the vehicle level while the
vehicle is in motion. This enables the vehicle
to adjust to the new level as quickly as
possible.
The vehicle level may change visibly if you
park the vehicle and the outside temperature
changes. If the temperature drops, the
vehicle level is lower; with an increase in
temperature, the vehicle level rises.
When you unlock the vehicle or open a door,
the vehicle begins to balance the load
discrepancies while still parked. However, for
significant level changes, e.g. after the
vehicle has been stationary for a long period,
the engine must be on. For safety reasons,
the vehicle is only lowered when the doors are
closed. Lowering is interrupted if a door is
opened, and it continues once the door has
been closed.
GWarning!
Make sure that nobody is in the vicinity of the
wheel arch or the underbody when changing
the vehicle level. You could otherwise trap
yourself or others.
GWarning!
Always select as low a vehicle level as
possible. If the vehicle level is high, the vehicle
center of gravity shifts upwards. This
increases the risk of the vehicle tipping over.
Adapt your driving style to suit the vehicle
level. ESP® cannot reduce the risk of an
accident if you drive too fast. ESP® cannot
override the laws of physics.
! When driving on extremely rough terrain,
select a high vehicle level in good time.
Make sure that there is always sufficient
ground clearance to prevent damage to the
vehicle.
! Remove the key from the ignition before
raising one or more wheels with the
appropriate equipment.
Information on "Off-road driving"; see
(Y page 173).
Vehicles without the extended Off-Road
Pro engineering package
Basic setting
The extent to which the vehicle is raised or
lowered depends on the basic setting
selected.
Select:
RRaised level for off-road driving
RHighway/high-speed level for normal roads
Driving systems189Driving and parkingBA 164.8 USA, CA Edition B 2011; 1; 2, en-USd2sboikeVersion: 3.0.3.52010-04-21T15:08:44+02:00 - Seite 189Z
Page 192 of 376
The individual vehicle levels differ from
highway level as follows:
R +2.3 in (+ 60 mm) in raised level
R +/–0 in (+/–0 mm) in highway level 26
R –0.6 in (–15 mm) in high-speed level
Raised level
Only select raised level if this is appropriate
for the road conditions. Otherwise, fuel
consumption increases and handling may be
affected.
Your selection remains stored even if you
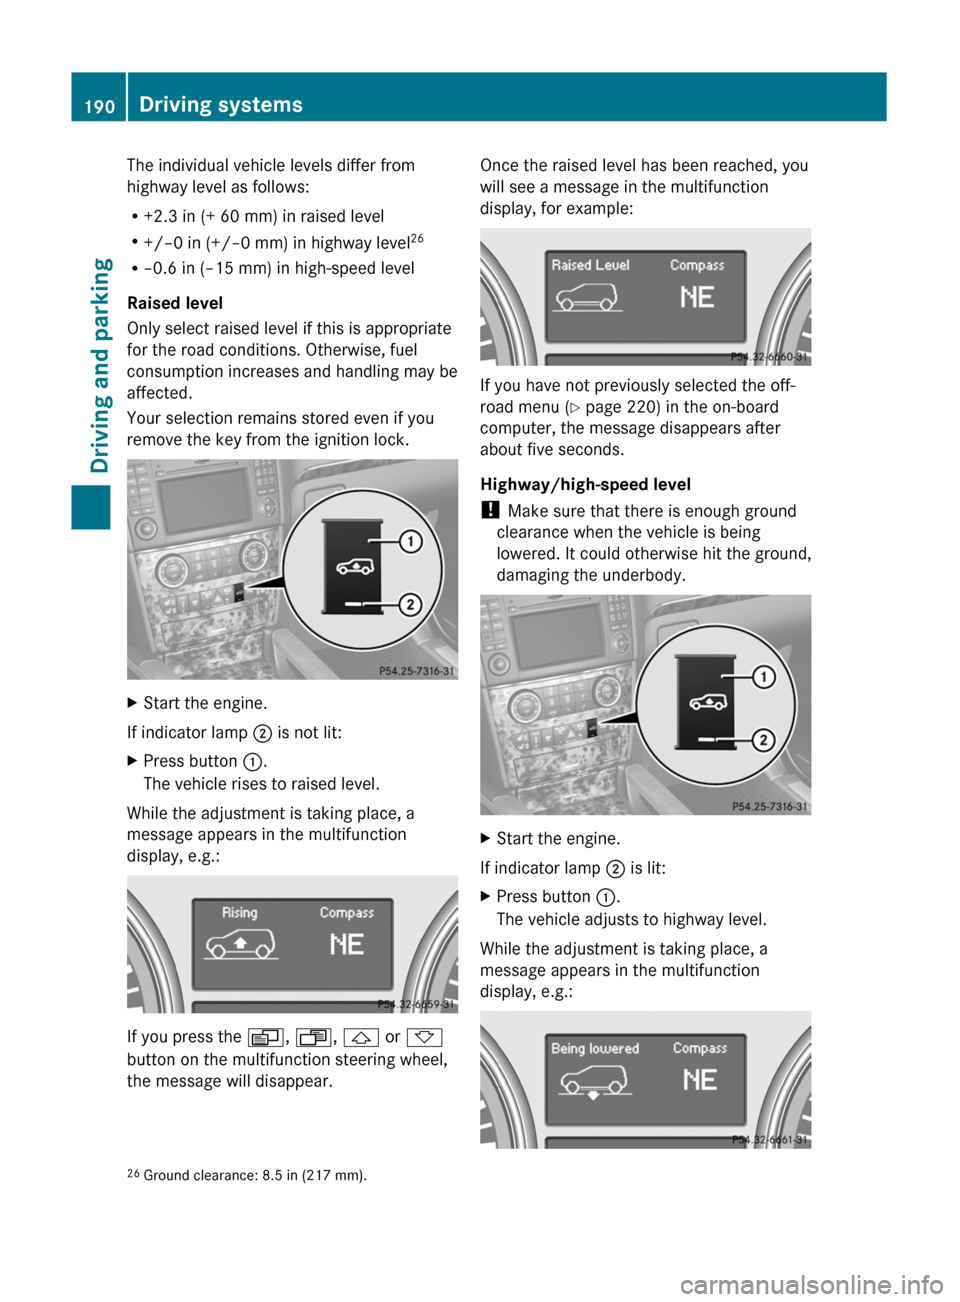
remove the key from the ignition lock.XStart the engine.
If indicator lamp ; is not lit:
XPress button :.
The vehicle rises to raised level.
While the adjustment is taking place, a
message appears in the multifunction
display, e.g.:
If you press the V, U , & or *
button on the multifunction steering wheel,
the message will disappear.
Once the raised level has been reached, you
will see a message in the multifunction
display, for example:
If you have not previously selected the off-
road menu ( Y page 220) in the on-board
computer, the message disappears after
about five seconds.
Highway/high-speed level
! Make sure that there is enough ground
clearance when the vehicle is being
lowered. It could otherwise hit the ground,
damaging the underbody.
XStart the engine.
If indicator lamp ; is lit:
XPress button :.
The vehicle adjusts to highway level.
While the adjustment is taking place, a
message appears in the multifunction
display, e.g.:
26 Ground clearance: 8.5 in (217 mm).190Driving systemsDriving and parking
BA 164.8 USA, CA Edition B 2011; 1; 2, en-USd2sboikeVersion: 3.0.3.52010-04-21T15:08:44+02:00 - Seite 190
Page 193 of 376
If you press the V, U , & or *
button on the multifunction steering wheel,
the message will disappear.
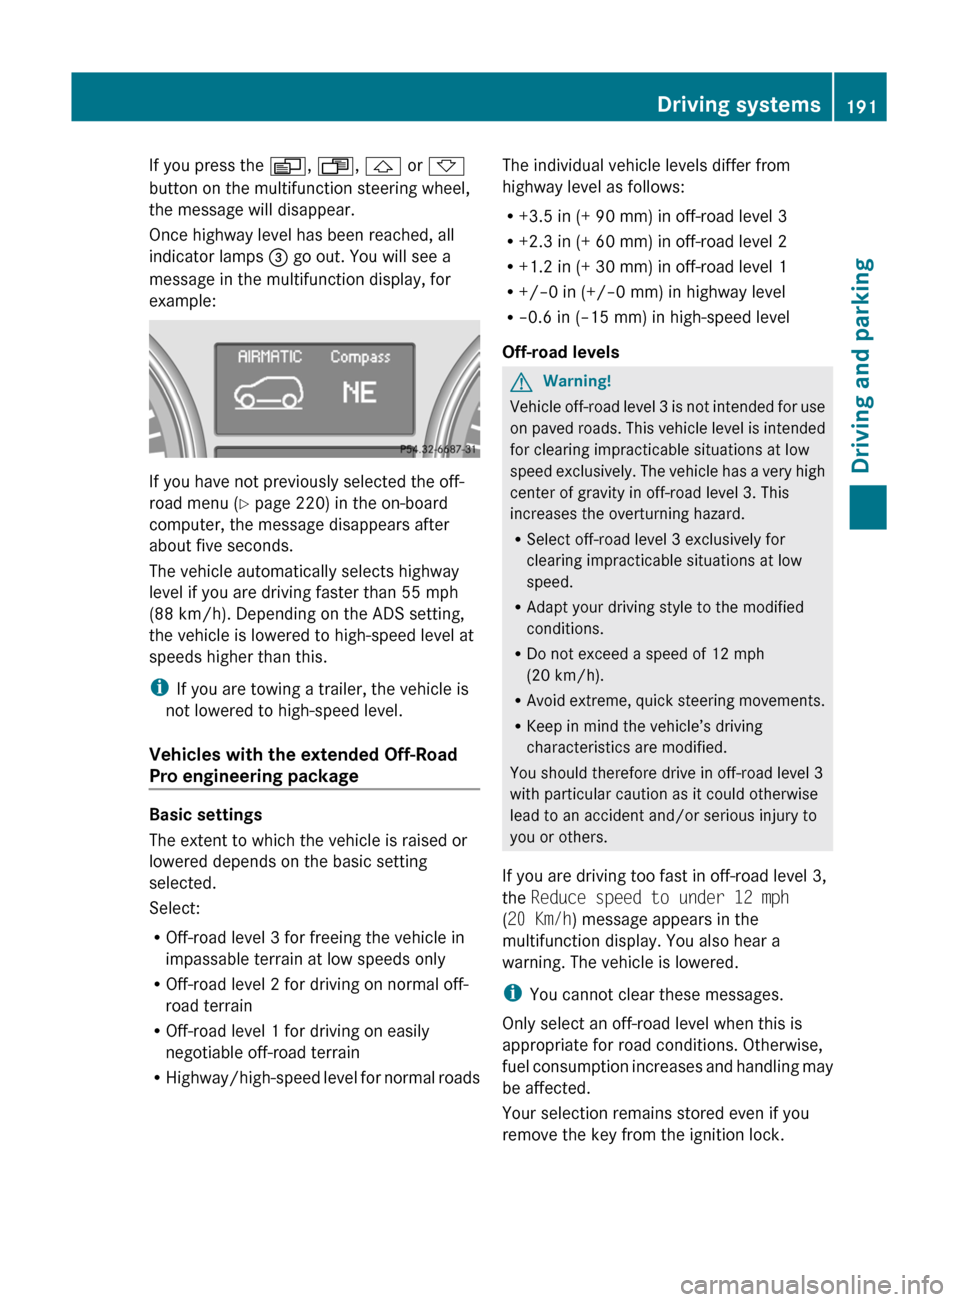
Once highway level has been reached, all
indicator lamps = go out. You will see a
message in the multifunction display, for
example:
If you have not previously selected the off-
road menu ( Y page 220) in the on-board
computer, the message disappears after
about five seconds.
The vehicle automatically selects highway
level if you are driving faster than 55 mph
(88 km/h). Depending on the ADS setting,
the vehicle is lowered to high-speed level at
speeds higher than this.
i If you are towing a trailer, the vehicle is
not lowered to high-speed level.
Vehicles with the extended Off-Road
Pro engineering package
Basic settings
The extent to which the vehicle is raised or
lowered depends on the basic setting
selected.
Select:
R Off-road level 3 for freeing the vehicle in
impassable terrain at low speeds only
R Off-road level 2 for driving on normal off-
road terrain
R Off-road level 1 for driving on easily
negotiable off-road terrain
R Highway/high-speed level for normal roads
The individual vehicle levels differ from
highway level as follows:
R +3.5 in (+ 90 mm) in off-road level 3
R +2.3 in (+ 60 mm) in off-road level 2
R +1.2 in (+ 30 mm) in off-road level 1
R +/–0 in (+/–0 mm) in highway level
R –0.6 in (–15 mm) in high-speed level
Off-road levelsGWarning!
Vehicle off-road level 3 is not intended for use
on paved roads. This vehicle level is intended
for clearing impracticable situations at low
speed exclusively. The vehicle has a very high
center of gravity in off-road level 3. This
increases the overturning hazard.
R Select off-road level 3 exclusively for
clearing impracticable situations at low
speed.
R Adapt your driving style to the modified
conditions.
R Do not exceed a speed of 12 mph
(20 km/h).
R Avoid extreme, quick steering movements.
R Keep in mind the vehicle’s driving
characteristics are modified.
You should therefore drive in off-road level 3
with particular caution as it could otherwise
lead to an accident and/or serious injury to
you or others.
If you are driving too fast in off-road level 3,
the Reduce speed to under 12 mph
( 20 Km/h ) message appears in the
multifunction display. You also hear a
warning. The vehicle is lowered.
i You cannot clear these messages.
Only select an off-road level when this is
appropriate for road conditions. Otherwise,
fuel consumption increases and handling may
be affected.
Your selection remains stored even if you
remove the key from the ignition lock.
Driving systems191Driving and parkingBA 164.8 USA, CA Edition B 2011; 1; 2, en-USd2sboikeVersion: 3.0.3.52010-04-21T15:08:44+02:00 - Seite 191Z
Page 195 of 376
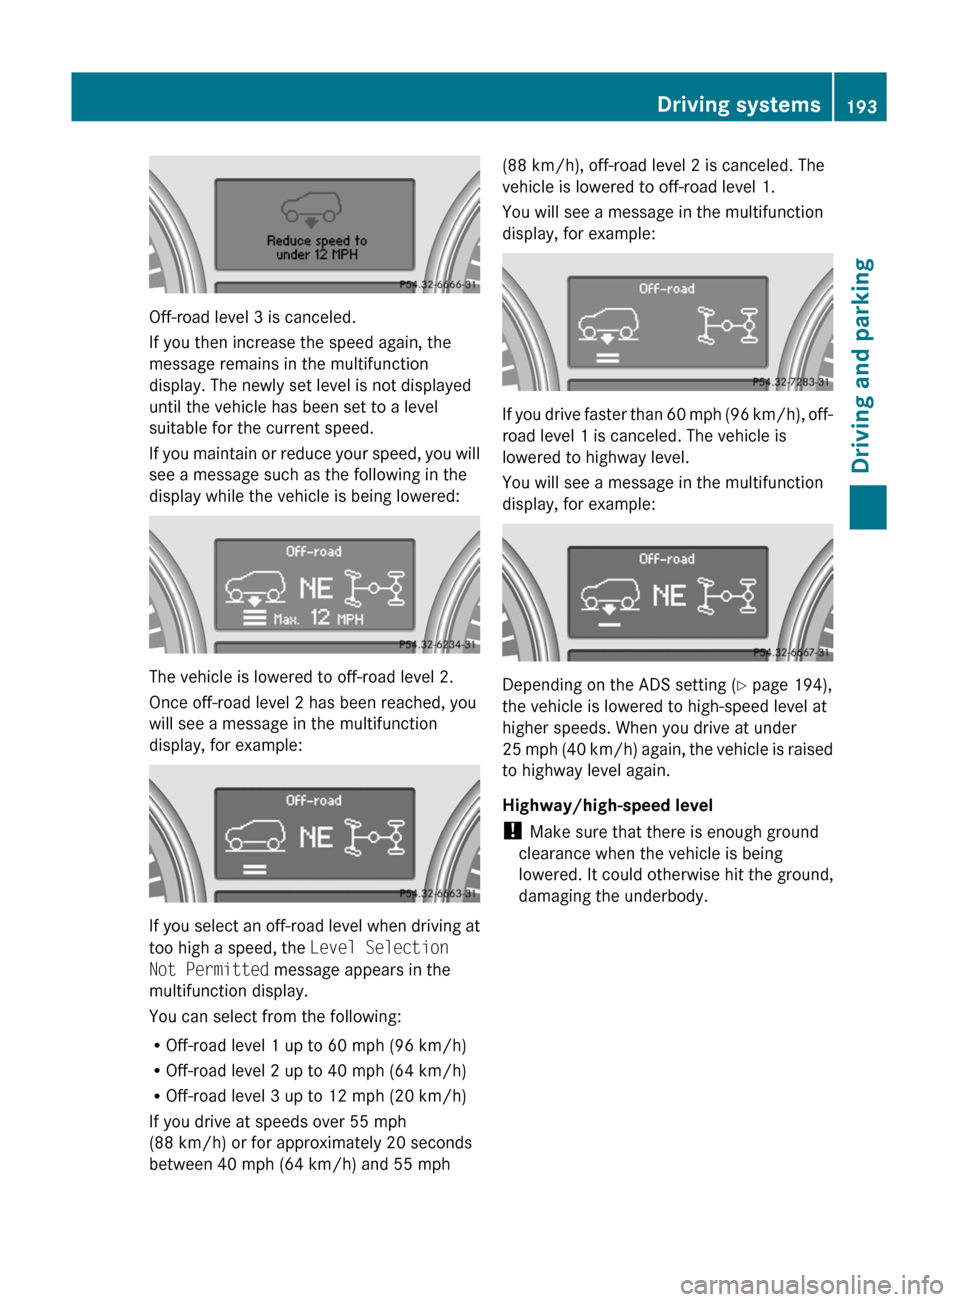
Off-road level 3 is canceled.
If you then increase the speed again, the
message remains in the multifunction
display. The newly set level is not displayed
until the vehicle has been set to a level
suitable for the current speed.
If you maintain or reduce your speed, you will
see a message such as the following in the
display while the vehicle is being lowered:
The vehicle is lowered to off-road level 2.
Once off-road level 2 has been reached, you
will see a message in the multifunction
display, for example:
If you select an off-road level when driving at
too high a speed, the Level Selection
Not Permitted message appears in the
multifunction display.
You can select from the following:
R Off-road level 1 up to 60 mph (96 km/h)
R Off-road level 2 up to 40 mph (64 km/h)
R Off-road level 3 up to 12 mph (20 km/h)
If you drive at speeds over 55 mph
(88 km/h) or for approximately 20 seconds
between 40 mph (64 km/h) and 55 mph
(88 km/h), off-road level 2 is canceled. The
vehicle is lowered to off-road level 1.
You will see a message in the multifunction
display, for example:
If you drive faster than 60 mph (96 km/h), off-
road level 1 is canceled. The vehicle is
lowered to highway level.
You will see a message in the multifunction
display, for example:
Depending on the ADS setting ( Y page 194),
the vehicle is lowered to high-speed level at
higher speeds. When you drive at under
25 mph (40 km/h) again, the vehicle is raised
to highway level again.
Highway/high-speed level
! Make sure that there is enough ground
clearance when the vehicle is being
lowered. It could otherwise hit the ground,
damaging the underbody.
Driving systems193Driving and parkingBA 164.8 USA, CA Edition B 2011; 1; 2, en-USd2sboikeVersion: 3.0.3.52010-04-21T15:08:44+02:00 - Seite 193Z
Page 196 of 376

:To raise the level;To lower the level=Indicator lampsXStart the engine.
If one or more indicator lamps = are on:
XTurn the selector wheel
counterclockwise ; until all indicator
lamps = that are lit start to flash.
The vehicle is lowered to highway level. As
soon as the next lowest level is reached,
the indicator lamp stops flashing and goes
out.
While the adjustment is taking place, a
message appears in the multifunction
display, e.g.:
If you press the V, U , & or *
button on the multifunction steering wheel,
the message will disappear.
Once highway level has been reached, all
indicator lamps = go out. You will see a
message in the multifunction display, for
example:
If you have not previously selected the off-
road menu ( Y page 220) in the on-board
computer, the message disappears after
about five seconds.
The vehicle automatically selects highway
level if you are driving faster than 60 mph
(115 km/h). Depending on the ADS setting
( Y page 194), the vehicle is lowered to high-
speed level at higher speeds.
i If you are towing a trailer, the vehicle is
not lowered to high-speed level.
ADS (Adaptive Damping System)
General notes
ADS is continuously electronically controlled.
It adapts the damping characteristics to the
current operating and driving situation.
Damping is controlled separately for each
wheel. This increases driving safety and tire
comfort.
This depends on:
R your driving style
R the road surface conditions
R the ADS setting
R the vehicle level setting
Your selection remains stored even if you
remove the key from the ignition lock.
194Driving systemsDriving and parking
BA 164.8 USA, CA Edition B 2011; 1; 2, en-USd2sboikeVersion: 3.0.3.52010-04-21T15:08:44+02:00 - Seite 194
Page 212 of 376
XMake sure that the automatic transmission
is set to position P.XApply the vehicle's parking brake.XStart the engine.XSelect highway level.XVehicles with the adaptive damping
system: set ADS to AUTO or COMF .XSwitch off the engine.XClose all doors and the tailgate.XCouple up the trailer.XEstablish all electrical connections.
i
Vehicles with the AIRMATIC package:
with a trailer attached, the vehicle will
always remain at highway level. When
coupling up a trailer, please observe the
following:
R if highway level has not been set
manually, the vehicle will automatically
sink to highway level as soon as it
reaches a speed of 5 mph (8 km/h).
R high-speed level is not available.
These restrictions apply to all accessories
powered through a connection to the trailer
power socket of your vehicle, e.g. a bicycle
carrier.
Towing a trailer
There are numerous legal requirements
concerning the towing of a trailer, e.g. speed
restrictions. Make sure that your vehicle/
trailer combination complies with the local
requirements not only in your area of
residence but also at any location to which
you are traveling. The police and local
authorities can provide reliable information.
Please observe the following when towing a
trailer:
R To acquaint yourself with driving with a
trailer and with the resulting changes to
handling, you should practice cornering,
stopping and reversing in a traffic-free
location.
R Before driving, check:
- the trailer coupling
- the safety switch for braked trailers
- the safety chains
- the electrical connections
- the lights
- the wheels
R Adjust the exterior mirrors to provide an
unobstructed view of the rear section of the
trailer.
R If the trailer features electronically
controlled brakes, pull away the vehicle/
trailer combination carefully, manually
brake using the brake controller, and check
the brakes for correct function.
R Secure any objects on the trailer to prevent
the cargo from slipping when the vehicle is
in motion.
R If you couple up a trailer, regularly check
the cargo for secure fastening and make
sure that the trailer lamps and (if
applicable) the trailer brakes are
functioning correctly.
R Bear in mind that the handling will be less
stable when towing a trailer than when
driving without one. Avoid sudden steering
movements.
R The vehicle/trailer combination is heavier,
accelerates more slowly, has a decreased
gradient climbing capability and a longer
braking distance.
It is more susceptible to side winds and
requires more careful steering.
R If possible, avoid abrupt braking. Depress
the brake pedal moderately at first, so that
the trailer can activate its own brakes. Then
increase the pressure on the brake pedal.
R If the automatic transmission continues to
shift back and forth between two gears
when driving up or downhill, restrict the
shift range. Select shift range 4, 3, 2, or 1.
A lower gear and lower speed reduce the
risk of engine failure.210Towing a trailerDriving and parking
BA 164.8 USA, CA Edition B 2011; 1; 2, en-USd2sboikeVersion: 3.0.3.52010-04-21T15:08:44+02:00 - Seite 210