2011 MERCEDES-BENZ GL350 BlueTEC door lock
[x] Cancel search: door lockPage 227 of 376
iUSA only: This device has been approved
by the FCC as a “Vehicular Radar System”.
The radar sensor is intended for use in an
automotive radar system only. Removal,
tampering, or altering of the device will void
any warranties, and is not permitted by the
FCC. Do not tamper with, alter, or use in
any non-approved way.
Any unauthorized modification to this
device could void the user’s authority to
operate the equipment.
i Canada only:
This device complies with RSS-210 of
Industry Canada. Operation is subject to
the following two conditions:
1. This device may not cause interference,
and
2. This device must accept any interference
received, including interference that may
cause undesired operation of the device.
Any unauthorized modification to this
device could void the user’s authority to
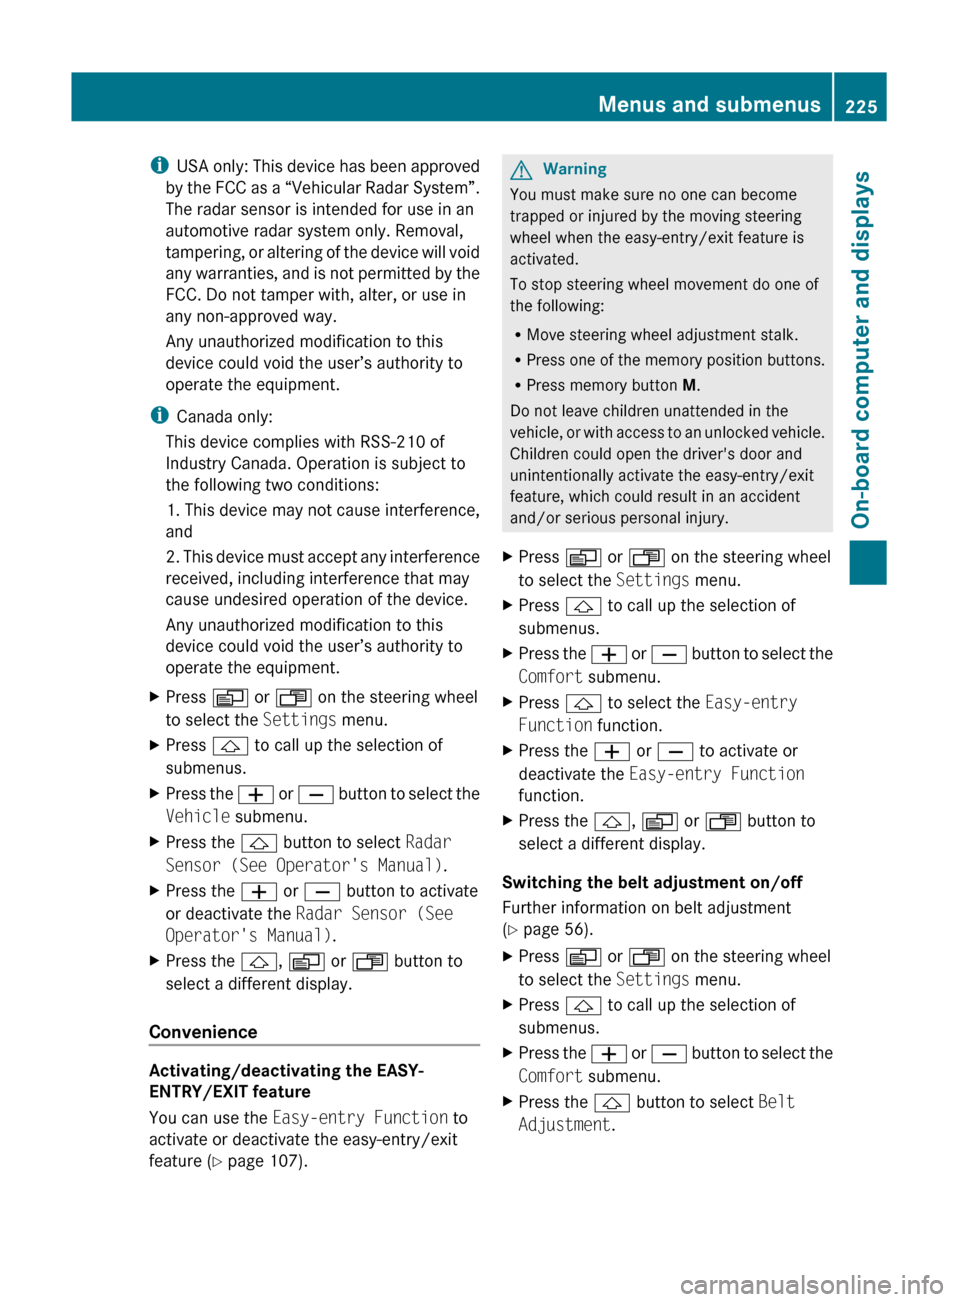
operate the equipment.XPress V or U on the steering wheel
to select the Settings menu.XPress & to call up the selection of
submenus.XPress the W or X button to select the
Vehicle submenu.XPress the & button to select Radar
Sensor (See Operator's Manual) .XPress the W or X button to activate
or deactivate the Radar Sensor (See
Operator's Manual) .XPress the &, V or U button to
select a different display.
Convenience
Activating/deactivating the EASY-
ENTRY/EXIT feature
You can use the Easy-entry Function to
activate or deactivate the easy-entry/exit
feature ( Y page 107).
GWarning
You must make sure no one can become
trapped or injured by the moving steering
wheel when the easy-entry/exit feature is
activated.
To stop steering wheel movement do one of
the following:
R Move steering wheel adjustment stalk.
R Press one of the memory position buttons.
R Press memory button M.
Do not leave children unattended in the
vehicle, or with access to an unlocked vehicle.
Children could open the driver's door and
unintentionally activate the easy-entry/exit
feature, which could result in an accident
and/or serious personal injury.
XPress V or U on the steering wheel
to select the Settings menu.XPress & to call up the selection of
submenus.XPress the W or X button to select the
Comfort submenu.XPress & to select the Easy-entry
Function function.XPress the W or X to activate or
deactivate the Easy-entry Function
function.XPress the &, V or U button to
select a different display.
Switching the belt adjustment on/off
Further information on belt adjustment
( Y page 56).
XPress V or U on the steering wheel
to select the Settings menu.XPress & to call up the selection of
submenus.XPress the W or X button to select the
Comfort submenu.XPress the & button to select Belt
Adjustment .Menus and submenus225On-board computer and displaysBA 164.8 USA, CA Edition B 2011; 1; 2, en-USd2sboikeVersion: 3.0.3.52010-04-21T15:08:44+02:00 - Seite 225Z
Page 228 of 376
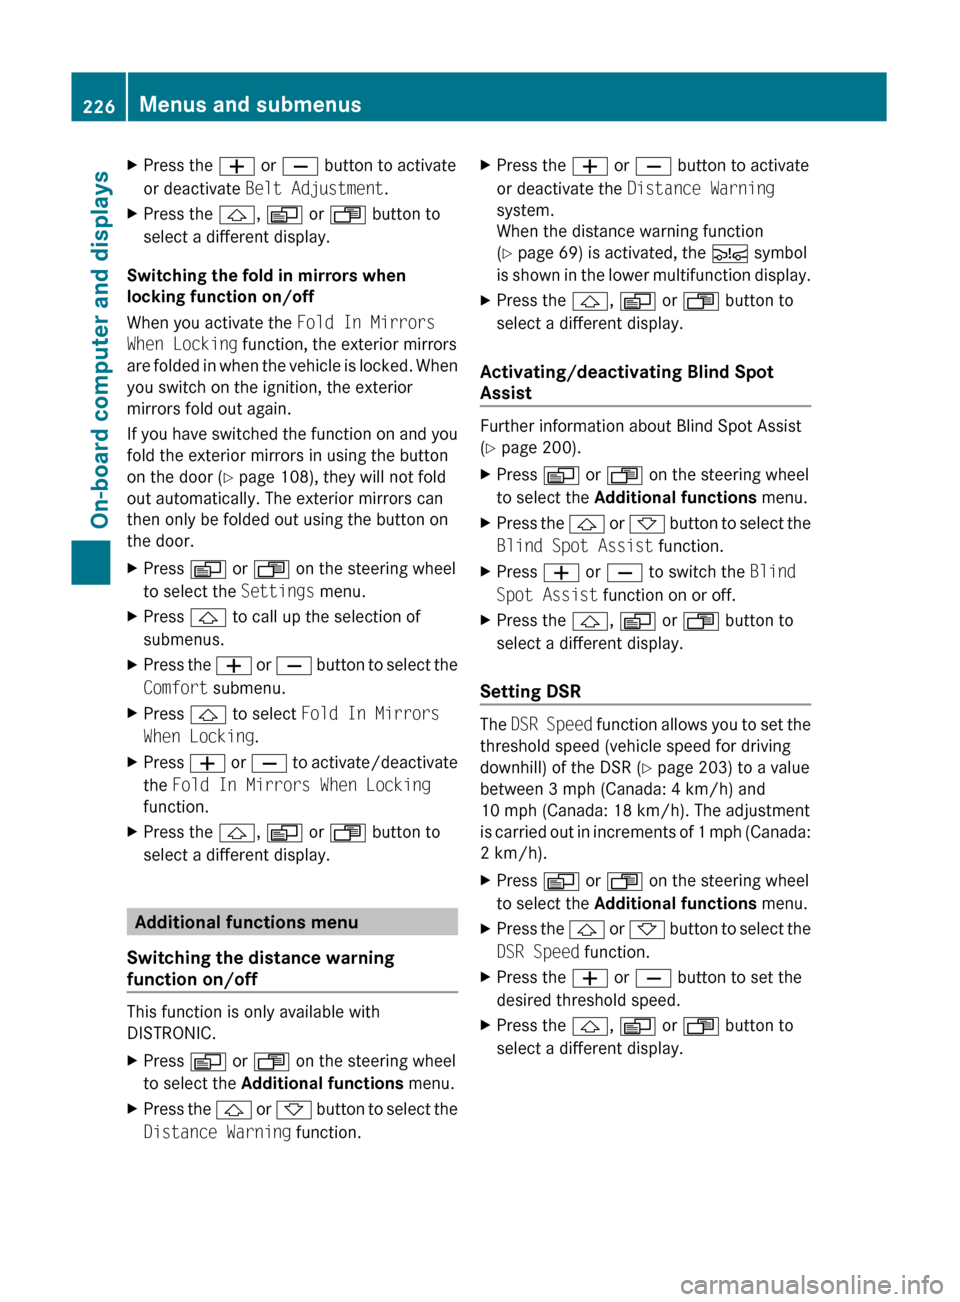
XPress the W or X button to activate
or deactivate Belt Adjustment .XPress the &, V or U button to
select a different display.
Switching the fold in mirrors when
locking function on/off
When you activate the Fold In Mirrors
When Locking function, the exterior mirrors
are folded in when the vehicle is locked. When
you switch on the ignition, the exterior
mirrors fold out again.
If you have switched the function on and you
fold the exterior mirrors in using the button
on the door ( Y page 108), they will not fold
out automatically. The exterior mirrors can
then only be folded out using the button on
the door.
XPress V or U on the steering wheel
to select the Settings menu.XPress & to call up the selection of
submenus.XPress the W or X button to select the
Comfort submenu.XPress & to select Fold In Mirrors
When Locking .XPress W or X to activate/deactivate
the Fold In Mirrors When Locking
function.XPress the &, V or U button to
select a different display.
Additional functions menu
Switching the distance warning
function on/off
This function is only available with
DISTRONIC.
XPress V or U on the steering wheel
to select the Additional functions menu.XPress the & or * button to select the
Distance Warning function.XPress the W or X button to activate
or deactivate the Distance Warning
system.
When the distance warning function
( Y page 69) is activated, the Ä symbol
is shown in the lower multifunction display.XPress the &, V or U button to
select a different display.
Activating/deactivating Blind Spot
Assist
Further information about Blind Spot Assist
( Y page 200).
XPress V or U on the steering wheel
to select the Additional functions menu.XPress the & or * button to select the
Blind Spot Assist function.XPress W or X to switch the Blind
Spot Assist function on or off.XPress the &, V or U button to
select a different display.
Setting DSR
The DSR Speed function allows you to set the
threshold speed (vehicle speed for driving
downhill) of the DSR ( Y page 203) to a value
between 3 mph (Canada: 4 km/h) and
10 mph (Canada: 18 km/h). The adjustment
is carried out in increments of 1 mph (Canada:
2 km/h).
XPress V or U on the steering wheel
to select the Additional functions menu.XPress the & or * button to select the
DSR Speed function.XPress the W or X button to set the
desired threshold speed.XPress the &, V or U button to
select a different display.226Menus and submenusOn-board computer and displays
BA 164.8 USA, CA Edition B 2011; 1; 2, en-USd2sboikeVersion: 3.0.3.52010-04-21T15:08:44+02:00 - Seite 226
Page 253 of 376
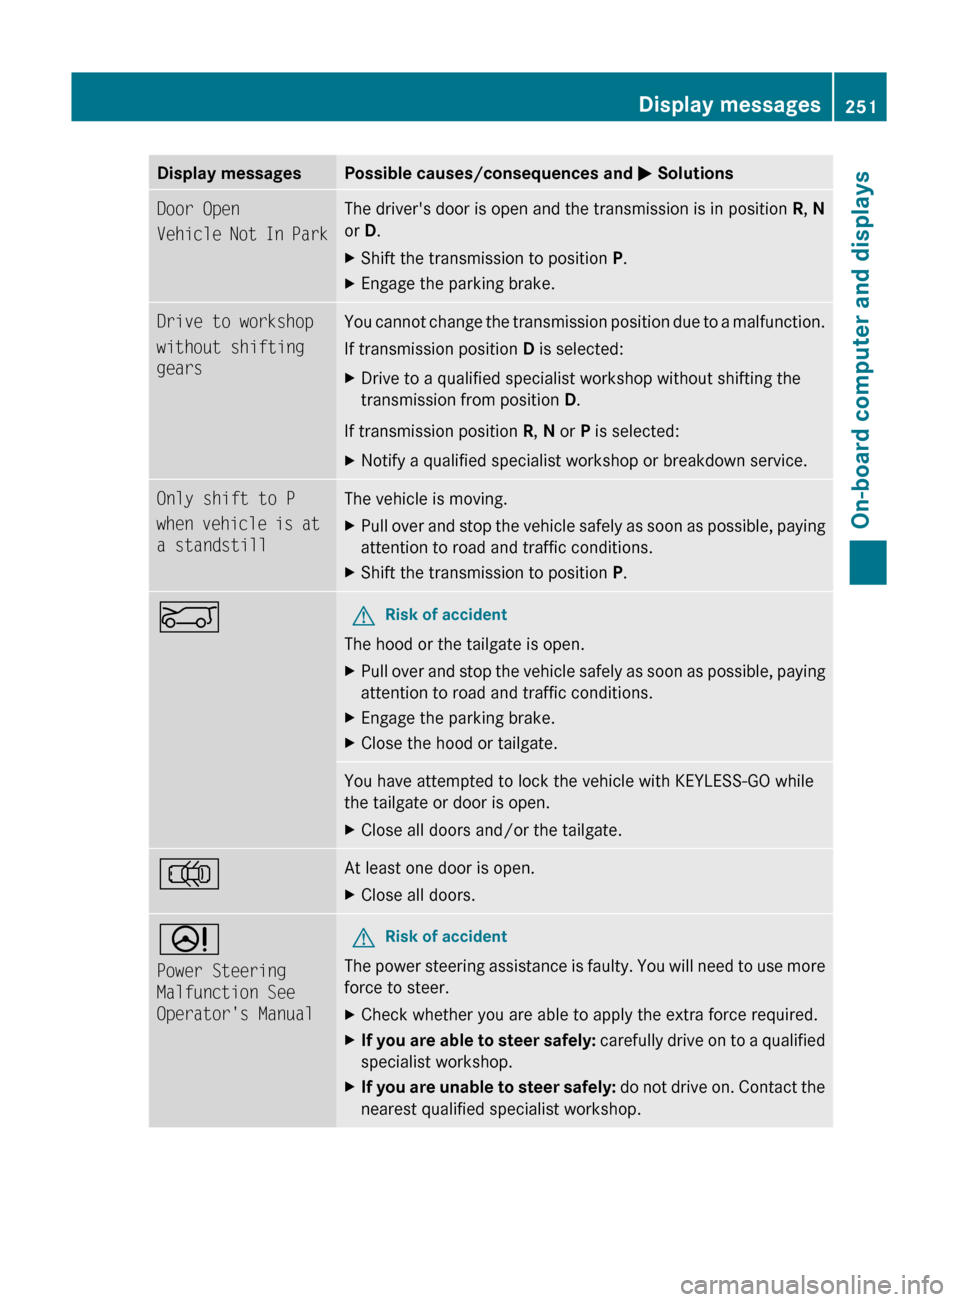
Display messagesPossible causes/consequences and M SolutionsDoor Open
Vehicle Not In ParkThe driver's door is open and the transmission is in position R, N
or D.XShift the transmission to position P.XEngage the parking brake.Drive to workshop
without shifting
gearsYou cannot change the transmission position due to a malfunction.
If transmission position D is selected:XDrive to a qualified specialist workshop without shifting the
transmission from position D.
If transmission position R, N or P is selected:
XNotify a qualified specialist workshop or breakdown service.Only shift to P
when vehicle is at
a standstillThe vehicle is moving.XPull over and stop the vehicle safely as soon as possible, paying
attention to road and traffic conditions.XShift the transmission to position P.EGRisk of accident
The hood or the tailgate is open.
XPull over and stop the vehicle safely as soon as possible, paying
attention to road and traffic conditions.XEngage the parking brake.XClose the hood or tailgate.You have attempted to lock the vehicle with KEYLESS-GO while
the tailgate or door is open.XClose all doors and/or the tailgate.;At least one door is open. XClose all doors.D
Power Steering
Malfunction See
Operator's ManualGRisk of accident
The power steering assistance is faulty. You will need to use more
force to steer.
XCheck whether you are able to apply the extra force required.XIf you are able to steer safely: carefully drive on to a qualified
specialist workshop.XIf you are unable to steer safely: do not drive on. Contact the
nearest qualified specialist workshop.Display messages251On-board computer and displaysBA 164.8 USA, CA Edition B 2011; 1; 2, en-USd2sboikeVersion: 3.0.3.52010-04-21T15:08:44+02:00 - Seite 251Z
Page 254 of 376
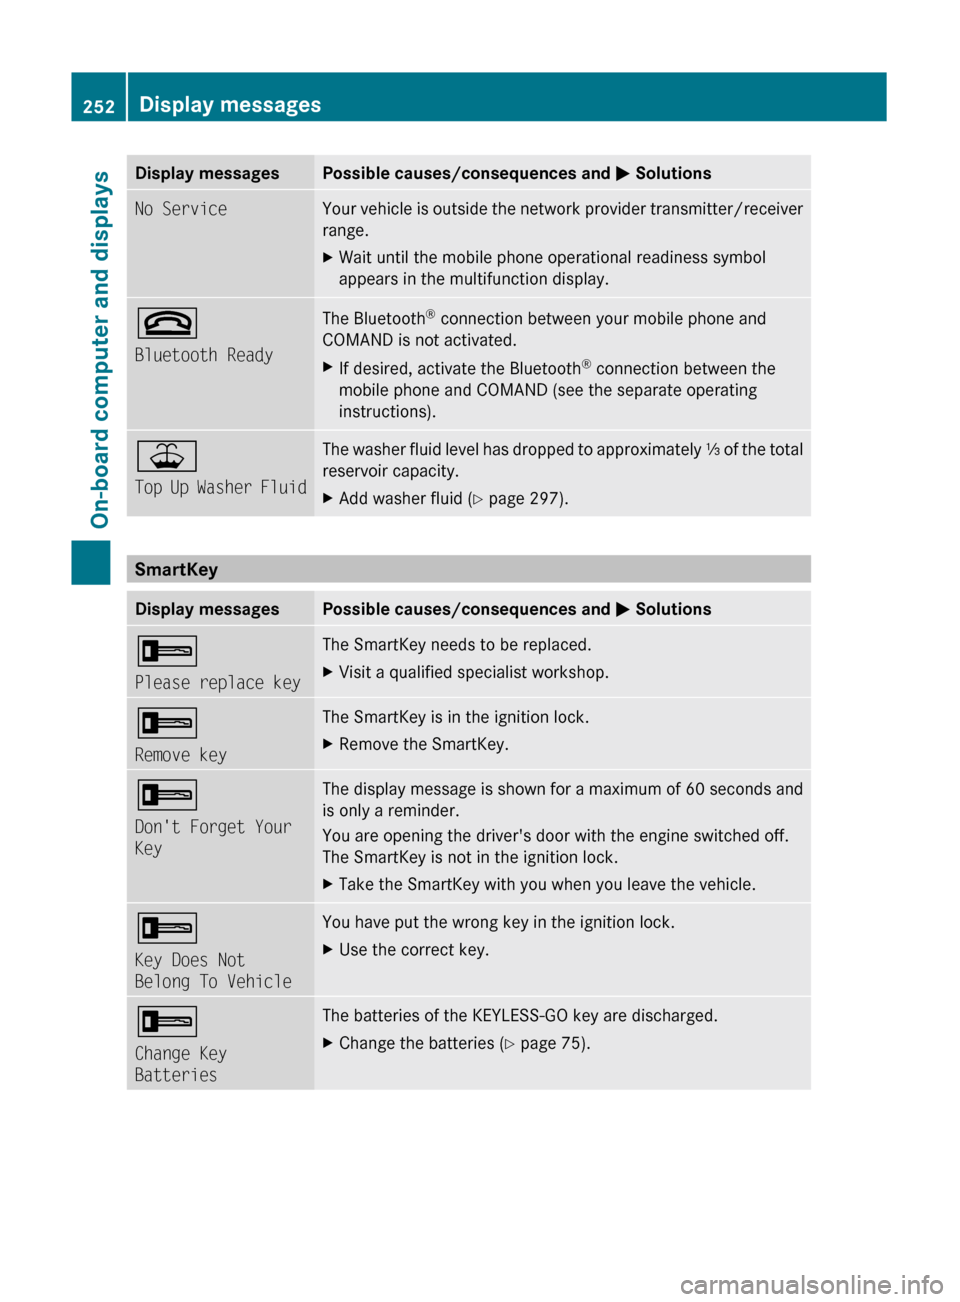
Display messagesPossible causes/consequences and M SolutionsNo ServiceYour vehicle is outside the network provider transmitter/receiver
range. XWait until the mobile phone operational readiness symbol
appears in the multifunction display.~
Bluetooth ReadyThe Bluetooth ®
connection between your mobile phone and
COMAND is not activated.XIf desired, activate the Bluetooth ®
connection between the
mobile phone and COMAND (see the separate operating
instructions).¥
Top Up Washer FluidThe washer fluid level has dropped to approximately ⅓ of the total
reservoir capacity.XAdd washer fluid ( Y page 297).
SmartKey
Display messagesPossible causes/consequences and M Solutions+
Please replace keyThe SmartKey needs to be replaced. XVisit a qualified specialist workshop.+
Remove keyThe SmartKey is in the ignition lock.XRemove the SmartKey.+
Don't Forget Your
KeyThe display message is shown for a maximum of 60 seconds and
is only a reminder.
You are opening the driver's door with the engine switched off.
The SmartKey is not in the ignition lock.XTake the SmartKey with you when you leave the vehicle.+
Key Does Not
Belong To VehicleYou have put the wrong key in the ignition lock.XUse the correct key.+
Change Key
BatteriesThe batteries of the KEYLESS-GO key are discharged.XChange the batteries ( Y page 75).252Display messagesOn-board computer and displays
BA 164.8 USA, CA Edition B 2011; 1; 2, en-USd2sboikeVersion: 3.0.3.52010-04-21T15:08:44+02:00 - Seite 252
Page 282 of 376
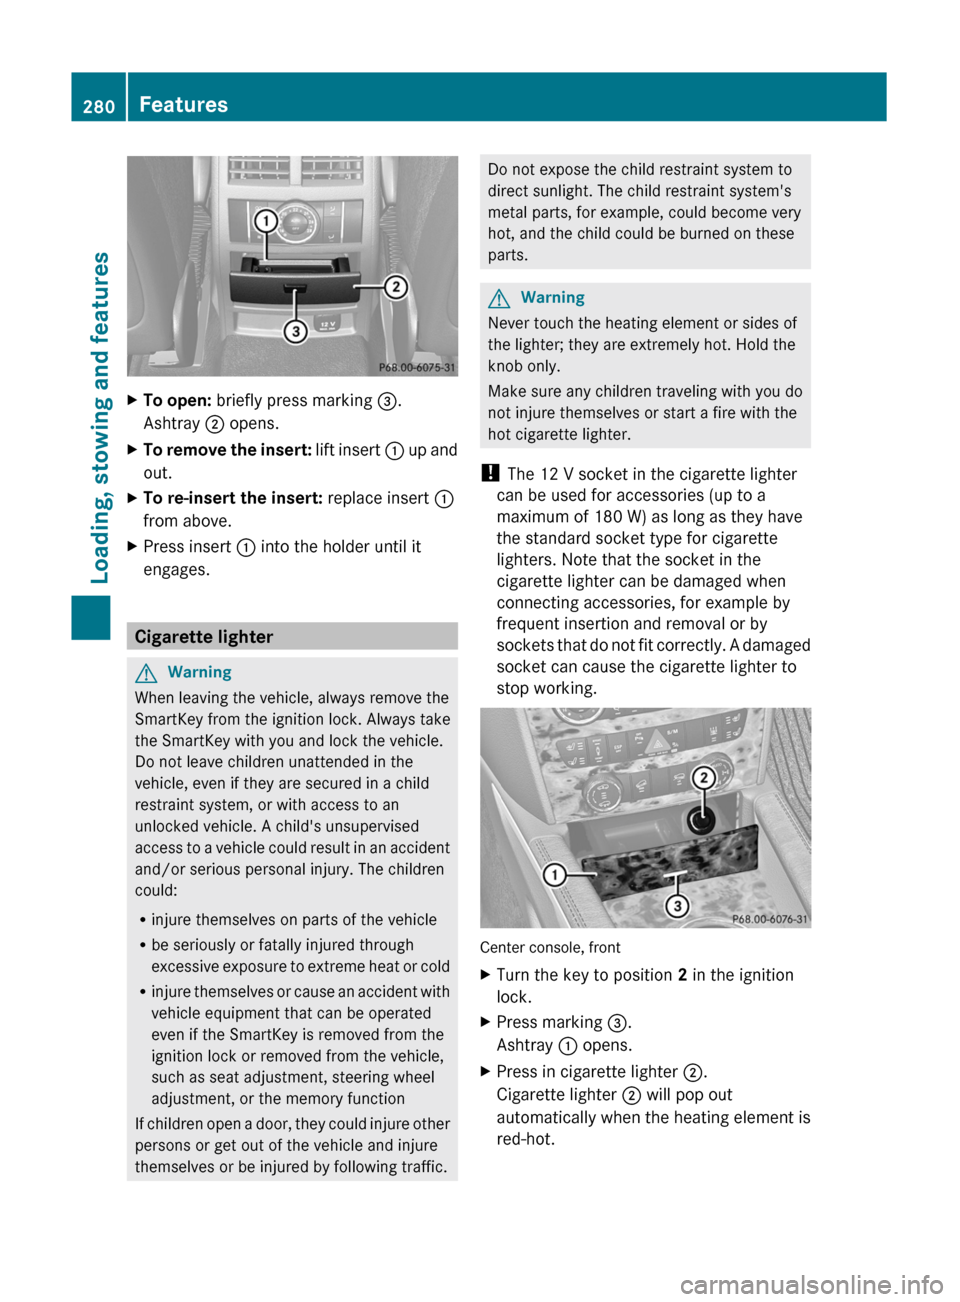
XTo open: briefly press marking =.
Ashtray ; opens.XTo remove the insert: lift insert : up and
out.XTo re-insert the insert: replace insert :
from above.XPress insert : into the holder until it
engages.
Cigarette lighter
GWarning
When leaving the vehicle, always remove the
SmartKey from the ignition lock. Always take
the SmartKey with you and lock the vehicle.
Do not leave children unattended in the
vehicle, even if they are secured in a child
restraint system, or with access to an
unlocked vehicle. A child's unsupervised
access to a vehicle could result in an accident
and/or serious personal injury. The children
could:
R injure themselves on parts of the vehicle
R be seriously or fatally injured through
excessive exposure to extreme heat or cold
R injure themselves or cause an accident with
vehicle equipment that can be operated
even if the SmartKey is removed from the
ignition lock or removed from the vehicle,
such as seat adjustment, steering wheel
adjustment, or the memory function
If children open a door, they could injure other
persons or get out of the vehicle and injure
themselves or be injured by following traffic.
Do not expose the child restraint system to
direct sunlight. The child restraint system's
metal parts, for example, could become very
hot, and the child could be burned on these
parts.GWarning
Never touch the heating element or sides of
the lighter; they are extremely hot. Hold the
knob only.
Make sure any children traveling with you do
not injure themselves or start a fire with the
hot cigarette lighter.
! The 12 V socket in the cigarette lighter
can be used for accessories (up to a
maximum of 180 W) as long as they have
the standard socket type for cigarette
lighters. Note that the socket in the
cigarette lighter can be damaged when
connecting accessories, for example by
frequent insertion and removal or by
sockets that do not fit correctly. A damaged
socket can cause the cigarette lighter to
stop working.
Center console, front
XTurn the key to position 2 in the ignition
lock.XPress marking =.
Ashtray : opens.XPress in cigarette lighter ;.
Cigarette lighter ; will pop out
automatically when the heating element is
red-hot.280FeaturesLoading, stowing and features
BA 164.8 USA, CA Edition B 2011; 1; 2, en-USd2sboikeVersion: 3.0.3.52010-04-21T15:08:44+02:00 - Seite 280
Page 290 of 376
section using your ID number and
password 40
.
i Vehicle remote unlocking is only possible
if the corresponding cellular phone
network is accessible.
The SOS button flashes and the Call
Connected message appears in the
multifunction display to confirm that the
command for vehicle remote unlocking has
been received.
If you pull the tailgate handle for more than
20 seconds before receiving authorization
for remote unlocking from the Response
Center, you must wait 15 minutes before
you can pull on the handle of the tailgate
again.
Stolen Vehicle Recovery Services
If your vehicle has been stolen:
XContact the police.
The police will issue an incident report. This
report has a number.XThis number will be forwarded to the
Response Center together with your PIN.
The Response Center will then attempt to
covertly contact the mbrace system. The
Response Center contacts you and the
local law enforcement authority if the
vehicle is located. However, only the law
enforcement authority is informed of the
location of the vehicle.
i If the anti-theft alarm system remains
activated for longer than thirty seconds,
mbrace is automatically connected to the
Customer Assistance Center.
Garage door opener
Important safety notes
Up to three different door and gate systems
can be operated using the remote control
integrated in the overhead control panel.
i Certain garage door openers are not
compatible with the integrated remote
control. If you experience difficulties with
the programming of the integrated remote
control, contact an authorized Mercedes-
Benz Center or call the following telephone
assistance service:
R USA: Mercedes-Benz Customer
Assistance Center on
1-800-FOR-MERCedes
R Canada: Customer Service
on1-800-387-0100GWarning
Before programming the integrated remote
control to a garage door opener or gate
operator, make sure people and objects are
out of the way of the device to prevent
potential harm or damage. When
programming a garage door opener, the door
moves up or down. When programming a gate
operator, the gate opens or closes.
Do not use the integrated remote control with
any garage door opener that lacks safety stop
and reverse features as required by U.S.
federal safety standards (this includes any
garage door opener model manufactured
before April 1, 1982). A garage door that
cannot detect an object - signaling the door
to stop and reverse - does not meet current
U.S. federal safety standards.
When programming a garage door opener,
park vehicle outside the garage.
Do not run the engine while programming the
integrated remote control. Inhalation of
exhaust gas is hazardous to your health. All
exhaust gas contains carbon monoxide (CO),
and inhaling it can cause unconsciousness
and possible death. All exhaust gas contains
carbon monoxide (CO), and inhaling it can
cause unconsciousness and possible death.
i USA only:
40
USA only.288FeaturesLoading, stowing and features
BA 164.8 USA, CA Edition B 2011; 1; 2, en-USd2sboikeVersion: 3.0.3.52010-04-21T15:08:44+02:00 - Seite 288
Page 291 of 376
This device complies with part 15 of the
FCC rules. Operation is subject to the
following two conditions:
1. The device must not cause harmful
interference.
2. The device must withstand any
interference received, including
interference that may cause undesired
operation.
Unauthorized modification of this device
could void the device's operating permit.
i Canada only:
This device complies with the RSS-210
requirements of Industry Canada.
Operation is subject to the following two
conditions:
1. The device must not cause harmful
interference.
2. The device must accept any interference
received, including interference that may
cause undesired operation.
Unauthorized modification of this device
could void the user's authority to legally
operate the device.
Programming the remote control
Programming
GWarning!
Only press the transmitter button on the
integrated remote control if there are no
persons or objects present within the sweep
of the garage door. People could otherwise be
injured by the movement of the door.
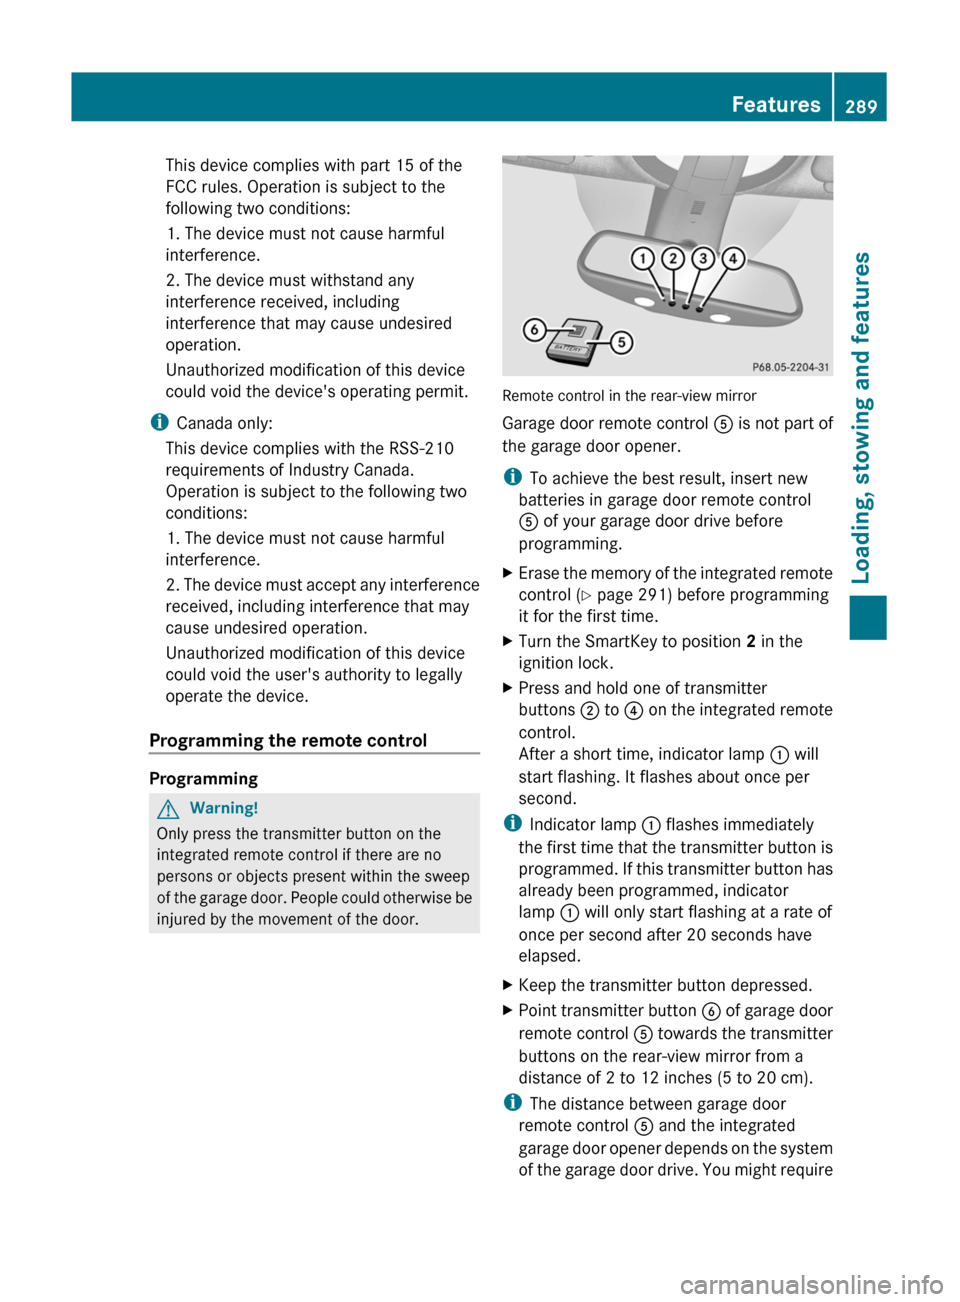
Remote control in the rear-view mirror
Garage door remote control A is not part of
the garage door opener.
i To achieve the best result, insert new
batteries in garage door remote control
A of your garage door drive before
programming.
XErase the memory of the integrated remote
control ( Y page 291) before programming
it for the first time.XTurn the SmartKey to position 2 in the
ignition lock.XPress and hold one of transmitter
buttons ; to ? on the integrated remote
control.
After a short time, indicator lamp : will
start flashing. It flashes about once per
second.
i Indicator lamp : flashes immediately
the first time that the transmitter button is
programmed. If this transmitter button has
already been programmed, indicator
lamp : will only start flashing at a rate of
once per second after 20 seconds have
elapsed.
XKeep the transmitter button depressed.XPoint transmitter button B of garage door
remote control A towards the transmitter
buttons on the rear-view mirror from a
distance of 2 to 12 inches (5 to 20 cm).
i The distance between garage door
remote control A and the integrated
garage door opener depends on the system
of the garage door drive. You might require
Features289Loading, stowing and featuresBA 164.8 USA, CA Edition B 2011; 1; 2, en-USd2sboikeVersion: 3.0.3.52010-04-21T15:08:44+02:00 - Seite 289Z
Page 293 of 376
from the transmitter button that you are
programming. Try different angles from a
distance of 2 to 12 inches (5 to 30 cm) or
the same angle from differing distances.
RIf there is another garage door remote
control for the same device, perform the
programming steps again using the remote
control. Before performing these steps,
make sure that new batteries have been
installed in the garage door remote control.
RAlign the antenna cable of the garage door
opener unit. This can improve signal
reception/transmission.
Opening or closing the garage door
Once programmed, the integrated remote
control will assume the function of the garage
door system's remote control. Please also
read the operating instructions for the garage
door system.
XTurn the SmartKey to position 2 in the
ignition lock.
XPress transmitter button ;, = or ? in the
overhead control panel that you have
programmed to operate the garage door.
Garage door system with fixed code:
indicator lamp : lights up continuously.
Garage door system with rolling code:
indicator lamp : flashes briefly and then
lights up for approximately two seconds.
This is repeated for up to 20 seconds.
iThe transmitter will transmit a signal for
as long as the transmitter button is being
pressed. The transmission will be halted
after a maximum of 20 seconds and
indicator lamp : will flash. Press the
transmitter button again, if necessary.
Clearing the remote control memoryXTurn the SmartKey to position 2 in the
ignition lock.
XPress and hold transmitter buttons ;
and ? for approximately 20 seconds until
indicator lamp : flashes rapidly.
The memory is cleared.
iYou should clear the remote control
memory before selling the vehicle.
Compass
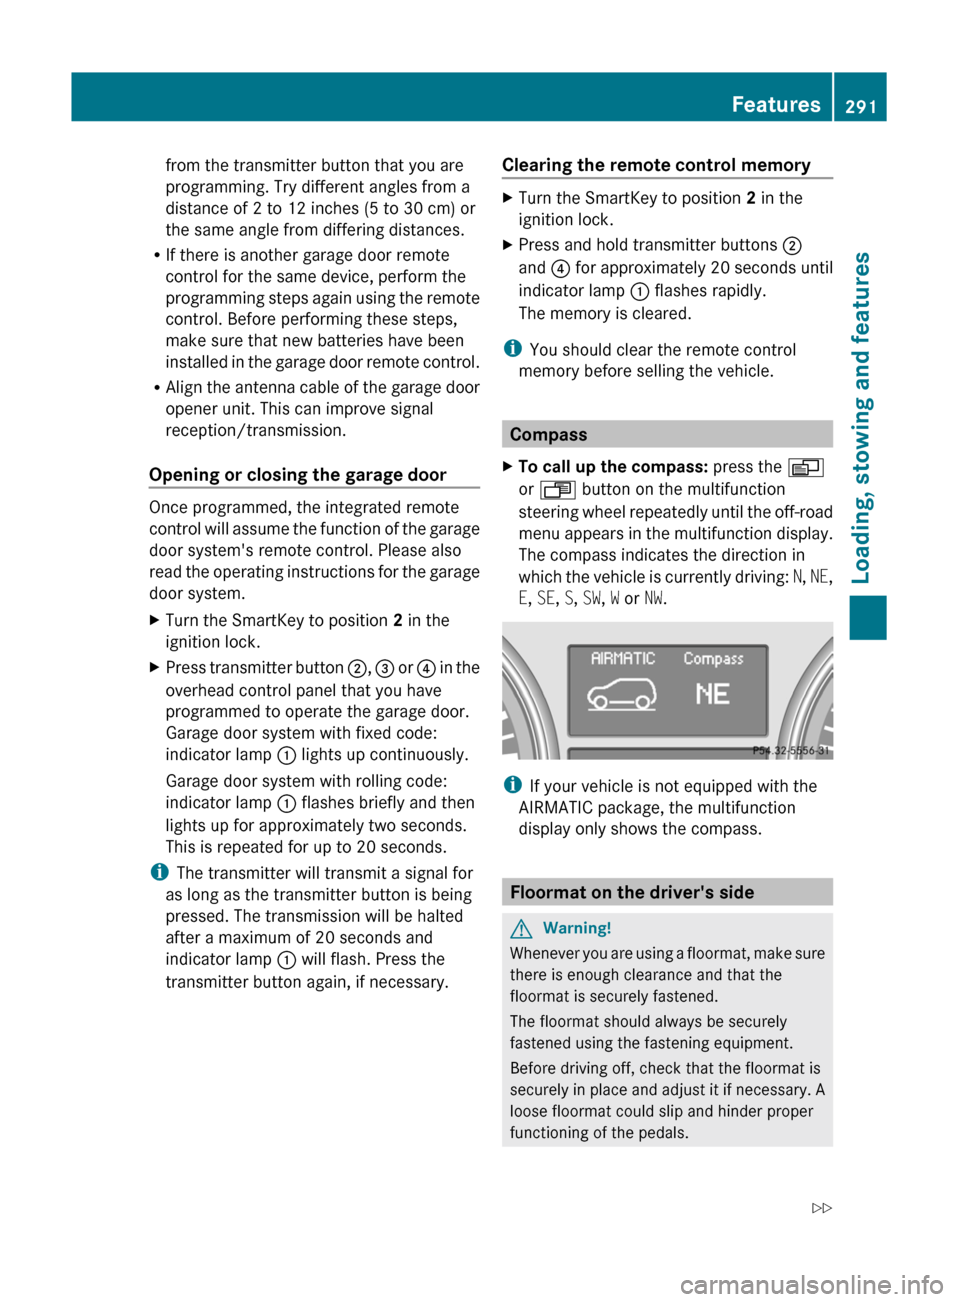
XTo call up the compass: press the V
or U button on the multifunction
steering wheel repeatedly until the off-road
menu appears in the multifunction display.
The compass indicates the direction in
which the vehicle is currently driving: N, NE,
E, SE, S, SW, W or NW.
iIf your vehicle is not equipped with the
AIRMATIC package, the multifunction
display only shows the compass.
Floormat on the driver's side
GWarning!
Whenever you are using a floormat, make sure
there is enough clearance and that the
floormat is securely fastened.
The floormat should always be securely
fastened using the fastening equipment.
Before driving off, check that the floormat is
securely in place and adjust it if necessary. A
loose floormat could slip and hinder proper
functioning of the pedals.
Features291Loading, stowing and featuresBA 164.8 USA, CA Edition B 2011; 1; 2, en-USd2sboikeVersion: 3.0.3.52010-04-21T15:08:44+02:00 - Seite 291Z