2011 MERCEDES-BENZ GL maintenance
[x] Cancel search: maintenancePage 307 of 376
Cleaning results depend on the type of
dirt and how long it has been there.
R clean Alcantara ®
covers with a damp
cloth. Make sure you wipe entire seat
sections to avoid leaving visible lines.
i Note that regular care is essential to
ensure that the appearance and comfort of
the covers is retained over time.
Cleaning the seat beltsXUse clean, luke-warm water and soap
solution.
! Do not clean the seat belts using chemical
cleaning agents. Do not dry the seat belts
by warming them above 176 ‡ (80 †) or
placing them in direct sunlight.
GWarning
Do not bleach or dye seat belts as this may
severely weaken them. In a crash, they may
not be able to provide adequate protection.
Cleaning the headliner and carpets
XRoof lining: use soft brushes or dry
shampoo if it is particularly dirty.XCarpets: use carpet and textile cleaners
that have been approved and
recommended by Mercedes-Benz.Care305Maintenance and careBA 164.8 USA, CA Edition B 2011; 1; 2, en-USd2sboikeVersion: 3.0.3.52010-04-21T15:08:44+02:00 - Seite 305Z
Page 320 of 376

XOn downhill gradients: place chocks or
other suitable items in front of the wheels
of the front and rear axle.
Raising the vehicle
GWarning
When jacking up the vehicle, only use the jack
which has been specifically approved by
Mercedes-Benz for your vehicle.
The jack is designed exclusively for jacking up
the vehicle at the jacking points built into both
sides of the vehicle. The jack saddle must be
placed centrally under the jacking point. The
jack must always be vertical when in use,
especially on inclines or declines.
The jack is intended only for lifting the vehicle
briefly for wheel changes. It is not suited for
performing maintenance work under the
vehicle. To help avoid personal injury, use the
jack only to lift the vehicle during a wheel
change.
Never get beneath the vehicle while it is
supported by the jack. Keep hands and feet
away from the area under the lifted vehicle.
Always lower the vehicle onto sufficient
capacity jackstands before working under the
vehicle.
Always firmly engage the parking brake and
block the wheels with wheel chocks or other
sizable objects before raising the vehicle with
the jack. Do not disengage the parking brake
while the vehicle is raised.
Make sure that the ground on which the
vehicle is standing and where you place the
jack is solid, level and not slippery. If
necessary, use a large underlay. On slippery
surfaces, such as tiled floors, you should use
a non-slip underlay, for example a rubber mat.
Do not use wooden blocks or similar objects
as a jack underlay. Otherwise, the jack may
not be able to achieve its load-bearing
capacity if it is not at its full height.
Never start the engine when the vehicle is
raised.
Also observe the notes on the jack.
XUsing lug wrench :, loosen the bolts on
the wheel you wish to change by about one
full turn. Do not unscrew the bolts
completely.
The jacking points for the jack are located
behind the wheel housings of the front wheels
and in front of the wheel housings of the rear
wheels (arrows).
GWarning
The jack is designed exclusively for jacking up
the vehicle at the jacking points. The jack
saddle must be placed centrally under the
jacking point.
If you do not position the jack correctly in the
jacking point, the vehicle can fall off the jack
and seriously or fatally injure you or others.
! The jack is designed exclusively for
jacking up the vehicle at the jacking points.
Otherwise, your vehicle could be damaged.
XTake ratchet ring spanner out of the vehicle
tool kit and place it on the hexagon nut of
the jack so that the letters AUF are visible.318Flat tireRoadside assistance
BA 164.8 USA, CA Edition B 2011; 1; 2, en-USd2sboikeVersion: 3.0.3.52010-04-21T15:08:44+02:00 - Seite 318
Page 335 of 376
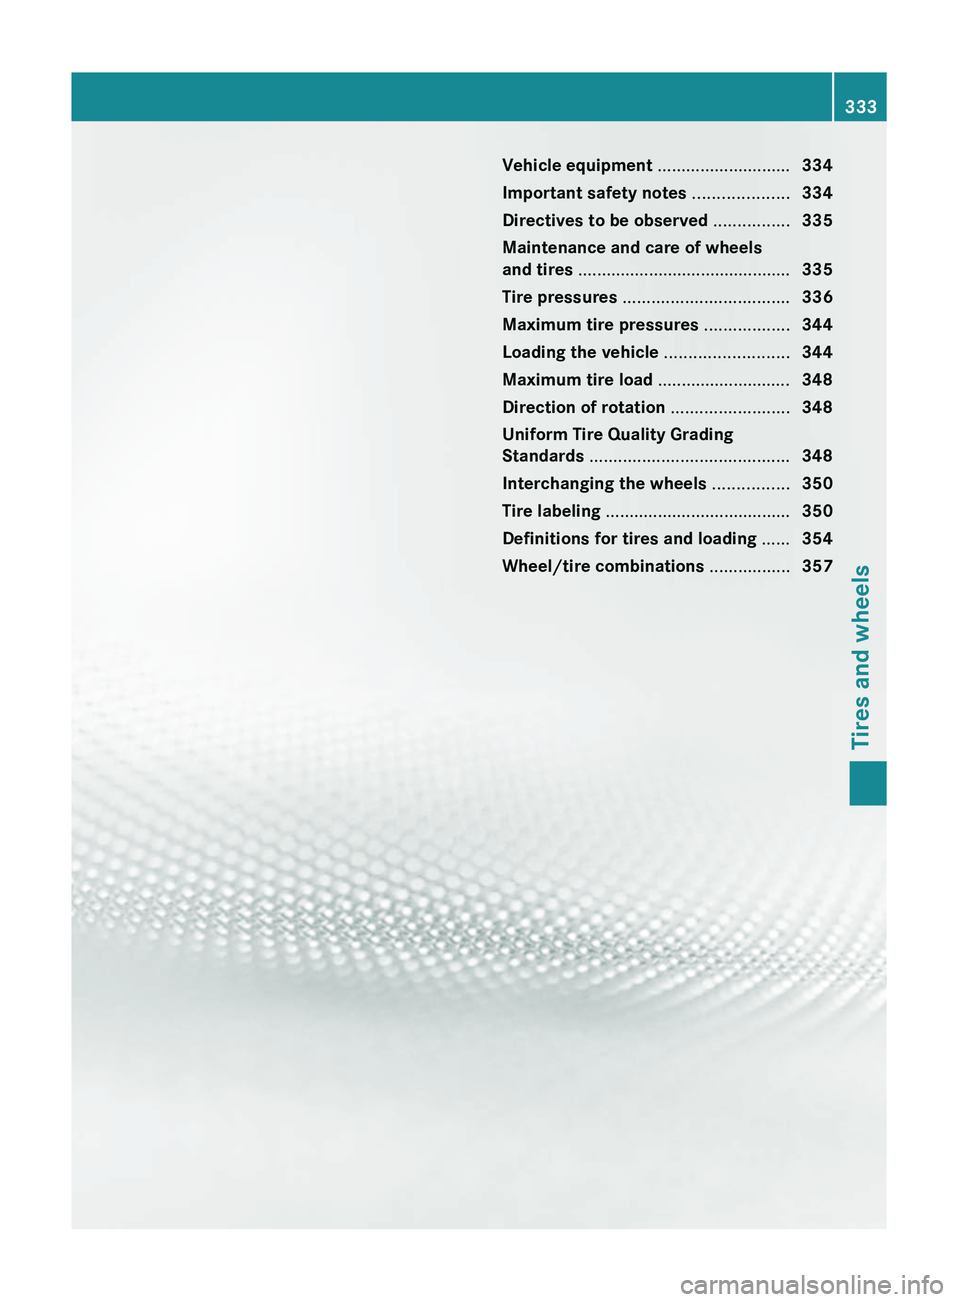
Vehicle equipment ............................334
Important safety notes ....................334
Directives to be observed ................335
Maintenance and care of wheels
and tires ............................................. 335
Tire pressures ................................... 336
Maximum tire pressures ..................344
Loading the vehicle ..........................344
Maximum tire load ............................348
Direction of rotation .........................348
Uniform Tire Quality Grading
Standards .......................................... 348
Interchanging the wheels ................350
Tire labeling ....................................... 350
Definitions for tires and loading ......354
Wheel/tire combinations .................357333Tires and wheelsBA 164.8 USA, CA Edition B 2011; 1; 2, en-USd2sboikeVersion: 3.0.3.52010-04-21T15:08:44+02:00 - Seite 333
Page 337 of 376
Directives to be observed
R Only mount tires and wheels of the same
type and make.
R Only mount tires of the correct size onto
the wheels.
R After mounting new tires, run them in at
moderate speeds for the first 60 miles
(100 km) as they only reach their full
performance after this distance.
R Do not use tires until they are excessively
worn as the tire traction on wet road
surfaces decreases significantly when the
tread depth is less than 1
/ 8 in (3 mm).
R If the vehicle is heavily laden, check the tire
pressure and adjust it if necessary.
R When parking your vehicle, make sure that
the tires do not get deformed by the curb
or other obstacles. If it is necessary to drive
over curbs, speed humps or similar
elevations, try to do so slowly and at an
obtuse angle. Otherwise, the tires,
particularly the sidewalls, can get
damaged.
Maintenance and care of wheels and
tires
Checking wheels and tires
GWarning
Regularly check the tires for damage.
Damaged tires can cause tire inflation
pressure loss. As a result, you could lose
control of your vehicle.
Worn, old tires can cause accidents. If the tire
tread is worn to minimum tread depth, or if
the tires have sustained damage, replace
them.
R Regularly check the wheels and tires of
your vehicle for damage (e.g. cuts,
punctures, tears, bulges on tires and
deformation or severe corrosion on
wheels), at least once a month, as well as
after driving off-road or on rough roads.
Damaged wheels can cause a loss of tire
pressure.
R Regularly check the tire tread depth and
the condition of the tread across the whole
width of the tire (Y page 335). If necessary,
turn the front wheels to full lock in order to
inspect the inner side of the tire surface.
R All wheels must have a valve cap to protect
the valve against dirt and moisture. Do not
install anything on the valve (such as tire
pressure monitoring systems) other than
the standard valve cap or other valve caps
approved by Mercedes-Benz for your
vehicle.
R Regularly check the pressure of all the tires
including the emergency spare wheel or the
spare wheel, particularly prior to long trips,
and correct the pressure as necessary
( Y page 336).
Service life of tires
The service life of tires depends on the
following factors amongst other things:
R driving style
R tire pressure
R mileage
Replace the tires after six years at the latest,
regardless of wear. This also applies to the
emergency spare wheel/spare wheel.
Tire tread
GWarning
Although the applicable federal motor vehicle
safety laws consider a tire to be worn when
the tread wear indicators (TWI) become
visible at approximately 1
/ 16 in (1.6 mm), we
recommend that you do not allow your tires
to wear down to that level. As tread depth
approaches 1
/ 8 in (3 mm), the adhesion
properties on a wet road are sharply reduced.
Maintenance and care of wheels and tires335Tires and wheelsBA 164.8 USA, CA Edition B 2011; 1; 2, en-USd2sboikeVersion: 3.0.3.52010-04-21T15:08:44+02:00 - Seite 335Z
Page 343 of 376
XMake sure that the key is in position 2
( Y page 147) in the ignition lock.XPress and hold the V or U button on
the multifunction steering wheel until the
standard display appears in the
multifunction display ( Y page 218).XPress the * or & button until the
Run Flat Indicator Active Menu: R-
Button message appears in the
multifunction display.XPress the reset button ( Y page 28) on the
instrument cluster.
The Restart Run Flat Indicator?
Yes Cancel message appears in the
multifunction display.
If you wish to confirm the restart:
XPress the W button.
The Run Flat Indicator Restarted
message appears in the multifunction
display.
After a teach-in period, the tire pressure
loss warning system will monitor the set
tire pressures of all four tires.
If you wish to cancel the restart:
XPress the X button.
or
XWait until the Restart Run Flat
Indicator? Yes Cancel message
disappears.
The tire pressure values stored at the last
restart will continue to be monitored.
Tire pressure monitoring system
(USA only)
Important safety information
The tire pressure monitoring system consists
of sensors installed in the vehicle wheels that
monitor the air pressure in all four tires. The
tire pressure monitoring system warns you
when the pressure in one or more tires
decreases. It only works when the
corresponding sensors are installed on all the
wheels.
The tire pressure monitor informs you via a
yellow warning lamp in the instrument cluster
about pressure loss or if the system is
malfunctioning. Whether the warning lamp
flashes or lights up indicates whether a tire
pressure is too low or the tire pressure
monitor is malfunctioning:
R If the warning lamp is lit up constantly, one
or more of your tires are significantly
underinflated. The tire pressure monitor is
not malfunctioning.
R If the warning lamp flashes for 60 seconds
and is then lit constantly, the tire pressure
monitor is malfunctioning.GWarning!
Each tire, including the spare (if provided),
should be checked at least once a month
when cold and inflated to the inflation
pressure recommended by the vehicle
manufacturer on the tire and loading
information table on the driver's door B-pillar
or the tire inflation pressure table on the
inside of the fuel filler flap. If your vehicle has
tires of a different size than the size indicated
on the tire and loading information table or
the tire inflation pressure table, you should
determine the proper tire inflation pressure
for those tires.
As an added safety feature, your vehicle has
been equipped with a tire pressure monitor
(TPMS). An indicator lamp lights up if one or
more of your tires are significantly
underinflated. Accordingly, when the low tire
pressure indicator lamp lights up, you should
stop and check your tires as soon as possible,
and inflate them to the proper pressure.
Driving on a significantly underinflated tire
causes the tire to overheat and can lead to
tire failure.
Underinflation also reduces fuel efficiency
and tire tread life and may affect the vehicle's
handling and stopping ability. Please note that
the TPMS is not a substitute for proper tire
maintenance and it is the driver's
Tire pressures341Tires and wheelsBA 164.8 USA, CA Edition B 2011; 1; 2, en-USd2sboikeVersion: 3.0.3.52010-04-21T15:08:44+02:00 - Seite 341Z
Page 359 of 376
Distribution of the vehicle occupants
Distribution of vehicle occupants over
designated seat positions in a vehicle.
Maximum permissible payload
weight
Nominal load and luggage load plus
68 kilograms (150 lb) multiplied by the
number of seats in the vehicle.
Wheel/tire combinations
Points to remember
GWarning
Observe the "Important safety information"
( Y page 334).
! For safety reasons, Mercedes-Benz
recommends that you only use tires,
wheels and accessories which have been
approved by Mercedes-Benz specifically
for your vehicle. These tires have been
specially adapted for use with the control
systems, such as ABS or ESP ®
, and are
marked as follows:
R MO = Mercedes-Benz Original
R MOE = Mercedes-Benz Original Extended
(tires with run-flat characteristics)
R MO1 = Mercedes-Benz Original (AMG)
Only use Mercedes-Benz Original Extended
tires on wheels that have been specifically
approved by Mercedes-Benz.
If you use other tires, wheels and
accessories, Mercedes-Benz cannot
accept any responsibility for damage that
may result from this. Further information
about tires, wheels and approved
combinations can be obtained from any
authorized Mercedes-Benz Center.
! If you mount tires other than those tested
and recommended by Mercedes-Benz,
characteristics such as handling, noise
levels and fuel consumption, etc. may be
adversely affected. In addition, when
driving with a load, tire dimensional
variations could cause the tires to come
into contact with the bodywork and axle
components. This could result in damage
to the tires or the vehicle.
i Further information about tires and
wheels can be obtained from any
authorized Mercedes-Benz Center.
i The Tire and Load Information placard
with the recommended tire pressures is
attached to the B-pillar on the driver's side.
Further information about driving at high
speeds or driving with vehicle loads that are
lighter than the maximum vehicle load can
be found in the tire pressure table on the
inside of the fuel filler flap. Check tire
pressures regularly, and only when the tires
are cold. Comply with the maintenance
recommendations of the tire manufacturer
in the vehicle document wallet.
Further information on the recommended tire
inflation pressure and on tire pressures for
specific driving conditions, see (Y page 336).
i Notes on the vehicle equipment:
R always mount tires of the same size on a
given axle (left/right).
R always mount the same type of tires on
your vehicle at a given time (summer
tires, winter tires, MOExtended tires).
i Vehicles featuring the MOExtended run-
flat system are not equipped with a TIREFIT
kit.
It is therefore recommended that you
additionally equip your vehicle with the
TIREFIT kit if you mount tires that do not
feature run-flat properties, e.g. winter tires.
A TIREFIT kit is available from any qualified
specialist workshop, e.g. an authorized
Mercedes-Benz Center.
i The following pages contain information
on approved wheel rims and tire sizes for
equipping your vehicle with winter tires.
Winter tires are not available at the factoryWheel/tire combinations357Tires and wheelsBA 164.8 USA, CA Edition B 2011; 1; 2, en-USd2sboikeVersion: 3.0.3.52010-04-21T15:08:44+02:00 - Seite 357Z