2011 MERCEDES-BENZ G550 window
[x] Cancel search: windowPage 111 of 288
Problems with the cooling with air
dehumidification function
If the indicator lamp in the Á button does
not go out or flashes when switched on, the
cooling with air dehumidification function is
switched off due to a malfunction. You can no
longer switch on the cooling with air
dehumidification function.
XConsult a qualified specialist workshop.
Setting climate control to automatic
GWarning
If you switch off the cooling function, the
vehicle will not be cooled when weather
conditions are warm. The windows can fog up
more quickly. Window fogging may impair
visibility and endanger you and others.
In automatic mode, the set temperature is
maintained automatically at a constant level.
The system automatically regulates the
temperature of the dispensed air, the airflow
and the air distribution.
Automatic mode will achieve optimal
operation if cooling with air dehumidification
is also activated. If desired, cooling with air
dehumidification can be deactivated.
XTurn the key to position 2 in the ignition
lock.XSet the desired temperature.XTo switch on: press the à button.
The indicator lamp in the à button lights
up. Automatic air distribution and airflow
are activated.XTo switch off: press the à button.
The indicator lamp in the à button goes
out. Automatic air distribution and airflow
are deactivated.
Setting the temperature
Different temperatures can be set for the
driver's and front-passenger sides.
XTurn the key to position 2 in the ignition
lock.XTo increase/reduce: turn controls ; and
= clockwise or counter-clockwise
( Y page 107).
Only change the temperature setting in
small increments. Start at 72 ‡ (22 †).
i If you turn the temperature control on one
side of the vehicle fully clockwise or
counter-clockwise, you will increase or
reduce the temperature on the other side
of the vehicle at the same time.
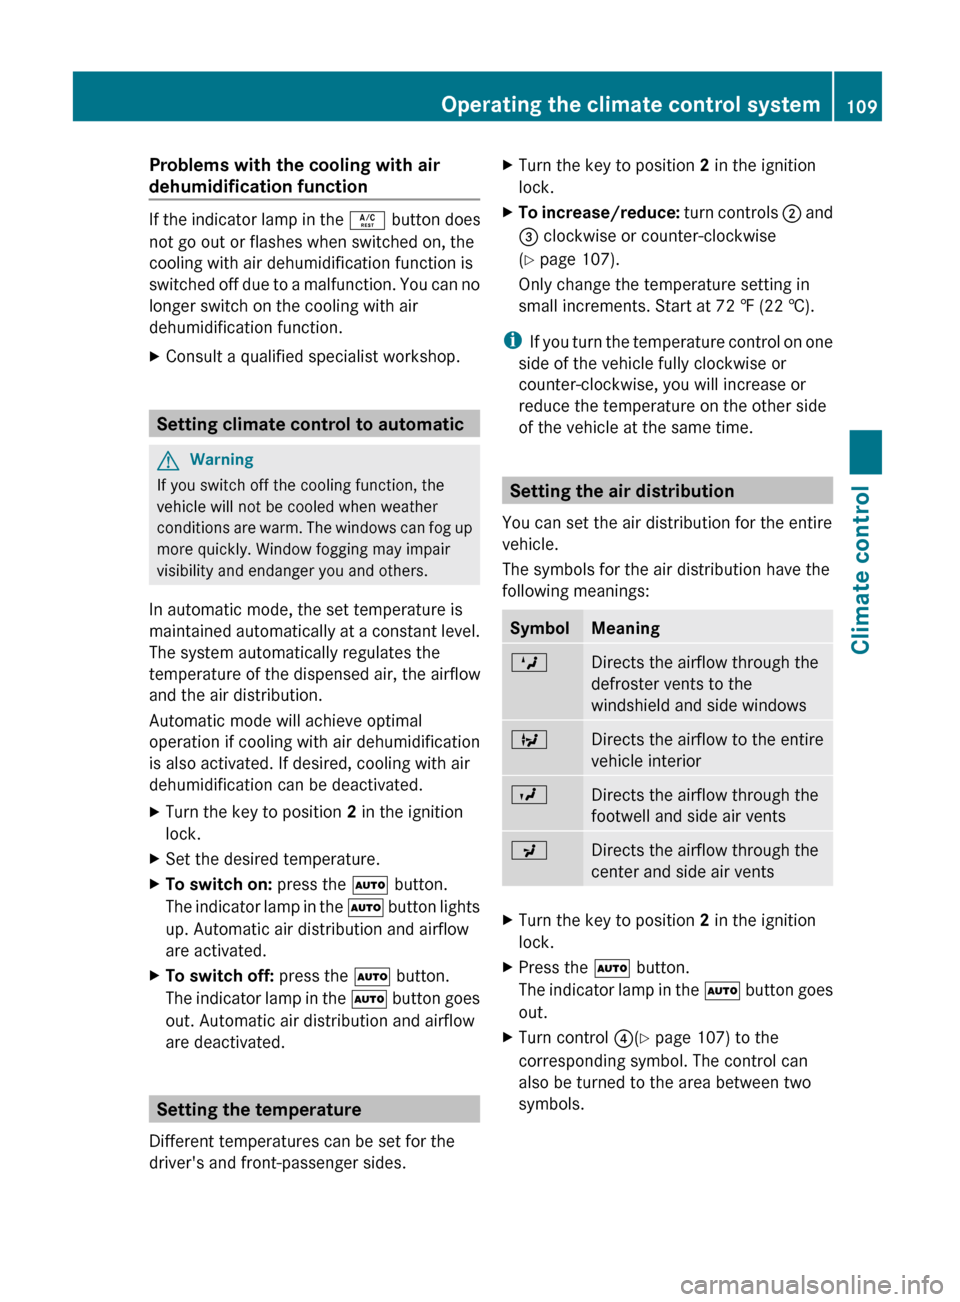
Setting the air distribution
You can set the air distribution for the entire
vehicle.
The symbols for the air distribution have the
following meanings:
SymbolMeaningMDirects the airflow through the
defroster vents to the
windshield and side windowsQDirects the airflow to the entire
vehicle interiorODirects the airflow through the
footwell and side air ventsPDirects the airflow through the
center and side air ventsXTurn the key to position 2 in the ignition
lock.XPress the à button.
The indicator lamp in the à button goes
out.XTurn control ?(Y page 107) to the
corresponding symbol. The control can
also be turned to the area between two
symbols.Operating the climate control system109Climate controlZ
Page 112 of 288
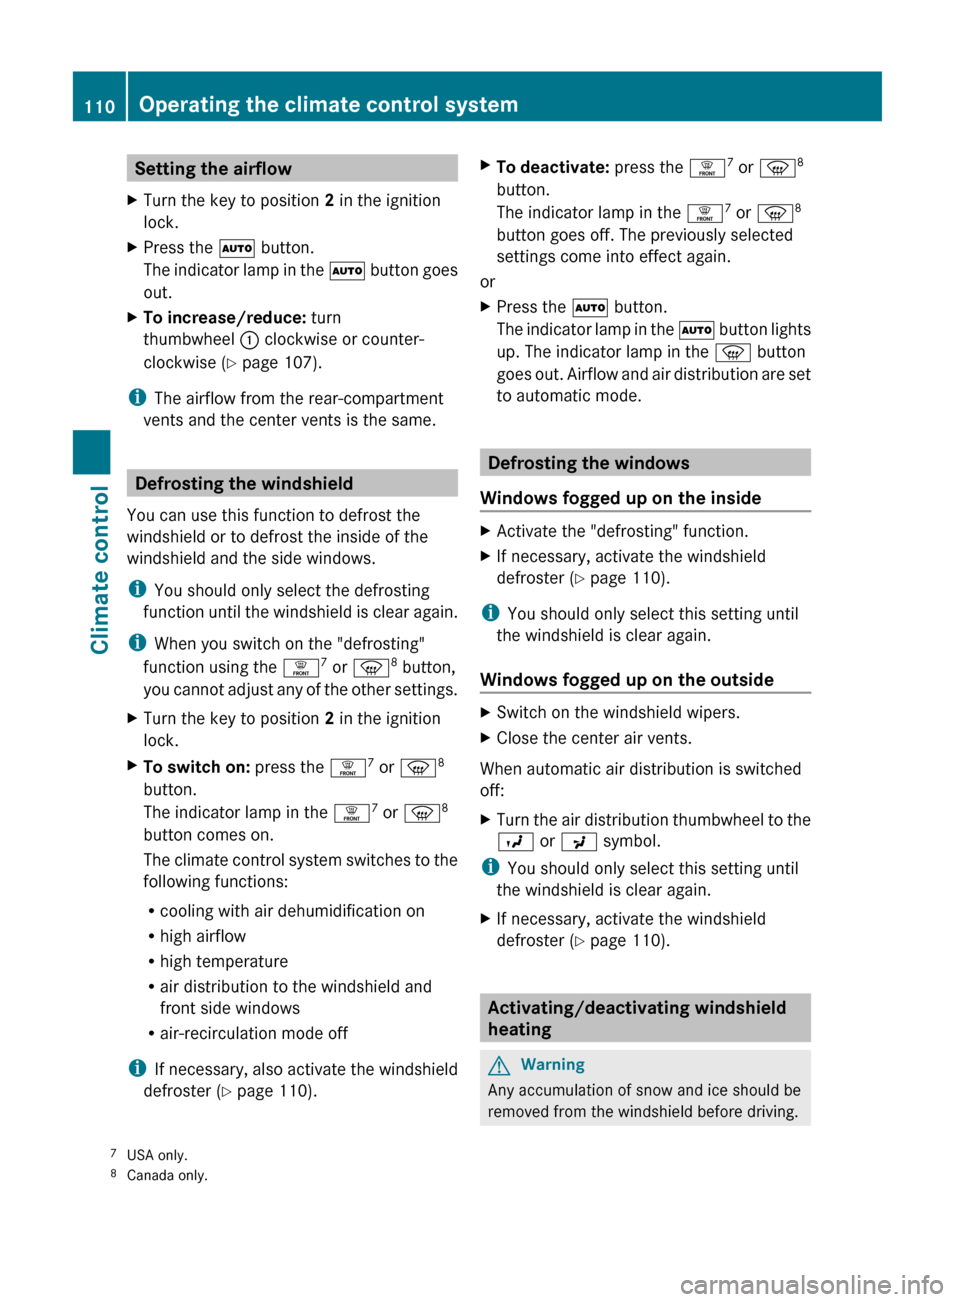
Setting the airflowXTurn the key to position 2 in the ignition
lock.XPress the à button.
The indicator lamp in the à button goes
out.XTo increase/reduce: turn
thumbwheel : clockwise or counter-
clockwise ( Y page 107).
i
The airflow from the rear-compartment
vents and the center vents is the same.
Defrosting the windshield
You can use this function to defrost the
windshield or to defrost the inside of the
windshield and the side windows.
i You should only select the defrosting
function until the windshield is clear again.
i When you switch on the "defrosting"
function using the ¥7
or z 8
button,
you cannot adjust any of the other settings.
XTurn the key to position 2 in the ignition
lock.XTo switch on: press the ¥7
or z 8
button.
The indicator lamp in the ¥7
or z 8
button comes on.
The climate control system switches to the
following functions:
R cooling with air dehumidification on
R high airflow
R high temperature
R air distribution to the windshield and
front side windows
R air-recirculation mode off
i If necessary, also activate the windshield
defroster ( Y page 110).
XTo deactivate: press the ¥7
or z 8
button.
The indicator lamp in the ¥7
or z 8
button goes off. The previously selected
settings come into effect again.
or
XPress the à button.
The indicator lamp in the à button lights
up. The indicator lamp in the z button
goes out. Airflow and air distribution are set
to automatic mode.
Defrosting the windows
Windows fogged up on the inside
XActivate the "defrosting" function.XIf necessary, activate the windshield
defroster ( Y page 110).
i
You should only select this setting until
the windshield is clear again.
Windows fogged up on the outside
XSwitch on the windshield wipers.XClose the center air vents.
When automatic air distribution is switched
off:
XTurn the air distribution thumbwheel to the
O or P symbol.
i
You should only select this setting until
the windshield is clear again.
XIf necessary, activate the windshield
defroster ( Y page 110).
Activating/deactivating windshield
heating
GWarning
Any accumulation of snow and ice should be
removed from the windshield before driving.
7 USA only.
8 Canada only.110Operating the climate control systemClimate control
Page 113 of 288
Otherwise, your vision may be impaired,
which could endanger you or others.
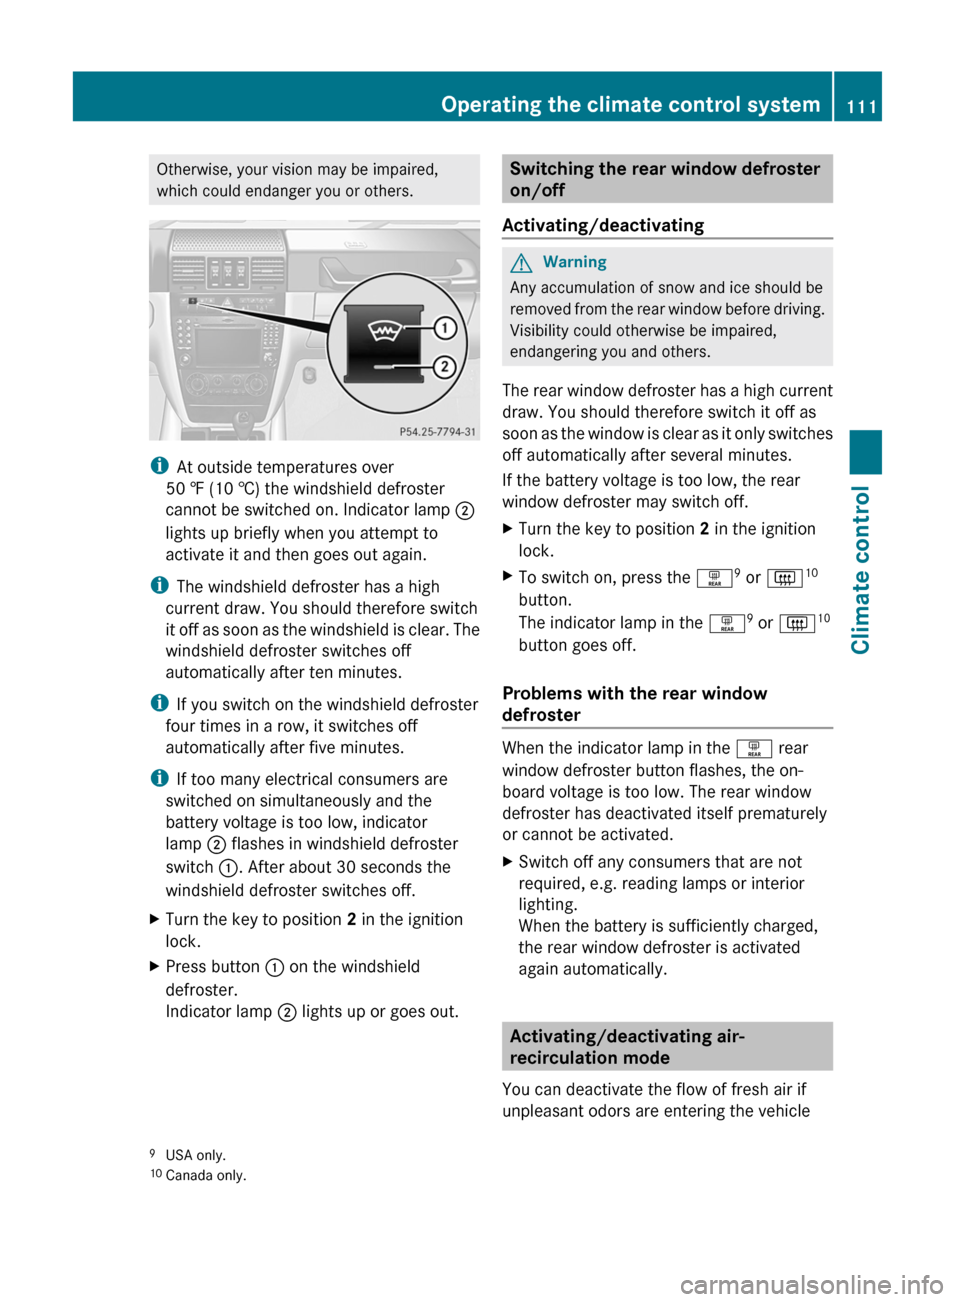
i At outside temperatures over
50 ‡ (10 †) the windshield defroster
cannot be switched on. Indicator lamp ;
lights up briefly when you attempt to
activate it and then goes out again.
i The windshield defroster has a high
current draw. You should therefore switch
it off as soon as the windshield is clear. The
windshield defroster switches off
automatically after ten minutes.
i If you switch on the windshield defroster
four times in a row, it switches off
automatically after five minutes.
i If too many electrical consumers are
switched on simultaneously and the
battery voltage is too low, indicator
lamp ; flashes in windshield defroster
switch :. After about 30 seconds the
windshield defroster switches off.
XTurn the key to position 2 in the ignition
lock.XPress button : on the windshield
defroster.
Indicator lamp ; lights up or goes out.Switching the rear window defroster
on/off
Activating/deactivatingGWarning
Any accumulation of snow and ice should be
removed from the rear window before driving.
Visibility could otherwise be impaired,
endangering you and others.
The rear window defroster has a high current
draw. You should therefore switch it off as
soon as the window is clear as it only switches
off automatically after several minutes.
If the battery voltage is too low, the rear
window defroster may switch off.
XTurn the key to position 2 in the ignition
lock.XTo switch on, press the ª9
or | 10
button.
The indicator lamp in the ª9
or | 10
button goes off.
Problems with the rear window
defroster
When the indicator lamp in the ª rear
window defroster button flashes, the on-
board voltage is too low. The rear window
defroster has deactivated itself prematurely
or cannot be activated.
XSwitch off any consumers that are not
required, e.g. reading lamps or interior
lighting.
When the battery is sufficiently charged,
the rear window defroster is activated
again automatically.
Activating/deactivating air-
recirculation mode
You can deactivate the flow of fresh air if
unpleasant odors are entering the vehicle
9 USA only.
10 Canada only.Operating the climate control system111Climate controlZ
Page 114 of 288
from outside. The air already inside the
vehicle will then be recirculated.GWarning!
Fogged windows impair visibility,
endangering you and others. If the windows
begin to fog on the inside, switching off the
air recirculation mode immediately should
clear interior window fogging. If interior
window fogging persists, make sure the air
conditioning is activated, or press button
z or ¥ .
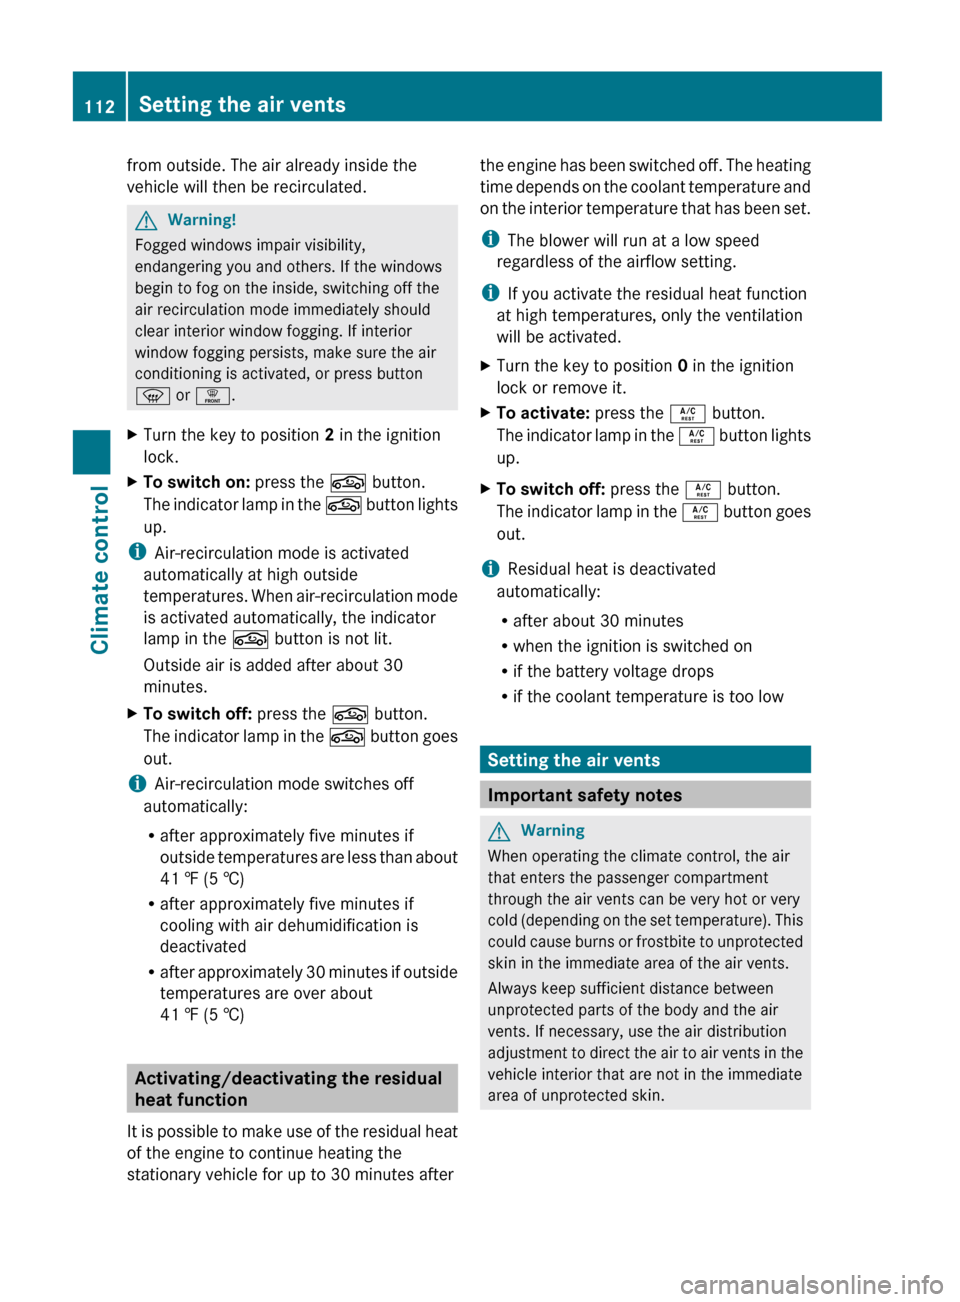
XTurn the key to position 2 in the ignition
lock.XTo switch on: press the g button.
The indicator lamp in the g button lights
up.
i Air-recirculation mode is activated
automatically at high outside
temperatures. When air-recirculation mode
is activated automatically, the indicator
lamp in the g button is not lit.
Outside air is added after about 30
minutes.
XTo switch off: press the g button.
The indicator lamp in the g button goes
out.
i Air-recirculation mode switches off
automatically:
R after approximately five minutes if
outside temperatures are less than about
41 ‡ (5 †)
R after approximately five minutes if
cooling with air dehumidification is
deactivated
R after approximately 30 minutes if outside
temperatures are over about
41 ‡ (5 †)
Activating/deactivating the residual
heat function
It is possible to make use of the residual heat
of the engine to continue heating the
stationary vehicle for up to 30 minutes after
the engine has been switched off. The heating
time depends on the coolant temperature and
on the interior temperature that has been set.
i The blower will run at a low speed
regardless of the airflow setting.
i If you activate the residual heat function
at high temperatures, only the ventilation
will be activated.XTurn the key to position 0 in the ignition
lock or remove it.XTo activate: press the Á button.
The indicator lamp in the Á button lights
up.XTo switch off: press the Á button.
The indicator lamp in the Á button goes
out.
i Residual heat is deactivated
automatically:
R after about 30 minutes
R when the ignition is switched on
R if the battery voltage drops
R if the coolant temperature is too low
Setting the air vents
Important safety notes
GWarning
When operating the climate control, the air
that enters the passenger compartment
through the air vents can be very hot or very
cold (depending on the set temperature). This
could cause burns or frostbite to unprotected
skin in the immediate area of the air vents.
Always keep sufficient distance between
unprotected parts of the body and the air
vents. If necessary, use the air distribution
adjustment to direct the air to air vents in the
vehicle interior that are not in the immediate
area of unprotected skin.
112Setting the air ventsClimate control
Page 119 of 288
Only shift the automatic transmission to
the desired drive position when the vehicle
is stationary.
Where possible, avoid spinning the drive
wheels when pulling away on slippery
roads. You could otherwise damage the
drive train.
! Avoid high engine speeds when the
engine is cold. The engine's service life
could otherwise be significantly shortened.
Do not use the engine's full performance
until it has reached operating temperature.
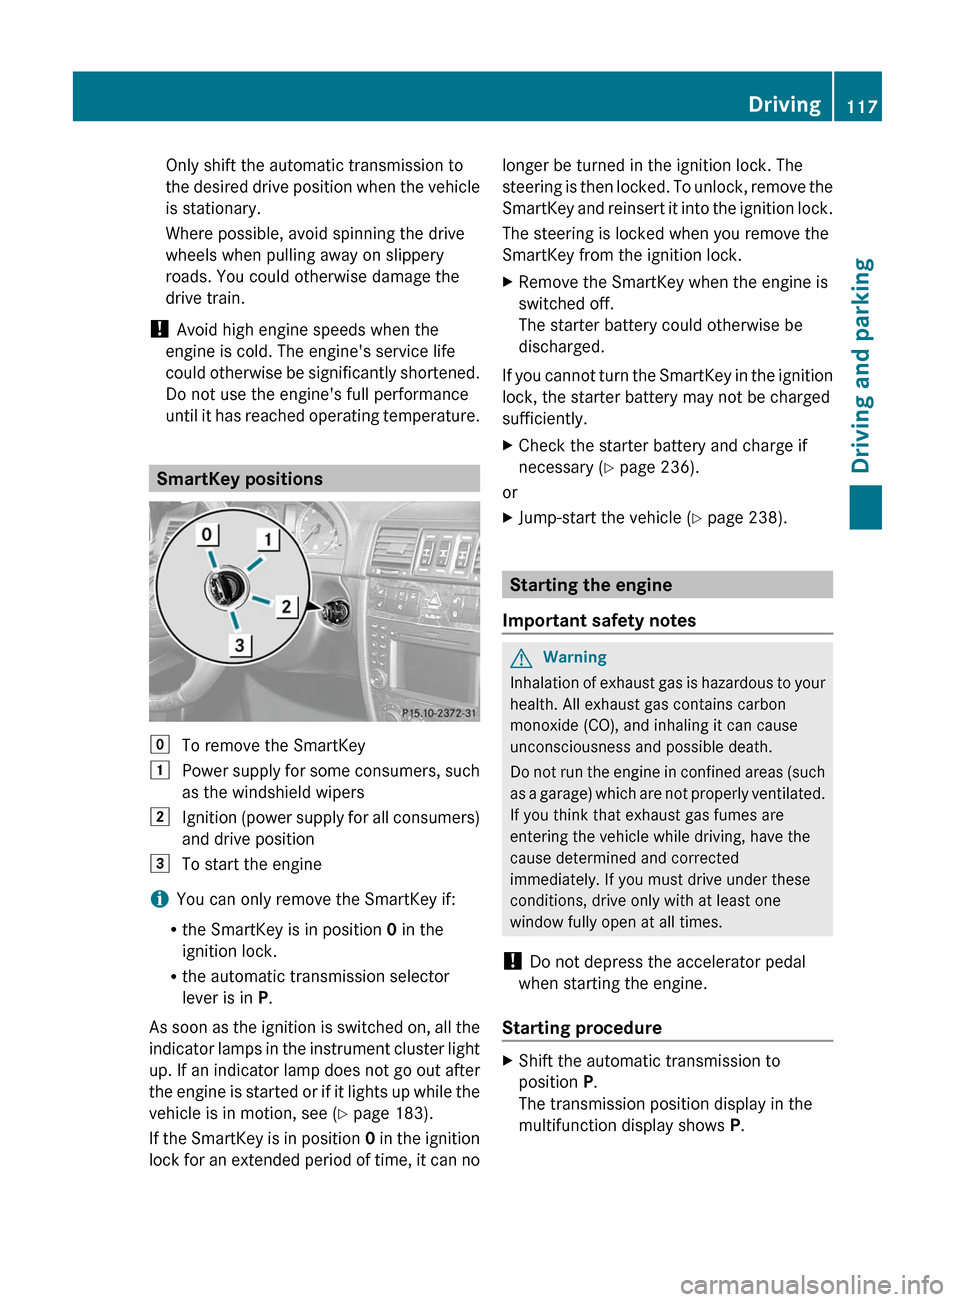
SmartKey positions
gTo remove the SmartKey1Power supply for some consumers, such
as the windshield wipers2Ignition (power supply for all consumers)
and drive position3To start the engine
i You can only remove the SmartKey if:
R the SmartKey is in position 0 in the
ignition lock.
R the automatic transmission selector
lever is in P.
As soon as the ignition is switched on, all the
indicator lamps in the instrument cluster light
up. If an indicator lamp does not go out after
the engine is started or if it lights up while the
vehicle is in motion, see ( Y page 183).
If the SmartKey is in position 0 in the ignition
lock for an extended period of time, it can no
longer be turned in the ignition lock. The
steering is then locked. To unlock, remove the
SmartKey and reinsert it into the ignition lock.
The steering is locked when you remove the
SmartKey from the ignition lock.XRemove the SmartKey when the engine is
switched off.
The starter battery could otherwise be
discharged.
If you cannot turn the SmartKey in the ignition
lock, the starter battery may not be charged
sufficiently.
XCheck the starter battery and charge if
necessary ( Y page 236).
or
XJump-start the vehicle ( Y page 238).
Starting the engine
Important safety notes
GWarning
Inhalation of exhaust gas is hazardous to your
health. All exhaust gas contains carbon
monoxide (CO), and inhaling it can cause
unconsciousness and possible death.
Do not run the engine in confined areas (such
as a garage) which are not properly ventilated.
If you think that exhaust gas fumes are
entering the vehicle while driving, have the
cause determined and corrected
immediately. If you must drive under these
conditions, drive only with at least one
window fully open at all times.
! Do not depress the accelerator pedal
when starting the engine.
Starting procedure
XShift the automatic transmission to
position P.
The transmission position display in the
multifunction display shows P.Driving117Driving and parkingZ
Page 139 of 288
pedals. You could then no longer brake or
accelerate. This could lead to accidents and
injury.
Rolling with the engine switched offGWarning!
There is no power assistance for the steering
and the brake when the engine is not running.
Steering and braking requires significantly
more effort and you could lose control of the
vehicle and cause an accident as a result.
Do not turn off the engine while the vehicle is
in motion.
Exhaust check
GWarning
Inhalation of exhaust gas is hazardous to your
health. All exhaust gas contains carbon
monoxide (CO), and inhaling it can cause
unconsciousness and possible death.
Do not run the engine in confined areas (such
as a garage) which are not properly ventilated.
If you think that exhaust gas fumes are
entering the vehicle while driving, have the
cause determined and corrected
immediately. If you must drive under these
conditions, drive only with at least one
window fully open at all times.
Certain engine systems are designed to keep
the level of poisonous components in exhaust
fumes within legal limits.
These systems only work at peak efficiency
when they are maintained exactly in
accordance with the manufacturer's
specifications. For this reason, all work on the
engine must be carried out only by qualified
and authorized Mercedes-Benz technicians.
The engine settings must not be changed in
any circumstances. Furthermore, all specific
service work must be carried out at regular
intervals and in accordance with the
Mercedes-Benz service requirements. Details
can be found in the Service Booklet.
Brakes
Important safety notesGWarning!
On slippery road surfaces, never downshift in
order to obtain braking action. This could
result in drive wheel slip and reduced vehicle
control. Your vehicle’s ABS will not prevent
this type of control loss.
Do not engage the transfer case in position
LOW when driving on ice or packed snow. At
speeds below 18 mph (30 km/h) vehicle
steering is adversely affected by the Off-road
ABS.
Downhill gradients
! On long and steep gradients, you must
reduce the load on the brakes by shifting
early to a lower gear. This allows you to take
advantage of the engine braking effect and
helps avoid overheating and excessive
wear of the brakes.
When you take advantage of the engine
braking effect, a drive wheel may not turn
for some time, e.g. on a slippery road
surface. This could cause damage to the
drive train. This type of damage is not
covered by the Mercedes-Benz warranty.
Heavy and light loads
GWarning
Depressing the brake pedal constantly results
in excessive and premature wear to the brake
pads.
It may also cause the brakes to overheat,
seriously impairing their effectiveness. It may
then not be possible to stop the vehicle in
sufficient time to avoid an accident.
If the brakes have been subjected to a heavy
load, do not stop the vehicle immediately, but
drive on for a short while. This allows the
airflow to cool the brakes more quickly.
Driving tips137Driving and parkingZ
Page 143 of 288
RDrive slowly and at an even speed through
the water.
R Do not stop and do not switch off the
engine.
! Do not open any of the vehicle's doors
while fording. Otherwise, water could get
into the vehicle interior and damage the
vehicle's electronics and interior
equipment.
R Water offers a high degree of resistance,
and the ground is slippery and in some
cases unstable. Therefore, it is difficult and
dangerous to pull away in the water.
R Ensure that a bow wave does not form as
you drive.
R Clean any mud from the tire tread after
fording.
R Apply the brakes to dry them after fording.
Winter driving
General notes
GWarning
If the vehicle becomes trapped in snow,
ensure that snow is kept away from the
exhaust pipe and from around the vehicle as
long as the engine is running. Otherwise,
poisonous carbon monoxide (CO) may enter
the vehicle, resulting in loss of consciousness
and even death.
To assure sufficient fresh air ventilation, open
a window slightly on the side of the vehicle
not facing the wind.
Have your vehicle winterproofed at a qualified
specialist workshop, e.g. an authorized
Mercedes-Benz Center, at the onset of
winter.
Observe the notes in the "Winter operation"
section ( Y page 248).
Driving with summer tires
Observe the notes in the "Winter operation"
section ( Y page 248).
Slippery road surfaces
GWarning!
The outside temperature indicator is not
designed to serve as an ice-warning device
and is therefore unsuitable for that purpose.
Indicated temperatures just above the
freezing point do not guarantee that the road
surface is free of ice. The road may still be icy,
especially in wooded areas or on bridges.
GWarning!
On slippery road surfaces, never downshift in
order to obtain braking action. This could
result in drive wheel slip and reduced vehicle
control. Your vehicle’s ABS will not prevent
this type of control loss.
Do not engage the transfer case in position
LOW when driving on ice or packed snow. At
speeds below 18 mph (30 km/h) vehicle
steering is adversely affected by the Off-road
ABS.
Drive particularly carefully on slippery road
surfaces. Avoid sudden acceleration, steering
and braking maneuvers. Do not use cruise
control.
If the vehicle threatens to skid or cannot be
stopped when moving at low speed:
XShift the transmission to position N.XTry to bring the vehicle under control using
corrective steering.
i For more information on driving with
snow chains, see ( Y page 248).
GWarning
Make sure that you do not endanger other
road users when you apply the brakes.
Driving tips141Driving and parkingZ
Page 145 of 288
RCheck the depth of water before fording
rivers and streams.
R When fording, do not stop and do not
switch off the engine.
R Look out for obstacles such as rocks, holes,
tree stumps and furrows.
R Always keep the doors, rear door, windows
and the sliding sunroof closed while the
vehicle is in motion.
R Switch off cruise control.
R Do not stray from marked routes or paths.
R Adapt your speed to the terrain. The
rougher, steeper or more ruts on the
terrain, the slower your speed should be.
R Drive slowly and at an even speed through
the water. Ensure that a bow wave does not
form as you drive.
R On sand, drive quickly to overcome the
rolling resistance. Otherwise, the vehicle
could dig itself into the sand.
R Do not jump with the vehicle as this will
interrupt the vehicle's propulsion.
R Avoid high engine speeds. Drive at
reasonable engine speeds (maximum
3000 rpm).
R Do not shift the automatic transmission to
transmission position N.
R Always check the vehicle for damage after
off-road driving.
i Information about retrofitting special all-
terrain tires is available from any
authorized Mercedes-Benz Center.HEnvironmental note
Protection of the environment is of primary
importance. Treat nature with respect.
Observe all prohibiting signs.
Checklist before driving off-road
XEngine oil level: check the engine oil and
top it up if necessary.
Only then does the engine receive enough
oil when the vehicle is standing on a steep
incline.! If the engine oil warning lamp lights up
while the vehicle is in motion, stop the
vehicle in a safe place as soon as possible.
Check the engine oil level. The engine oil
warning lamp warning must not be ignored.
Continuing the journey while the symbol is
displayed could lead to engine damage.XWheel-changing tool kit: check that the
jack is working and make sure you have the
wheelbrace, a robust tow cable and a
folding spade in the vehicle.XWheels and tires: check the tire tread
depth and tire pressure.XCheck for damage and remove any foreign
objects, e.g. small stones, from the
wheels/tires.XReplace any missing valve caps.XReplace dented or damaged wheels.XCarry a sound spare wheel.
Checklist after driving off-road
GWarning
If you feel a sudden significant vibration or
ride disturbance, or you suspect that possible
damage to your vehicle has occurred, you
should turn on the hazard warning flashers,
carefully slow down, and drive with caution to
an area which is a safe distance from the road.
Inspect the tires and the vehicle underbody
for possible damage. If the vehicle appears
unsafe, have the vehicle towed to the nearest
authorized Mercedes-Benz Center or tire
dealer for repairs.
Driving over rough terrain places greater
demands on your vehicle than driving on
normal roads. After driving off-road, check
the vehicle. This allows you to detect damage
promptly and reduce the risk of an accident
to yourself and other road users.
XShift the transfer case to HIGH
( Y page 126).XDisengage the differential locks
( Y page 129).Driving tips143Driving and parkingZ