Page 247 of 409
![MERCEDES-BENZ E-CLASS ESTATE 2011 Owners Manual X
Press the abutton to confirm.
X Press :or9 to select the Perma‐ nent display function.
You will see the selected setting: outsidetemperature or
Dig. speedom [mph] .
X Press the abutton to save the MERCEDES-BENZ E-CLASS ESTATE 2011 Owners Manual X
Press the abutton to confirm.
X Press :or9 to select the Perma‐ nent display function.
You will see the selected setting: outsidetemperature or
Dig. speedom [mph] .
X Press the abutton to save the](/manual-img/4/55509/w960_55509-246.png)
X
Press the abutton to confirm.
X Press :or9 to select the Perma‐ nent display function.
You will see the selected setting: outsidetemperature or
Dig. speedom [mph] .
X Press the abutton to save the setting.
Time/date This submenu is only available on vehicles
with Audio 20.
In the
Time/date submenu, you can set the
time and date.
Your vehicle may have the following audio
equipment:
A: Audio 20
B: Audio 50 APS
C: COMAND APS
X Refer to the separate operating instruc-
tions to find out which audio system is fit-
ted in your vehicle.
Depending on the audio system, the time and
date are received from GPS satellites and
cannot be set using the on-board computer
(see the following table). A B C
Setting using the on-board com-
puter X
Automatic GPS satellite recep-
tion X X
Setting the time zone once; see
the separate operating instruc-
tions X X
X
Press the =or; button on the steer-
ing wheel to select the Settings menu.
X Press the :or9 button to select the
Time/Date submenu.
X Press the abutton to confirm.
X Press the :or9 button to select
Time: or
Date: .
The curren ttime or date set is displayed. X
Press ato change the setting.
X Press the =or; button to selec tthe
display you want to change: hour, minute,
day, month, year.
X Press the :or9 button to set the
selected display.
X Press the abutton to store the entry.
Lights Switching the daytime driving lights on/
off
If you have activated the
Day lights function
and the light switch is in the Ãposition,
the daytime driving lights are automatically
switched on when the engine is running.
Depending on light conditions, the side lamps
and the dipped-beamh eadlamps will addi-
tionally light up.
X Switch off the engine.
X Press the =or; button on the steer-
ing wheel to select the Settings menu.
X Press the :or9 button to select the
Light submenu.
X Press the abutton to confirm.
X Press the :or9 button to select the
Day lights function.
If the Day lights have been switched on,
the cone of light and the Wsymbol in
the multifunction display are shown in red.
X Press the abutton to save the setting.
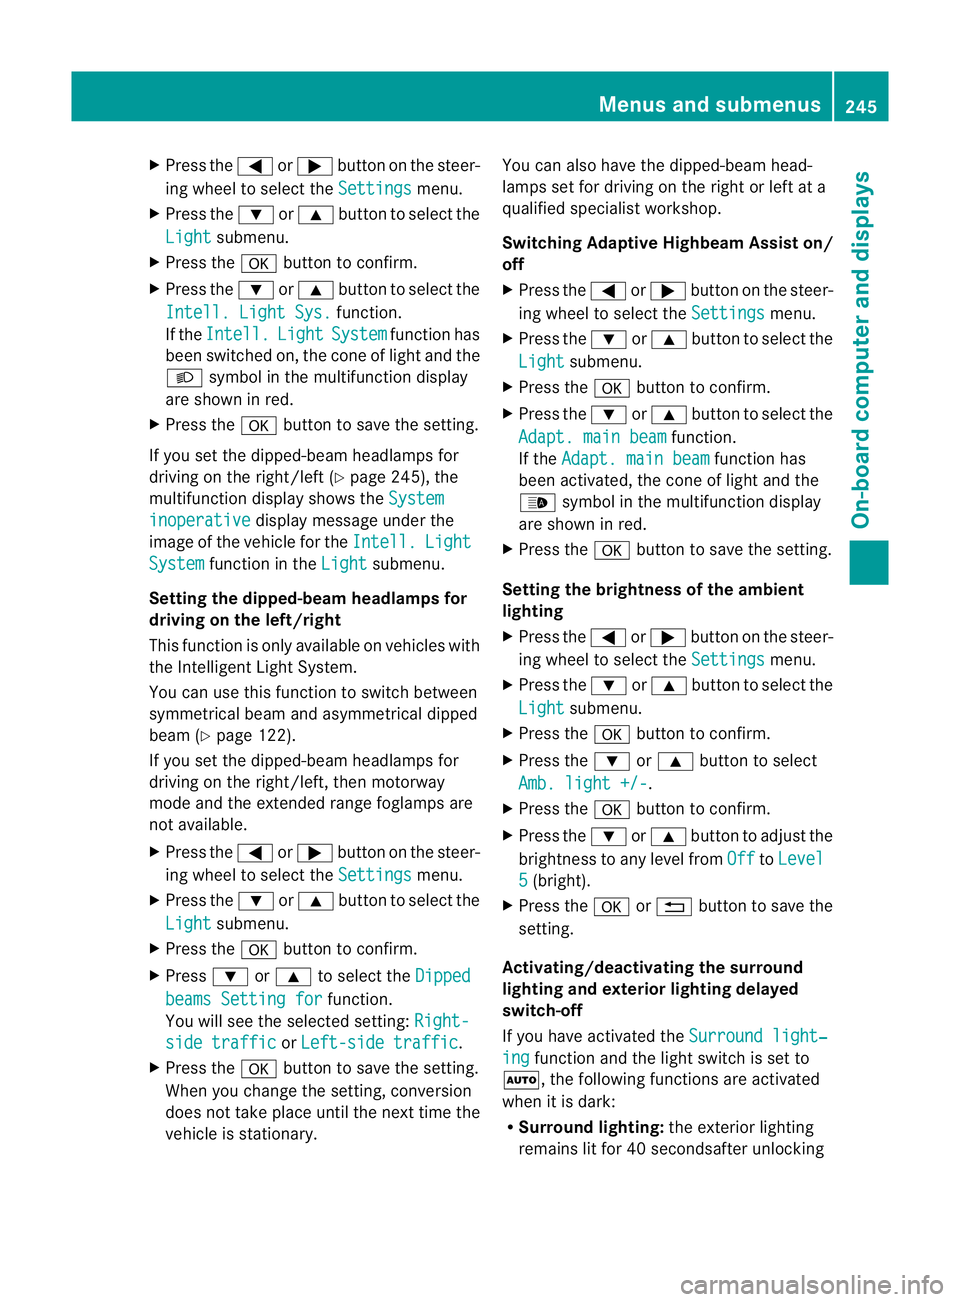
Switching the Intelligent Light System
on/off
If you activate the Intell. Light Sys. function, you activate the following functions:
R motorway mode
R active light function
R cornering light function
R extended range foglamps 244
Menus and submenusOn-board computer and displays
Page 248 of 409

X
Press the =or; button on the steer-
ing wheel to select the Settings menu.
X Press the :or9 button to select the
Light submenu.
X Press the abutton to confirm.
X Press the :or9 button to select the
Intell. Light Sys. function.
If the Intell. Light System function has
been switched on, the cone of light and the
L symbol in the multifunction display
are shown in red.
X Press the abutton to save the setting.
If you set the dipped-beam headlamps for
driving on the right/left (Y page 245), the
multifunction display shows the Systeminoperative display message under the
image of the vehicle for the Intell. Light
System function in the
Light submenu.
Setting the dipped-beam headlamps for
driving on the left/right
This function is only available on vehicles with
the Intelligent Light System.
You can use this function to switch between
symmetrical beam and asymmetrical dipped
beam (Y page 122).
If you set the dipped-beam headlamps for
driving on the right/left, then motorway
mode and the extended range foglamps are
not available.
X Press the =or; button on the steer-
ing wheel to select the Settings menu.
X Press the :or9 button to select the
Light submenu.
X Press the abutton to confirm.
X Press :or9 to select the Dipped beams Setting for function.
You will see the selected setting: Right-side traffic or
Left-side traffic .
X Press the abutton to save the setting.
When you change the setting, conversion
does not take place until the next time the
vehicle is stationary. You can also have the dipped-beam head-
lamps set for driving on the right or left at a
qualified specialist workshop.
Switching Adaptive Highbeam Assist on/
off
X
Press the =or; button on the steer-
ing wheel to select the Settings menu.
X Press the :or9 button to select the
Light submenu.
X Press the abutton to confirm.
X Press the :or9 button to select the
Adapt. main beam function.
If the Adapt. main beam function has
been activated, the cone of light and the
_ symbol in the multifunction display
are shown in red.
X Press the abutton to save the setting.
Setting the brightness of the ambient
lighting
X Press the =or; button on the steer-
ing wheel to select the Settings menu.
X Press the :or9 button to select the
Light submenu.
X Press the abutton to confirm.
X Press the :or9 button to select
Amb. light +/- .
X Press the abutton to confirm.
X Press the :or9 button to adjust the
brightness to any level from Off to
Level 5 (bright).
X Press the aor% button to save the
setting.
Activating/deactivating the surround
lighting and exterior lighting delayed
switch-off
If you have activated the Surround light‐ ing function and the light switch is set to
Ã, the following functions are activated
when it is dark:
R Surround lighting: the exterior lighting
remains lit for 40 secondsafter unlocking Menus and submenus
245On-board computer and displays Z
Page 265 of 409

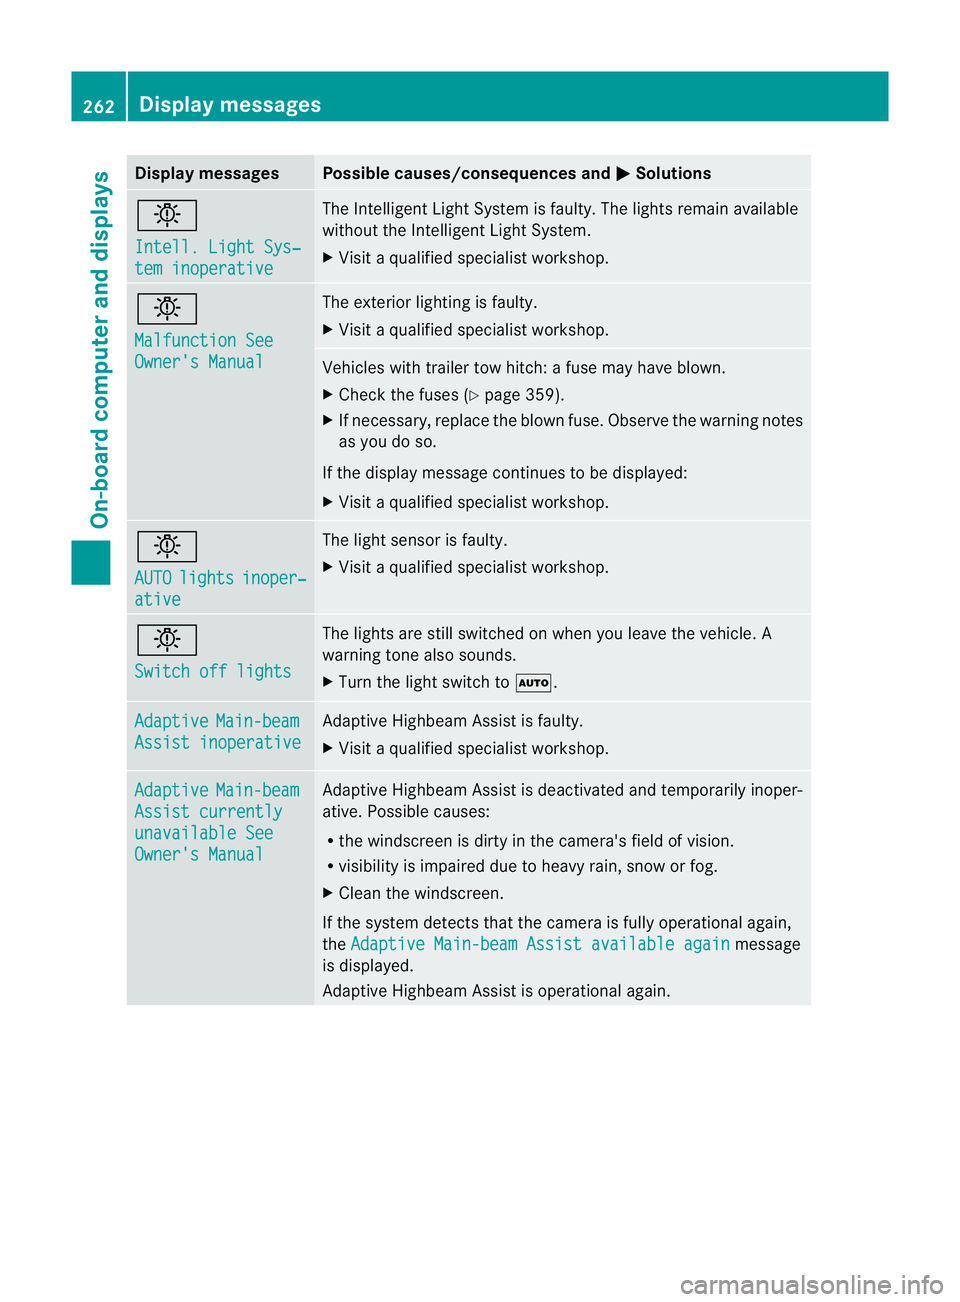
Display messages Possible causes/consequences and
M Solutions
b
Intell. Light Sys‐
tem inoperative The Intelligent Light Syste
mis faulty. The lights remain available
without the Intelligent Light System.
X Visit a qualified specialist workshop. b
Malfunction See
Owner's Manual The exterior lighting is faulty.
X
Visit a qualified specialist workshop. Vehicles with trailer tow hitch: a fuse may have blown.
X
Check the fuses (Y page 359).
X If necessary, replace the blown fuse. Observe the warning notes
as you do so.
If the display message continues to be displayed:
X Visit a qualified specialist workshop. b
AUTO
lights inoper‐
ative The light sensor is faulty.
X
Visit a qualified specialist workshop. b
Switch off lights The lights are still switched on when you leave the vehicle. A
warning tone also sounds.
X
Turn the light switch to Ã.Adaptive Main-beam
Assist inoperative Adaptive Highbeam Assist is faulty.
X
Visit a qualified specialist workshop. Adaptive Main-beam
Assist currently
unavailable See
Owner's Manual Adaptive Highbeam Assist is deactivated and temporarily inoper-
ative. Possible causes:
R
the windscreen is dirty in the camera's field of vision.
R visibility is impaired due to heavy rain, snow or fog.
X Cleant he windscreen.
If the system detects that the camera is fully operational again,
the Adaptive Main-beam Assist available again message
is displayed.
Adaptive Highbeam Assist is operational again. 262
Display messagesOn-board computer and displays