2011 MERCEDES-BENZ E-Class COUPE An a symbol
[x] Cancel search: An a symbolPage 2 of 344

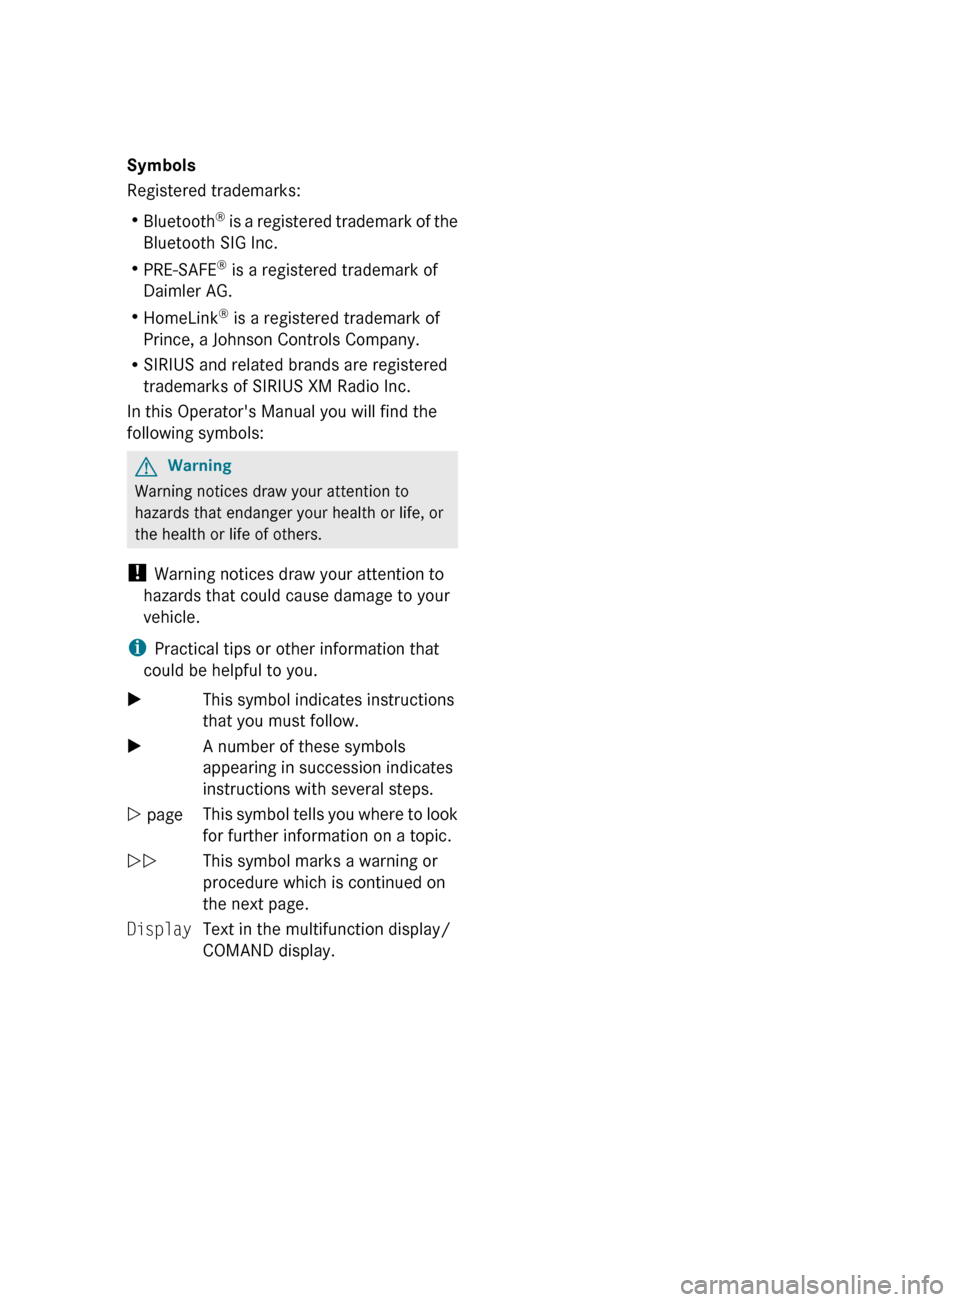
Symbols
Registered trademarks:
R Bluetooth ®
is a registered trademark of the
Bluetooth SIG Inc.
R PRE-SAFE ®
is a registered trademark of
Daimler AG.
R HomeLink ®
is a registered trademark of
Prince, a Johnson Controls Company.
R SIRIUS and related brands are registered
trademarks of SIRIUS XM Radio Inc.
In this Operator's Manual you will find the
following symbols:GWarning
Warning notices draw your attention to
hazards that endanger your health or life, or
the health or life of others.
! Warning notices draw your attention to
hazards that could cause damage to your
vehicle.
i Practical tips or other information that
could be helpful to you.
XThis symbol indicates instructions
that you must follow.XA number of these symbols
appearing in succession indicates
instructions with several steps.Y pageThis symbol tells you where to look
for further information on a topic.YYThis symbol marks a warning or
procedure which is continued on
the next page.DisplayText in the multifunction display/
COMAND display.BA 207 USA, CA Edition B 2011; 1; 3, en-USd2sboikeVersion: 3.0.3.62010-05-20T10:38:09+02:00 - Seite 2
Page 72 of 344

GWarning
Depending on the vehicle speed, PRE-SAFE®
Brake brakes your vehicle with a maximum of
13 ft/s 2
(4 m/s 2
) before a possible hard stop.
This corresponds to about 40 % of the
maximum deceleration ability of your vehicle.
The driver must apply the brakes additionally
in order to prevent a collision. The self-acting
hard stop will be initiated when the imminent
danger of a collision exists, e.g. when an
evasive maneuver cannot avoid an accident.
In order to maintain the appropriate distance
to the vehicle in front and thus prevent a
collision, you must apply the brakes yourself.
At speeds up to approximately
40 mph (70 km/h), PRE-SAFE ®
Brake can
also detect stationary obstacles, for example
stopped or parked vehicles.
GWarning!
If you do not receive visual or acoustic
warning signals, the PRE-SAFE ®
Brake may
R not have recognized the collision risk
R have been deactivated
R be malfunctioning
Apply the brakes yourself to avoid a collision.
XTo activate: activate PRE-SAFE ®
Brake in
the on-board computer ( Y page 207).
The Ä symbol appears in the lower
multifunction display, as long as the HOLD
function is not activated ( Y page 184).
On vehicles with parking guidance, the P
gear must be engaged for the icon to be
displayed.
For PRE-SAFE ®
Brake to assist you when
driving, the radar sensor system must be
switched on and operational.
PRE-SAFE ®
Brake does not always detect
complex traffic situations properly. You can
terminate the braking action of PRE-SAFE ®
Brake in a non-critical driving situation at any
time if:
R an acoustic and visual warning occurs
R the vehicle brakes
To end this, you can either depress the
accelerator pedal further, activate kickdown
or release the brake pedal.
The braking action of PRE-SAFE ®
Brake is
ended automatically if:
R you maneuver to avoid the obstacle
R you drive slower than approximately
9 mph (15 km/h)
R there is no longer an obstacle detected in
front of your vehicle
R there is no longer any danger of a collision
Following a collision or accident-related
damage to the front end of the vehicle, have
the configuration and operation of the radar
sensors checked. Choose a qualified
specialist workshop for this which has the
necessary specialist knowledge and tools for
the work required. Mercedes-Benz
recommends that you use an authorized
Mercedes-Benz Center for this purpose.
Anti-theft systems
Immobilizer
The immobilizer prevents your vehicle from
being started without the correct key.
When leaving the vehicle, always take the
SmartKey with you and lock the vehicle. The
engine can be started by anyone with a valid
key that is left inside the vehicle.
XTo activate with the SmartKey: remove
the SmartKey from the ignition lock.XTo activate with KEYLESS-GO: switch the
ignition off and open the driver's door.XTo deactivate: switch on the ignition.70Anti-theft systemsSafety
BA 207 USA, CA Edition B 2011; 1; 3, en-USd2sboikeVersion: 3.0.3.62010-05-20T10:38:09+02:00 - Seite 70
Page 144 of 344

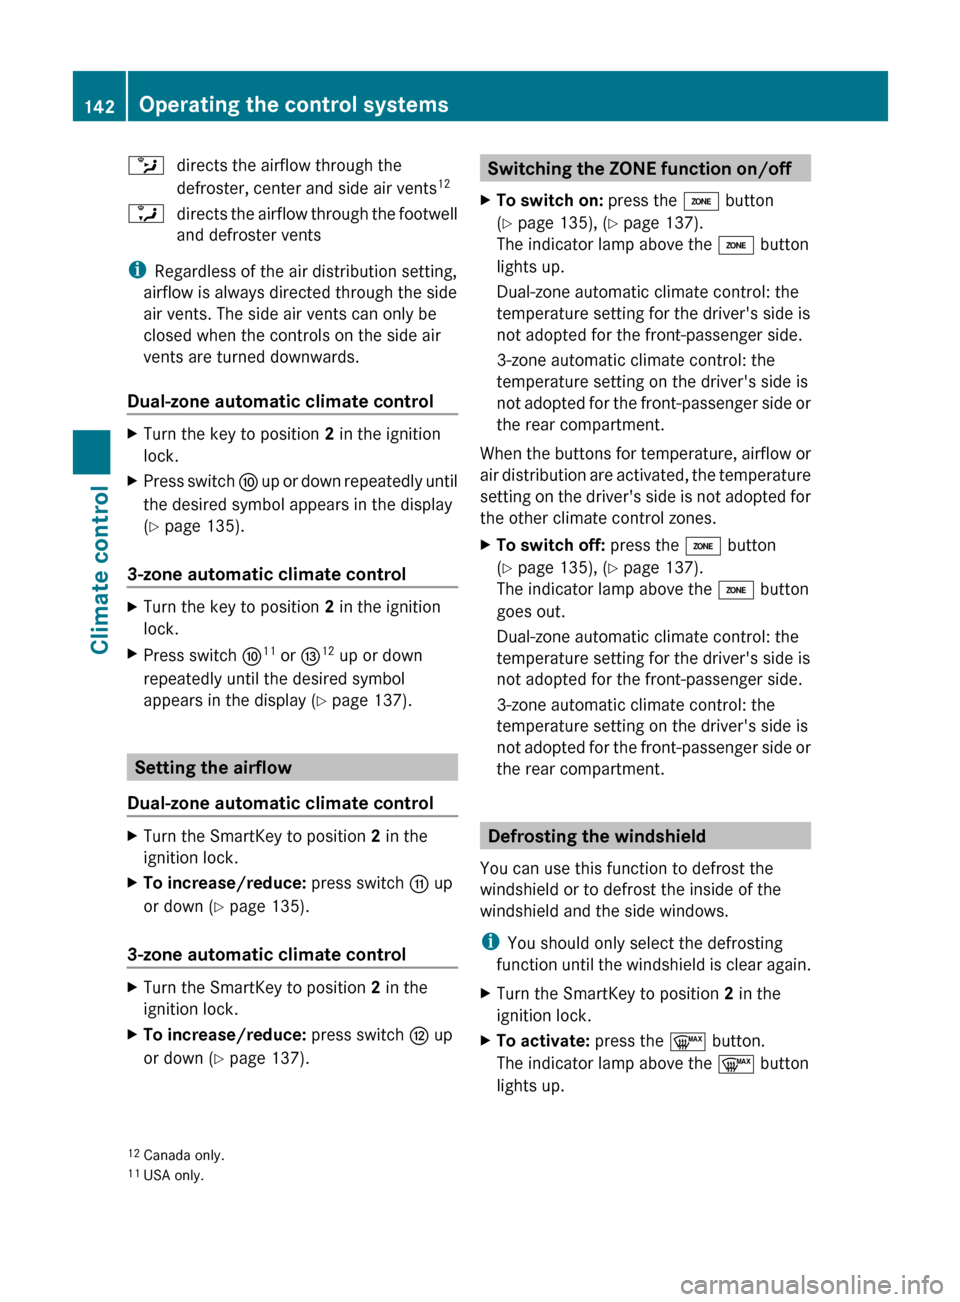
bdirects the airflow through the
defroster, center and side air vents 12adirects the airflow through the footwell
and defroster vents
i Regardless of the air distribution setting,
airflow is always directed through the side
air vents. The side air vents can only be
closed when the controls on the side air
vents are turned downwards.
Dual-zone automatic climate control
XTurn the key to position 2 in the ignition
lock.XPress switch F up or down repeatedly until
the desired symbol appears in the display
( Y page 135).
3-zone automatic climate control
XTurn the key to position 2 in the ignition
lock.XPress switch F11
or I12
up or down
repeatedly until the desired symbol
appears in the display ( Y page 137).
Setting the airflow
Dual-zone automatic climate control
XTurn the SmartKey to position 2 in the
ignition lock.XTo increase/reduce: press switch G up
or down ( Y page 135).
3-zone automatic climate control
XTurn the SmartKey to position 2 in the
ignition lock.XTo increase/reduce: press switch H up
or down ( Y page 137).Switching the ZONE function on/offXTo switch on: press the á button
( Y page 135), ( Y page 137).
The indicator lamp above the á button
lights up.
Dual-zone automatic climate control: the
temperature setting for the driver's side is
not adopted for the front-passenger side.
3-zone automatic climate control: the
temperature setting on the driver's side is
not adopted for the front-passenger side or
the rear compartment.
When the buttons for temperature, airflow or
air distribution are activated, the temperature
setting on the driver's side is not adopted for
the other climate control zones.
XTo switch off: press the á button
( Y page 135), ( Y page 137).
The indicator lamp above the á button
goes out.
Dual-zone automatic climate control: the
temperature setting for the driver's side is
not adopted for the front-passenger side.
3-zone automatic climate control: the
temperature setting on the driver's side is
not adopted for the front-passenger side or
the rear compartment.
Defrosting the windshield
You can use this function to defrost the
windshield or to defrost the inside of the
windshield and the side windows.
i You should only select the defrosting
function until the windshield is clear again.
XTurn the SmartKey to position 2 in the
ignition lock.XTo activate: press the ¬ button.
The indicator lamp above the ¬ button
lights up.12 Canada only.
11 USA only.142Operating the control systemsClimate control
BA 207 USA, CA Edition B 2011; 1; 3, en-USd2sboikeVersion: 3.0.3.62010-05-20T10:38:09+02:00 - Seite 142
Page 145 of 344

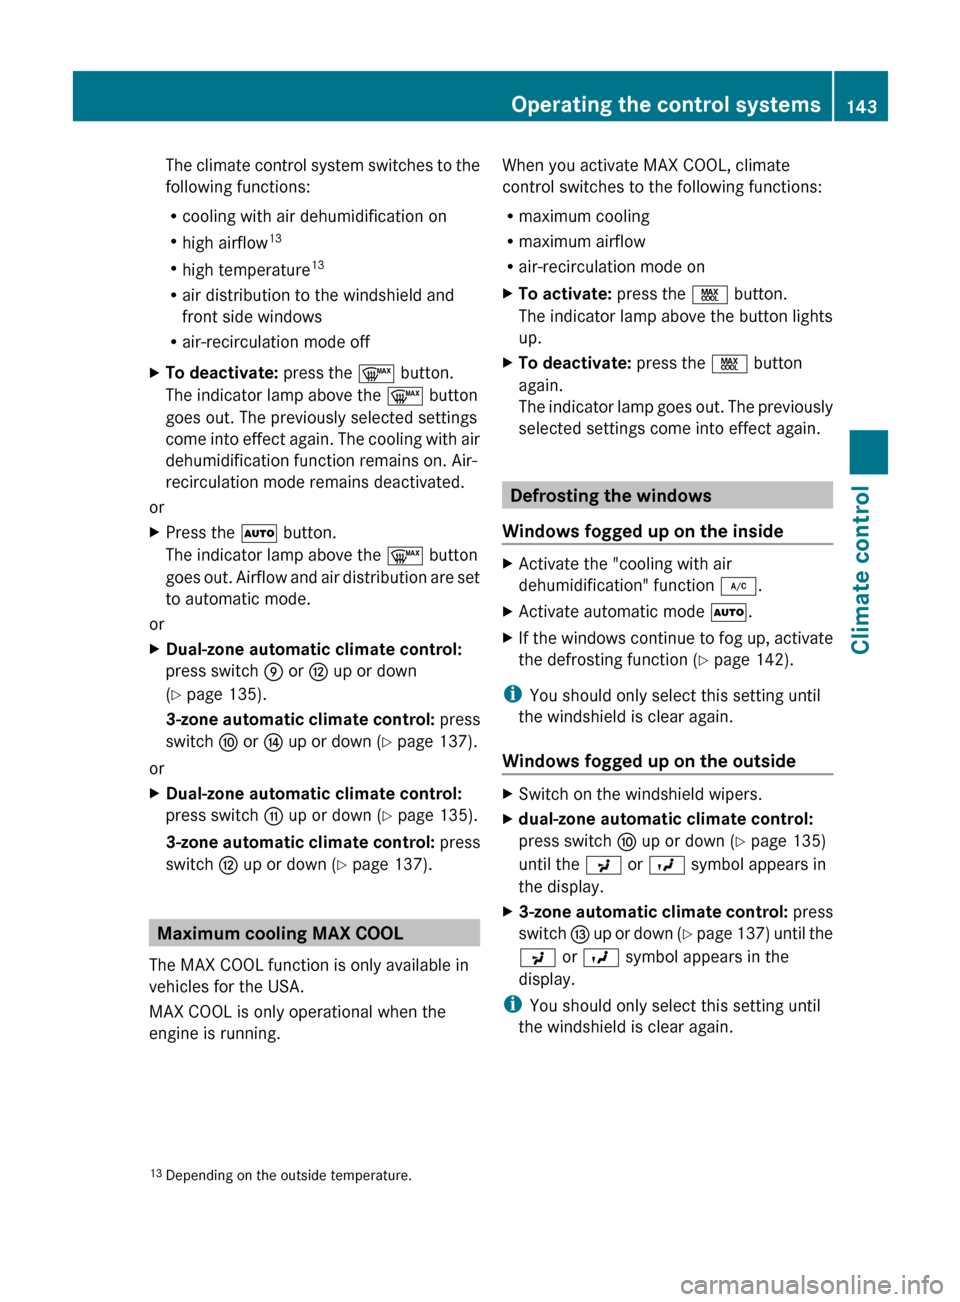
The climate control system switches to the
following functions:
R cooling with air dehumidification on
R high airflow 13
R high temperature 13
R air distribution to the windshield and
front side windows
R air-recirculation mode offXTo deactivate: press the ¬ button.
The indicator lamp above the ¬ button
goes out. The previously selected settings
come into effect again. The cooling with air
dehumidification function remains on. Air-
recirculation mode remains deactivated.
or
XPress the à button.
The indicator lamp above the ¬ button
goes out. Airflow and air distribution are set
to automatic mode.
or
XDual-zone automatic climate control:
press switch E or H up or down
( Y page 135).
3-zone automatic climate control: press
switch F or J up or down ( Y page 137).
or
XDual-zone automatic climate control:
press switch G up or down ( Y page 135).
3-zone automatic climate control: press
switch H up or down ( Y page 137).
Maximum cooling MAX COOL
The MAX COOL function is only available in
vehicles for the USA.
MAX COOL is only operational when the
engine is running.
When you activate MAX COOL, climate
control switches to the following functions:
R maximum cooling
R maximum airflow
R air-recirculation mode onXTo activate: press the Ù button.
The indicator lamp above the button lights
up.XTo deactivate: press the Ù button
again.
The indicator lamp goes out. The previously
selected settings come into effect again.
Defrosting the windows
Windows fogged up on the inside
XActivate the "cooling with air
dehumidification" function ¿.XActivate automatic mode Ã.XIf the windows continue to fog up, activate
the defrosting function ( Y page 142).
i
You should only select this setting until
the windshield is clear again.
Windows fogged up on the outside
XSwitch on the windshield wipers.Xdual-zone automatic climate control:
press switch F up or down ( Y page 135)
until the P or O symbol appears in
the display.X3-zone automatic climate control: press
switch I up or down (Y page 137) until the
P or O symbol appears in the
display.
i You should only select this setting until
the windshield is clear again.
13 Depending on the outside temperature.Operating the control systems143Climate controlBA 207 USA, CA Edition B 2011; 1; 3, en-USd2sboikeVersion: 3.0.3.62010-05-20T10:38:09+02:00 - Seite 143Z
Page 172 of 344

Driving on wet roads
Hydroplaning
If water has accumulated to a certain depth
on the road surface, there is a danger of
hydroplaning occurring, even if:
R you drive at low speeds
R the tires have adequate tread depth
For this reason, in the event of heavy rain or
in conditions in which hydroplaning can occur
you must drive in the following manner:
R Lower your speed
R Avoid ruts
R Brake carefully
Driving on flooded roads
! Do not drive through flooded areas.
Check the depth of any water before driving
through it. Drive slowly through standing
water. Otherwise, water may enter the
vehicle interior or the engine compartment.
This can damage the electronic
components in the engine or the automatic
transmission. Water can also be drawn in
by the engine's air suction nozzles and this
can cause engine damage.
Winter driving
General information
Have your vehicle winterproofed at a qualified
specialist workshop, e.g. at an authorized
Mercedes-Benz Center, at the onset of
winter.
Observe the notes in the "Winter operation"
section ( Y page 171).
Winter tires
At temperatures below 45 ‡(+7 †), use
winter tires or all-season tires. Both types of
tire are identified by the M+S marking.
Only winter tires also bearing the i
snowflake symbol next to the M+S marking
provide the best possible grip in wintry road
conditions. Only these tires will allow driving
safety systems such as ABS and ESP ®
to
function optimally in winter, as these tires
have been designed specifically for driving on
snow.
Use M+S tires of the same make and tread on
all wheels to maintain safe handling
characteristics.GWarning
M+S tires with a tread depth of less than 1
/ 6
inch (4 mm) must be replaced. They are no
longer suitable for winter operation.
Always observe the maximum permissible
speed specified for the M+S tires you have
mounted.
Once you have installed the winter tires:
XCheck the tire pressures ( Y page 309).XRestart the tire pressure monitor
( Y page 311).GWarning
If you use your spare wheel when M+S tires
are fitted on the other wheels, be aware that
the difference in tire characteristics may very
well impair turning stability and that overall
driving stability may be reduced. Adapt your
driving style accordingly.
Have the spare wheel replaced by a regular
road wheel with an M+S tire at the nearest
authorized Mercedes-Benz Center.
Snow chains
For safety reasons, Mercedes-Benz
recommends that you only use snow chains
which have been specially approved for your
vehicle by Mercedes-Benz, or are of a
corresponding standard of quality.
! There is not enough space for snow
chains on some wheel sizes. Observe the
information under "Tires and wheels" in the
"Technical Data" section to avoid damage
to the vehicle or the wheels.
170Driving tipsDriving and parking
BA 207 USA, CA Edition B 2011; 1; 3, en-USd2sboikeVersion: 3.0.3.62010-05-20T10:38:09+02:00 - Seite 170
Page 182 of 344

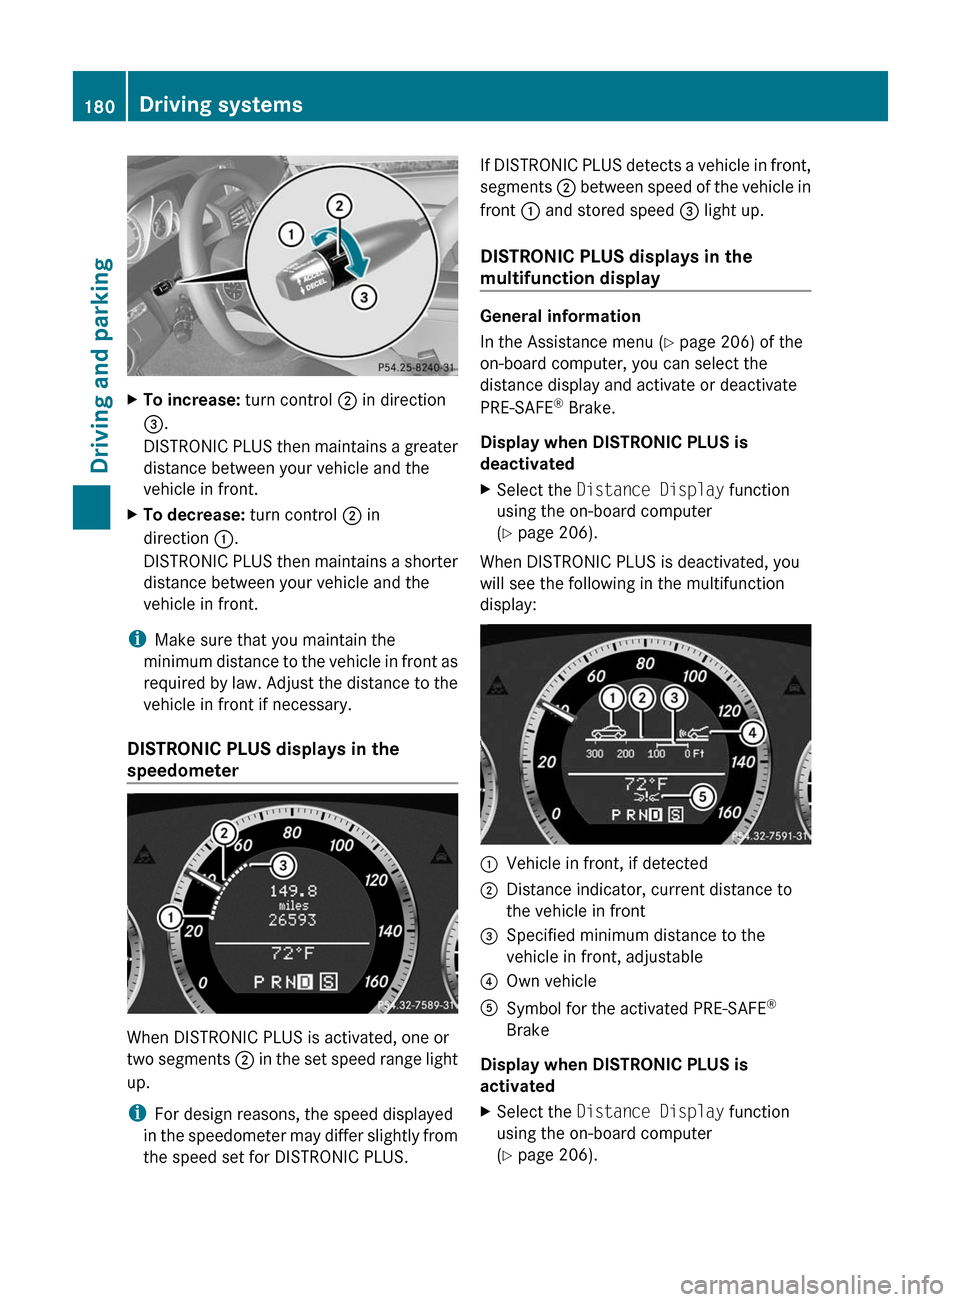
XTo increase: turn control ; in direction
= .
DISTRONIC PLUS then maintains a greater
distance between your vehicle and the
vehicle in front.XTo decrease: turn control ; in
direction :.
DISTRONIC PLUS then maintains a shorter
distance between your vehicle and the
vehicle in front.
i Make sure that you maintain the
minimum distance to the vehicle in front as
required by law. Adjust the distance to the
vehicle in front if necessary.
DISTRONIC PLUS displays in the
speedometer
When DISTRONIC PLUS is activated, one or
two segments ; in the set speed range light
up.
i For design reasons, the speed displayed
in the speedometer may differ slightly from
the speed set for DISTRONIC PLUS.
If DISTRONIC PLUS detects a vehicle in front,
segments ; between speed of the vehicle in
front : and stored speed = light up.
DISTRONIC PLUS displays in the
multifunction display
General information
In the Assistance menu ( Y page 206) of the
on-board computer, you can select the
distance display and activate or deactivate
PRE-SAFE ®
Brake.
Display when DISTRONIC PLUS is
deactivated
XSelect the Distance Display function
using the on-board computer
( Y page 206).
When DISTRONIC PLUS is deactivated, you
will see the following in the multifunction
display:
:Vehicle in front, if detected;Distance indicator, current distance to
the vehicle in front=Specified minimum distance to the
vehicle in front, adjustable?Own vehicleASymbol for the activated PRE-SAFE ®
Brake
Display when DISTRONIC PLUS is
activated
XSelect the Distance Display function
using the on-board computer
( Y page 206).180Driving systemsDriving and parking
BA 207 USA, CA Edition B 2011; 1; 3, en-USd2sboikeVersion: 3.0.3.62010-05-20T10:38:09+02:00 - Seite 180
Page 191 of 344

Problems with PARKTRONICProblemPossible causes/consequences and M SolutionsOnly the red segments
in the PARKTRONIC
warning displays are lit.
You also hear a warning
tone for approximately
two seconds.
PARKTRONIC is
deactivated after
approximately
20 seconds, and the
indicator lamp in the
PARKTRONIC button
lights up.PARKTRONIC has malfunctioned and has switched off.XIf problems persist, have PARKTRONIC checked at a qualified
specialist workshop.Only the red segments
in the PARKTRONIC
warning displays are lit.
PARKTRONIC is
deactivated after
approximately 20
seconds.The PARKTRONIC sensors are dirty or there is interference.XClean the PARKTRONIC sensors ( Y page 282).XSwitch the ignition back on.The problem may be caused by an external source of radio or
ultrasound waves.XSee if PARKTRONIC functions in a different location.Parking Guidance
Important safety notes
Parking Guidance is an electronic parking aid
with ultrasound. Ultrasound is used to
measure the road on both sides of the vehicle.
A suitable parking space is indicated by the
parking symbol. You receive steering
instructions when parking. You may also use
PARKTRONIC ( Y page 186).
GWarning
Parking Guidance is merely an aid and may
display parking spaces that are not suitable
for parking, for example:
R no-parking areas
R parking spaces with unsuitable surfaces
(road surface)
R driveways
R entrances and exits
Parking Guidance detects and measures
potential parking spaces while driving past.
Changes to the parking space after this point
are not taken into account, for example if the
vehicle in front of or behind the parking space
changes position or objects in the parking
space are moved.
Even when using Parking Guidance, you are
still responsible for driving carefully. If you
rely on Parking Guidance alone, you could
cause an accident and injure yourself and
others.
Safety always remains your responsibility and
you must continue paying careful attention to
your immediate surroundings when parking
and maneuvering.Driving systems189Driving and parkingBA 207 USA, CA Edition B 2011; 1; 3, en-USd2sboikeVersion: 3.0.3.62010-05-20T10:38:09+02:00 - Seite 189Z
Page 192 of 344

GWarning!
The system cannot detect objects located
above the area that the sensors scan. These
objects, e.g. protruding load, overhang, or
truck tail lifts, will be ignored when computing
the parking procedure. The Parking Guidance
might therefore provide untimely steering
instructions. This could cause a collision.
Thus, do not use the Parking Guidance in such
situations.
GWarning!
Make sure no persons or animals are in the
area in which you are maneuvering. You could
otherwise injure them.
! Pay particular attention to low objects or
objects with flat surfaces, such as trailer
drawbars, posts, cross beams and curbs.
These types of objects cannot be detected
by Parking Guidance and may damage the
vehicle.
When PARKTRONIC is deactivated, Parking
Guidance is also unavailable.
Use Parking Guidance for parking spaces:
R that are parallel to the direction of travel
R that are on straight roads, not bends
R that are on the same level as the road, i.e.
not on the pavement, for example. Parking
Guidance may not detect flat curbs
Parking tips:
R On narrow roads, drive as close to the
parking space as possible.
R Parking spaces that are littered, overgrown
or partially occupied by trailer drawbars
might be identified incorrectly or not at all.
R Snowfall or heavy rain may lead to a parking
space being measured inaccurately.
R Pay attention to the PARKTRONIC warning
messages during the parking procedure
( Y page 187).
R When transporting a load which protrudes
from your vehicle, you must not use Parking
Guidance.
R Never use Parking Guidance with snow
chains or an emergency spare wheel
installed.
R Make sure that the tire pressures are
always correct. This has a direct effect on
the steering instructions.
R The way your vehicle is positioned in the
parking space after parking is dependent
on various factors. These include the
position and shape of the vehicles parked
in front and behind it and the conditions of
the location. In some cases, Parking
Guidance may guide you too far or not far
enough into a parking space. In some
cases, it may also lead you across or onto
the curb. If necessary, cancel the parking
procedure with Parking Guidance.
! If unavoidable, you should drive over
obstacles such as curbs slowly and not at
a sharp angle. Otherwise, you may damage
the wheels or tires.
Detecting a parking space:Detected parking space on the left;Parking symbol=Detected parking space on the right
Parking Guidance is automatically activated
when you drive forwards. The system is
operational at speeds of up to approximately
22 mph (35 km/h). While in operation, the
system independently locates and measures
parking spaces on both sides of the vehicle.
When driving at speeds below 19 mph
( 30 km/h), you will see parking symbol ; as
a status indicator in the instrument cluster.
When a parking space has been detected, an
arrow towards the right = or the left : also
appears. Parking Guidance only displays
190Driving systemsDriving and parking
BA 207 USA, CA Edition B 2011; 1; 3, en-USd2sboikeVersion: 3.0.3.62010-05-20T10:38:09+02:00 - Seite 190