2011 MERCEDES-BENZ E-CLASS CABRIOLET washer fluid
[x] Cancel search: washer fluidPage 23 of 353

ESP
®
OFF ....................................... 258
LIM (cruise control) ........................ 170
LIM (DISTRONI CPLUS) .................. 173
LIM (variable SPEEDTRONIC )......... 181
Overview .......................................... 30
PASSENGER AIRBAG OFF ................53
Reserve fuel ................................... 260
Seat bel t........................................ 255
SRS ................................................ 259
Warning triangle ................................ 294
Washer fluid Display message ............................ 253
see Windscreen washer system
Weight
see Technical data
Whee lboltt ightening torque ...........304
Whee lchock ...................................... 301
Wheels Changing/replacing .......................323
Changing awheel .......................... 301
Checking ........................................ 318
Cleaning ......................................... 287
Fitting awheel ............................... 304
Important safety notes ..................318
Removing awheel .......................... 303
Storing ........................................... 324
Tightening torqu e........................... 304
Whee lsize/tyre size ...................... 324
Wind deflector
see AIRCAP
Wind deflector (cleaning instruc-
tions) .................................................. 288
Windowbag Display message ............................ 238
Operation ........................................ .44
Windows
Cleaning ......................................... 289
see Side windows
Windscreen
Demisting ...................................... 134
Windscreen washe rsystem ............. 284
Windscree nwipers
Problem (malfunction) ...................125
Replacing the wiper blades ............125
Switching on/off ........................... 124Winte
rdriving
Important safety note s.................. 319
Slippery road surfaces ...................169
Snow chains .................................. 320
Winte rtyres
Limiting the spee d(on-board com-
puter) ............................................. 228
M+S tyres ...................................... 319
Wiper blades
Cleaning ......................................... 290
Important safety notes ..................125
Replacing ....................................... 125
Wooden trim (cleaning instruc-
tions) .................................................. 29220
Index
Page 119 of 353

Rear foglamp
X
To switc honthe rear foglamp: turn the
key in the ignition lock to position 2or start
the engine.
X Turn the light switch to LorÃ.
X Press the Rbutton.
The yellow Rindicator lamp in the
instrument cluster lights up.
X To switc hoff the rear foglamp: press the
R button.
The yellow Rindicator lamp in the
instrument cluster goe sout.
Vehicles with front foglamps: when the light
switch is in the Tposition, the rea rfog-
lamp can only be switched on if the foglamps
(without dipped-beam headlamps) are
switched on.
i If you switch the engine off (key in posi-
tion 1in the ignition lock) and then restart
it, the previous rear foglamp settings are
restored.
Adjusting the headlam prange (halogen
headlamps) The headlamp range control allow
syou to
adjust the cone of light from the headlamps
to sui tthe vehicle load. g
Driver's seat and front-passenger seat
occupied
1 Driver's seat, front-passenger seat and
rear seats occupied 2
Driver's seat, front-passenger seat and
rear seats occupied, boot laden
3 Driver's and front-passenger seats occu-
pied and maximum permissible rear axle
load utilised, e.g. when towing atrailer
X Start the engine.
X Turn headlamp range control to the posi-
tion which corresponds to the load in your
vehicle.
Headlampc leaning system The headlamps are cleaned automatically if
the "Wipe with washer fluid" function is oper-
ated ten times while the light
sare on and the
engin eisrunning (Y page 124). When you
switc hoff the ignition, the automatic head-
lamp cleaning syste misreset and counting is
resumed from 0. Combination switch
Turns ignals :
Main-beam headlamps
; Turn signal, right
= Headlamp flasher
? Turn signal, left 116
Exterior lightingLights and windscreen wipers
Page 127 of 353

X
Turn the bulb anti-clockwise, applying
slight pressure, and remove it from bulb
holder :.
X Insert the new bulb into bulb holder :and
turn it clockwise.
X Insert bulb holder :into the lamp and turn
it clockwise. Windscreen wipers
Switching the windscreen wipers on/
off
G
WARNING
The windscreen will not longer be wiped prop-
erly if the wiper blades are worn. This could
prevent you from observing the traffic condi-
tions, thereby causing an accident .Replace
the wiper blades twice ayear, ideally in spring
and autumn.
! Do not operate the windscreen wipers
when the windscreen is dry, as this could
damage the wiper blades. Moreover ,dust
that has collected on the windscreen can
scratch the glass if wiping takes place when
the windscreen is dry.
! If the windscreen wipers leave smears on
the windscreen after the vehicle has been
washed in an automatic car wash, this may
be due to wax or other residue. Clean the
windscreen with washer fluid after an auto-
matic car wash. Combination switch
1
$ Windscreen wipers off
2 Ä Intermittentw ipe, low10
3 Å Intermittentw ipe, high11
4 ° Continuous wipe, slow
5 ¯ Continuous wipe, fast
B í Single wipe/ îTo wipe the
windscreen using washer fluid
X Turn the key to position 1or 2in the ignition
lock.
X Turn the combination switch to the corre-
spondin gposition.
! Intermittentw iping with rain sensor :due
to optical influences and the windscreen
becomin gdirty in dry weather conditions,
the windscreen wipers may be activated
inadvertently. This could damage the wind-
screen wiper blades or scratch the wind-
screen.
For this reason, you should alway sswitch
off the windscreen wipers in dry weather.
In the ÄorÅ position ,the appropriate
wiping frequenc yisset automatically accord-
ing to the intensity of the rain. In the Å
position ,the rain sensor is more sensitive
than in the Äposition ,causing the wind-
screen wiper to wipe more frequently.
10 Rain sensor set to low sensitivity.
11 Rain sensor set to high sensitivity. 124
Windscreen wipersLights and windscreen wipers
Page 129 of 353

X
Select another wipe rspeed on the combi-
nation switch.
X Have the windscreen wipers checked at a
qualified specialist workshop.
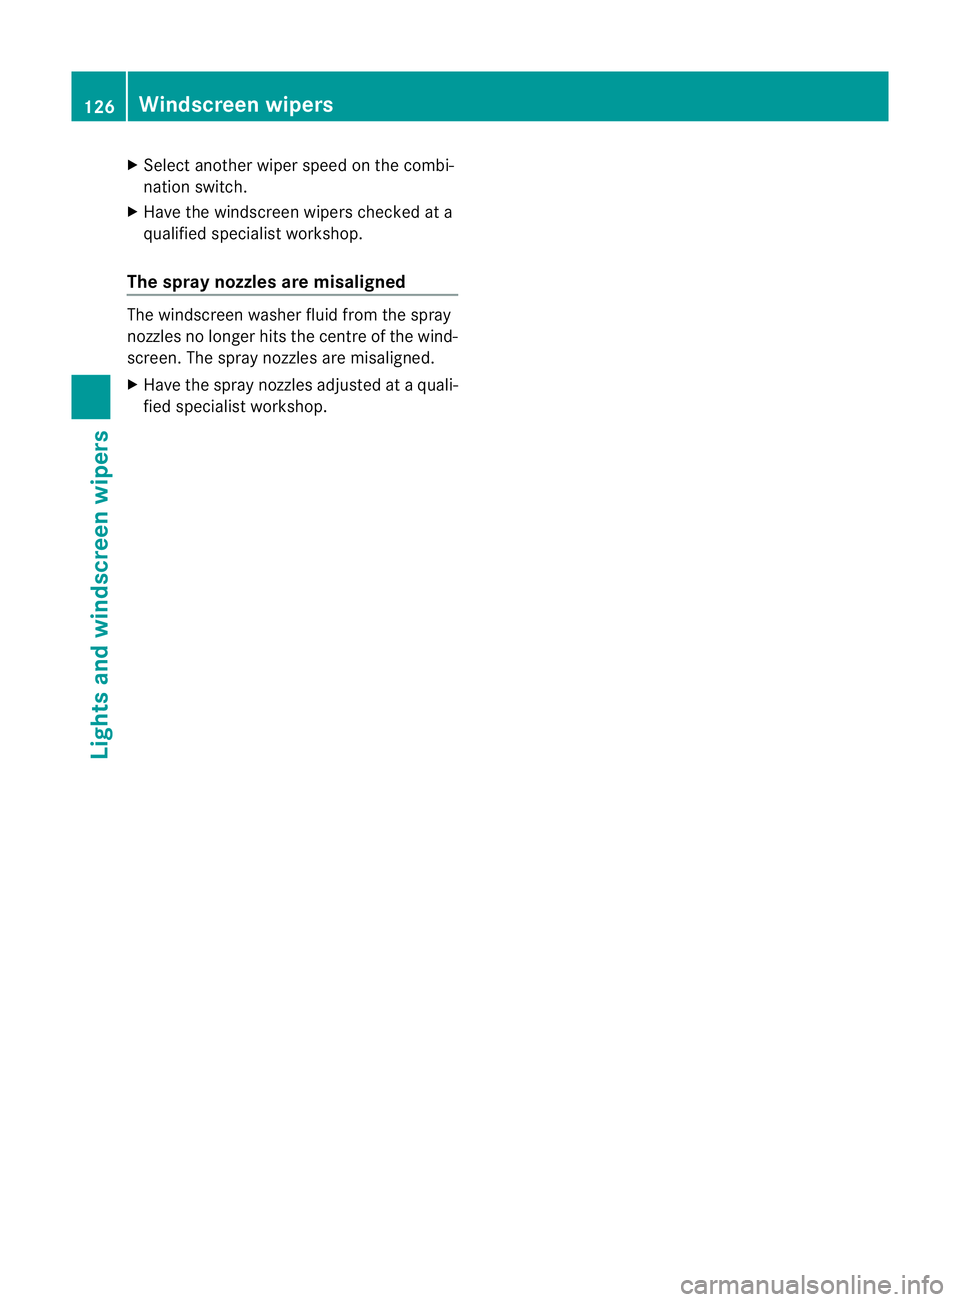
The spray nozzles arem isalignedThe windscreen washer fluid from the spray
nozzles no longer hits the centre of the wind-
screen. The spray nozzles are misaligned.
X Have the spray nozzles adjusted at aquali-
fied specialist workshop. 126
Windscreen wipersLights and windscreen wipers
Page 256 of 353

Display messages Possible causes/consequences and
M Solutions
The sof
ttop has been opened and closed several times in arow.
The soft-top drive has been switched off automatically for safety
reasons.
You can open and close the soft top again after approximately ten
minutes.
X Switch off the ignition and turn it back on.
X Repeat the opening or closing procedure (Y page 86).¥
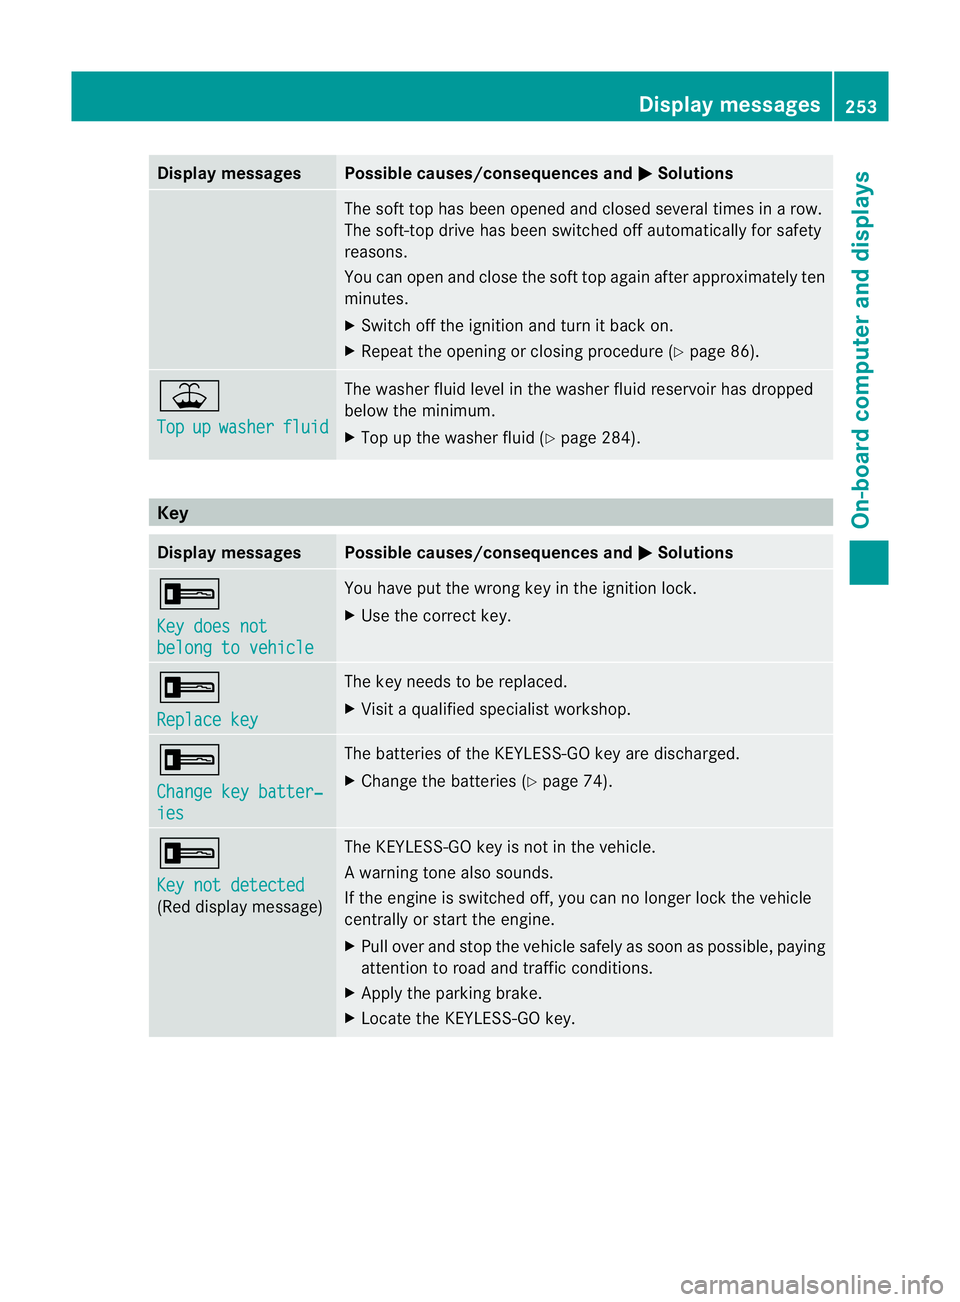
Top
up washer fluid The washer fluid level in the washer fluid reservoir has dropped
below the minimum.
X
Top up the washer fluid (Y page 284).Key
Display messages Possible causes/consequences and
M Solutions
+
Key does not
belong to vehicle You have put the wrong key in the ignition lock.
X
Use the correc tkey. +
Replace key The key needs to be replaced.
X
Visit aqualified specialist workshop. +
Change key batter‐
ies The batteries of the KEYLESS-GO key are discharged.
X
Change the batteries (Y page 74).+
Key not detected
(Red display message) The KEYLESS-GO key is not in the vehicle.
Aw
arning tone also sounds.
If th eengineiss witched off ,you can no longer loc kthe vehicle
centrally or start the engine.
X Pull over and stop the vehicle safely as soon as possible, paying
attention to road and traffic conditions.
X Apply the parking brake.
X Locate the KEYLESS-GO key. Display messages
253On-board computer and displays Z
Page 287 of 353

If the coolant level is approximately 1.5 cm
above marker bar =in the filler neck when
warm, there is enough coolant in coolant
expansio ntank ;.
X If necessary, to pupwithc oolan tthat has
been tested and approved by Mercedes-
Benz.
X Replace cap :and turn it clockwise as far
as it will go.
For further information on coolant, see
(Y page 337).
Windscreen washer system and head-
lamp cleanings ystemThe washer fluid reservoir is used for both the
windscreen washer system and the headlamp
cleaning system.
i
Components and service products must
be matched. Mercedes-Ben zrecommends
that you use products tested and approved
by Mercedes-Benz. They are listed in this
Mercedes-Ben zOwner's Manual in the
appropriat esection.
You can identif yservice product sapproved
by Mercedes-Ben zbythe followin ginscrip-
tions on the container:
R MB-Freigabe (e.g. MB-Freigabe 371.0)
R MB-Approval (e.g. MB-Approval 371.0)
Other labels and recommendations that
make reference to quality level or aspeci-
fication according to an MB Sheet no. (e.g.
MB 371.0) are not necessarily approved by
Mercedes-Benz.
You can obtain further information from
any Mercedes-Benz Servic eCentre. G
WARNING
Windscreen washer fluid is highly flammable.
Fire, naked flames and smokin gare prohibi-
ted when handling washer fluid concentrate.
! Only use washer fluid concentrate which
is suitable for plastic lamp lenses. Unsuit-
able washer fluid concentrate could dam- age the plastic lamp lenses of the head-
lamps.
! Do not use distilled or de-ionised water in
the washer fluid reservoir. Otherwise, the
level sensor may be damaged.
i Add windscreen washer concentrate, e.g.
MB SummerFit, to the washer fluid all year
round. Example: washer fluid reservoir
X
Mix the windscreen washer fluid in acon-
tainer beforehand.
X At temperatures above freezing: fill the
washer fluid reservoir with amix of water
and windscreen washer concentrate (e.g.
MB SummerFit).
X At temperatures below freezing: fill the
washer fluid reservoir with amix of water
and windscreen washer concentrate (e.g.
MB WinterFit). Adapt the mixing ratio to the
outside temperatures.
X To open: pull cap:upwards by the tab.
X Top up with the premixed washer fluid.
X To close: press cap :ontothe filler neck
until it engages. Maintenance
ASSYST PLUS service interval display
Service messages Information on the type of service and service
intervals (see separat
eServic eBooklet). 284
MaintenanceMaintenance and care
Page 336 of 353

Vehicl
eidentificatio nplates Vehicl
eidentificatio nplate with vehi-
cl ei dentificatio nnumber (VIN) and
pain tcode number X
Open th eright-han ddoor.
You will see vehicle identification plate :.Vehicle identification plat
e(example)
: Vehicle identification plate
; Vehicle manufacturer
= EU type approval number
? Vehicle identification number (VIN)
A Maximum permissible gross vehicle
weight
B Gros scombinatio nmass
C Maximum permissible fron taxle load
D Maximu mpermissible rear axle load
E Paint code Vehicle identification number (VIN)
In addition to being stamped on the vehicle
identification plate, the vehicle identification number (VIN) is also stamped ontot
he vehicle
body.
It is located on the floor in fron tofthe right-
hand fron tseat. X
Slide the right-hand fron tseat to its rear-
most position.
X Slightly raise fron tfloor covering =and
fold floor coverin gflap :upwards.
You will see vehicle identification number
(VIN) ;. Engine number
The engine number is stamped int othe crank-
case. More information can be obtained from
any Mercedes-Ben zServic eCentre. Service products and capacities
Important safety notes
Servic eproducts include the following:
R fuels (e.g .petrol, diesel)
R lubricant s(e.g. engin eoil, transmission oil)
R coolant
R brake fluid
R windscreen washer fluid
Vehicle componentsa nd their respective
lubricant smust match. Mercedes-Benzr ec-
ommends that you use product sthat have
been tested and specially approved by
Mercedes-Benz.T hese productsare listed in
this Mercedes-BenzO wner's Manual in the
relevant section. Service products and capacities
333Technical data Z