2011 MERCEDES-BENZ E-CLASS CABRIOLET ignition
[x] Cancel search: ignitionPage 212 of 353

You can obtain further information about
installing the trailer electrics fro maqualified
specialist workshop, e.g. aMercedes-Benz
Service Centre.
X To switch the connected power supply
on or off: turn the key in the ignition lock
to position 2or 0respectively. Bulb failur
eindicator for LED lamps
i If LED lamps are fitted in the trailer, an
error message may appear in the multi-
function display even if ther eisnofault. The
reason for the error message may be that
the curren thas falle nbelow the minimum
of 50 milliamperes (mA).
To ensure reliable operation of the bulb failure
indicator, each LED chain in the trailer lighting
must be guaranteed aminimum curren tof
50 mA. Trailer with 7-pin connector
General information If your trailer has
a7-pin connector, you can
connectittot he 13-pin socket on the ball
coupling using an adapter or, if necessary, an
adapter cable. Bothoft hese can be obtained
at aq ualified specialist workshop, e.g. at a
Mercedes-Benz Service Centre.
Fitting the adapter X
Open the socket cover.
X Inser tthe connector with lug :into
groove ;on the socket and turn the con-
nector clockwise to the stop.
X Let the cover engage.
X If you are using an adapter cable, secure
the cable to the trailer with cable ties.
! Make sure that ther eissufficien tcable
play so that th ecabl ecanno tbecome
detached when cornering. Trailer towing
209Driving and parking Z
Page 216 of 353
!
Do not drive in the overrevving range.
Doing so will damage the engine.
The fuel supplyisi nterrupted to protect the
engine when the red band is reached. Outside temperatured
isplay
The outside temperature displayisint he mul-
tifunction display( Ypage 214). G
WARNING
At temperatures just above freezing point, the
street may be icy, especiallyinw ooded areas
or on bridges. If you do not adapty our driving
style to the conditions, the vehicle could skid.
For this reason, adapt your driving style and
speed to the weather conditions.
Changes in the outside temperature are dis-
playeda fterashort delay. Speedometer with segments
The segment sinthe speedometer indicate
which speed range is available.
Cruise control (Y page 169) activated:
The segment slight up from the stored speed
to the maximum speed.
Variable SPEEDTRONIC (Y page 180) activa-
ted:
The segment slight up from the start of the
scale to the selected limit speed.
DISTRONIC PLUS (Y page 171) activated:
One or two segment sinthe set speed range
light up.
DISTRONIC PLUS detect savehicle in front:
The segment sbetween the speed of the vehi-
cle in front and the stored speed light up. Operating the on-board computer
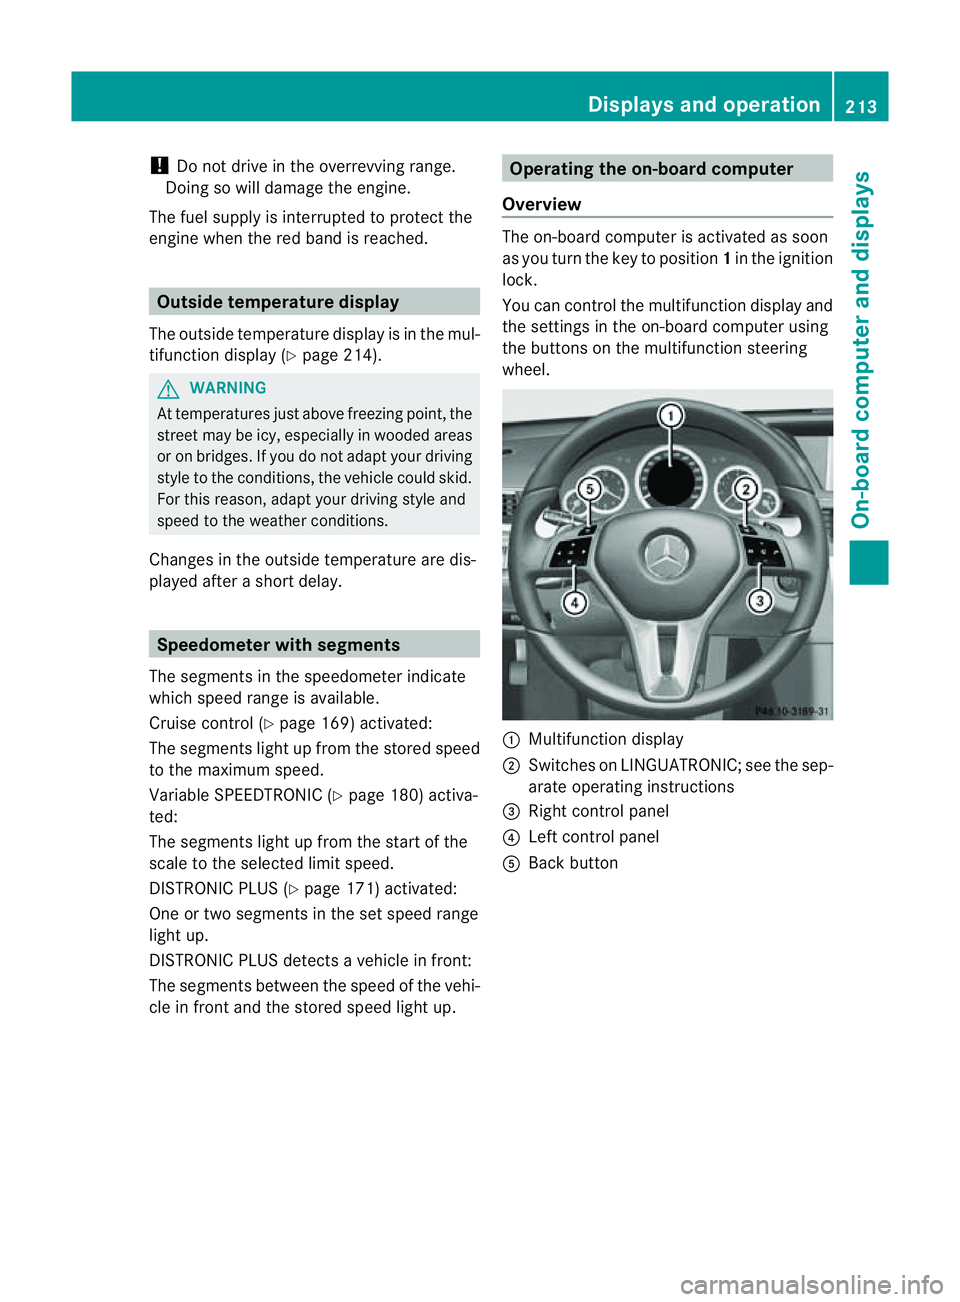
Overview The on-board computer is activated as soon
as you turn the key to position
1in the ignition
lock.
You can control the multifunction display and
the settings in the on-board computer using
the button sonthe multifunction steering
wheel. :
Multifunction display
; Switches on LINGUATRONIC; see the sep-
arate operating instructions
= Right control panel
? Left control panel
A Back button Displays and operation
213On-board computer and displays Z
Page 220 of 353
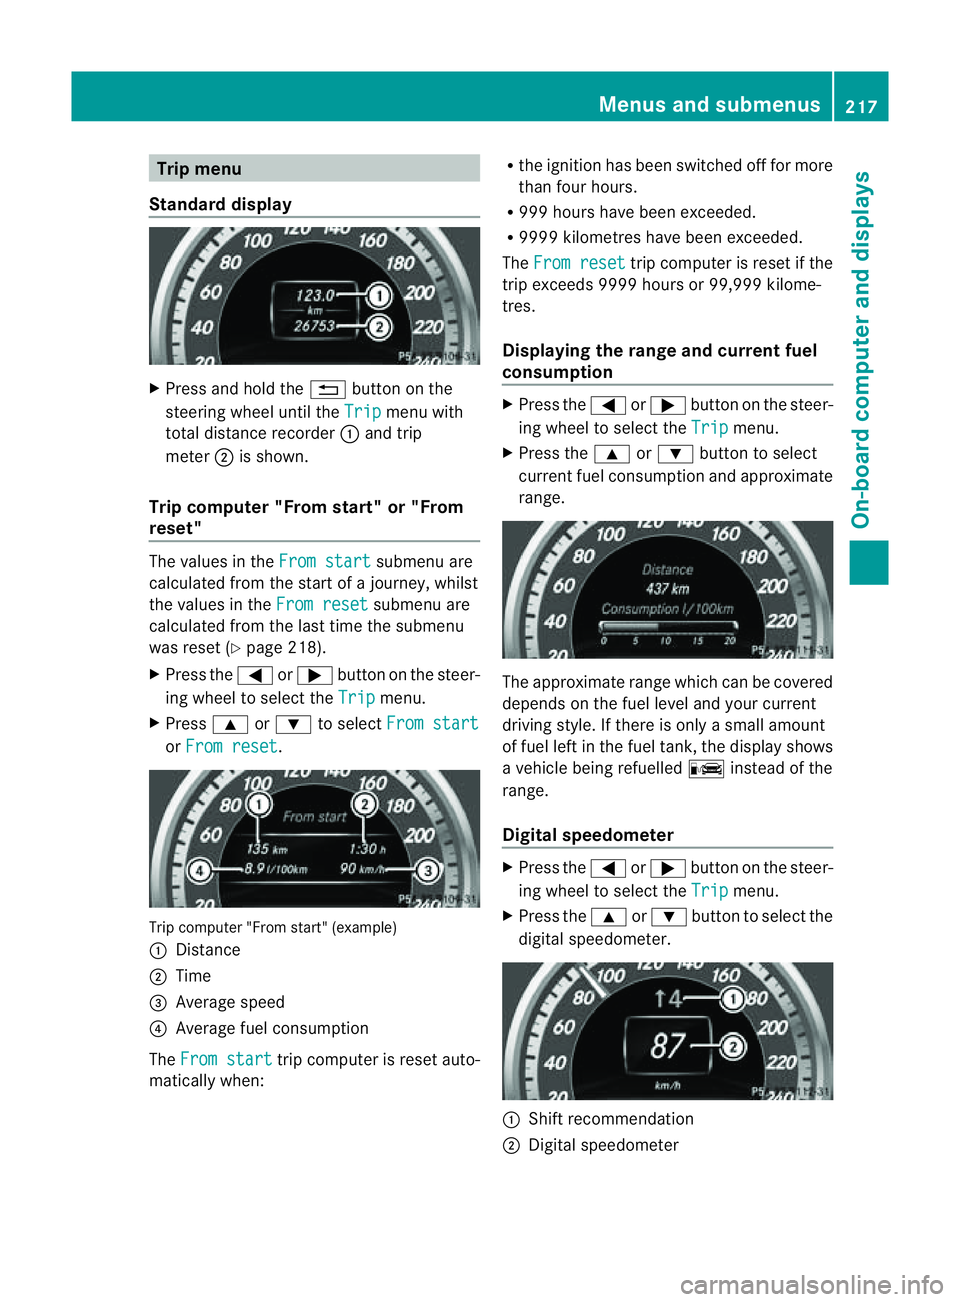
Trip menu
Standard display X
Press and hol dthe % button on the
steering whee lunti lthe Trip menu with
tota ldistance recorder :and trip
meter ;is shown.
Trip compute r"From start" or "From
reset" The values in the
Fromstart submenu are
calculate dfromt he start of ajourney, whilst
the values in the From reset submenu are
calculated from the last time the submenu
was reset (Y page 218).
X Press the =or; button on the steer-
ing wheel to select the Trip menu.
X Press 9or: to select From start or
From reset .
Trip computer "From start" (example)
:
Distance
; Time
= Average speed
? Average fuel consumption
The From start trip computer is reset auto-
matically when: R
the ignition has been switched off for more
than four hours.
R 999 hours have been exceeded.
R 9999 kilometres have been exceeded.
The From reset trip computer is reset if the
trip exceeds 9999 hours or 99,999 kilome-
tres.
Displaying the range and current fuel
consumption X
Press the =or; button on the steer-
ing wheel to select the Trip menu.
X Press the 9or: button to select
current fuel consumption and approximate
range. The approximate range which can be covered
depends on the fuel level and your current
driving style. If there is only
asmall amount
of fuel left in the fuel tank,t he displayshows
av ehicle being refuelled Cinstead of the
range.
Digital speedometer X
Press the =or; button on the steer-
ing wheel to select the Trip menu.
X Press the 9or: button to select the
digital speedometer. :
Shift recommendation
; Digital speedometer Menus and submenus
217On-board computer and displays Z
Page 226 of 353
X
Press =or; on the steerin gwheel
to select the Assist. menu.
X Press 9or: to select Speed Lim.
Asst. .
X Press a.
The multifunction display shows Speed
Limit Assist.
X Press :.
The curren tselection is displayed.
X To activate or deactivate: pressa.
If Speed Limit Assist is operational and the
message function is activated, the multifunc-
tion display shows the Äsymbol when the
ignition is switched on.
Showing the distance display This function is only available with DIS-
TRONIC PLUS.
X Press =or; on the steering wheel
to select the Assist. menu.
X Press the 9or: button to select
Distanc edisplay .
X Press a.
The DISTRONIC PLUS distanc edisplay
(Y page 178)a ppears in the multifunction
display.
Deactivating/activating ESP ®G
WARNING
If the ä warning lamp in the instrument
cluster flashes, proceed as follows:
R do not deactivat eESP®
under any circum-
stances.
R only depress the accelerator pedal as far as
necessary when pulling away.
R adapt your driving style to suit the prevail-
ing road and weather conditions.
Otherwise, the vehicle could skid.
ESP ®
cannot reduce the risk of an acciden tif
you drive to ofast. ESP ®
canno toverride the
laws of physics. Fo
rfurther information about ESP ®
,s ee
(Y page 64).
X Start th eengine.
X Press =or; on thesteerin gwheel
to select the Assist. menu.
X Press the 9or: buttontos elect
ESP .
X Press the abutton.
X To deactivate: pressaagain.
The å warning lamp in the instrument
cluster comes on. G
WARNING
If the å warning lamp in the instrument
cluster lights up when the engine is running,
ESP ®
is deactivated or is unavailabl edue to a
malfunction. The risk that your vehicle may
start to skid then increases in certain situa-
tions.
Always adapt your driving style to the prevail-
ing road and weather conditions.
X To activate: pressaagain.
The å warning lamp in the instrument
cluster goes out.
Activating/deactivating the PRE-SAFE ®
Brake PRE-SAFE
®
Brake is only available in vehicles
with DISTRONIC PLUS.
X Press =or; on the steerin gwheel
to select the Assist. menu.
X Press 9or: to select PreSafe Brake .
X Press the abutton.
The current selection is displayed.
X To activate/deactivate: pressa
again.
When PRE-SAFE ®
Brake (Y page 66) is acti-
vated, the multifunction display shows the
Ä symbol as long as the HOLD function is
not activated (Y page 184). Menus and submenus
223On-board computer and displays Z
Page 227 of 353
Vehicles with Parking Guidance:
if PARK-
TRONIC is activate dand yo uare driving at a
spee dunder 35 km/h, the jParking Guid-
ance symbol is show ninstea doftheÄ
symbol.
Activating/deactivating Attention
Assist X
Press =or; on the steering wheel
to select the Assist. menu.
X Press the 9or: button to select
Attention Asst. .
X Press a.
The current selection is displayed.
X To activate/deactivate: pressa
again.
When ATTENTION ASSIST (Y page 194) is
activated, the Àsymbol appears in the
multifunction displayw hen the ignition is on.
Activating/deactivating Blind Spot
Assist You can use the
Blind Spot Asst. function
to activate or deactivate Blind Spot Assist
(Y page 196) or Active Blind Spot Assist
(Y page 199).
X Press =or; on the steering wheel
to select the Assist. menu.
X Press 9or: to select Blind Spot
Asst. .
X Press a.
If the function is activated, the monitored
areas in the multifunction displayl ight up
red.
X To activate/deactivate: pressa
again.
Activating/deactivating Lane Keeping
Assist You can use the
Lane Keep. Asst. function
to activate/deactivate Lane Keeping Assist
(Y page 198) or Active Lane Keeping Assist
(Y page 202). X
Press =or; on the steering wheel
to select the Assist. menu.
X Press 9or: to select Lane Keep.
Asst. .
X Press a.
If the function is activated, the lane marking
symbol in the multifunction displayl ights
up red.
X To activate/deactivate: pressa
again.
When Lane Keeping Assist or Active Lane
Keeping Assist is activated, the Ãsymbol
appears in the multifunction displayw hen the
ignition is on. Service menu
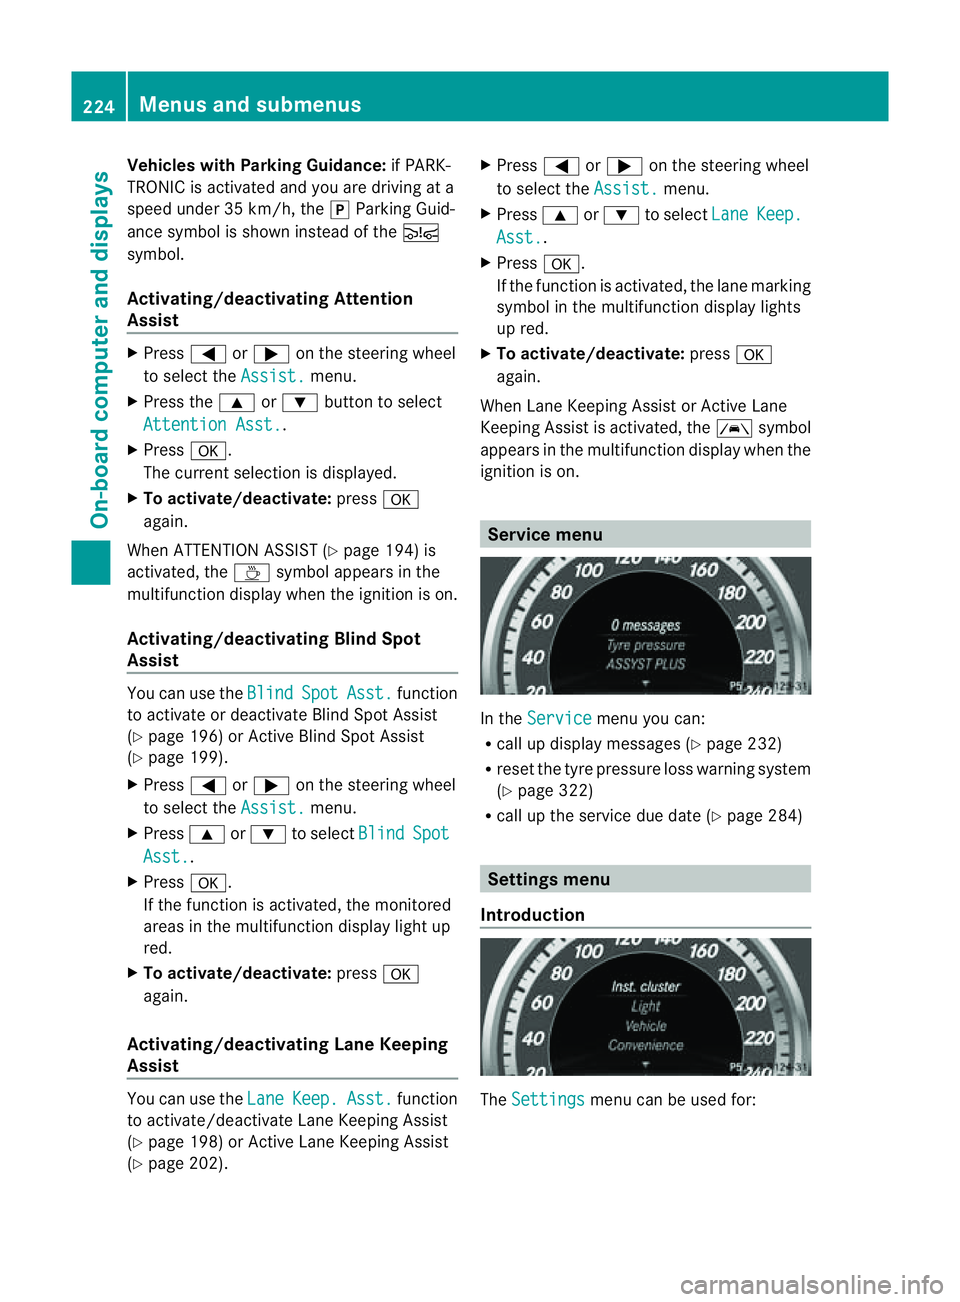
In the
Service menu you can:
R call up displaym essages (Ypage 232)
R reset the tyre pressure loss warning system
(Y page 322)
R call up the service due date (Y page 284) Settings menu
Introduction The
Settings menu can be used for:224
Menus and submenusOn-board computer and displays
Page 231 of 353
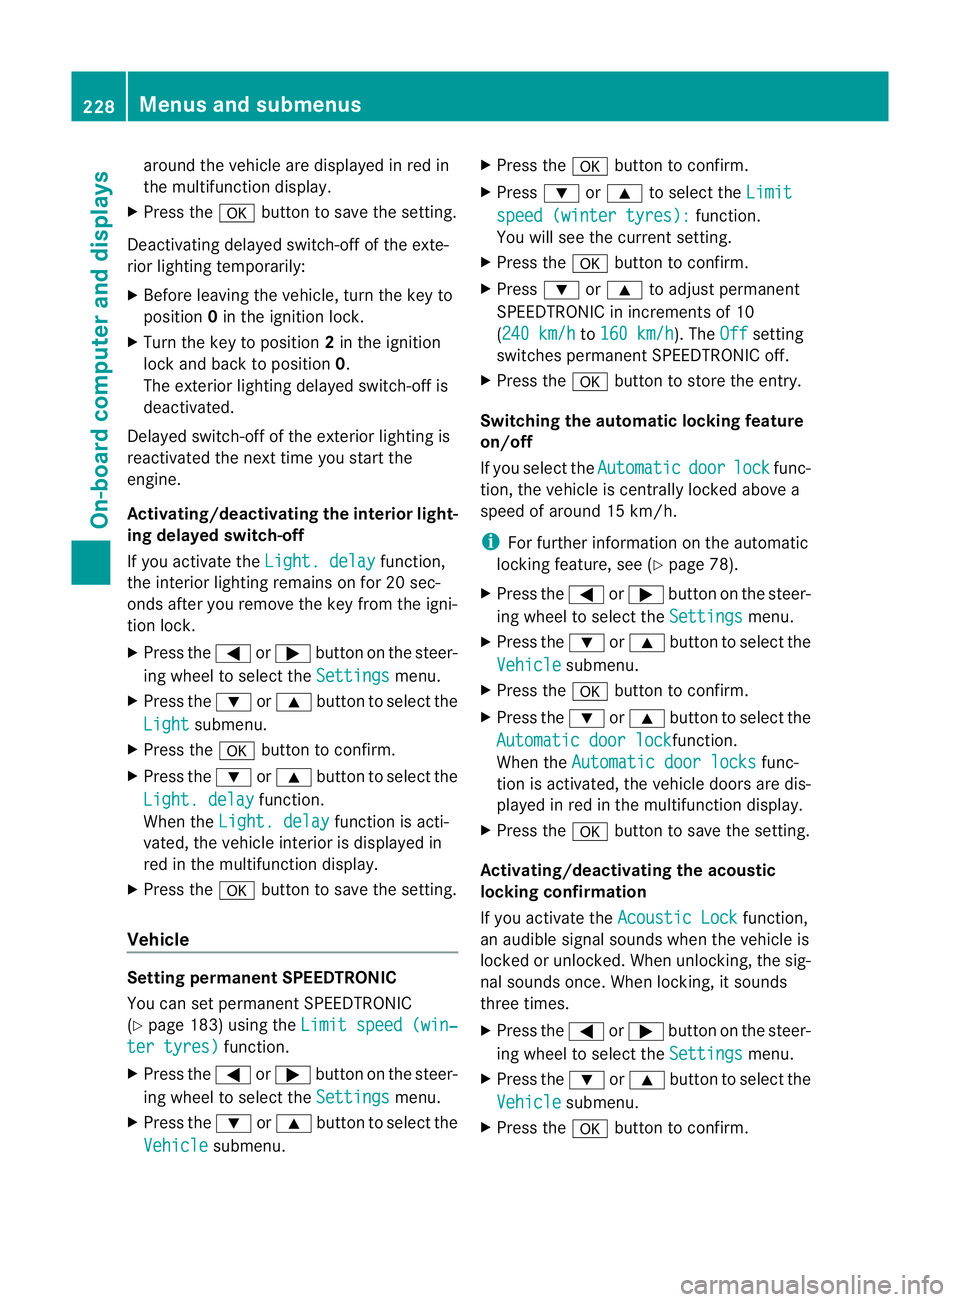
aroun
dthe vehicle are displayed in red in
th em ultifunction display.
X Press the abuttontos ave th esetting.
Deactivating delayed switch-off of th eexte-
rior lighting temporarily:
X Before leaving th evehicle ,turn th ekeyto
position 0in th eignition lock.
X Turn th ekeyto position 2in th eignition
loc ka nd back to position 0.
The exterio rlighting delayed switch-off is
deactivated.
Delayed switch-off of the exterior lighting is
reactivated the nex ttim ey ou start the
engine.
Activating/deactivating th einterior light-
ing delayed switch-off
If you activat ethe Light. delay function,
the interior lighting remain sonfor 20 sec-
onds after you remove the key fro mthe igni-
tion lock.
X Press the =or; button on the steer-
ing wheel to selec tthe Settings menu.
X Press the :or9 button to select the
Light submenu.
X Press the abutton to confirm.
X Press the :or9 button to select the
Light. delay function.
When the Light. delay function is acti-
vated, the vehicle interior is displayed in
red in the multifunction display.
X Press the abutton to save the setting.
Vehicle Setting permanent SPEEDTRONIC
You can set permanent SPEEDTRONIC
(Y page 183) using the Limit speed (win‐ter tyres) function.
X Press the =or; button on the steer-
ing wheel to select the Settings menu.
X Press the :or9 button to select the
Vehicle submenu. X
Press the abutton to confirm.
X Press :or9 to select the Limit speed (winter tyres): function.
You will see the current setting.
X Press the abutton to confirm.
X Press :or9 to adjust permanent
SPEEDTRONIC in increments of 10
(240 km/h to
160 km/h ). The
Off setting
switches permanent SPEEDTRONIC off.
X Press the abutton to store the entry.
Switching the automatic locking feature
on/off
If you select the Automatic door lock func-
tion, the vehicle is centrally locked above a
speed of around 15 km/h.
i For further information on the automatic
locking feature, see (Y page 78).
X Press the =or; button on the steer-
ing wheel to select the Settings menu.
X Press the :or9 button to select the
Vehicle submenu.
X Press the abutton to confirm.
X Press the :or9 button to select the
Automatic door lock function.
When the Automatic door locks func-
tion is activated, the vehicle doors are dis-
played in red in the multifunction display.
X Press the abutton to save the setting.
Activating/deactivating the acoustic
locking confirmation
If you activate the Acoustic Lock function,
an audible signal sounds when the vehicle is
locked or unlocked. When unlocking, the sig-
nal sounds once. When locking, it sounds
three times.
X Press the =or; button on the steer-
ing wheel to select the Settings menu.
X Press the :or9 button to select the
Vehicle submenu.
X Press the abutton to confirm. 228
Menus and submenusOn-board computer and displays
Page 234 of 353
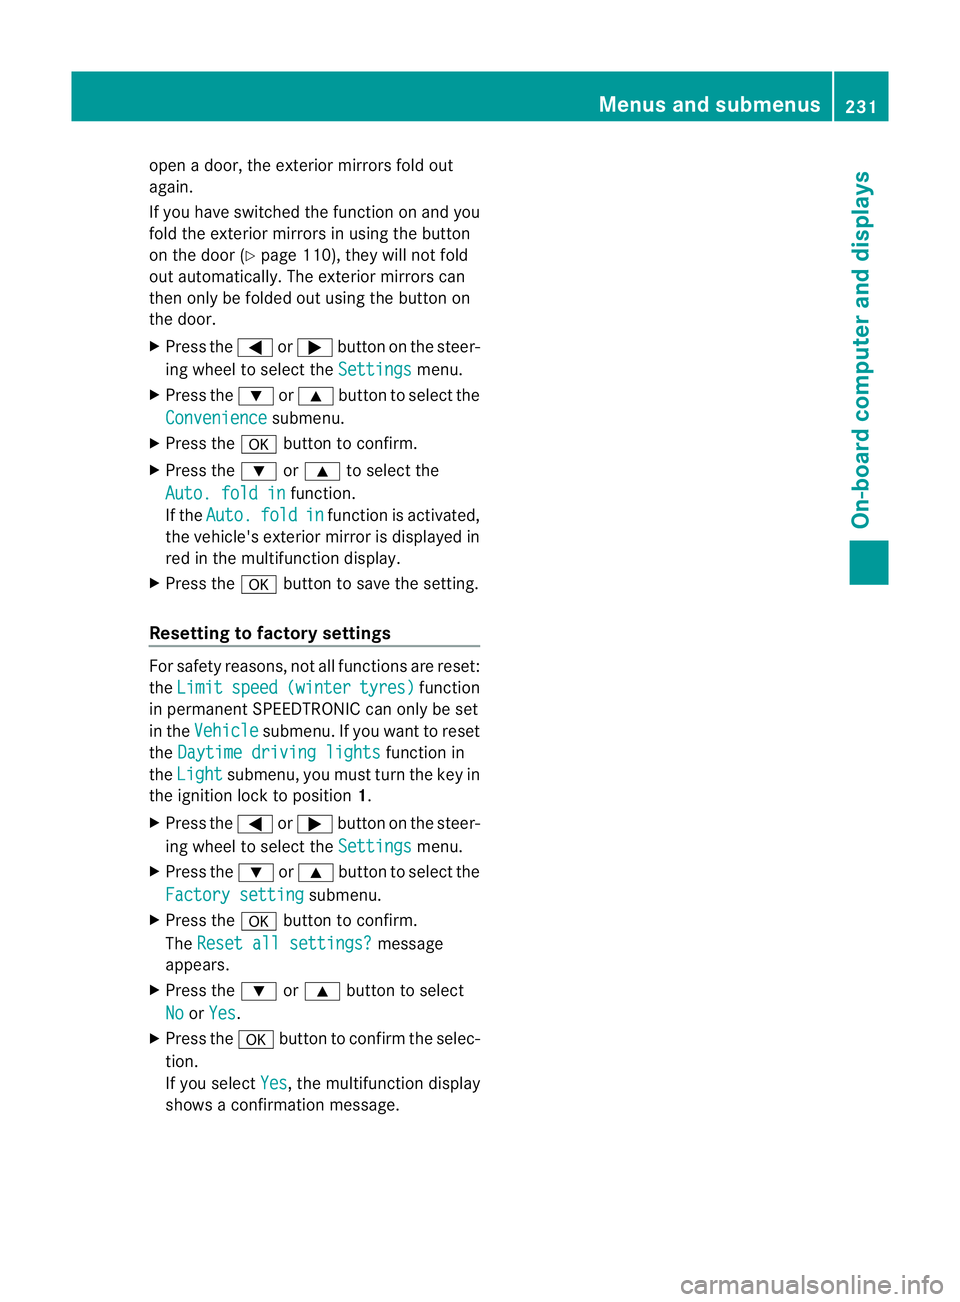
open
adoor, the exterior mirrors fold out
again.
If you have switched the function on and you
fold the exterior mirrors in using the button
on the door (Y page 110), they will not fold
out automatically. The exterior mirrors can
then only be folded out using the button on
the door.
X Press the =or; button on the steer-
ing wheel to select the Settings menu.
X Press the :or9 button to select the
Convenience submenu.
X Press the abutton to confirm.
X Press the :or9 to select the
Auto. fold in function.
If the Auto. fold in function is activated,
the vehicle's exterior mirror is displayed in
red in the multifunction display.
X Press the abutton to save the setting.
Resetting to factory settings For safety reasons, not all functions are reset:
the Limit speed (winter tyres) function
in permanent SPEEDTRONIC can only be set
in the Vehicle submenu. If you want to reset
the Daytime driving lights function in
the Light submenu, you must turn the key in
the ignition lock to position 1.
X Press the =or; button on the steer-
ing wheel to select the Settings menu.
X Press the :or9 button to select the
Factory setting submenu.
X Press the abutton to confirm.
The Reset all settings? message
appears.
X Press the :or9 button to select
No or
Yes .
X Press the abutton to confirm the selec-
tion.
If you select Yes ,t
he multifunction display
shows aconfirmation message. Menus and submenus
231On-board computer and displays Z
Page 235 of 353
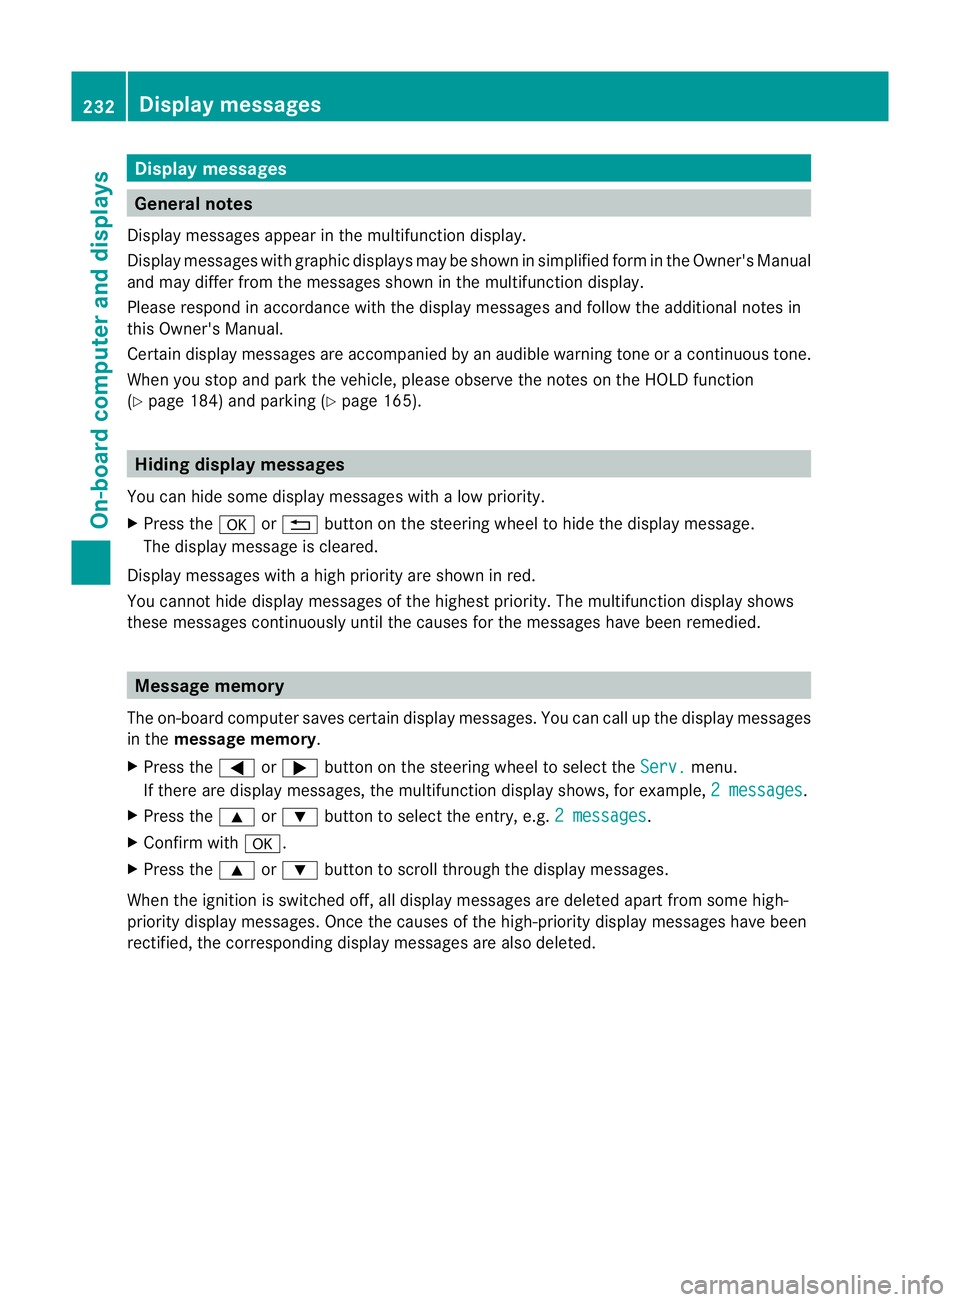
Display messages
General notes
Display message sappear in th emultifunction display.
Display message swithg raphic displays may be shown in simplified for minthe Owner's Manual
and may differ from the messages shown in the multifunction display.
Please respond in accordance with the displaym essages and follow the additional notes in
this Owner's Manual.
Certain displaym essages are accompanied by an audible warning tone or acontinuous tone.
When you stop and park the vehicle, please observe the notes on the HOLD function
(Y page 184) and parking (Y page 165).Hiding display messages
You can hide some displaym essages withalow priority.
X Press the aor% button on the steering wheel to hide the displaym essage.
The displaym essage is cleared.
Display messages with ahigh priority are shown in red.
You cannot hide displaym essages of the highest priority. The multifunction displays hows
these messages continuously until the causes for the messages have been remedied. Message memory
The on-board computer saves certain displaym essages. You can call up the displaymessages
in the message memory.
X Press the =or; button on the steering wheel to select the Serv. menu.
If there are displaym essages, the multifunction displays hows, for example,2messages .
X Press the 9or: button to select the entry, e.g. 2messages .
X Confirm with a.
X Press the 9or: button to scroll through the displaym essages.
When the ignition is switched off, all displaym essages are deleted apart from some high-
priority displaym essages. Once the causes of the high-priority displaym essages have been
rectified, the corresponding displaym essages are also deleted.232
Display messagesOn-board computer and displays