2011 MERCEDES-BENZ C-CLASS COUPE lights
[x] Cancel search: lightsPage 228 of 373

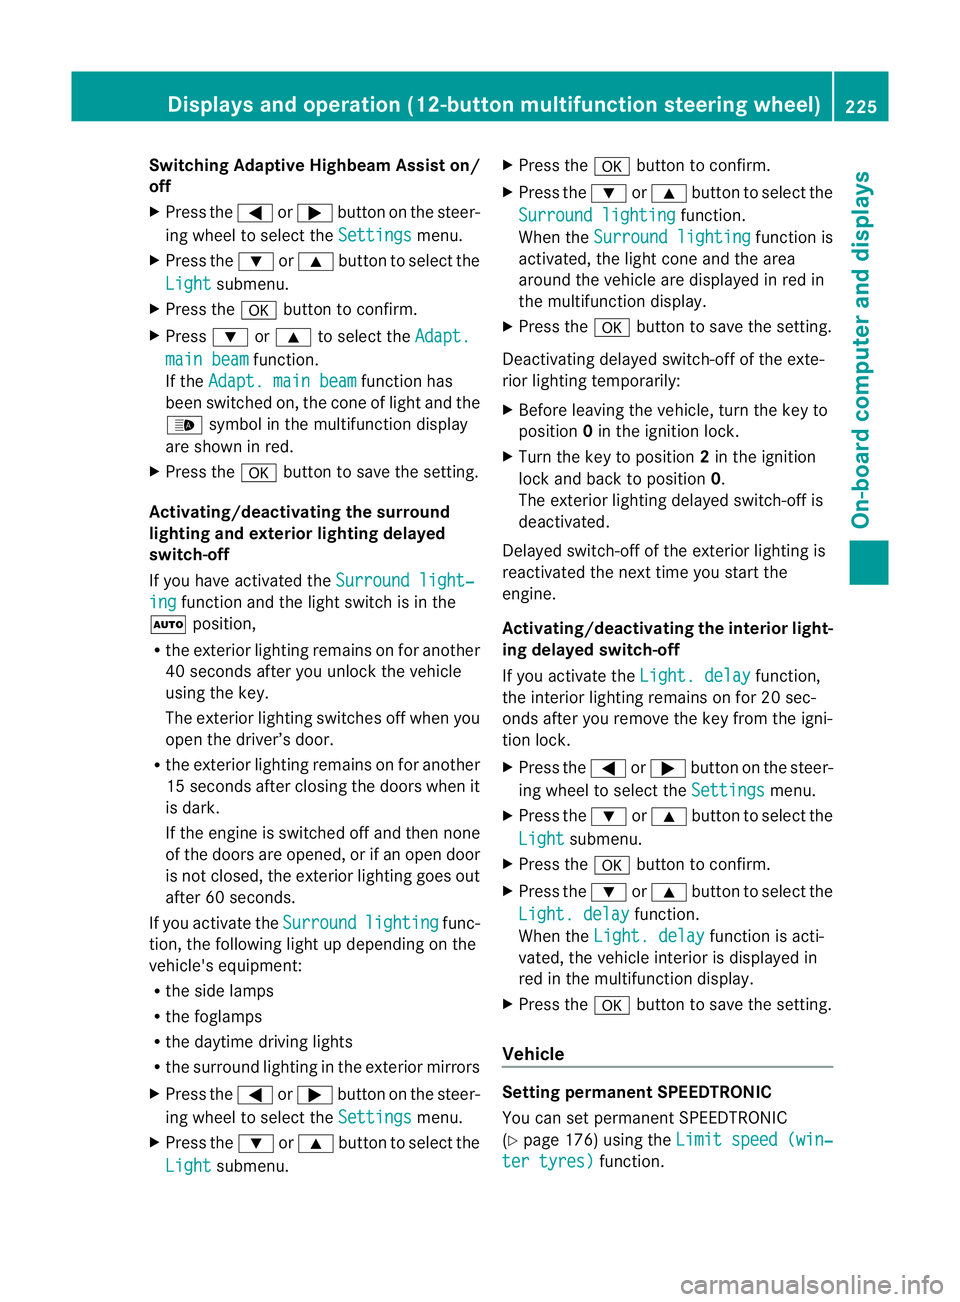
Switching Adaptive Highbeam Assist on/
off
X Press the =or; button on the steer-
ing wheel to select the Settings menu.
X Press the :or9 button to select the
Light submenu.
X Press the abutton to confirm.
X Press :or9 to select the Adapt. main beam function.
If the Adapt. main beam function has
been switched on, the cone of light and the
_ symbol in the multifunction display
are shown in red.
X Press the abutton to save the setting.
Activating/deactivating the surround
lighting and exterior lighting delayed
switch-off
If you have activated the Surround light‐ing function and the light switch is in the
à position,
R the exterior lighting remains on for another
40 seconds after you unlock the vehicle
using the key.
The exterior lighting switches off when you
open the driver’s door.
R the exterior lighting remains on for another
15 seconds after closing the doors when it
is dark.
If the engine is switched off and then none
of the doors are opened, or if an open door
is not closed, the exterior lighting goes out
after 60 seconds.
If you activate the Surround lighting func-
tion, the following light up depending on the
vehicle's equipment:
R the side lamps
R the foglamps
R the daytime driving lights
R the surround lighting in the exterior mirrors
X Press the =or; button on the steer-
ing wheel to select the Settings menu.
X Press the :or9 button to select the
Light submenu. X
Press the abutton to confirm.
X Press the :or9 button to select the
Surround lighting function.
When the Surround lighting function is
activated, the light cone and the area
around the vehicle are displayed in red in
the multifunction display.
X Press the abutton to save the setting.
Deactivating delayed switch-of fofthe exte-
rior lighting temporarily:
X Before leaving the vehicle, turn the key to
position 0in the ignition lock.
X Turn the key to position 2in the ignition
lock and back to position 0.
The exterior lighting delayed switch-off is
deactivated.
Delayed switch-off of the exterior lighting is
reactivated the next time you start the
engine.
Activating/deactivating the interior light-
ing delayed switch-off
If you activate the Light. delay function,
the interior lighting remains on for 20 sec-
onds after you remove the key from the igni-
tion lock.
X Press the =or; button on the steer-
ing wheel to select the Settings menu.
X Press the :or9 button to select the
Light submenu.
X Press the abutton to confirm.
X Press the :or9 button to select the
Light. delay function.
When the Light. delay function is acti-
vated, the vehicle interior is displayed in
red in the multifunction display.
X Press the abutton to save the setting.
Vehicle Setting permanent SPEEDTRONIC
You can set permanent SPEEDTRONIC
(Y
page 176) using the Limit speed (win‐ ter tyres) function.Displays and operation (12-button multifunction steering wheel)
225On-board computer and displays Z
Page 229 of 373

X
Press the =or; button on the steer-
ing wheel to select the Settings menu.
X Press the :or9 button to select the
Vehicle submenu.
X Press the abutton to confirm.
X Press :or9 to select the Limit speed (winter tyres): function.
You will see the curren tsetting.
X Press the abutton to confirm.
X Press :or9 to adjust permanent
SPEEDTRONIC in increments of 10
(230 km/h to
160 km/h ). The
Off setting
switches permanent SPEEDTRONIC off.
X Press the abutton to store the entry.
Switching the automatic locking feature
on/off
If you select the Automatic door lock func-
tion, the vehicle is centrally locked above a
speed of around 15 km/h.
i For further information on the automatic
locking feature, see (Y page 84).
X Press the =or; button on the steer-
ing wheel to select the Settings menu.
X Press the :or9 button to select the
Vehicle submenu.
X Press the abutton to confirm.
X Press the :or9 button to select the
Automatic door lock function.
When the Automatic door locks func-
tion is activated, the vehicle doors are dis-
played in red in the multifunction display.
X Press the abutton to save the setting.
Activating/deactivating the acoustic
locking confirmation
If you activate the Acoustic Lock function,
an audible signal sounds when the vehicle is
locked or unlocked. When unlocking, the sig-
nal sounds once. When locking, it sounds
three times. X
Press the =or; button on the steer-
ing wheel to select the Settings menu.
X Press the :or9 button to select the
Vehicle submenu.
X Press the abutton to confirm.
X Press the :or9 button to select the
Acoustic Lock function.
If the Acoustic Lock function is activated,
the & symbol in the multifunction dis-
play lights up red.
X Press the abutton to save the setting.
Activating/deactivating the radar sensor
system
i You must deactivate the radar sensor sys-
tem in certain countries and near radio
telescope facilities. For further informa-
tion, see (Y page 363).
When you are close to radio telescope facili-
ties, the radar sensor system will be deacti-
vated automatically.
The following systems are switched off when
the radar sensor system is deactivated:
R DISTRONIC PLUS (Y page 164)
R BAS PLUS (Y page 66)
R PRE-SAFE ®
Brake (Y page 71)
R Blind Spot Assist (Y page 190)
R Active Blind Spot Assist (Y page 194)
X Press the =or; button on the steer-
ing wheel to select the Settings menu.
X Press the :or9 button to select the
Vehicle submenu.
X Press the abutton to confirm.
X Press the 9or: button to select
Radar sensor (See Owner's Man.): .
You will see the selected setting: on or
off .
X Press the abutton to save the setting. 226
Displays and operation (12-button multifunction steering wheel)On-board computer and displays
Page 230 of 373

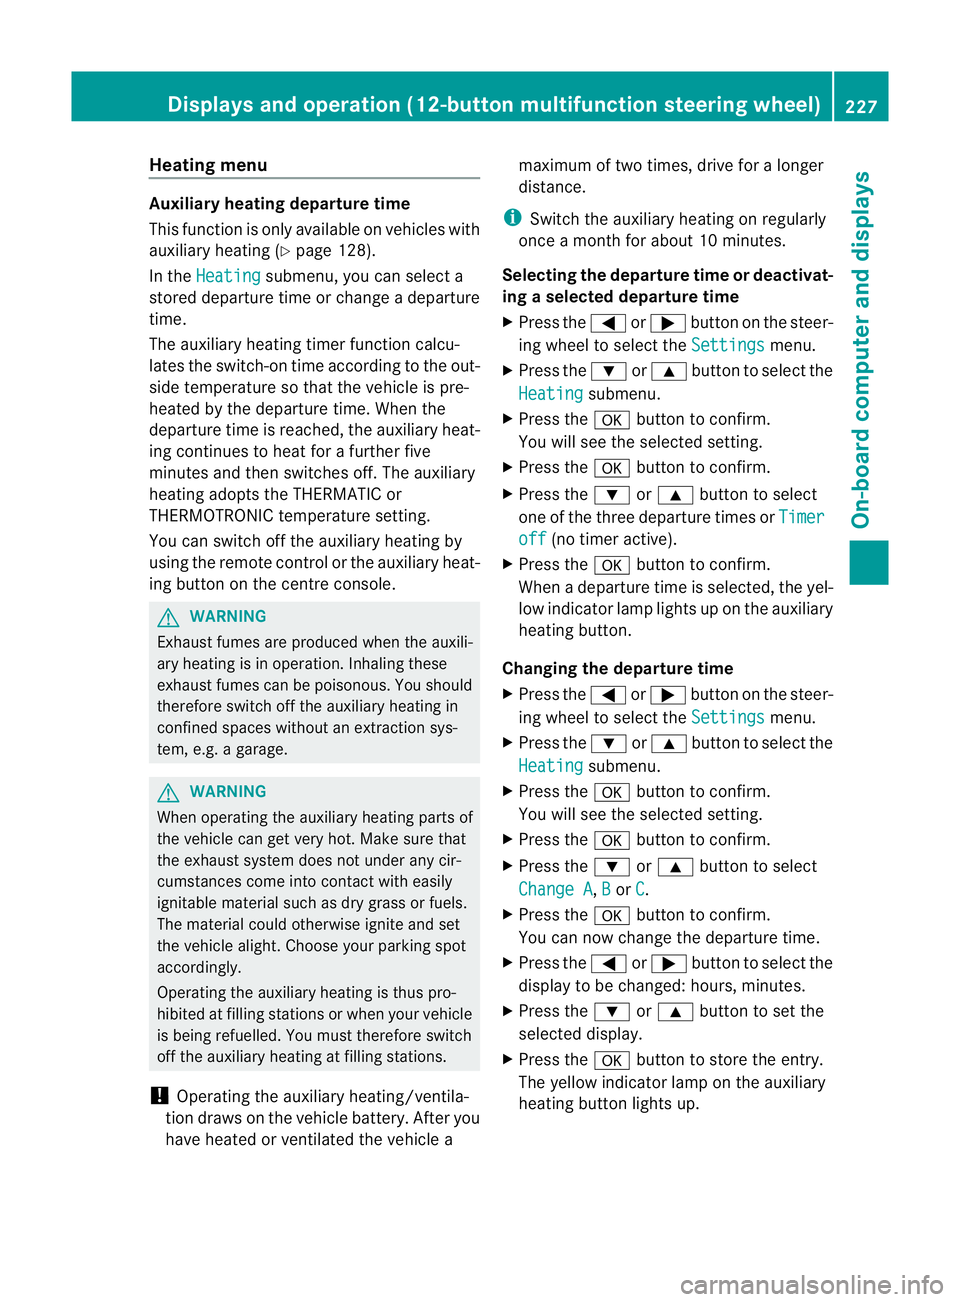
Heating menu
Auxiliary heating departure time
This function is only available on vehicles with
auxiliary heating (Y page 128).
In the Heating submenu, you can select a
stored departure time or change a departure
time.
The auxiliary heating timer function calcu-
lates the switch-on time according to the out-
side temperature so that the vehicle is pre-
heated by the departure time. When the
departure time is reached, the auxiliary heat-
ing continues to heat for a further five
minutes and then switches off. The auxiliary
heating adopts the THERMATIC or
THERMOTRONIC temperature setting.
You can switch off the auxiliary heating by
using the remote control or the auxiliary heat-
ing button on the centre console. G
WARNING
Exhaust fumes are produced when the auxili-
ary heating is in operation. Inhaling these
exhaust fumes can be poisonous. You should
therefore switch off the auxiliary heating in
confined spaces without an extraction sys-
tem, e.g. a garage. G
WARNING
When operating the auxiliary heating parts of
the vehicle can get very hot. Make sure that
the exhaust system does not under any cir-
cumstances come into contact with easily
ignitable material such as dry grass or fuels.
The material could otherwise ignite and set
the vehicle alight. Choose you rparking spot
accordingly.
Operating the auxiliary heating is thus pro-
hibited at filling stations or when your vehicle
is being refuelled. You must therefore switch
off the auxiliary heating at filling stations.
! Operating the auxiliary heating/ventila-
tio nd raws on the vehicl ebattery. Afte ryou
have heated or ventilated the vehicle a maximum of two times, drive for a longer
distance.
i Switch the auxiliary heating on regularly
once a month for about 10 minutes.
Selecting the departure time or deactivat-
ing a selected departure time
X Press the =or; button on the steer-
ing wheel to select the Settings menu.
X Press the :or9 button to select the
Heating submenu.
X Press the abutton to confirm.
You will see the selected setting.
X Press the abutton to confirm.
X Press the :or9 button to select
one of the three departure times or Timer off (no timer active).
X Press the abutton to confirm.
When a departure time is selected, the yel-
low indicator lamp lights up on the auxiliary
heating button.
Changing the departure time
X Press the =or; button on the steer-
ing wheel to select the Settings menu.
X Press the :or9 button to select the
Heating submenu.
X Press the abutton to confirm.
You will see the selected setting.
X Press the abutton to confirm.
X Press the :or9 button to select
Change A ,
B or
C .
X Press the abutton to confirm.
You can now change the departure time.
X Press the =or; button to select the
display to be changed: hours, minutes.
X Press the :or9 button to set the
selected display.
X Press the abutton to store the entry.
The yellow indicator lamp on the auxiliary
heating button lights up. Displays and operation (12-button multifunction steering wheel)
227On-board computer and displays Z
Page 231 of 373

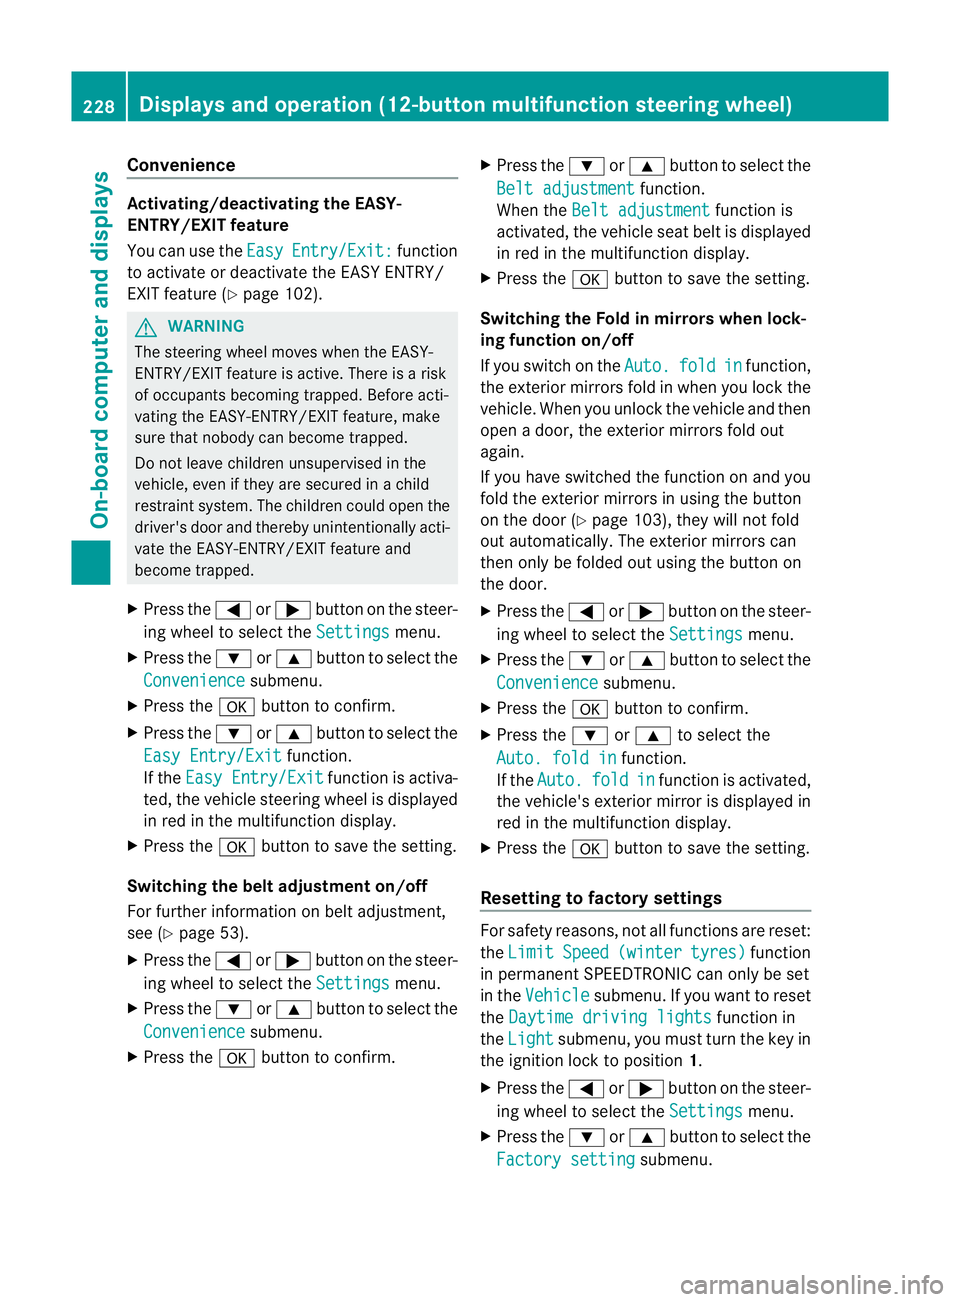
Convenience
Activating/deactivating the EASY-
ENTRY/EXIT feature
You can use the
Easy Entry/Exit: function
to activate or deactivate the EASY ENTRY/
EXIT feature (Y page 102). G
WARNING
The steering wheel moves when the EASY-
ENTRY/EXIT feature is active. There is a risk
of occupants becomin gtrapped. Before acti-
vating the EASY-ENTRY/EXIT feature, make
sure that nobody can become trapped.
Do not leave children unsupervised in the
vehicle, even if they are secured in a child
restraint system. The children could open the
driver's door and thereby unintentionally acti-
vate the EASY-ENTRY/EXIT feature and
become trapped.
X Press the =or; button on the steer-
ing wheel to select the Settings menu.
X Press the :or9 button to select the
Convenience submenu.
X Press the abutton to confirm.
X Press the :or9 button to select the
Easy Entry/Exit function.
If the Easy Entry/Exit function is activa-
ted, the vehicle steering wheel is displayed
in red in the multifunction display.
X Press the abutton to save the setting.
Switching the belta djustmenton/off
For further information on belt adjustment,
see (Y page 53).
X Press the =or; button on the steer-
ing wheel to select the Settings menu.
X Press the :or9 button to select the
Convenience submenu.
X Press the abutton to confirm. X
Press the :or9 button to select the
Belt adjustment function.
When the Belt adjustment function is
activated, the vehicle seat belt is displayed
in red in the multifunction display.
X Press the abutton to save the setting.
Switching the Fold in mirrors when lock-
ing function on/off
If you switch on the Auto. fold in function,
the exterior mirrors fold in when you lock the
vehicle. When you unlock the vehicle and then
open a door, the exterior mirrors fold out
again.
If you have switched the function on and you
fold the exterior mirror sinusing the button
on the door (Y page 103), they will not fold
out automatically. The exterior mirrors can
then only be folded out using the button on
the door.
X Press the =or; button on the steer-
ing wheel to select the Settings menu.
X Press the :or9 button to select the
Convenience submenu.
X Press the abutton to confirm.
X Press the :or9 to select the
Auto. fold in function.
If the Auto. fold in function is activated,
the vehicle's exterior mirror is displayed in
red in the multifunction display.
X Press the abutton to save the setting.
Resetting to factory settings For safety reasons, not all functions are reset:
the
Limit Speed (winter tyres) function
in permanent SPEEDTRONIC can only be set
in the Vehicle submenu. If you want to reset
the Daytime driving lights function in
the Light submenu, you must turn the key in
the ignition lock to position 1.
X Press the =or; button on the steer-
ing wheel to select the Settings menu.
X Press the :or9 button to select the
Factory setting submenu.228
Displays and operation (12-button multifunction steering wheel)On-board computer and displays
Page 237 of 373

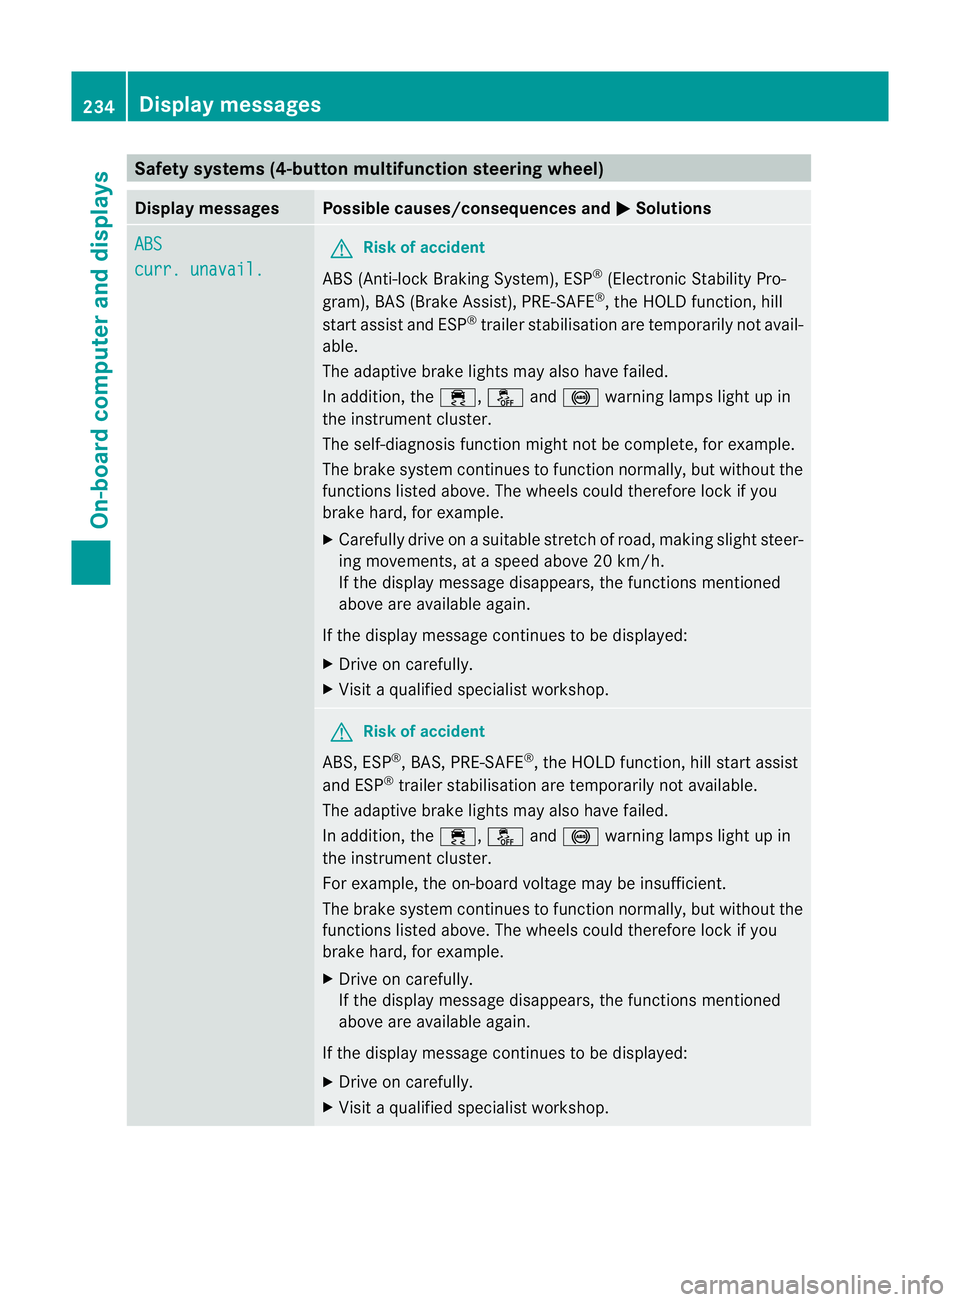
Safety systems (4-button multifunction steering wheel)
Display messages Possible causes/consequences and
M Solutions
ABS
curr. unavail. G
Risk of accident
ABS (Anti-lock Braking System), ESP ®
(Electronic Stability Pro-
gram), BAS (Brake Assist), PRE-SAFE ®
, the HOLD function, hill
start assist and ESP ®
trailer stabilisation are temporarily not avail-
able.
The adaptive brake lights may also have failed.
In addition, the ÷,åand! warning lamps light up in
the instrument cluster.
The self-diagnosis function might not be complete, for example.
The brake system continues to function normally, but without the
functions listed above. The wheels could therefore lock if you
brake hard, for example.
X Carefully drive on a suitable stretch of road, making slight steer-
ing movements, at a speed above 20 km/h.
If the display message disappears, the functions mentioned
above are available again.
If the display message continues to be displayed:
X Drive on carefully.
X Visit a qualified specialist workshop. G
Risk of accident
ABS, ESP ®
, BAS, PRE-SAFE ®
, the HOLD function, hill start assist
and ESP ®
trailer stabilisation are temporarily not available.
The adaptive brake lights may also have failed.
In addition, the ÷,åand! warning lamps light up in
the instrument cluster.
For example, the on-board voltage may be insufficient.
The brake system continues to function normally, but without the
functions listed above. The wheels could therefore lock if you
brake hard, for example.
X Drive on carefully.
If the display message disappears, the functions mentioned
above are available again.
If the display message continues to be displayed:
X Drive on carefully.
X Visit a qualified specialist workshop. 234
Display messagesOn-board computer and displays
Page 238 of 373

Display messages Possible causes/consequences and
M Solutions
ABS
inoperative G
Risk of accident
ABS, ESP ®
, BAS, PRE-SAFE ®
, the HOLD function, hill start assist
and ESP ®
trailer stabilisation are no tavailable due to a malfunc-
tion.
The adaptive brake lights may also have failed.
In addition, the ÷,å,!andJ warning lamps light
up in the instrument cluster.
The brake system continues to function normally, but without the
functions listed above. The wheels could therefore lock if you
brake hard, for example.
X Drive on carefully.
X Visi taqualified specialist workshop. EBD and ABS
inoperative G
Risk of accident
EBD (electronic brake force distribution), ABS, ESP ®
, BAS,
PRE-SAFE ®
, hill start assist and ESP ®
trailer stabilisation are not
available due to a malfunction.
The adaptive brake lights may also have failed.
In addition, the ÷,åand! warning lamps light up in
the instrument cluster and a warning tone sounds.
The brake system continues to function normally, but without the
functions listed above. The wheels could therefore lock if you
brake hard, for example.
X Drive on carefully.
X Visit a qualified specialist workshop immediately. J
Release parking
brake You are driving with the parking brake applied.
Awarning tone also
sounds.
X Release the parking brake. Display messages
235On-board computer and displays Z
Page 239 of 373

Display messages Possible causes/consequences and
M Solutions
J
Brake immediately A malfunction has occurred while the HOLD function is active.
or
Vehicles wit
hmanual transmission: with the HOLD function
activated, you have:
R opened the driver's door and released the sea tbelt or
R switched off the engine or
R opened the bonnet
At one may also sound at regular intervals. The tone becomes
louder if you attempt to lock the vehicle.
You cannot start the engine.
X Paying attention to the traffic situation, immediately depress the
brake pedal firmly and hold until the display message disap-
pears.
X Prevent the vehicle from rolling away before you leave it
(Y page 321).
You can restart the engine. J
Check brake fluid
level G
Risk of accident
There is insufficien tbrake fluid in the brake fluid reservoir. In addi-
tion, the red Jwarning lamp lights up in the instrument cluster
and a warning tone sounds.
X Pull over and stop the vehicle safely as soon as possible, paying
attention to road and traffic conditions. Do not continue driving
under any circumstances.
X Apply the parking brake.
X Consult a qualified specialist workshop.
X Do not top up the brake fluid. This does not correct the error. #
Check brake wear The brake pads/linings have reached their wearl
imit.
X Visit a qualified specialist workshop. PRE-SAFE
inoperative G
Risk of injury
Important function sof PRE-SAFE ®
have failed .All other occupant
safety systems, e.g. airbags, remain available.
X Visit a qualified specialist workshop. ü If the symbol appears in the multifunction display,
aseat belt
tongue has been clipped into a rear seat belt buckle.
For further information on the status indicator for the rear seat
belts: (Y page 54). 236
Display messagesOn-board computer and displays
Page 240 of 373

Display messages Possible causes/consequences and
M Solutions
ý G
Risk of injury
If the symbol appears in the multifunction display, aseat belt
tongue has not been clipped into a rear seat belt buckle.
X If necessary, ask the occupants in the rear to fasten their seat
belts.
For further information on the status indicator for the rear seat
belts: (Y page 54). Child seat position
G
Risk of injury
Vehicles with automatic child seat recognition on the front-
passenger seat: the child seat is positioned incorrectly.
X Fit the child seat in the correct position. G
Risk of injury
Vehicles with automatic child seat recognition on the front-
passenger seat: the automatic child seat recognition sensor is
faulty.
X Visit a qualified specialist workshop. 6
Malfunction -Work‐
shop- G
Risk of injury
There is a malfunction in the SRS (Supplemental Restraint Sys-
tem). The 6warning lamp also lights up in the instrument clus-
ter.
X Visit a qualified specialist workshop. 6
FL malfunc. -Work‐
shop- or
FR mal‐ func. -Workshop- G
Risk of injury
SRS has malfunctioned at the front on the left or right. The 6
warning lamp also lights up in the instrument cluster.
X Visit a qualified specialist workshop. 6
RL malfunc. -work‐
shop- or
RR mal‐ func. -Workshop- G
Risk of injury
SRS has malfunctioned at the rear on the left or right. The 6
warning lamp also lights up in the instrument cluster.
X Visit a qualified specialist workshop. Left windowbag mal‐
function:wkshp
or
Right windowbag
malfunction:wkshp G
Risk of injury
There is a malfunction in the left-hand and/or right-hand window-
bag. The 6warning lamp also lights up in the instrument clus-
ter.
X Visit a qualified specialist workshop. Display messages
237On-board computer and displays Z