Page 98 of 140

98
Before
UseGetting
started
RoutingAddress
Book
Vo i c e Recognition
Navigation
Set Up
RDM-TMC
Audio Operation
Navigation
Set Up
7. If the PIN code matches the previously registered PIN code, the system returns to the
normal mode.
8. The parental lock is now released. At this time, mute is off and the sound can be heard.
Note
l If an PIN code is not input for ten seconds, the system returns to the previous screen.
l If the input PIN code does not match the registered PIN code, ‘Wrong PIN was input.
Please input the PIN again.’ is displayed for three seconds and the system returns to the
PIN code input screen.
nMaster Code
The Master Code is used to initialize or re-initialize the PIN code in the event that the code is
not set to ‘0000’ and/or the personalized PIN code is not known. The initialization process
resets the PIN code to ‘0000’. The master code can potentially def\
eat the intent of the
security of the parental lock if it is located by persons not authorized by the owner to access
certain channels.
SIRIUS Satellite Radio Master Code: ‘0913’
nError Signs
(1) Depending on the surrounding conditions (such as large trees, buildings, or tunnels) and special weather conditions, the reception of SIRIUS radio waves may be decreased or
temporarily interrupted. ‘ACQUIRING SIGNAL’ may appear.
The ‘ACQUIRING SIGNAL’ message will clear after one of the following occurs:
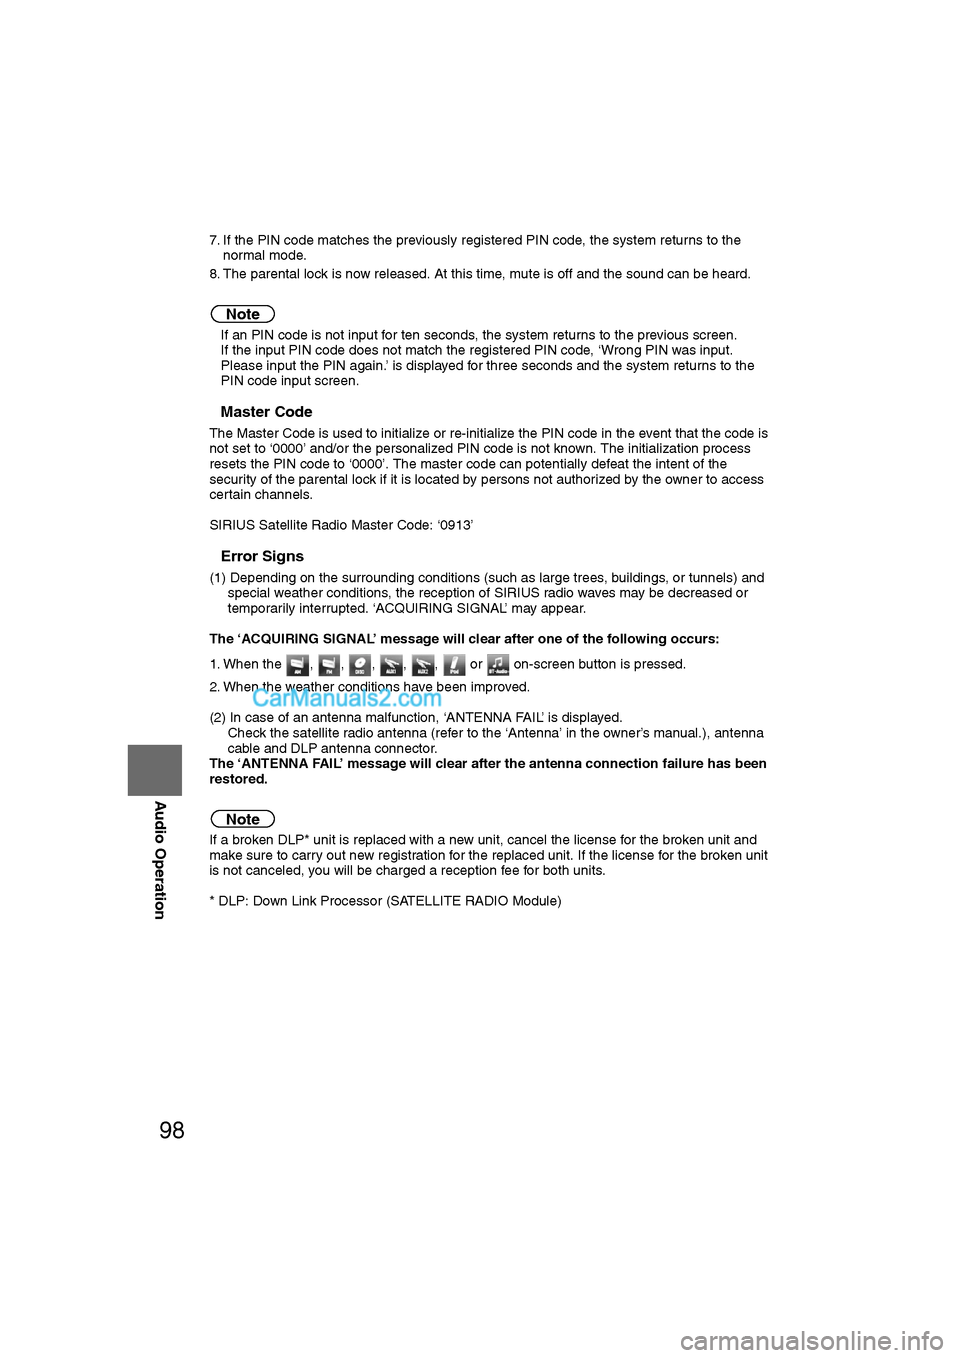
1. When the , , , , , or on-screen button is pressed.
2. When the weather conditions have been improved.
(2) In case of an antenna malfunction, ‘ANTENNA FAIL’ is displayed. Check the satellite radio antenna (refer to the ‘Antenna’ in the owner’s manual.), antenna
cable and DLP antenna connector.
The ‘ANTENNA FAIL’ message will clear after the antenna connection failure has been
restored.
Note
If a broken DLP* unit is replaced with a new unit, cancel the license for the broken unit and
make sure to carry out new registration for the replaced unit. If the license for the broken unit
is not canceled, you will be charged a reception fee for both units.
* DLP: Down Link Processor (SATELLITE RADIO Module)
�2�%�:���0�:�9���)���F�S�S�O�����4�E�K�I�����������8�L�Y�V�W�H�E�]�����1�E�]�����������������������������������4�1
Page 101 of 140
101
Audio Operation
1. Press the SOURCE button.
2. Press the on-screen button.
3. Press the on-screen button.
4. Press the on-screen button.
5. Press the on-screen button.
6. A “Pairing is in progress. Please start pairing procedure on your Bluetooth device.”
message with a PIN number is displayed.
7. Set the PIN code using the Bluetooth audio device. Refer to the instruction manual
accompanying each Bluetooth device for
details.
8. If the pairing is successful, the Bluetooth audio name is displayed with a message
"PAIRING COMPLETE".
�2�%�:���0�:�9���)���F�S�S�O�����4�E�K�I�������������8�L�Y�V�W�H�E�]�����1�E�]�����������������������������������4�1
Page 102 of 140

102
Before
UseGetting
started
RoutingAddress
Book
Vo i c e Recognition
Navigation
Set Up
RDM-TMC
Audio Operation
Navigation
Set Up
Note
l
The Bluetooth audio device needs to be operated for pairing it to the vehicle’s Bluetooth
unit. Refer to the audio device’s instruction manual for the pairing procedure.
l If the pairing failed, a message indicating a pairing error is displayed for three seconds then
the screen returns to the normal display.
l Pairing cannot be performed while the vehicle is moving. When the vehicle starts to move,
the buttons other than the on-screen button are grayed out.
l If seven Bluetooth audio devices have been already paired, additional pairing cannot be
performed. Delete one paired Bluetooth audio device to pair another one.
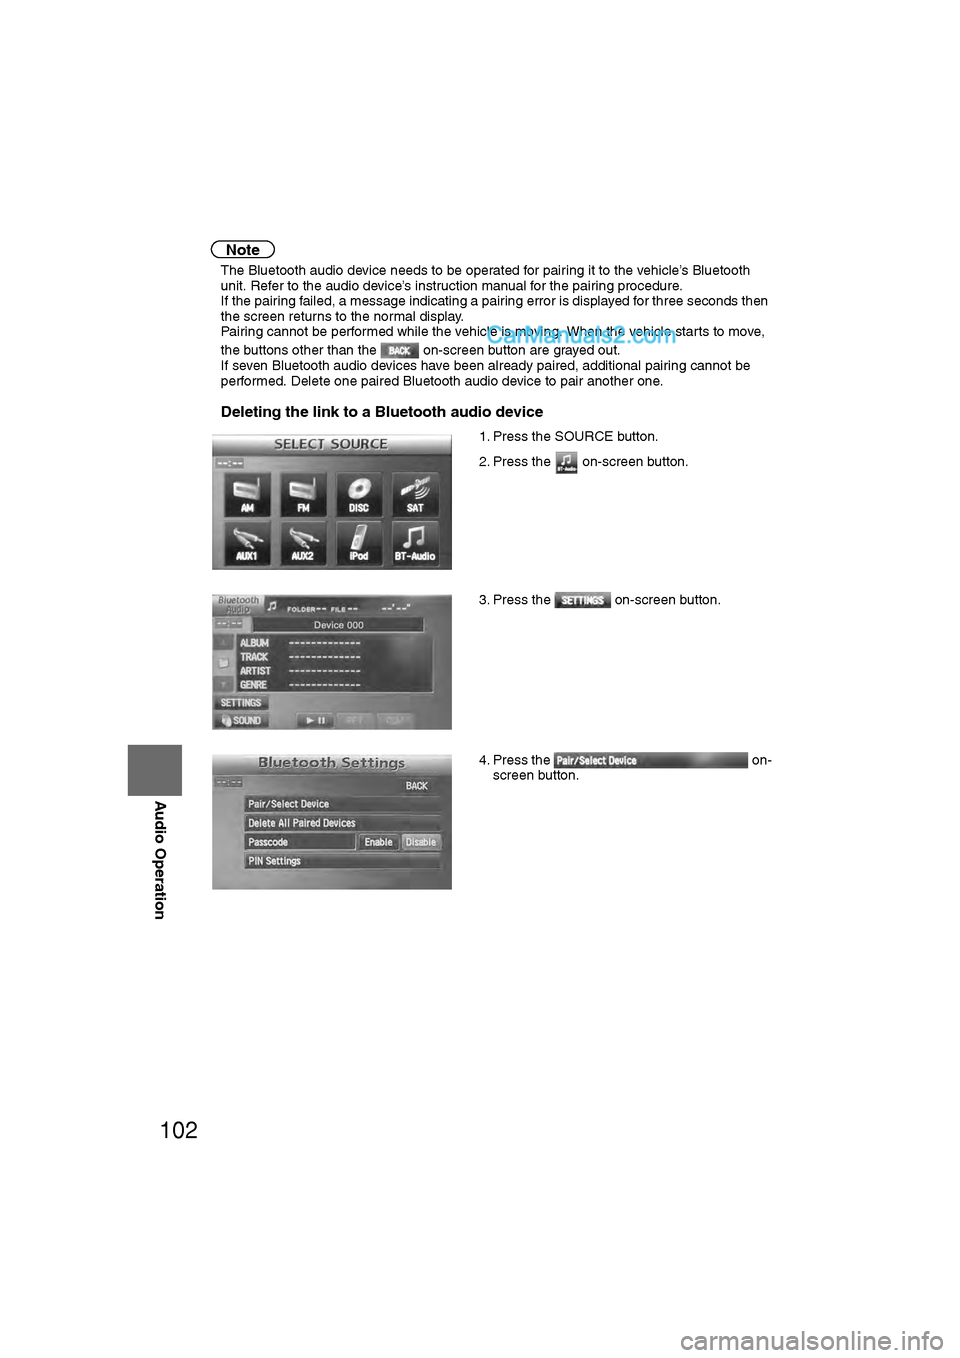
nDeleting the link to a Bluetooth audio device
1. Press the SOURCE button.
2. Press the on-screen button.
3. Press the on-screen button.
4. Press the on-
screen button.
�2�%�:���0�:�9���)���F�S�S�O�����4�E�K�I�������������8�L�Y�V�W�H�E�]�����1�E�]�����������������������������������4�1
Page 103 of 140
103
Audio Operation
Note
lIf the paired Bluetooth audio device deletion failed, a message indicating a deletion failure
is displayed for three seconds then the screen returns to the normal display.
l Pairing cannot be performed while the vehicle is moving. When the vehicle starts to move,
the buttons other than the on-screen button are grayed out. 5. Press the on-screen button of the Bluetooth
audio device you would like to delete from the
paired Bluetooth audio devices.
6. Press the on-screen button.
7. A confirmation screen is displayed to ask if the device is deleted. If the on-screen
button is pressed, the paired Bluetooth audio
device can be deleted.
On-screen buttons for paired
Bluetooth audio divices
�2�%�:���0�:�9���)���F�S�S�O�����4�E�K�I�������������8�L�Y�V�W�H�E�]�����1�E�]�����������������������������������4�1
Page 104 of 140

104
Before
UseGetting
started
RoutingAddress
Book
Vo i c e Recognition
Navigation
Set Up
RDM-TMC
Audio Operation
Navigation
Set Up
nChanging paired Bluetooth device
1. Press the SOURCE button.
2. Press the on-screen button.
3. Press the on-screen button.
4. Press the on-
screen button.
5. Press the on-screen button of the Bluetooth device you would like to choose from the
paired Bluetooth devices.
• : Completed pairing as Hands-free mobile phone. Highlighted while
connected.
• : Completed pairing as Bluetooth audio device. Highlighted while connected.
6. The Bluetooth Device Setting screen is displayed.
• DEVICE NAME: Name of the Bluetooth device
• PHONE: Status as Hands-free mobile phone
• AUDIO: Status as Bluetooth audio device
7. If the PHONE or AUDIO on-screen button is pressed, the selected phone or audio
function becomes operable.
On-screen buttons for paired
Bluetooth audio divices
�2�%�:���0�:�9���)���F�S�S�O�����4�E�K�I�������������8�L�Y�V�W�H�E�]�����1�E�]�����������������������������������4�1
Page 105 of 140

105
Audio Operation
Note
lIf “Not supported” is displayed on the Bluetooth Device Setting screen, the device is not
supported for use with a Hands-free mobile phone or Bluetooth audio device.
l If “Disconnected” is displayed on the Bluetooth Device Setting screen, the device is
supported for use with a Hands-free mobile phone or Bluetooth audio device, but cannot be
used because it is not connected. If the on-screen button is pressed, the device is
connected and becomes enabled.
l If “Connected” is displayed, the device is supported for use with a Hands-free mobile phone
or Bluetooth audio device, and is currently being enabled.
nHow to use the Bluetooth Audio system
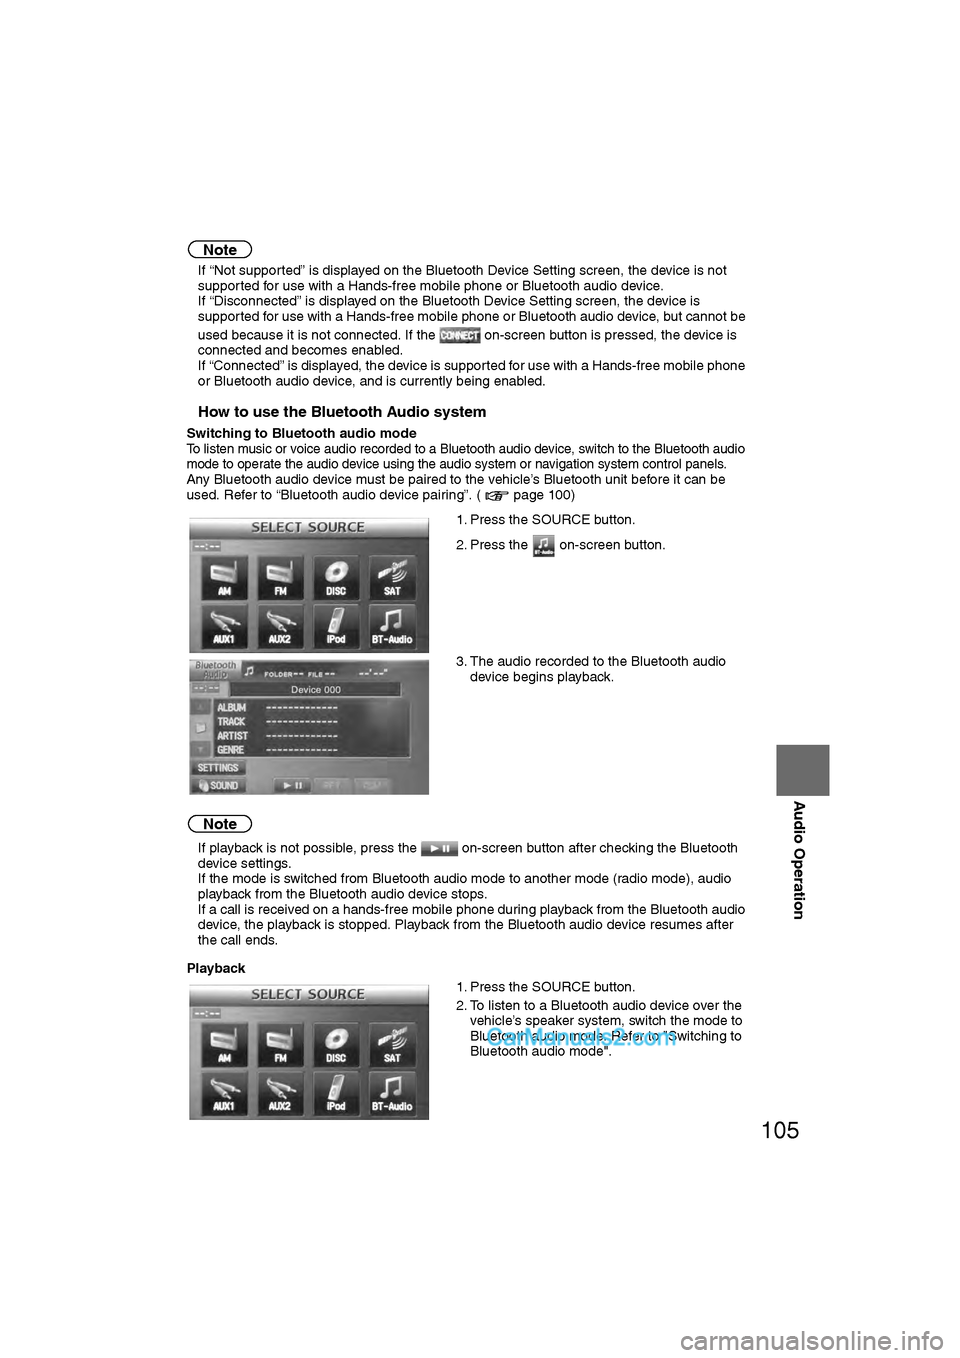
Switching to Bluetooth audio modeTo listen music or voice audio recorded to a Bluetooth audio device, switch to the Bluetooth audio
mode to operate the audio device using the audio system or navigation system control panels.
Any Bluetooth audio device must be paired to the vehicle’s Bluetooth unit before it can be
used. Refer to “Bluetooth audio device pairing”. ( page 100)
Note
lIf playback is not possible, press the on-screen button after checking the Bluetooth
device settings.
l If the mode is switched from Bluetooth audio mode to another mode (radio mode), audio
playback from the Bluetooth audio device stops.
l If a call is received on a hands-free mobile phone during playback from the Bluetooth audio
device, the playback is stopped. Playback from the Bluetooth audio device resumes after
the call ends.
Playback 1. Press the SOURCE button.
2. Press the on-screen button.
3. The audio recorded to the Bluetooth audio
device begins playback.
1. Press the SOURCE button.
2. To listen to a Bluetooth audio device over the vehicle’s speaker system, switch the mode to
Bluetooth audio mode. Refer to "Switching to
Bluetooth audio mode".
�2�%�:���0�:�9���)���F�S�S�O�����4�E�K�I�������������8�L�Y�V�W�H�E�]�����1�E�]�����������������������������������4�1
Page 109 of 140
109
Audio Operation
nInserting the CD
The display must be open (lowered) to insert the CD.The CD must be label-side up when inserting. The auto-loading mechanism will set the CD and begin
play. There will be a short lapse before play begins while the player reads the digital signals on the CD.
Note
"IN" is displayed on a CD that is inserted.
nDuring CD playback
The album title, the track title, and the artist name will be displayed.
nDuring MP3/WMA CD playback
The album title, the track title, the folder name, the file number, and the artist name will be displayed.\
Note
The CD will begin playback automatically after insertion.
Operating Single CD-MP3/WMA Player
SCAN button TRACK buttonFolder search on-screen button
on-screen button
RPTon-screen button
RDM on-screen button
SCAN
�2�%�:���0�:�9���)���F�S�S�O�����4�E�K�I�������������8�L�Y�V�W�H�E�]�����1�E�]�����������������������������������4�1
Page 110 of 140

110
Before
UseGetting
started
RoutingAddress
Book
Vo i c e Recognition
Navigation
Set Up
RDM-TMC
Audio Operation
Navigation
Set Up
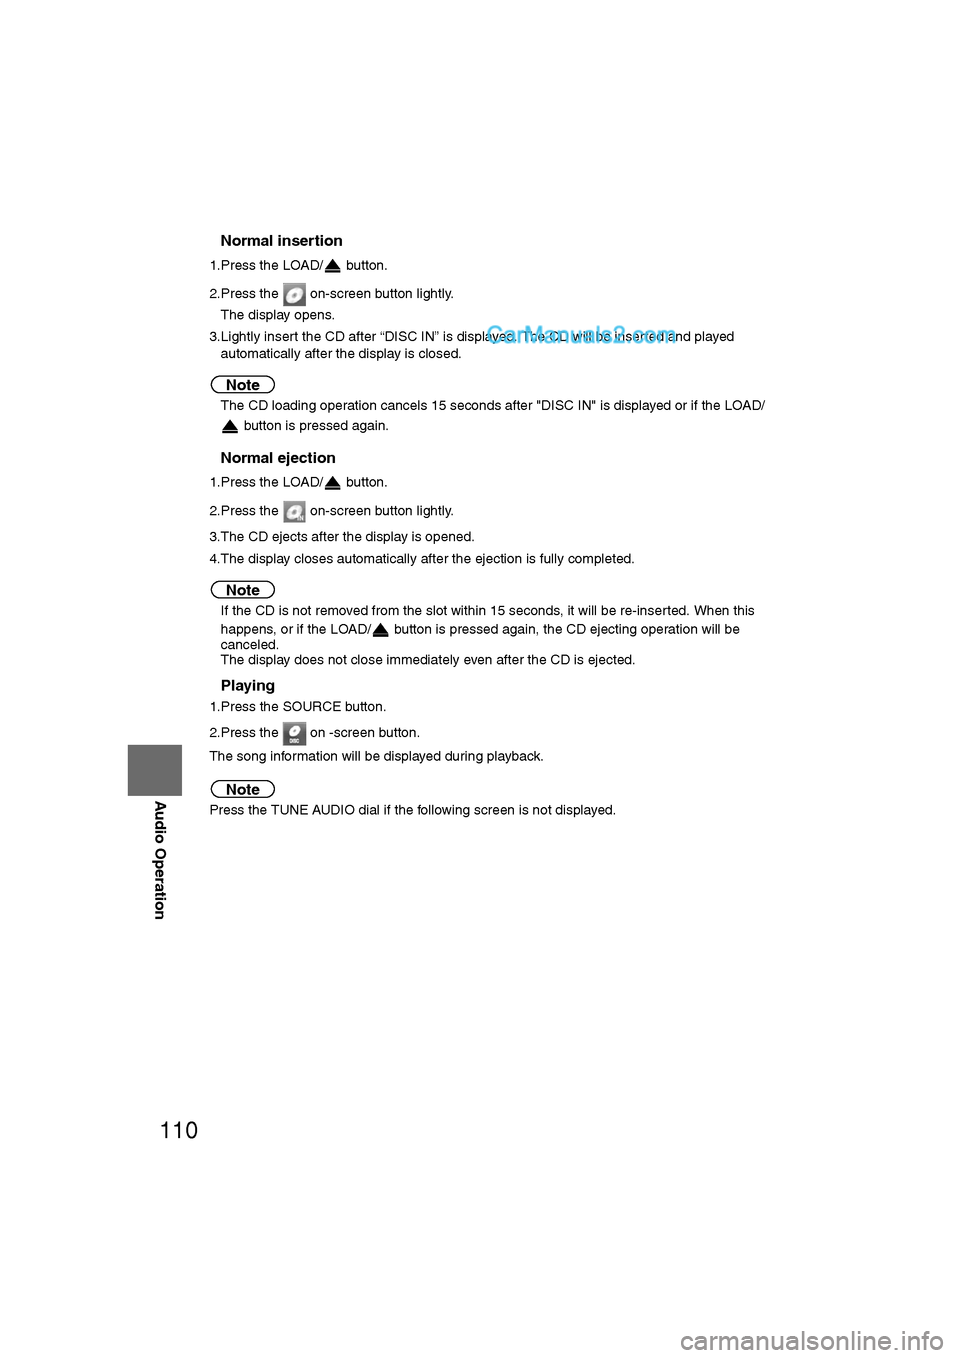
nNormal insertion
1.Press the LOAD/ button.
2.Press the on-screen button lightly.
The display opens.
3.Lightly insert the CD after “DISC IN” is displayed. The CD will be inserted and played automatically after the display is closed.
Note
lThe CD loading operation cancels 15 seconds after "DISC IN" is displayed or if the LOAD/
button is pressed again.
nNormal ejection
1.Press the LOAD/ button.
2.Press the on-screen button lightly.
3.The CD ejects after the display is opened.
4.The display closes automatically after the ejection is fully completed.
Note
lIf the CD is not removed from the slot within 15 seconds, it will be re-inserted. When this
happens, or if the LOAD/ button is pressed again, the CD ejecting operation will be
canceled.
l The display does not close immediately even after the CD is ejected.
nPlaying
1.Press the SOURCE button.
2.Press the on -screen button.
The song information will be displayed during playback.
Note
Press the TUNE AUDIO dial if the following screen is not displayed.
�2�%�:���0�:�9���)���F�S�S�O�����4�E�K�I�������������8�L�Y�V�W�H�E�]�����1�E�]�����������������������������������4�1