Page 50 of 306

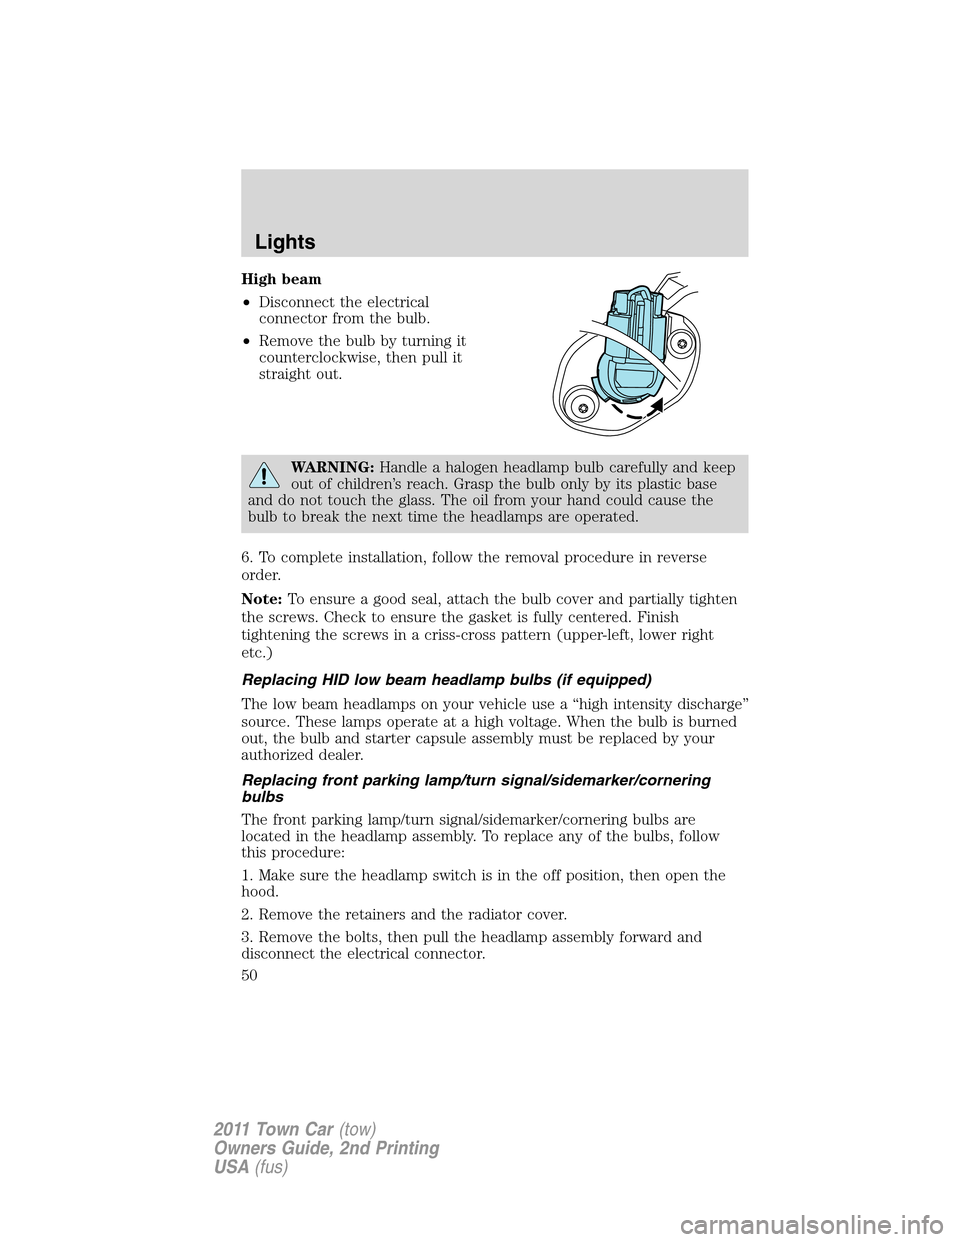
High beam
•Disconnect the electrical
connector from the bulb.
•Remove the bulb by turning it
counterclockwise, then pull it
straight out.
WARNING:Handle a halogen headlamp bulb carefully and keep
out of children’s reach. Grasp the bulb only by its plastic base
and do not touch the glass. The oil from your hand could cause the
bulb to break the next time the headlamps are operated.
6. To complete installation, follow the removal procedure in reverse
order.
Note:To ensure a good seal, attach the bulb cover and partially tighten
the screws. Check to ensure the gasket is fully centered. Finish
tightening the screws in a criss-cross pattern (upper-left, lower right
etc.)
Replacing HID low beam headlamp bulbs (if equipped)
The low beam headlamps on your vehicle use a “high intensity discharge”
source. These lamps operate at a high voltage. When the bulb is burned
out, the bulb and starter capsule assembly must be replaced by your
authorized dealer.
Replacing front parking lamp/turn signal/sidemarker/cornering
bulbs
The front parking lamp/turn signal/sidemarker/cornering bulbs are
located in the headlamp assembly. To replace any of the bulbs, follow
this procedure:
1. Make sure the headlamp switch is in the off position, then open the
hood.
2. Remove the retainers and the radiator cover.
3. Remove the bolts, then pull the headlamp assembly forward and
disconnect the electrical connector.
Lights
50
2011 Town Car(tow)
Owners Guide, 2nd Printing
USA(fus)
Page 240 of 306

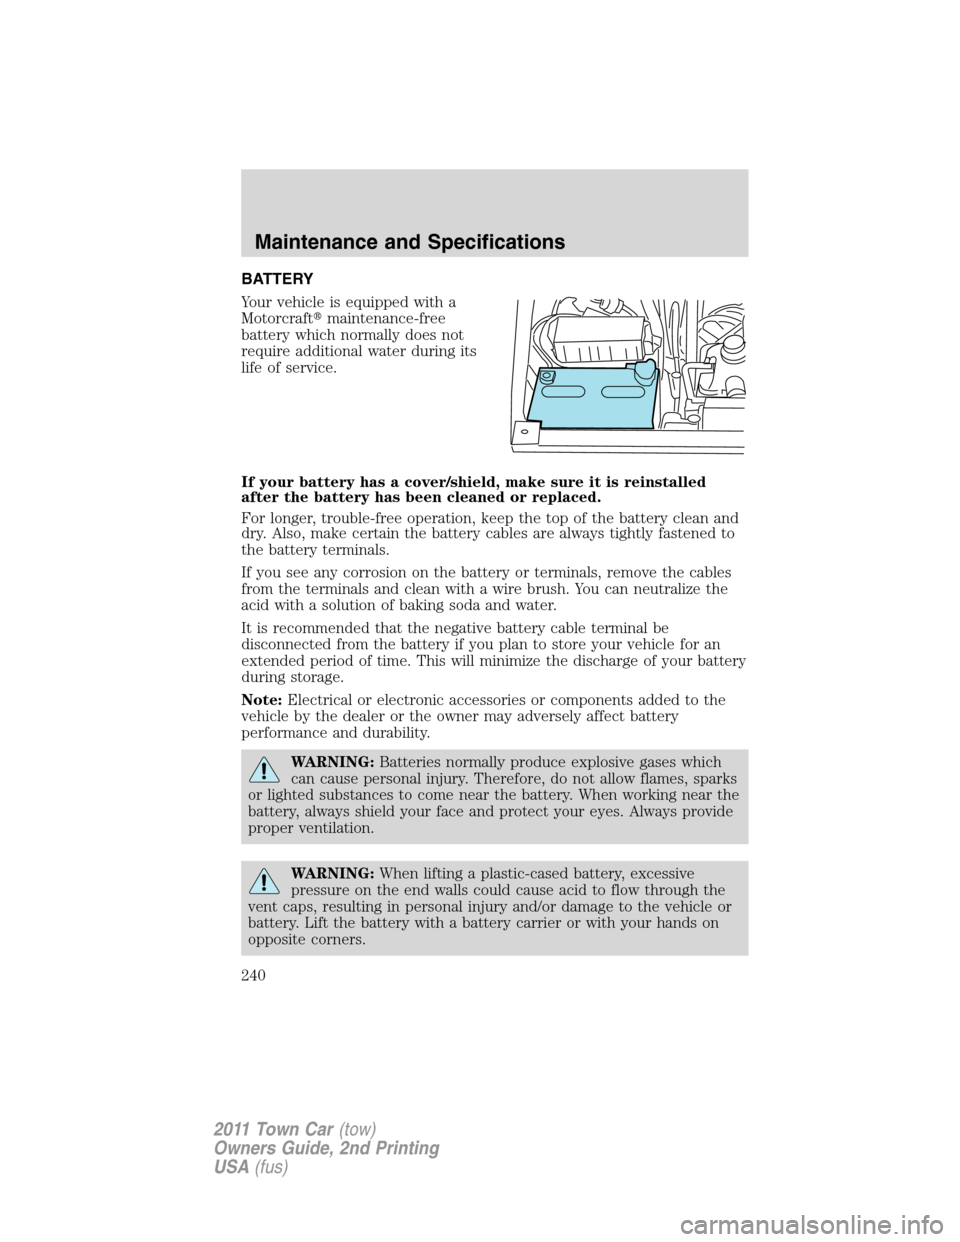
BATTERY
Your vehicle is equipped with a
Motorcraft�maintenance-free
battery which normally does not
require additional water during its
life of service.
If your battery has a cover/shield, make sure it is reinstalled
after the battery has been cleaned or replaced.
For longer, trouble-free operation, keep the top of the battery clean and
dry. Also, make certain the battery cables are always tightly fastened to
the battery terminals.
If you see any corrosion on the battery or terminals, remove the cables
from the terminals and clean with a wire brush. You can neutralize the
acid with a solution of baking soda and water.
It is recommended that the negative battery cable terminal be
disconnected from the battery if you plan to store your vehicle for an
extended period of time. This will minimize the discharge of your battery
during storage.
Note:Electrical or electronic accessories or components added to the
vehicle by the dealer or the owner may adversely affect battery
performance and durability.
WARNING:Batteries normally produce explosive gases which
can cause personal injury. Therefore, do not allow flames, sparks
or lighted substances to come near the battery. When working near the
battery, always shield your face and protect your eyes. Always provide
proper ventilation.
WARNING:When lifting a plastic-cased battery, excessive
pressure on the end walls could cause acid to flow through the
vent caps, resulting in personal injury and/or damage to the vehicle or
battery. Lift the battery with a battery carrier or with your hands on
opposite corners.
Maintenance and Specifications
240
2011 Town Car(tow)
Owners Guide, 2nd Printing
USA(fus)
Page 251 of 306

Refueling
WARNING:Fuel vapor burns violently and a fuel fire can cause
severe injuries. To help avoid injuries to you and others:
•Read and follow all the instructions on the pump island;
•Turn off your engine when you are refueling;
•Do not smoke if you are near fuel or refueling your vehicle;
•Keep sparks, flames and smoking materials away from fuel;
•Stay outside your vehicle and do not leave the fuel pump unattended
when refueling your vehicle — this is against the law in some places;
•Keep children away from the fuel pump; never let children pump
fuel.
•Do not use personal electronic devices while refueling.
Use the following guidelines to avoid electrostatic charge build-up when
filling an ungrounded fuel container:
•Place approved fuel container on the ground.
•DO NOT fill a fuel container while it is in the vehicle (including the
cargo area).
•Keep the fuel pump nozzle in contact with the fuel container while
filling.
•DO NOT use a device that would hold the fuel pump handle in the fill
position.
Fuel filler cap
When fueling your vehicle:
1. Turn the engine off.
2. Carefully turn the filler cap counterclockwise until it spins off.
3. Pull to remove the cap from the fuel filler pipe.
4. To install the cap, align the tabs on the cap with the notches on the
filler pipe.
5. Turn the filler cap clockwise until it clicks at least once.
If the check fuel cap light
or a CHECK FUEL CAP message comes
on, the fuel filler cap may not be properly installed. The light or message
can come on after several driving events after you’ve refueled your
vehicle.
Maintenance and Specifications
251
2011 Town Car(tow)
Owners Guide, 2nd Printing
USA(fus)
Page 282 of 306

Value shopping for your vehicle’s maintenance needs
Your dealership recognizes the competitive landscape of maintenance and
light repair automotive services. With factory-trained technicians, and
one-stop service from routine maintenance like oil changes and tire rotations
to repairs like brake service, check out the value your dealers can offer.
Owner checks and services
Certain basic maintenance checks and inspections should be performed by
the owner or a service technician at the intervals indicated. Service
information and supporting specifications are provided in this owner’s guide.
Any adverse condition should be brought to the attention of your dealer
or qualified service technician as soon as possible for the proper service
advice. The owner maintenance service checks are generally not covered
by warranties so you may be charged for labor, parts or fluids used.
Engine oil/coolant change intervals
Engine oil6 months or 7,500 miles (12,000 km)
(whichever comes first)
Engine coolant, initial
change6 years or 105,000 miles (168,000 km)
(whichever comes first)
Engine coolant, after
initial changeEvery 3 years or 45,000 miles (72,000 km)
Check every month
Engine oil level
Function of all interior and exterior lights
Tires for wear and proper pressure, including spare
Windshield washer fluid level
Check every six months
Battery connections; clean if necessary
Body and door drain holes for obstructions; clean if necessary
Cooling system fluid level and coolant strength
Door weatherstrips for wear; lubricate if necessary
Hinges/latches/outside locks for proper operation; lubricate if necessary
Parking brake for proper operation
Safety belts and seat latches for wear and function
Safety warning lamps (brake, ABS, airbag, safety belt) for operation
Washer spray/wiper operation; clean or replace blades as necessary
Scheduled Maintenance Guide
282
2011 Town Car(tow)
Owners Guide, 2nd Printing
USA(fus)