Page 151 of 563

149
2-3. Operating the lights and windshield wipers
2
When driving
ES350_U
■Daytime running light system
●To make your vehicle more visible to other drivers, the headlights turn on auto-
matically (at a reduced intensity) whenever the engine is started and the parking
brake is released. Daytime running lights are not designed for use at night.
●Compared to turning on the headlights, the daytime running light system offers
greater durability and consumes less electricity, so it can help improve fuel
economy.
■Headlight control sensor
■Automatic light off system
●When the headlights come on: The headlights and tail lights turn off 30 seconds
after all doors are closed with the “ENGINE START STOP” switch switched to
ACCESSORY mode or turned OFF. (The light turns off immediately if
the button on the key is pressed after all doors are locked.)
●When only the tail lights come on: The tail lights turn off automatically if the
“ENGINE START STOP” switch is switched to ACCESSORY mode or turned
OFF and driver’s door is opened.
To turn the lights on again, switch to IGNITION ON mode, or turn the light switch
OFF once and then back to the
or position.
■Automatic headlight leveling system (vehicles with discharge headlights)
The level of the headlights is automatically adjusted according to the number of
passengers and the loading condition of the vehicle to ensure that the headlights do
not interfere with other road users.
■If the indicator flashes... (vehicles with discharge headlights)
It may indicate a malfunction in the system. Contact your Lexus dealer. The sensor may not function properly if an
object is placed on the sensor, or anything
that blocks the sensor is affixed to the wind-
shield.
Doing so interferes with the sensor detecting
the level of ambient light and may cause the
automatic headlight control system to mal-
function.
Page 156 of 563
154
2-3. Operating the lights and windshield wipers
ES350_U
CAUTION
■Caution regarding the use of windshield wipers in AUTO mode
The windshield wipers may operate unexpectedly if the sensor is touched or the
windshield is subjected to vibration in AUTO mode. Take care that your fingers or
anything else do not become caught in the windshield wipers.
NOTICE
■When the windshield is dry
Do not use the wipers, as they may damage the windshield.
■When there is no washer fluid spray from the nozzle
Damage to the washer fluid pump may be caused if the lever is pulled toward you
and held continually.
■When a nozzle becomes blocked
In this case, contact your Lexus dealer.
Do not try to clear it with a pin or other object. The nozzle will be damaged.
Page 216 of 563

214
3-1. Using the air conditioning system and defogger
ES350_U
■Air conditioning odors
●During use, various odors from inside and outside the vehicle may enter into
and accumulate in the air conditioning system. This may then cause odor to be
emitted from the vents.
●To reduce potential odors from occurring:
• It is recommended that the air conditioning system be set to outside air modeprior to turning the vehicle off.
• The start timing of the blower may be delayed for a short period of time
immediately after the air conditioning system is started in automatic mode.
CAUTION
■To prevent the windshield from fogging up
Do not use during cool air operation in extremely humid weather. The dif-
ference between the temperature of the outside air and that of the windshield can
cause the outer surface of the windshield to fog up, blocking your vision.
NOTICE
■To prevent battery discharge
Do not leave the automatic air conditioning system on longer than necessary when
the engine is stopped.
Page 221 of 563
219
3-2. Using the audio system
3
Interior features
ES350_U
Using the radio
Setting station presets (excluding XM® Satellite Radio)
Search for desired stations by turning or pressing “∧” or
“ ∨ ” on
.
Press and hold the button (from
to ) the station is to
be set to until you hear a beep.
Scanning radio stations (excluding XM® Satellite Radio)
■ Scanning the preset radio stations
Press and hold
until you hear a beep.
Preset stations will be played for 5 seconds each.
When the desired station is reached, press the button once again.
∗: If equipped
Power Volume
AM
⋅FM
mode buttons
Preset station buttons
Channel category button
“PWR⋅VO L” k n o b
Scan button
Seek button
Radio text message button
Traffic information button
Frequency
adjustment
(AM/FM mode)
and channel
∗
(SAT mode) knob
SAT button∗
STEP1
STEP2
STEP1
STEP2
Page 239 of 563

237
3-2. Using the audio system
3
Interior features
ES350_U
■MP3 and WMA files
MP3 (MPEG Audio LAYER 3) is a standard audio compression format.
Files can be compressed to approximately 1 /10 of their original size by using MP3
compression.
WMA (Windows Media Audio) is a Microsoft audio compression format.
This format compresses audio data to a size smaller than that of the MP3 format.
There is a limit to the MP3 and WMA file standards and to the media/formats
recorded by them that can be used.
●MP3 file compatibility
• Compatible standardsMP3 (MPEG1 LAYER3, MPEG2 LSF LAYER3)
• Compatible sampling frequencies MPEG1 LAYER3: 32, 44.1, 48 (kHz)
MPEG2 LSF LAYER3: 16, 22.05, 24 (kHz)
• Compatible bit rates MPEG1 LAYER3: 64, 80, 96, 112, 128, 160, 192, 224, 256, 320 (kbps)
MPEG2 LSF LAYER3: 64, 80, 96, 112, 128, 144, 160 (kbps)
* Compatible with VBR
• Compatible channel modes: stereo, joint stereo, dual channel and monaural
●WMA file compatibility
• Compatible standards WMA Ver. 7, 8, 9
• Compatible sampling frequencies 32, 44.1, 48 (kHz)
• Compatible bit rates Ver. 7, 8: CBR 48, 64, 80, 96, 128, 160, 192 (kbps)
Ver. 9: CBR 48, 64, 80, 96, 128, 160, 192, 256, 320 (kbps)
*Only compatible with 2-channel playback
●Compatible media
Media that can be used for MP3 and WMA playback are CD-Rs and CD-RWs.
Playback in some instances may not be possible, depending on the status of the
CD-R or CD-RW. Playback may not be possible or the audio may jump if the disc
is scratched or marked with fingerprints.
Page 240 of 563

238
3-2. Using the audio system
ES350_U
●Compatible disc formats
The following disc formats can be used.
• Disc formats: CD-ROM Mode 1 and Mode 2CD-ROM XA Mode 2, Form 1 and Form 2
• File formats: ISO9660 Level 1, Level 2, (Romeo, Joliet) MP3 and WMA files written in any format other than those listed above may
not play correctly, and their file names and folder names may not be dis-
played correctly.
Items related to standards and limitations are as follows.
• Maximum directory hierarchy: 8 levels
• Maximum length of folder names/file names: 32 characters
• Maximum number of folders: 192 (including the root)
• Maximum number of files per disc: 255
●File names
The only files that can be recognized as MP3/WMA and played are those with
the extension .mp3 or .wma.
●Multi-sessions
As the audio system is compatible with multi-sessions, it is possible to play discs
that contain MP3 and WMA files. However, only the first session can be played.
●ID3 and WMA tags
ID3 tags can be added to MP3 files, making it possible to record the track title
and artist name, etc.
The system is compatible with ID3 Ver. 1.0, 1.1, and Ver. 2.2, 2.3 ID3 tags. (The
number of characters is based on ID3 Ver. 1.0 and 1.1.)
WMA tags can be added to WMA files, making it possible to record the track
title and artist name in the same way as with ID3 tags.
Page 244 of 563
242
3-2. Using the audio system
ES350_U■
Play mode list
■ Selecting a list
Turn to display the first selection list.
Press to select the desired item.
Pressing the knob changes to the second selection list.
Repeat the same procedure to select the desired item.
To return to the previous selection list, select “GO BACK” or press ( ).
Play modeFirst
selectionSecond
selectionThird
selectionFourth
selection
“PLAYLISTS”Playlists selectSongs select--
“ARTISTS”Artists selectAlbums selectSongs select-
“ALBUMS”Albums selectSongs select--
“SONGS”Songs select---
“PODCASTS”Albums selectSongs select--
“GENRES”Genre selectArtists selectAlbums selectSongs select
“COMPOSERS”Composers
selectAlbums selectSongs select-
“AUDIOBOOKS”Songs select---
STEP1
STEP2
STEP3
Page 246 of 563

244
3-2. Using the audio system
ES350_U
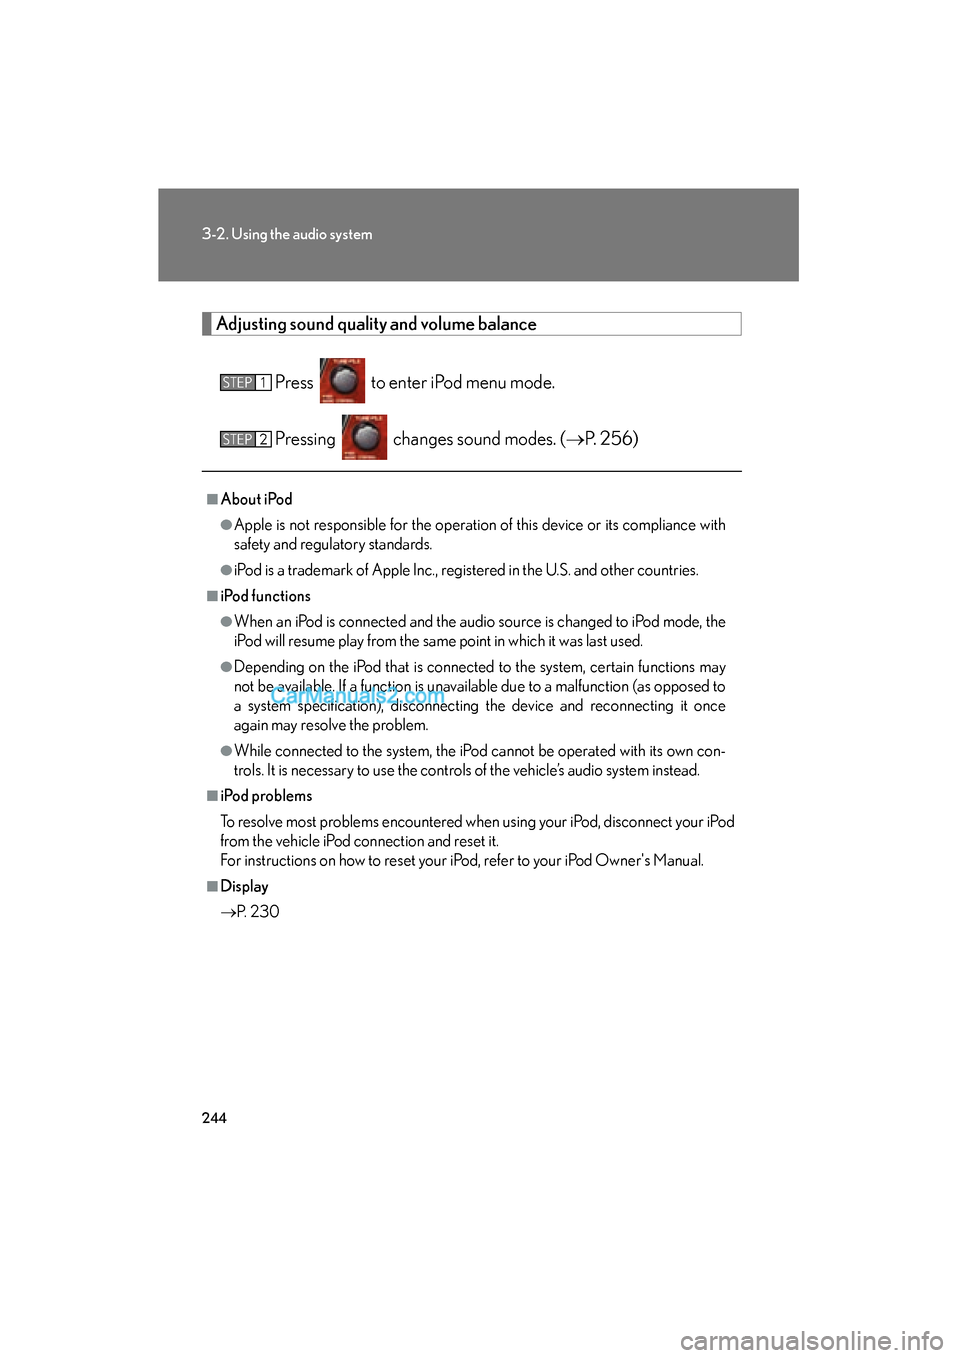
Adjusting sound quality and volume balancePress to enter iPod menu mode.
Pressing changes sound modes. ( →P. 2 5 6 )
■About iPod
●Apple is not responsible for the operation of this device or its compliance with
safety and regulatory standards.
●iPod is a trademark of Apple Inc., registered in the U.S. and other countries.
■iPod functions
●When an iPod is connected and the audio source is changed to iPod mode, the
iPod will resume play from the same point in which it was last used.
●Depending on the iPod that is connected to the system, certain functions may
not be available. If a function is unavailable due to a malfunction (as opposed to
a system specification), disconnecting the device and reconnecting it once
again may resolve the problem.
●While connected to the system, the iPod cannot be operated with its own con-
trols. It is necessary to use the controls of the vehicle’s audio system instead.
■iPod problems
To resolve most problems encountered when using your iPod, disconnect your iPod
from the vehicle iPod connection and reset it.
For instructions on how to reset your iP od, refer to your iPod Owner's Manual.
■Display
→P. 2 3 0
STEP1
STEP2