2011 KIA Soul wheel
[x] Cancel search: wheelPage 122 of 356

Features of your vehicle
50
4
The warning light also comes on and
stays on when there is a problem with the
Tire Pressure Monitoring System.
If this happens, the system may not mon-
itor the tire pressure. Have the system
checked by an authorized KIA dealer as
soon as possible.
Low tire pressure indicator
/ TPMS malfunction indica-tor (if equipped)
The low tire pressure telltale comes on
for 3 seconds after the ignition switch is
turned to the "ON" position.
The low tire pressure telltale illuminates
when one or more of your tires is signifi-
cantly underinflated.
The low tire pressure telltale will illumi-
nate after it blinks for approximately one
minute when there is a problem with the
Tire Pressure Monitoring System.
If this occurs, have the system checked
by an authorized KIA dealer as soon as
possible.
If the warning light illuminates while driv-
ing, reduce vehicle speed immediately
and stop the vehicle. Avoid hard braking
and overcorrecting at the steering wheel.
Inflate the tires to the proper pressure as
indicated on the vehicle’s tire information
placard.
WARNING
The TPMS cannot alert you to severe and sudden tire damage
caused by external factors.
If you feel any vehicle instability, immediately take your foot off the
accelerator, apply the brakes
gradually and with light force,
and slowly move to a safe posi-
tion off the road.
WARNING - Low tire pres-sure
Significantly low tire pressure
makes the vehicle unstable and can
contribute to loss of vehicle control
and increased braking distances.
Continued driving on low pressure
tires will cause the tires to overheat
and fail.
Tire Pressure Monitoring System indicator (Type B)
WARNING - Safe stopping
The TPMS cannot alert you to
severe and sudden tire damage
caused by external factors.
If you feel any vehicle instability, immediately take your foot off the
accelerator, apply the brakes
gradually and with light force,
and slowly move to a safe posi-
tion off the road.
Page 125 of 356

453
Features of your vehicle
D150323AAM-EU
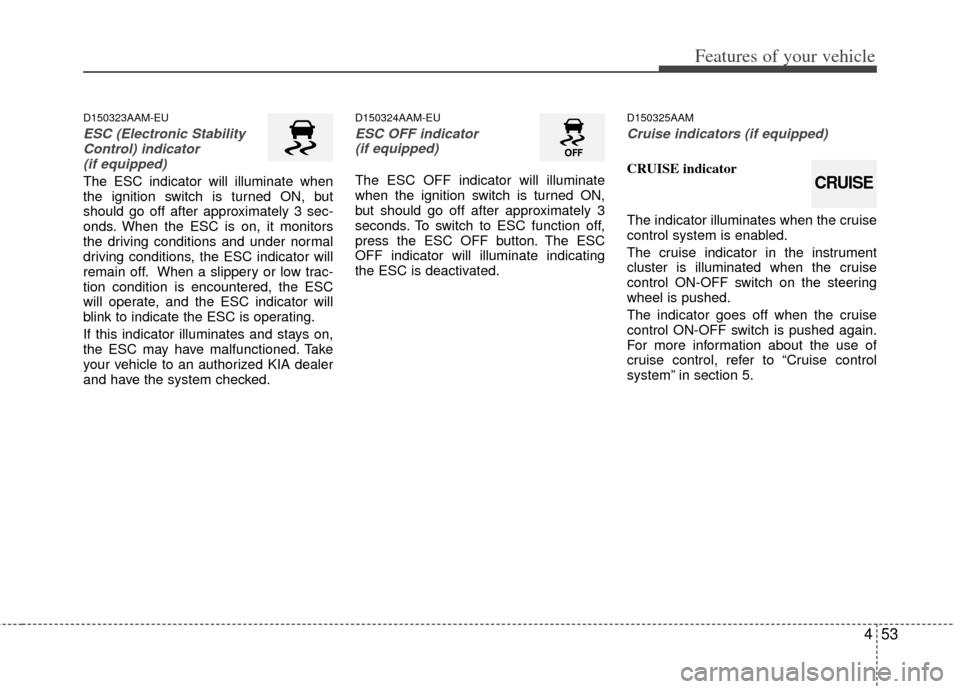
ESC (Electronic StabilityControl) indicator (if equipped)
The ESC indicator will illuminate when
the ignition switch is turned ON, but
should go off after approximately 3 sec-
onds. When the ESC is on, it monitors
the driving conditions and under normal
driving conditions, the ESC indicator will
remain off. When a slippery or low trac-
tion condition is encountered, the ESC
will operate, and the ESC indicator will
blink to indicate the ESC is operating.
If this indicator illuminates and stays on,
the ESC may have malfunctioned. Take
your vehicle to an authorized KIA dealer
and have the system checked.
D150324AAM-EU
ESC OFF indicator (if equipped)
The ESC OFF indicator will illuminate
when the ignition switch is turned ON,
but should go off after approximately 3
seconds. To switch to ESC function off,
press the ESC OFF button. The ESC
OFF indicator will illuminate indicating
the ESC is deactivated.
D150325AAM
Cruise indicators (if equipped)
CRUISE indicator
The indicator illuminates when the cruise
control system is enabled.
The cruise indicator in the instrument
cluster is illuminated when the cruise
control ON-OFF switch on the steering
wheel is pushed.
The indicator goes off when the cruise
control ON-OFF switch is pushed again.
For more information about the use of
cruise control, refer to “Cruise control
system” in section 5.
CRUISE
Page 128 of 356

Features of your vehicle
56
4
Insert key
If you press the ENGINE START/STOP
button while "Key is not detected" illumi-
nates on the LCD display, the warning
“Insert key” illuminates for about 10 sec-
onds. Also, the immobilizer indicator and
the key holder light blinks for about 10
seconds.
Press start button again
If you can not operate the ENGINE
START/STOP button when there is a
problem with the ENGINE START/STOP
button system, the warning illuminates
for 10 seconds and the chime sounds
continuously to indicate that you could
start the engine by pressing the ENGINE
START/STOP button once more.
The chime will stop if the ENGINE
START/STOP button system works nor-
mally or the theft alarm system is armed.
If the warning illuminates each time you
press the ENGINE START/STOP button,
take your vehicle to an authorized KIA
dealer and have the system checked. Shift to "P" or "N" to start engine
If you try to start the engine with the shift
lever not in the P(Park) or N(Neutral)
position, the warning illuminates for
about 10 seconds on the LCD display.
You can also start the engine with the
shift lever in the N(Neutral) position, but
for your safety start the engine with the
shift lever in the P(Park) position.
Press start button while turn steering
If the steering wheel does not unlock nor-
mally when the ENGINE START/STOP
button is pressed, the warning illumi-
nates for 10 seconds on the LCD display.
Also, the warning chime sounds once
and the ENGINE START/STOP button
light blinks for 10 seconds.
When you are warned, press the
ENGINE START/STOP button while turn-
ing the steering wheel right and left.
Steering wheel unlocked (if equipped)
If the steering wheel does not lock nor-
mally when the ENGINE START/STOP
button turns to the OFF position, the
warning illuminates for 10 minutes on the
LCD display. If locks when the door is
opened or when you pull out the smart
key from the smart key holder.
Check steering wheel lock
If the steering wheel does not lock nor-
mally when the ENGINE START/STOP
button turns to the OFF position, the
warning illuminates for 10 seconds on
the LCD display. Also, the warning chime
sounds for 3 seconds and the ENGINE
START/STOP button light blinks for 10
seconds.
Low tire pressure (if equipped)
If one or more of your tires is significant-
ly under-inflated when the ignition key is
turned to the "ON" position, the warning
illuminates for 10 seconds on the LCD
display.
Page 143 of 356

471
Features of your vehicle
Instrument panel vents
The outlet vents can be opened or closed
separately using the thumbwheel.
Also, you can adjust the direction of air
delivery from these vents using the vent
control lever as shown.D230102AAM-EU
Temperature control
The temperature control knob allows you
to control the temperature of the air flow
from the ventilation system. To change
the air temperature in the passenger
compartment, turn the knob to the right
position for warm and hot air or left posi-
tion for cooler air.
D230103AHM-U1
Air intake control
The air intake control is used to select
the outside (fresh) air position or recircu-
lated air position.
To change the air intake control position,
press the control button.
OAM049059OAM049062OAM049063
Page 152 of 356

Features of your vehicle
80
4
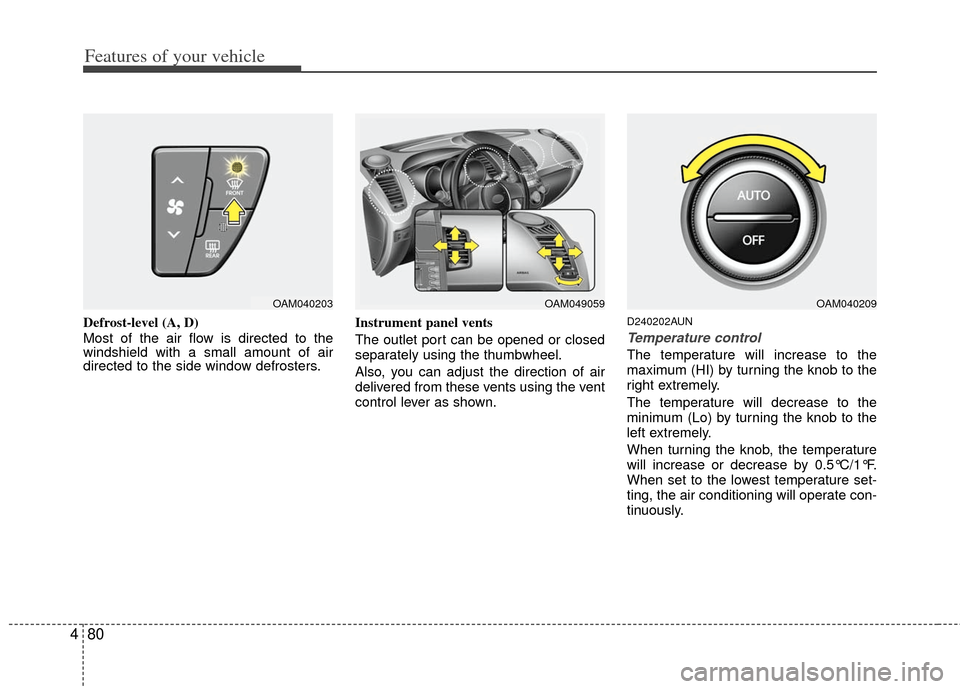
Defrost-level (A, D)
Most of the air flow is directed to the
windshield with a small amount of air
directed to the side window defrosters. Instrument panel vents
The outlet port can be opened or closed
separately using the thumbwheel.
Also, you can adjust the direction of air
delivered from these vents using the vent
control lever as shown.D240202AUN
Temperature control
The temperature will increase to the
maximum (HI) by turning the knob to the
right extremely.
The temperature will decrease to the
minimum (Lo) by turning the knob to the
left extremely.
When turning the knob, the temperature
will increase or decrease by 0.5°C/1°F.
When set to the lowest temperature set-
ting, the air conditioning will operate con-
tinuously.
OAM040203OAM049059OAM040209
Page 167 of 356

495
Features of your vehicle
D300200BUN-AM
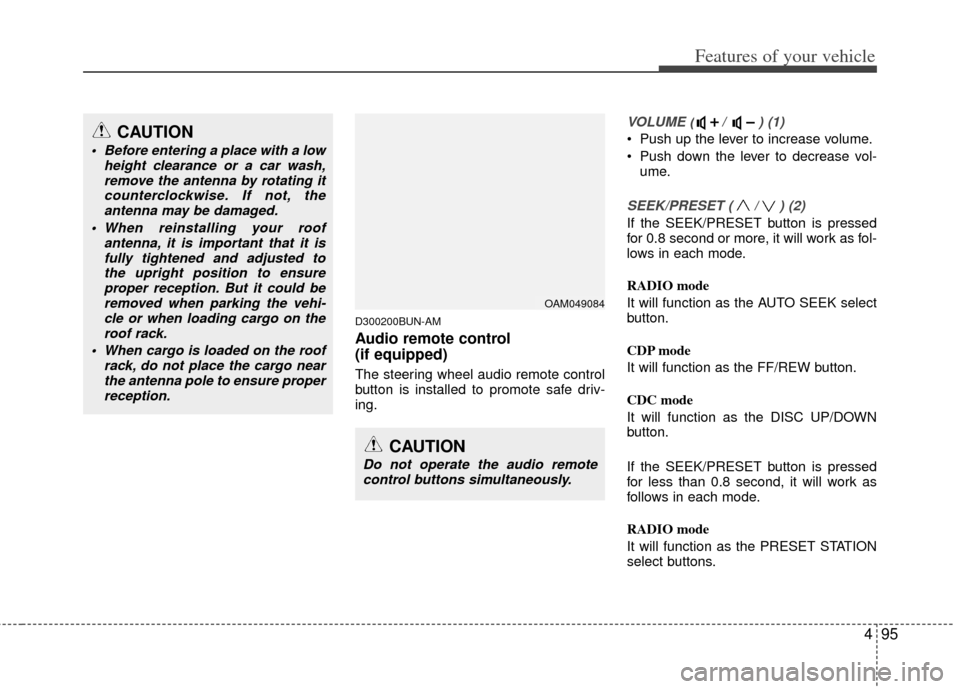
Audio remote control
(if equipped)
The steering wheel audio remote control
button is installed to promote safe driv-
ing.
VOLUME ( / ) (1)
• Push up the lever to increase volume.
Push down the lever to decrease vol-ume.
SEEK/PRESET ( / ) (2)
If the SEEK/PRESET button is pressed
for 0.8 second or more, it will work as fol-
lows in each mode.
RADIO mode
It will function as the AUTO SEEK select
button.
CDP mode
It will function as the FF/REW button.
CDC mode
It will function as the DISC UP/DOWN
button.
If the SEEK/PRESET button is pressed
for less than 0.8 second, it will work as
follows in each mode.
RADIO mode
It will function as the PRESET STATION
select buttons.
OAM049084
CAUTION
Do not operate the audio remotecontrol buttons simultaneously.
CAUTION
Before entering a place with a low height clearance or a car wash,remove the antenna by rotating itcounterclockwise. If not, theantenna may be damaged.
When reinstalling your roof antenna, it is important that it isfully tightened and adjusted tothe upright position to ensureproper reception. But it could beremoved when parking the vehi-cle or when loading cargo on theroof rack.
When cargo is loaded on the roof rack, do not place the cargo nearthe antenna pole to ensure properreception.
Page 192 of 356

Features of your vehicle
120
4
■Bluetooth®Language Setting
The system language can be changed by
the following steps:
1. Power on the audio system with the
volume set to an audible level.
2. Press and hold button on the steering wheel until the audio displays
“Please Wait”.
- The Bluetooth
®system will reply in
currently selected language that it is
changing to the next language.
- System language cycles between English, Canadian French and US Spanish.
- Press and hold the button on the steering wheel for over 10 seconds.
3. When completed, the audio display returns to normal.
4. Repeat steps 2 and 3 for the next lan- guage selection.
NOTE:
The phone needs to be paired again
after changing system language.
- Avoid resting your thumb or fingeron the button as the language
could unintentionally change.
■Receiving a Phone Call
When receiving a phone call, a ringtone
is audible from speakers and the audio
system changes into telephone mode.
When receiving a phone call, “Incoming
call” message and incoming phone num-
ber (if available) are displayed on the
audio.
- Press button on the steering wheel.
- Press button on the steering wheel.
- Use VOLUME buttons on the steeringwheel.
Call):
- Press and hold button on the steering wheel until the audio system
transfers a call to the phone.
■Talking on the Phone
When talking on the phone, “Active Call”
message and the other party’s phone
number (if available) are displayed on the
audio.
- Press button on the steering wheel.
✽ ✽ NOTICE
In the following situations, you or the
other party may have difficulty hearing
each other:
1. Speaking at the same time, your voice
may not reach each other parties. (This
is not a malfunction.) Speak alternate-
ly with the other party on the phone.
2. Keep the Bluetooth
®volume to a low
level. High-level volume may result in
distortion and echo.
3. When driving on a rough road.
4. When driving at high speeds.
5. When the window is open.
6. When the air conditioning vents are facing the microphone.
7. When the sound of the air condition- ing fan is loud.
Page 197 of 356

4125
Features of your vehicle
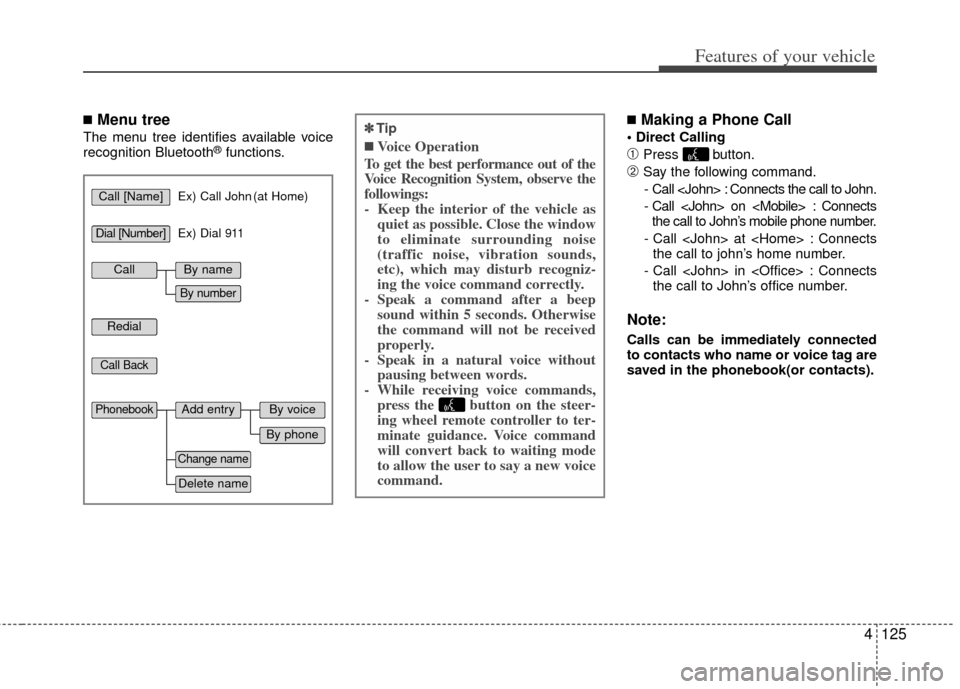
■Menu tree
The menu tree identifies available voice
recognition Bluetooth®functions.
■Making a Phone Call
\bPress button.
➁Say the following command.- Call
- Call
- Call
- Call
Note:
Calls can be immediately connected
to contacts who name or voice tag are
saved in the phonebook(or contacts).
✽
✽ Tip
■Voice Operation
To get the best performance out of the
Voice Recognition System, observe the
followings:
- Keep the interior of the vehicle as quiet as possible. Close the window
to eliminate surrounding noise
(traffic noise, vibration sounds,
etc), which may disturb recogniz-
ing the voice command correctly.
- Speak a command after a beep sound within 5 seconds. Otherwise
the command will not be received
properly.
- Speak in a natural voice without pausing between words.
- While receiving voice commands, press the button on the steer-
ing wheel remote controller to ter-
minate guidance. Voice command
will convert back to waiting mode
to allow the user to say a new voice
command.
Call [Name]Ex) Call John (at Home)
Ex) Dial 911
Dial [Number]
Redial
Call Back
Add entryPhonebook
Change name
Delete name
By phone
By voice
CallBy name
By number