Page 384 of 490
JACKING AND TIRE CHANGING
WARNING!
•Do not attempt to change a tire on the side of the
vehicle close to moving traffic. Pull far enough off
the road to avoid the danger of being hit when
operating the jack or changing the wheel.
•Being under a jacked-up vehicle is dangerous. The
vehicle could slip off the jack and fall on you. You
could be crushed. Never put any part of your body
under a vehicle that is on a jack.
•Never start or run the engine while the vehicle is
on a jack. If you need to get under a raised vehicle,
take it to a service center where it can be raised on
a lift.(Continued)
WARNING! (Continued)
•The jack is designed to be used as a tool for
changing tires only. The jack should not be used to
lift the vehicle for service purposes. The vehicle
should be jacked on a firm level surface only.
Avoid ice or slippery areas.
Jack Location
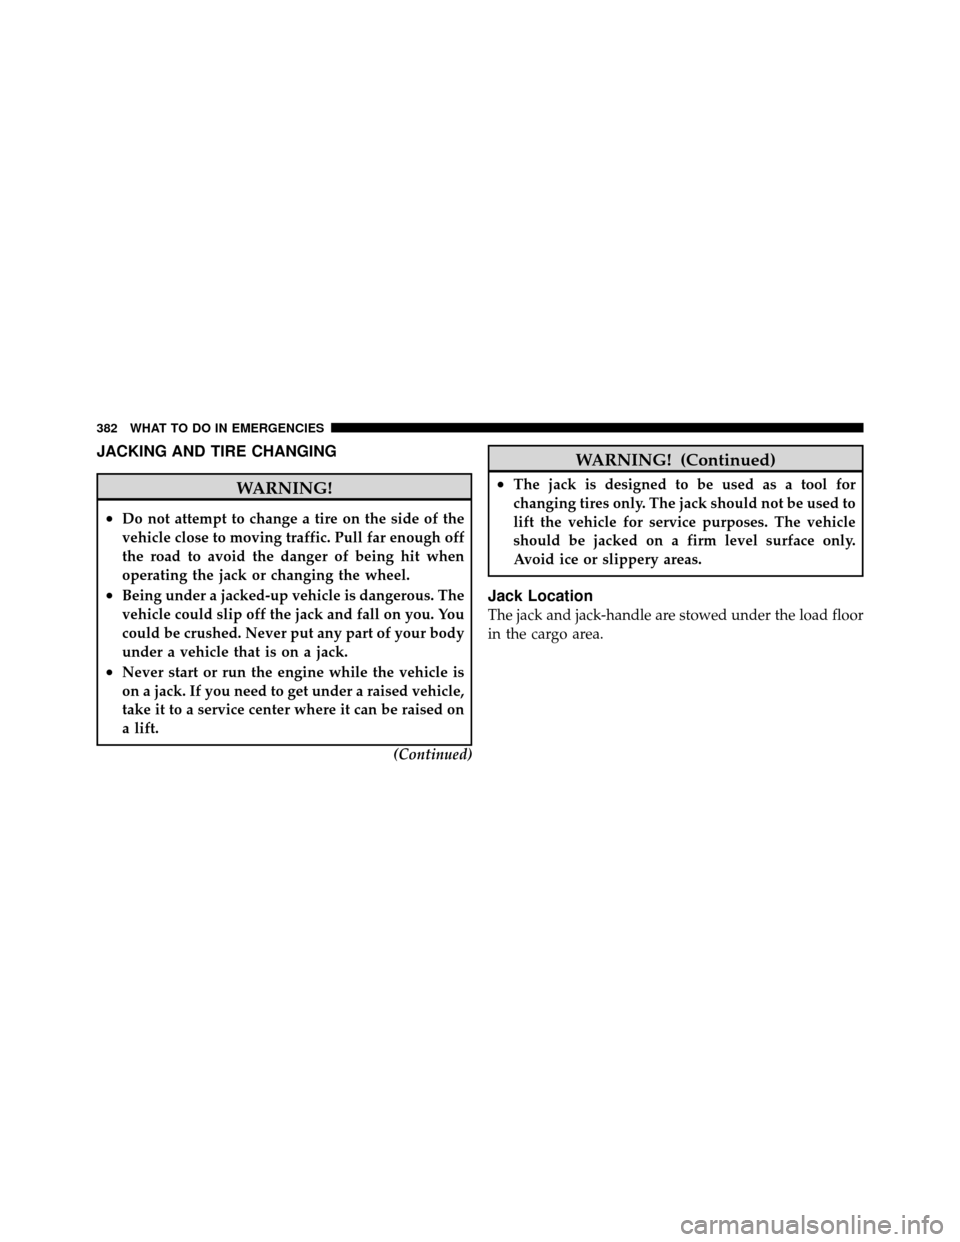
The jack and jack-handle are stowed under the load floor
in the cargo area.
382 WHAT TO DO IN EMERGENCIES
Page 385 of 490
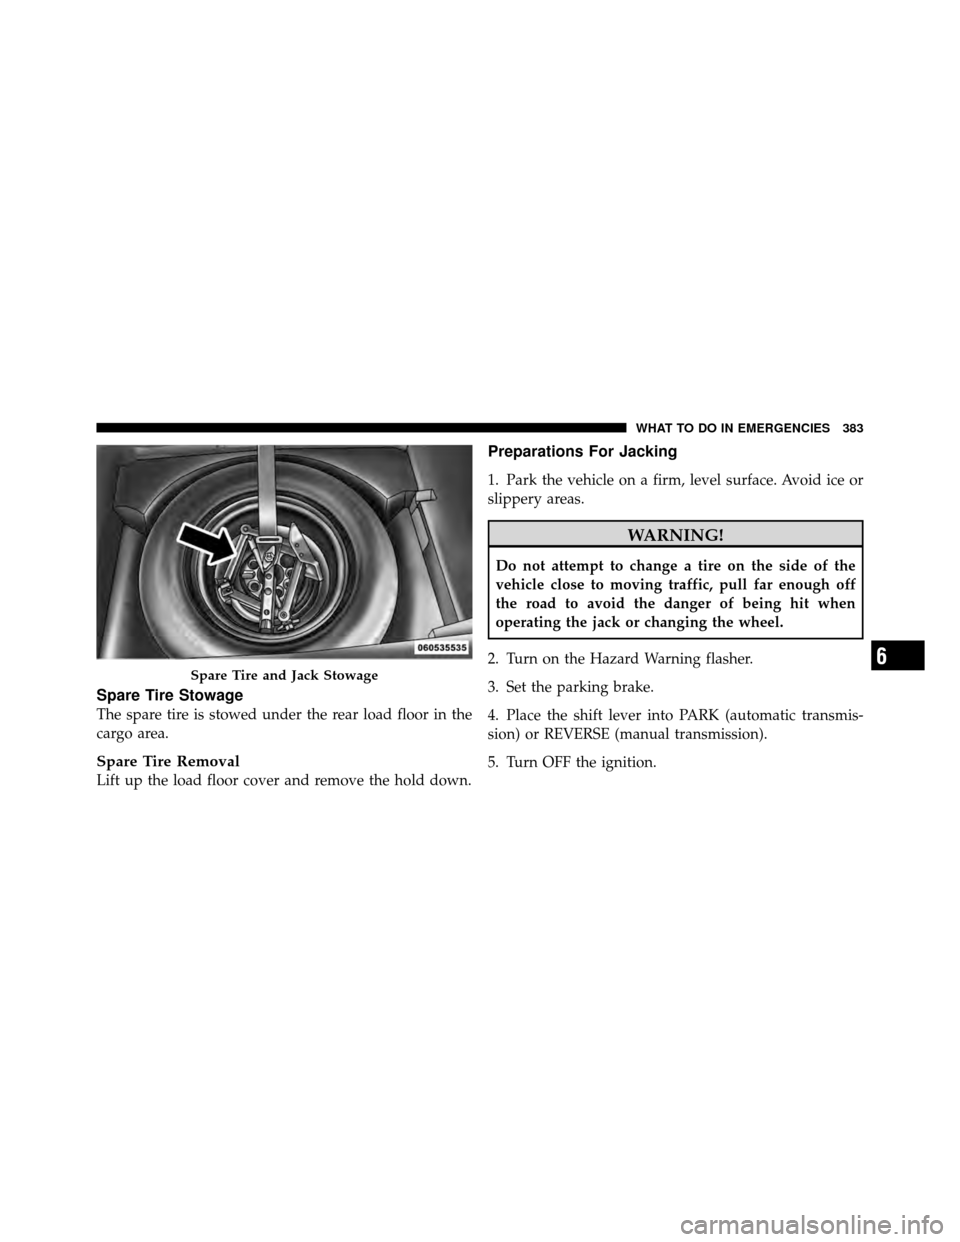
Spare Tire Stowage
The spare tire is stowed under the rear load floor in the
cargo area.
Spare Tire Removal
Lift up the load floor cover and remove the hold down.
Preparations For Jacking
1. Park the vehicle on a firm, level surface. Avoid ice or
slippery areas.
WARNING!
Do not attempt to change a tire on the side of the
vehicle close to moving traffic, pull far enough off
the road to avoid the danger of being hit when
operating the jack or changing the wheel.
2. Turn on the Hazard Warning flasher.
3. Set the parking brake.
4. Place the shift lever into PARK (automatic transmis-
sion) or REVERSE (manual transmission).
5. Turn OFF the ignition.
Spare Tire and Jack Stowage6
WHAT TO DO IN EMERGENCIES 383
Page 386 of 490
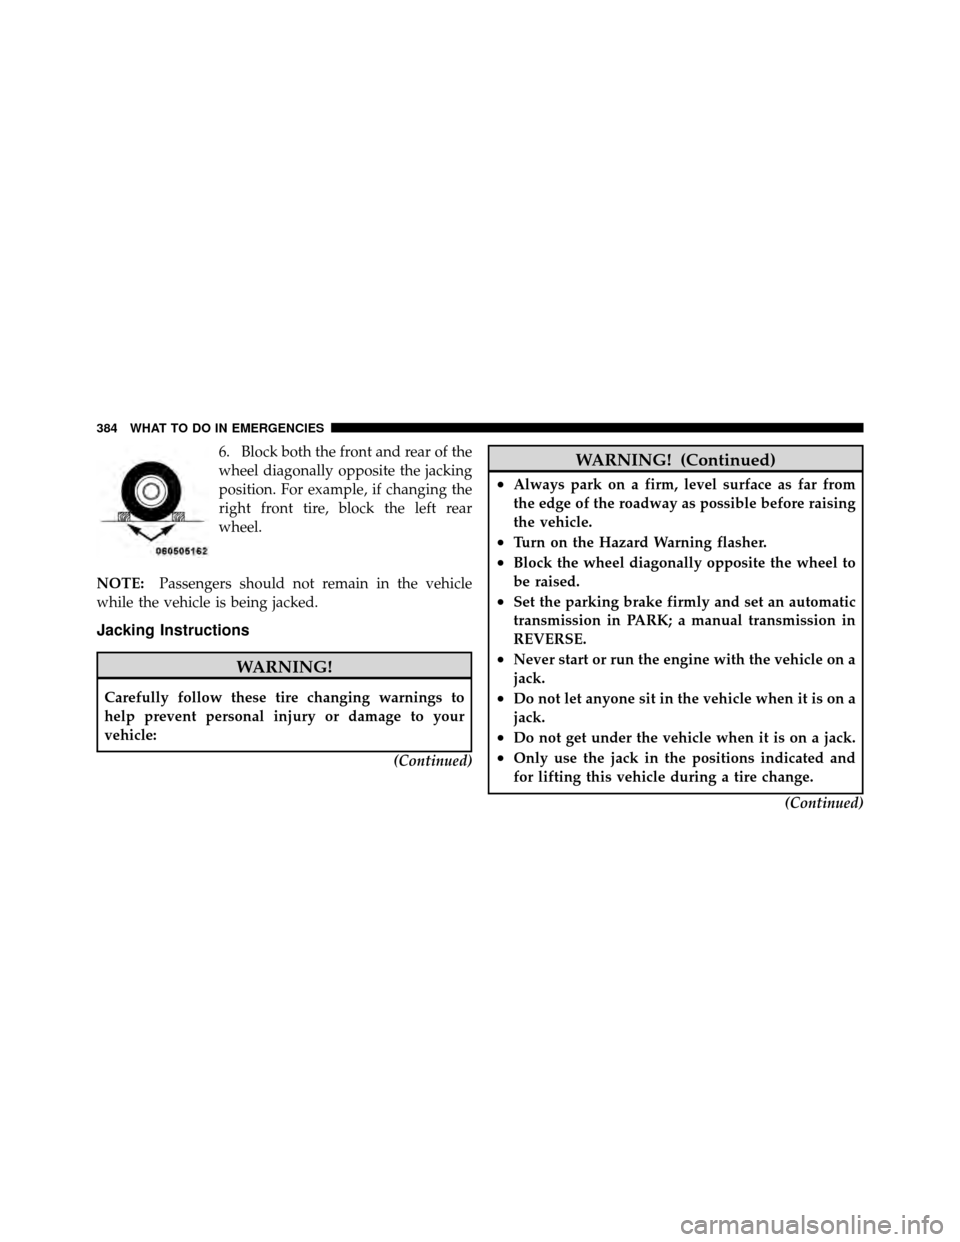
6. Block both the front and rear of the
wheel diagonally opposite the jacking
position. For example, if changing the
right front tire, block the left rear
wheel.
NOTE: Passengers should not remain in the vehicle
while the vehicle is being jacked.
Jacking Instructions
WARNING!
Carefully follow these tire changing warnings to
help prevent personal injury or damage to your
vehicle:
(Continued)
WARNING! (Continued)
•Always park on a firm, level surface as far from
the edge of the roadway as possible before raising
the vehicle.
•Turn on the Hazard Warning flasher.
•Block the wheel diagonally opposite the wheel to
be raised.
•Set the parking brake firmly and set an automatic
transmission in PARK; a manual transmission in
REVERSE.
•Never start or run the engine with the vehicle on a
jack.
•Do not let anyone sit in the vehicle when it is on a
jack.
•Do not get under the vehicle when it is on a jack.
•Only use the jack in the positions indicated and
for lifting this vehicle during a tire change.(Continued)
384 WHAT TO DO IN EMERGENCIES
Page 387 of 490
WARNING! (Continued)
•If working on or near a roadway, be extremely
careful of motor traffic.
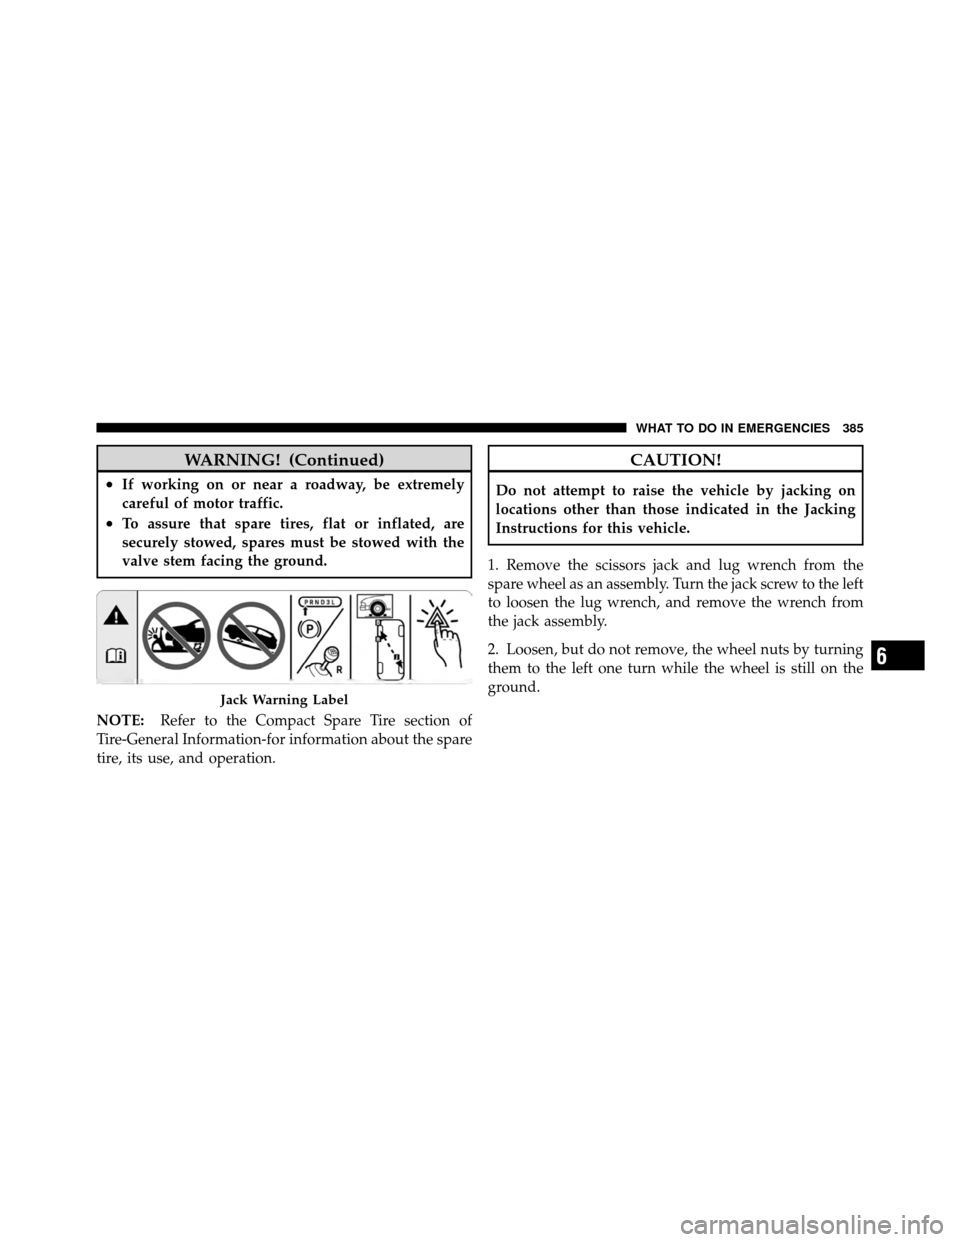
•To assure that spare tires, flat or inflated, are
securely stowed, spares must be stowed with the
valve stem facing the ground.
NOTE: Refer to the Compact Spare Tire section of
Tire-General Information-for information about the spare
tire, its use, and operation.
CAUTION!
Do not attempt to raise the vehicle by jacking on
locations other than those indicated in the Jacking
Instructions for this vehicle.
1. Remove the scissors jack and lug wrench from the
spare wheel as an assembly. Turn the jack screw to the left
to loosen the lug wrench, and remove the wrench from
the jack assembly.
2. Loosen, but do not remove, the wheel nuts by turning
them to the left one turn while the wheel is still on the
ground.
Jack Warning Label
6
WHAT TO DO IN EMERGENCIES 385
Page 389 of 490
4. Turn the jack screw to the left until the jack can be
placed under the jacking location. Once the jack is
positioned, turn the jack screw to the right until the jack
head is properly engaged with the lift area closest to the
wheel to be changed. Do not raise the vehicle until you
are sure the jack is securely engaged.
WARNING!
Raising the vehicle higher than necessary can make
the vehicle less stable. It could slip off the jack and
hurt someone near it. Raise the vehicle only enough
to remove the tire.
5. Raise the vehicle by turning the jack screw to the right,
using the swivel wrench. Raise the vehicle only until the
tire just clears the surface and enough clearance is
obtained to install the spare tire. Minimum tire lift
provides maximum stability. 6. Remove the wheel nuts and pull the wheel (and
bolt-on center cap if equipped) off the hub. Install the
spare wheel and wheel nuts with the cone shaped end of
the nuts toward the wheel. Lightly tighten the nuts.
WARNING!
To avoid the risk of forcing the vehicle off the jack,
do not fully tighten the wheel nuts until the vehicle
has been lowered. Failure to follow this warning may
result in personal injury.
7. Lower the vehicle by turning the jack screw to the left.
8. Finish tightening the nuts. Push down on the wrench
while tightening the wheel nuts. Alternate nuts until each
nut has been tightened twice. The correct wheel nut
torque is 100 ft lbs (135 N·m). If you doubt that you have
tightened the nuts correctly, have them checked with a
torque wrench by your authorized dealer or at a service
station.
6
WHAT TO DO IN EMERGENCIES 387
Page 390 of 490
9. Remove the wheel blocks and lower the jack until it is
free. Reassemble the lug wrench to the jack assembly and
stow it in the spare tire area. Secure the assembly using
the means provided.
WARNING!
A loose tire or jack thrown forward in a collision or
hard stop could endanger the occupants of the ve-
hicle. Always stow the jack parts and the spare tire in
the places provided.
10. Place the deflated (flat) tire in the cargo area. Have
the tire repaired or replaced as soon as possible.
WARNING!
A loose tire thrown forward in a collision or hard
stop could injure the occupants in the vehicle. Have
the deflated (flat) tire repaired or replaced immedi-
ately.
11. Check the spare tire pressure as soon as possible.
Correct the tire pressure as required.
JUMP-STARTING PROCEDURES
If your vehicle has a discharged battery it can be jump-
started using a set of jumper cables and a battery in
another vehicle or by using a portable battery booster
pack. Jump-starting can be dangerous if done improperly
so please follow the procedures in this section carefully.
NOTE: When using a portable battery booster pack
follow the manufacturer ’s operating instructions and
precautions.
388 WHAT TO DO IN EMERGENCIES
Page 395 of 490

FREEING A STUCK VEHICLE
If your vehicle becomes stuck in mud, sand or snow, it
can often be moved by a rocking motion. Turn your
steering wheel right and left to clear the area around the
front wheels. Then shift back and forth between DRIVE/
1st gear and REVERSE. Using minimal accelerator pedal
pressure to maintain the rocking motion, without spin-
ning the wheels, is most effective.
CAUTION!
Racing the engine or spinning the wheels may lead to
transmission overheating and failure. Allow the en-
gine to idle with the shift lever in NEUTRAL for at
least one minute after every five rocking-motion
cycles. This will minimize overheating and reduce
the risk of transmission failure during prolonged
efforts to free a stuck vehicle.NOTE:
If your vehicle is equipped with Traction Con-
trol or Electronic Stability Control (ESC), turn the system
OFF before attempting to “rock” the vehicle.
CAUTION!
•When “rocking” a stuck vehicle by moving be-
tween DRIVE/1st gear and REVERSE, do not spin
the wheels faster than 15 mph (24 km/h), or drive-
train damage may result.
•Revving the engine or spinning the wheels too fast
may lead to transmission overheating and failure.
It can also damage the tires. Do not spin the
wheels above 30 mph (48 km/h) while in gear (no
transmission shifting occurring).
6
WHAT TO DO IN EMERGENCIES 393
Page 396 of 490

WARNING!
Fast spinning tires can be dangerous. Forces gener-
ated by excessive wheel speeds may cause damage, or
even failure, of the axle and tires. A tire could
explode and injure someone. Do not spin your vehi-
cle’s wheels faster than 30 mph (48 km/h) or for
longer than 30 seconds continuously without stop-
ping when you are stuck and do not let anyone near
a spinning wheel, no matter what the speed.
SHIFT LEVER OVERRIDE
If a malfunction occurs and the shift lever cannot be
moved out of the PARK position, you can use the
following procedure to temporarily move the shift lever:
1. Firmly set the parking brake.
2. Remove the shift lever override access cover located
on the right side of the shifter housing.3. Turn the ignition switch to the ON/RUN position
without starting the engine.
4. Press and maintain firm pressure on the brake pedal.
5. Using a small screwdriver or similar tool, push and
hold the override release lever forward.Shift Lever Override Access Cover
394 WHAT TO DO IN EMERGENCIES