Page 208 of 490
CAUTION!
Prolonged driving with the MIL on could cause
damage to the engine control system. It also could
affect fuel economy and drivability. If the MIL is
flashing, severe catalytic converter damage and
power loss will soon occur. Immediate service is
required.
WARNING!
A malfunctioning catalytic converter, as referenced
above, can reach higher temperatures than in normal
operating conditions. This can cause a fire if you
drive slowly or park over flammable substances such
as dry plants, wood, cardboard, etc. This could result
in death or serious injury to the driver, occupants or
others.26. Hill Descent Indicator — If Equipped
The symbol illuminates (is armed) when the
4WD Lock switch is activated and the trans-
mission range indicator is in LOW or REVERSE
position (Off-Road Mode).
27. Front Fog Light Indicator — If Equipped This indicator will illuminate when the front fog
lights are on.
28. Electronic Stability Control (ESC) OFF Indicator
Light — If Equipped This light indicates the Electronic Stability Con-
trol system (ESC) has been turned off by the
driver.
206 UNDERSTANDING YOUR INSTRUMENT PANEL
Page 209 of 490
29. Electronic Stability Control (ESC) Activation/
Malfunction Indicator Light — If EquippedThe “ESC Activation/Malfunction Indicator
Light” in the instrument cluster will come on
when the ignition switch is turned to the
ON/RUN position. It should go out with the
engine running. If the “ESC Activation/Malfunction In-
dicator Light” comes on continuously with the engine
running, a malfunction has been detected in the ESC
system. If this light remains on after several ignition
cycles, and the vehicle has been driven several miles
(kilometers) at speeds greater than 30 mph (48 km/h), see
your authorized dealer as soon as possible to have the
problem diagnosed and corrected.
NOTE:
•The “ESC Off Indicator Light” and the “ESC
Activation/Malfunction Indicator Light” come on mo-
mentarily each time the ignition switch is turned to
ON/RUN.
•Each time the ignition is turned to ON/RUN, the ESC
system will be ON, even if it was turned off previously.
•The ESC system will make buzzing or clicking sounds
when it is active. This is normal; the sounds will stop
when ESC becomes inactive following the maneuver
that caused the ESC activation.
30. 4WD! Warning Light This light monitors the 4-Wheel Drive (4WD)
system. The light will come on, for a bulb
check, when the ignition key is turned to the
ON/RUN position and may stay on for as long
as three seconds.
When lit solid: There is an 4WD system fault. 4WD
performance will be at a reduced level. Service the 4WD
system soon.
When blinking: The 4WD system is temporarily dis-
abled due to overload condition.
4
UNDERSTANDING YOUR INSTRUMENT PANEL 207
Page 212 of 490
The EVIC consists of the following:
•System Status
•Vehicle Information Warning Message Displays
•Personal Settings (Customer-Programmable Features)
•Compass Heading
•Outside Temperature Display
•Trip Computer Functions
•Uconnect™ phone Displays (if equipped)
•Audio Mode Display
•Tire Pressure Monitor (TPM)The system allows the driver to select information by
pressing the following buttons mounted on the steering
wheel:
EVIC Steering Wheel Buttons
210 UNDERSTANDING YOUR INSTRUMENT PANEL
Page 213 of 490
MENU ButtonPress and release the MENU button to scroll
through the main menus (Fuel Economy, Warn-
ings, Timer, Units, System, Personal Settings)
or to exit sub-menus.
COMPASS Button Press and release the COMPASS button to
display one of eight compass readings and the
outside temperature or to exit sub-menus.
SELECT Button Press and release the SELECT button for access
to main menus, sub-menus or to select a per-
sonal setting in the setup menu. DOWN Button
Press and release the DOWN button to scroll
downward through the sub-menus.
When the appropriate conditions exist, the EVIC displays
the following messages:
•Turn Signal On (with a continuous warning chime
after 1 mile (1.6 km) of distance travelled)
•Left Front Turn Signal Light Out (with a single chime)
•Left Rear Turn Signal Light Out (with a single chime)
•Right Front Turn Signal Light Out (with a single
chime)
•Right Rear Turn Signal Light Out (with a single chime)
•RKE Battery Low (with a single chime)
4
UNDERSTANDING YOUR INSTRUMENT PANEL 211
Page 272 of 490
CAUTION!
•Leaving the iPod�or external USB device (or any
supported device) anywhere in the vehicle in
extreme heat or cold can alter the operation or
damage the device. Follow the device manufactur-
er ’s guidelines.
•Placing items on the iPod� or external USB device,
or connections to the iPod� or external USB device
in the vehicle, can cause damage to the device
and/or to the connectors.
WARNING!
Do not plug in or remove the iPod� or external USB
device while driving. Failure to follow this warning
could result in an accident.
Bluetooth Streaming Audio (BTSA)
Music can be streamed from your cellular phone to the
Uconnect™ phone system.
Controlling BTSA Using Radio Buttons
To get into the BTSA mode, press either “AUX” button on
the radio or press the VR button and say “Bluetooth
Streaming Audio”.
Play Mode
When switched to BTSA mode, some audio devices can
start playing music over the vehicle’s audio system, but
some devices require the music to be initiated on the
device first, then it will get streamed to the Uconnect™
phone system. Seven devices can be paired to the
Uconnect™ phone system, but just one can be selected
and played.
Selecting Different Audio Device
1. Press PHONE button to begin.
270 UNDERSTANDING YOUR INSTRUMENT PANEL
Page 292 of 490
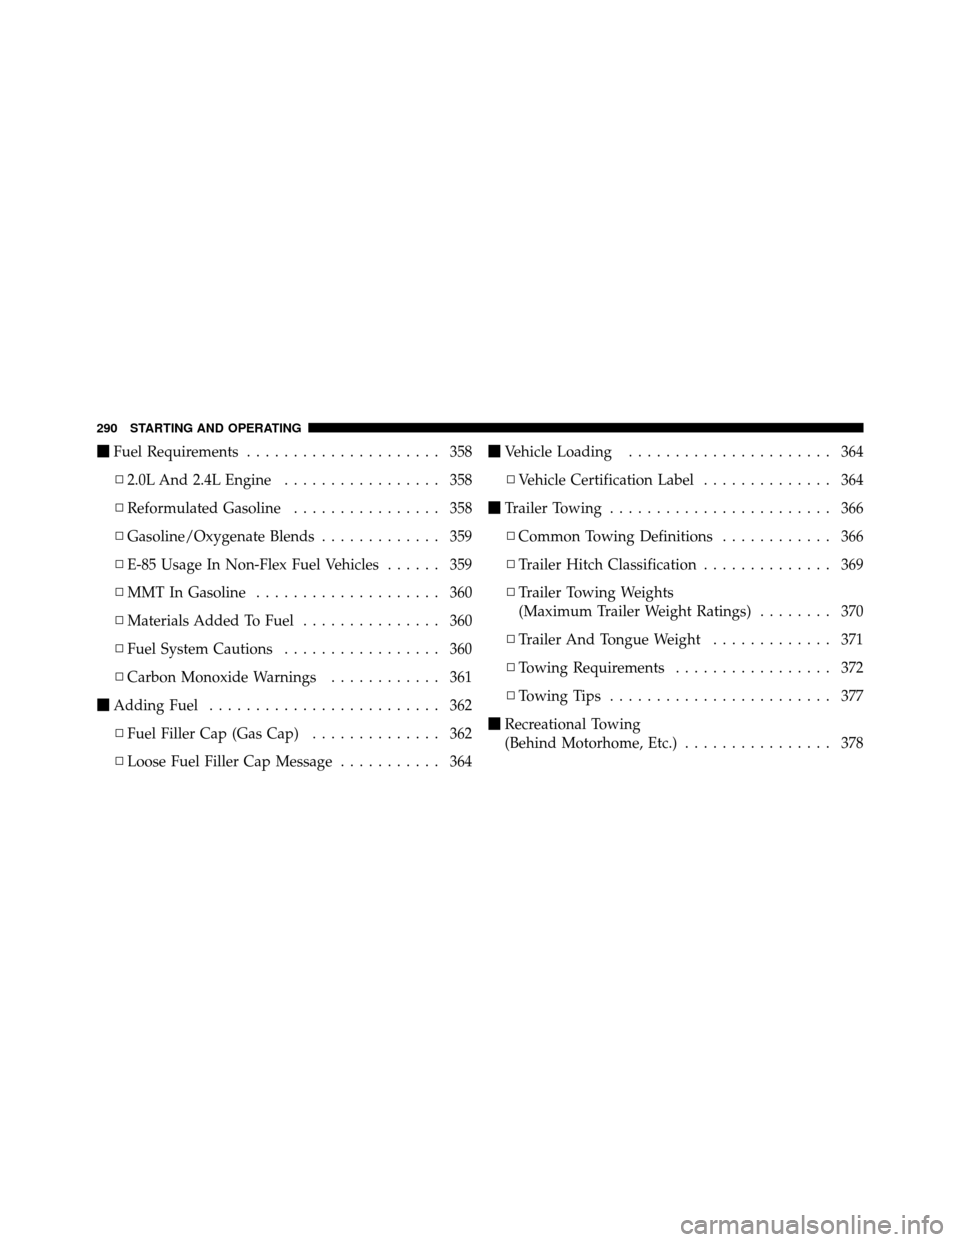
�Fuel Requirements ..................... 358
▫ 2.0L And 2.4L Engine ................. 358
▫ Reformulated Gasoline ................ 358
▫ Gasoline/Oxygenate Blends ............. 359
▫ E-85 Usage In Non-Flex Fuel Vehicles ...... 359
▫ MMT In Gasoline .................... 360
▫ Materials Added To Fuel ............... 360
▫ Fuel System Cautions ................. 360
▫ Carbon Monoxide Warnings ............ 361
� Adding Fuel ......................... 362
▫ Fuel Filler Cap (Gas Cap) .............. 362
▫ Loose Fuel Filler Cap Message ........... 364�
Vehicle Loading ...................... 364
▫ Vehicle Certification Label .............. 364
� Trailer Towing ........................ 366
▫ Common Towing Definitions ............ 366
▫ Trailer Hitch Classification .............. 369
▫ Trailer Towing Weights
(Maximum Trailer Weight Ratings) ........ 370
▫ Trailer And Tongue Weight ............. 371
▫ Towing Requirements ................. 372
▫ Towing Tips ........................ 377
� Recreational Towing
(Behind Motorhome, Etc.) ................ 378
290 STARTING AND OPERATING
Page 293 of 490
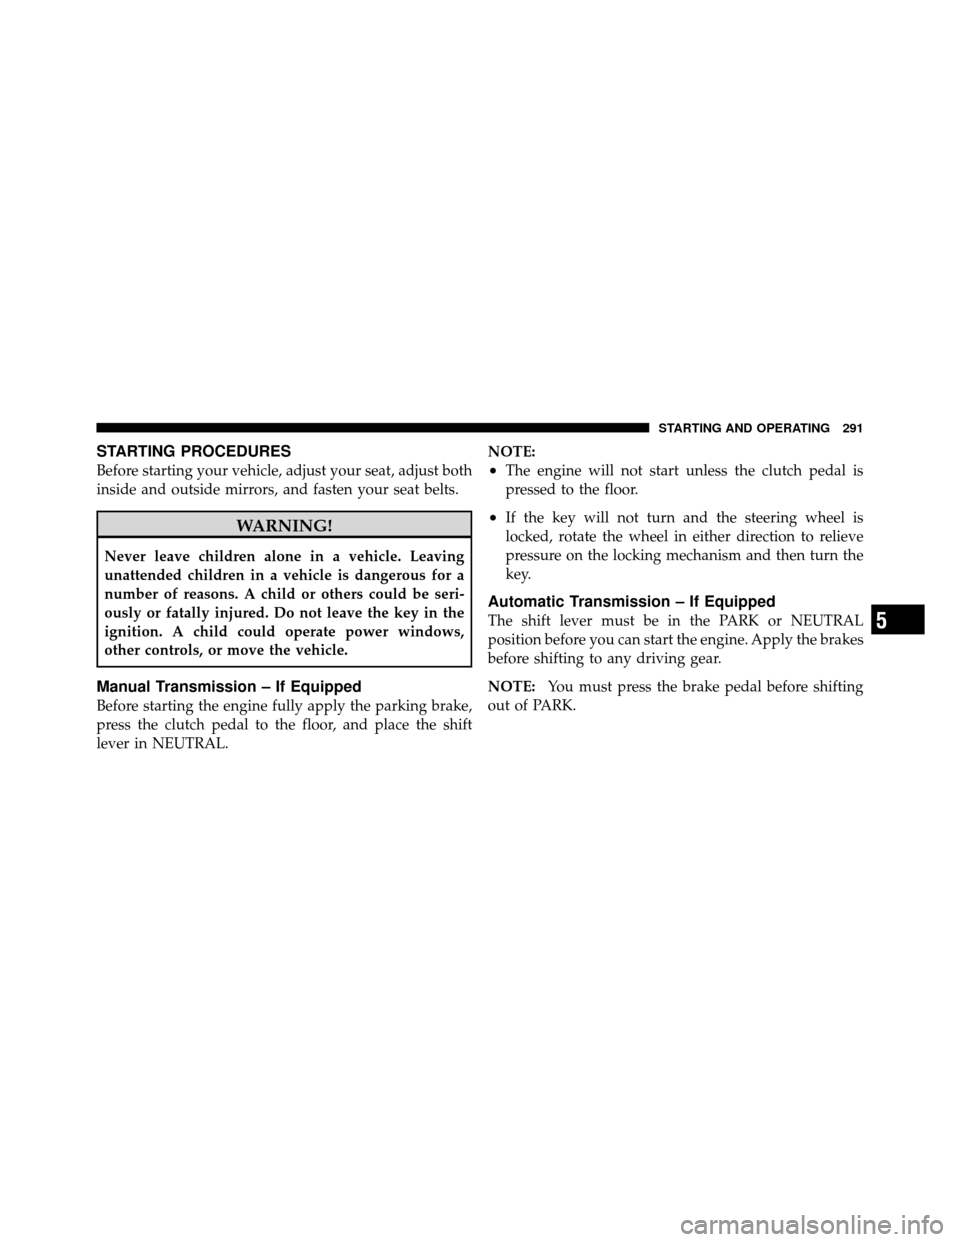
STARTING PROCEDURES
Before starting your vehicle, adjust your seat, adjust both
inside and outside mirrors, and fasten your seat belts.
WARNING!
Never leave children alone in a vehicle. Leaving
unattended children in a vehicle is dangerous for a
number of reasons. A child or others could be seri-
ously or fatally injured. Do not leave the key in the
ignition. A child could operate power windows,
other controls, or move the vehicle.
Manual Transmission – If Equipped
Before starting the engine fully apply the parking brake,
press the clutch pedal to the floor, and place the shift
lever in NEUTRAL.NOTE:
•The engine will not start unless the clutch pedal is
pressed to the floor.
•If the key will not turn and the steering wheel is
locked, rotate the wheel in either direction to relieve
pressure on the locking mechanism and then turn the
key.
Automatic Transmission – If Equipped
The shift lever must be in the PARK or NEUTRAL
position before you can start the engine. Apply the brakes
before shifting to any driving gear.
NOTE:
You must press the brake pedal before shifting
out of PARK.5
STARTING AND OPERATING 291
Page 294 of 490

Tip Start
Do notpress the accelerator. Turn the ignition switch to
the START position and release it as soon as the starter
engages. The starter motor will continue to run, and it
will disengage automatically when the engine is running.
If the engine fails to start, the starter will disengage
automatically in 10 seconds. If this occurs, turn the
ignition switch to the LOCK position, wait 10 to 15 sec-
onds, then repeat the “Normal Starting” procedure.
Normal Starting
Normal starting of either a cold or a warm engine does
not require pumping or pressing the accelerator pedal.
Simply turn the ignition switch to the START position
and release when the engine starts. If the engine fails to
start within 15 seconds, turn the ignition switch to the
OFF position, wait 10 to 15 seconds, then repeat the
“Normal Starting” procedure.
WARNING!
Do not attempt to push or tow your vehicle to get it
started. Vehicles equipped with an automatic trans-
mission cannot be started this way. Unburned fuel
could enter the catalytic converter and once the
engine has started, ignite and damage the converter
and vehicle. If the vehicle has a discharged battery,
booster cables may be used to obtain a start from
another vehicle. This type of start can be dangerous if
done improperly, so follow the procedure carefully.
Refer to “Jump Starting” in “What To Do In Emer-
gencies” for further information.
Extreme Cold Weather (Below –20°F or �29°C)
To ensure reliable starting at these temperatures, use of
an externally powered electric engine block heater (avail-
able from your authorized dealer) is recommended.
292 STARTING AND OPERATING