2011 HYUNDAI IX35 ignition
[x] Cancel search: ignitionPage 178 of 560
4103
Features of your vehicle
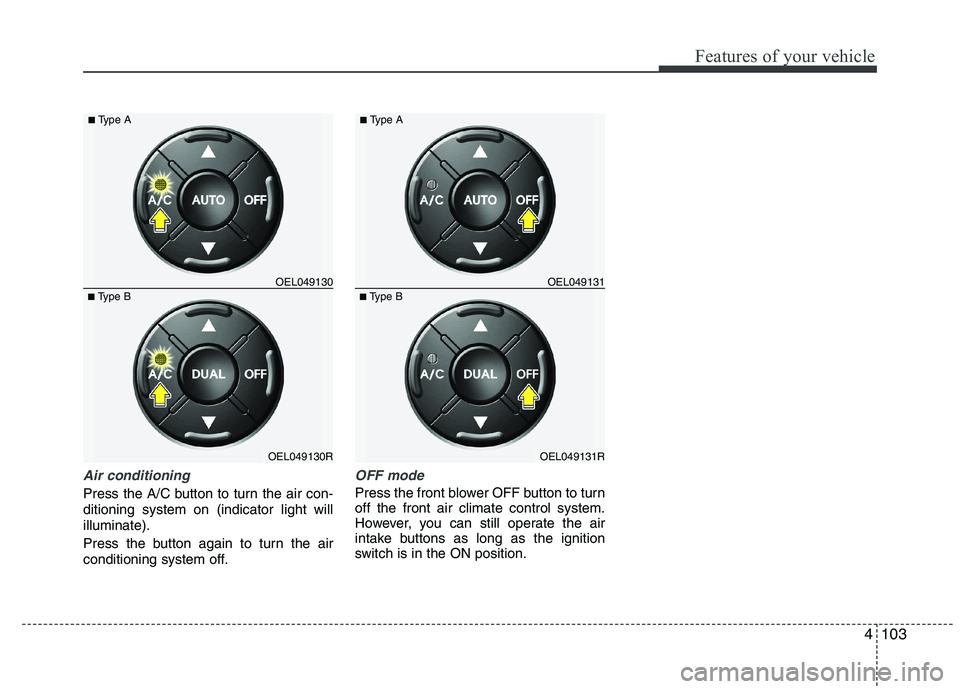
Air conditioning
Press the A/C button to turn the air con- ditioning system on (indicator light willilluminate).
Press the button again to turn the air
conditioning system off.
OFF mode
Press the front blower OFF button to turn off the front air climate control system.
However, you can still operate the air
intake buttons as long as the ignition
switch is in the ON position.
OEL049130R
■
Type B OEL049130
■
Type AOEL049131R
■
Type B OEL049131
■
Type A
Page 188 of 560
4113
Features of your vehicle
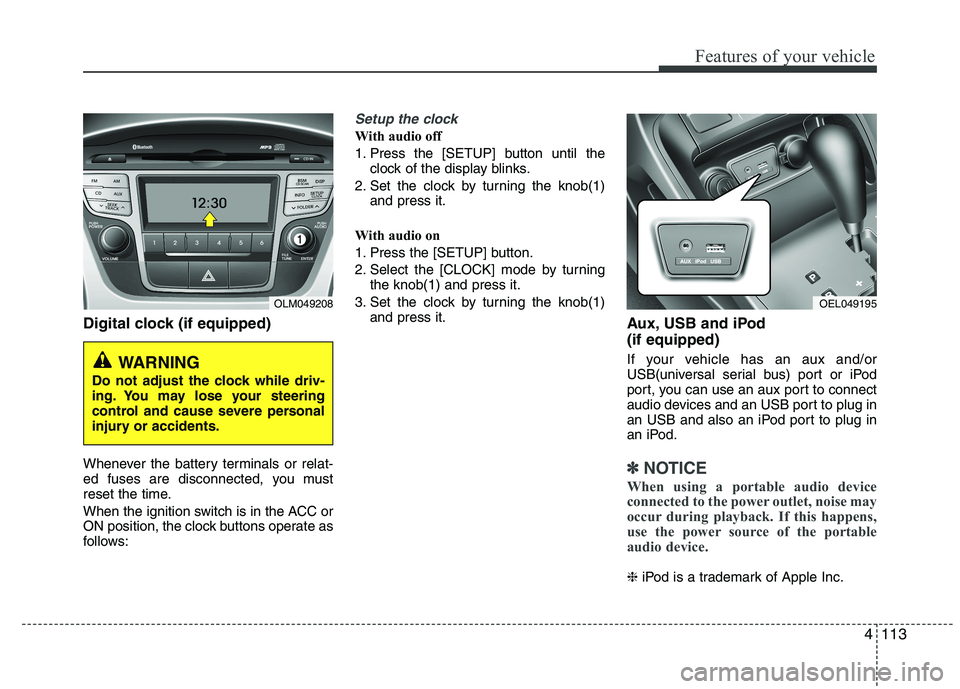
Digital clock (if equipped)
Whenever the battery terminals or relat-
ed fuses are disconnected, you must
reset the time.
When the ignition switch is in the ACC or
ON position, the clock buttons operate as
follows:
Setup the clock
With audio off
1. Press the [SETUP] button until theclock of the display blinks.
2. Set the clock by turning the knob(1) and press it.
With audio on
1. Press the [SETUP] button.
2. Select the [CLOCK] mode by turning the knob(1) and press it.
3. Set the clock by turning the knob(1) and press it. Aux, USB and iPod (if equipped)
If your vehicle has an aux and/or
USB(universal serial bus) port or iPod
port, you can use an aux port to connect
audio devices and an USB port to plug in
an USB and also an iPod port to plug in
an iPod.
✽✽NOTICE
When using a portable audio device
connected to the power outlet, noise may
occur during playback. If this happens,
use the power source of the portable
audio device.
❈ iPod is a trademark of Apple Inc.
OLM049208
WARNING
Do not adjust the clock while driv-
ing. You may lose your steering
control and cause severe personal
injury or accidents.
OEL049195
Page 200 of 560
4125
Features of your vehicle
1. Power ON/OFF Button &Volume Control Button
Turns on/off the set when the IGNITION
SWITCH is on ACC or ON. If the button
is turned to the right, it increases the vol-
ume and left,decreases the volume.
Press this button to turn the audio sys- tem ON or OFF. (EUROPE MODEL
ONLY)
Depending on the model if the ignition switch is not on ACC or ON position.
the “Battery Discharge” warningappears on LCD after 10 seconds of
power-up, and automatically turns off
after 1 hours of operation.
Adjusts the volume of the car audio system. Rotate clockwise to increase
the volume or counterclockwise to
decrease.
2. FM Selection Button
Turns to FM mode and toggles FM1and
FM2 when the button is pressed each
time. ❈ May change in order of FM1 ➟FM2 ➟
FMA in some models. 3. AM Selection Button
Pressing the [AM] button selects the AM
band. AM Mode is displayed on the LCD. ❈
May change in order of AM ➟AMA in
some models.
4. Automatic Channel Selection Button
When the [SEEK ] button is pressed, it increases the band frequency to auto-
matically select channel. Stops at the
previous frequency if no channel is
found.
5. Preset Button
Push [1]~[6] buttons less than 0.8 sec-
ond to play the channel saved in each
button. Push Preset button for 0.8 sec-
ond or longer to save current channel to
the respective button with a beep. 6. AST(AUTO STORE Button)
When the button is pressed, it automati-
cally selects and saves channels with
high reception rate to PRESET buttons
[1]~[6] and plays the channel saved in
PRESET1. If no channel is saved after
AST, it will play the previous channel.
Saves only to the Preset memory
(1)~(6) of FMA or AMA mode in some
models.
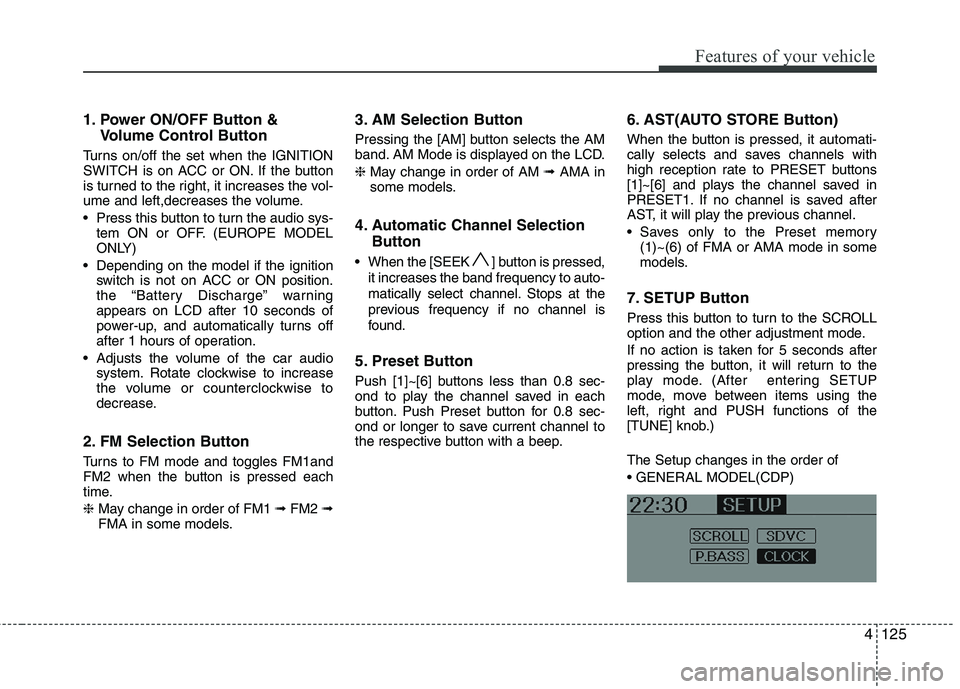
7. SETUP Button
Press this button to turn to the SCROLL
option and the other adjustment mode.
If no action is taken for 5 seconds after
pressing the button, it will return to the
play mode. (After entering SETUP
mode, move between items using the
left, right and PUSH functions of the
[TUNE] knob.) The Setup changes in the order of
Page 205 of 560

Features of your vehicle
130
4
1. CD Loading Slot
Please face printed side upward and
gently push in. When the ignition switch
is on ACC or ON and power is off, power
is automatically turned on if the CD is
loaded. This CDP supports only 12cm
CD. If VCD, Data CD are loaded,"Reading Error" message will appearand CD will be ejected.
2. CD Eject Button
Push button for less than 0.8 seconds
to eject the CD during CD playback. This
button is enabled when ignition switch is
off.
Press this button for more than 0.8 sec-
onds to eject all discs inside the deck in
respective order.
3. INFO Button
Displays the information of the current
CD TRACK(FILE) as below when the
button is pressed each time.
CDDA : Disc Title ➟ Disc Artist ➟ Tr a c k
Title ➟ Track Artist ➟ Total Track...
MP3/WMA : File Name ➟ Title ➟ Artist
➟ Album ➟ Folder ➟ Total File... (not
displayed if the information is not avail-
able on the DISC.) 4. Automatic Track Selection
Button
Push [ SEEK(TRACK)] button for less than 0.8 second to play from thebeginning of current song.
Push [ SEEK(TRACK)] button for less than 0.8 second and press again
within 1 seconds to play the previoussong.
Push [ SEEK(TRACK)] button for 0.8 or longer to initiate reverse direc-tion high speed sound search of cur-rent song.
Push [SEEK(TRACK)] ] button for less than 0.8 second to play the nextsong.
Push [SEEK(TRACK)] ] button for 0.8 or longer to initiate high speedsound search of current song.
5. RANDOM Play Button
Press this button for less than 0.8 second
to activate ‘RDM’ mode and more than
0.8 seconds to activate ‘ALL RDM’ mode.
RDM : Only files/tracks in a folder/disc are played back in a random
sequence.
ALL RDM(MP3/WMA Only) : All files in a disc are played back in the random
sequence. 6. REPEAT Button
Press this button for less than 0.8 second
to activate ‘RPT’ mode and more than 0.8
seconds to activate ‘FLD RPT’ mode.
RPT : Only a track(file) is repeatedly
played back.
FOLDER RPT(MP3/WMA Only) : Only files in a folder are repeatedly played
back.
ALL RPT(AUDIO CD Only) : Only files in a DISC are repeatedly played back.
7. CD or CD/AUX Selection Button If the CD is loaded, turns to CD mode.
If no CD, it displays "NO Disc" for 3 sec-
onds and returns to th previous mode.
If the auxiliary device is connected, it
switches to the AUX mode from the
other mode to play the sound from the
auxiliary player. If the CD is loaded,
turns to CD mode, and if a device is
connected to AUX then it toggles.
CDßAUXßCD... when the button is
pressed each time.(It will not turn to
AUX if the auxiliary device is not con-nected)
Page 206 of 560
4131
Features of your vehicle
8. CD Indicator(CDP Only)
When car ignition switch is ACC or ON and if the CD is loaded, this indicator is
lighted. If the CD is ejected the light is
turned off.
9. Folder Moving Button
Moves [ PTY(FOLDER)] buttonchild folder of the current folder and
displays the first song in the folder.
Press TUNE/ ENTER knob to move to
the folder displayed. It will play the first
song in the folder.
Moves [PTY(FOLDER) ] button par- ent folder and displays the first song in
the folder. Press TUNE/ENTER knob to
move to the folder displayed.
10. Search/ENTER Button
Turn this button clockwise to display the
songs next to the currently played song.
Turn the button counterclockwise to dis-
play the songs before the currently
played song. Press the button to skip and
play the selected song. 11. SCAN Play Button
Plays first 10 seconds of each song in
the DISC. To cancel the mode, press the
button once again.
12. DISC Selection Button
[ DISC] Change Button Changes
disc to the previous disc.
[DISC ] Change Button Changes disc to the next disc.
13. CD LOAD Button
Push [LOAD] button to load CDs to avail-
able CDC deck (from 1~6). Push [LOAD]
button for more than 2 seconds to load
into all available decks. The last CD will
play. 10 seconds idle status will disable
loading process.
14. AUX Selection Button
If the auxiliary device is connected, it
turns to AUX mode from the other mode
to play the sound from the auxiliary play-
er. If no auxiliary device is connected, it
displays "NO Media" for 3 seconds and
returns to the previous mode(GENERAL
ONLY).
Page 228 of 560
53
Driving your vehicle
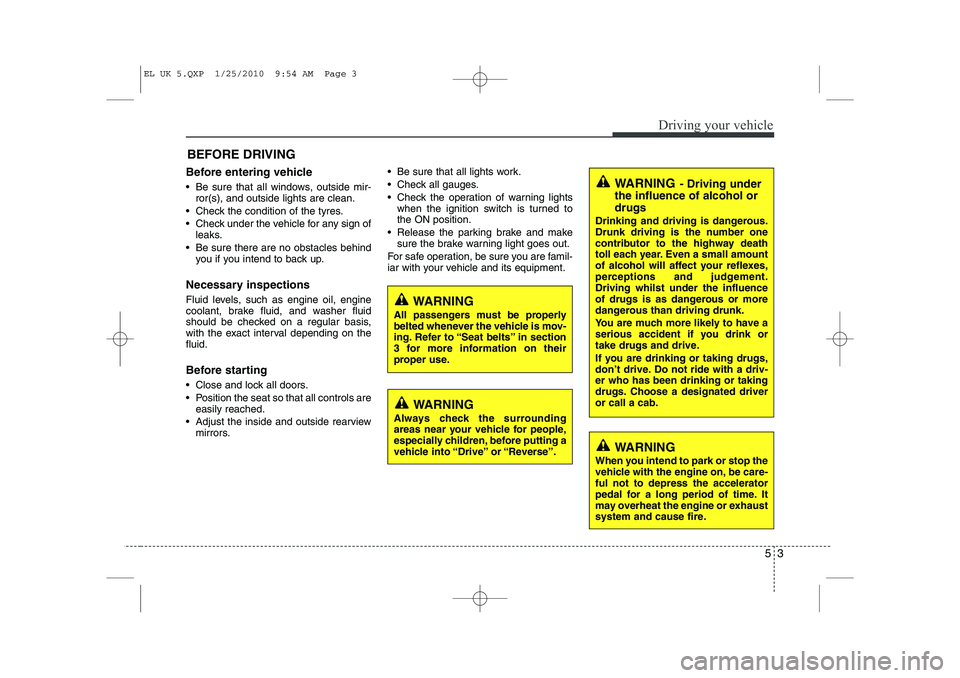
Before entering vehicle
• Be sure that all windows, outside mir-ror(s), and outside lights are clean.
Check the condition of the tyres.
Check under the vehicle for any sign of leaks.
Be sure there are no obstacles behind you if you intend to back up.
Necessary inspections
Fluid levels, such as engine oil, engine
coolant, brake fluid, and washer fluid
should be checked on a regular basis,
with the exact interval depending on thefluid.
Before starting
Close and lock all doors.
Position the seat so that all controls are easily reached.
Adjust the inside and outside rearview mirrors. Be sure that all lights work.
Check all gauges.
Check the operation of warning lights
when the ignition switch is turned to the ON position.
Release the parking brake and make sure the brake warning light goes out.
For safe operation, be sure you are famil-
iar with your vehicle and its equipment.
BEFORE DRIVING
WARNING
All passengers must be properly
belted whenever the vehicle is mov-
ing. Refer to “Seat belts” in section
3 for more information on their
proper use.
WARNING
Always check the surrounding
areas near your vehicle for people,
especially children, before putting a
vehicle into “Drive” or “Reverse”.
WARNING
When you intend to park or stop the
vehicle with the engine on, be care-ful not to depress the accelerator
pedal for a long period of time. It
may overheat the engine or exhaust
system and cause fire.
WARNING - Driving under
the influence of alcohol or drugs
Drinking and driving is dangerous.
Drunk driving is the number one
contributor to the highway death
toll each year. Even a small amount
of alcohol will affect your reflexes,
perceptions and judgement.Driving whilst under the influence
of drugs is as dangerous or more
dangerous than driving drunk.
You are much more likely to have a
serious accident if you drink or
take drugs and drive.
If you are drinking or taking drugs,
don’t drive. Do not ride with a driv-er who has been drinking or taking
drugs. Choose a designated driveror call a cab.
EL UK 5.QXP 1/25/2010 9:54 AM Page 3
Page 229 of 560

Driving your vehicle
4
5
Illuminated ignition switch (if equipped)
Whenever a front door is opened, the
ignition switch will be illuminated for your
convenience, provided the ignition switch
is not in the ON position. The light will go
off immediately when the ignition switch
is turned on or go off after about 30 sec-onds when the door is closed. Ignition switch position
LOCK
The steering wheel locks to protect
against theft. The ignition key can be
removed only in the LOCK position.
When turning the ignition switch to the
LOCK position, push the key inward at
the ACC position and turn the key towardthe LOCK position.
ACC (Accessory)
The steering wheel is unlocked and elec-
trical accessories are operative.
✽✽
NOTICE
If difficulty is experienced turning the
ignition switch to the ACC position, turnthe key whilst turning the steering wheel
right and left to release the tension.
ON
The warning lights can be checked
before the engine is started. This is the
normal running position after the engine
is started.
Do not leave the ignition switch ON if the engine is not running to prevent battery discharge.
START
Turn the ignition key to the START posi-
tion to start the engine. The engine will
crank until you release the key; then it
returns to the ON position. The brake
warning lamp can be checked in thisposition.
KEY POSITIONS
OXM059001OCM059002
EL UK 5.QXP 1/25/2010 9:54 AM Page 4
Page 230 of 560
55
Driving your vehicle
Starting the engine
✽✽
NOTICE - Full throttle resistor (if equipped)
If your vehicle is equipped with a resis-
tor in the accelerator pedal, it prevents
you from driving at full throttle unin-
tentionally by making the driver require
increased effort to depress the accelera-
tor pedal. However, if you depress the
pedal more than approximately 80%,
the vehicle can be at full throttle and the
accelerator pedal will be easier to
depress. This is not a malfunction but anormal condition.
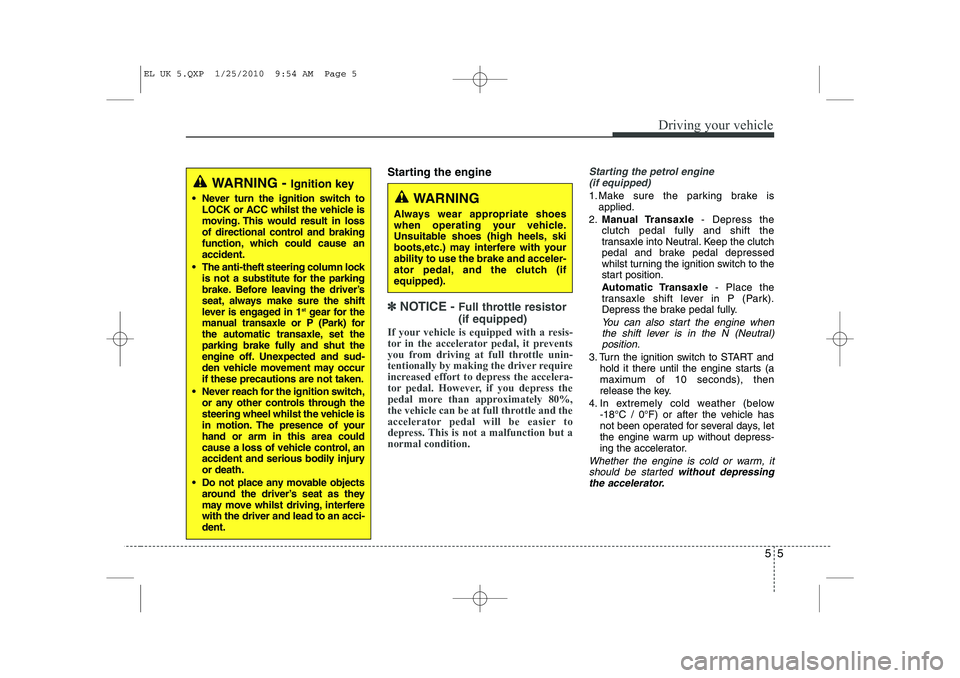
Starting the petrol engine (if equipped)
1. Make sure the parking brake is applied.
2. Manual Transaxle - Depress the
clutch pedal fully and shift the
transaxle into Neutral. Keep the clutch
pedal and brake pedal depressed
whilst turning the ignition switch to the
start position.
Automatic Transaxle - Place the
transaxle shift lever in P (Park).
Depress the brake pedal fully.
You can also start the engine when
the shift lever is in the N (Neutral)position.
3. Turn the ignition switch to START and hold it there until the engine starts (a
maximum of 10 seconds), then
release the key.
4. In extremely cold weather (below -18°C / 0°F) or after the vehicle has
not been operated for several days, let
the engine warm up without depress-
ing the accelerator.
Whether the engine is cold or warm, it
should be started without depressing
the accelerator.
WARNING - Ignition key
Never turn the ignition switch to LOCK or ACC whilst the vehicle is
moving. This would result in loss
of directional control and braking
function, which could cause anaccident.
The anti-theft steering column lock is not a substitute for the parking
brake. Before leaving the driver’s
seat, always make sure the shift
lever is engaged in 1 st
gear for the
manual transaxle or P (Park) for
the automatic transaxle, set the
parking brake fully and shut the
engine off. Unexpected and sud-
den vehicle movement may occurif these precautions are not taken.
Never reach for the ignition switch, or any other controls through the
steering wheel whilst the vehicle is
in motion. The presence of yourhand or arm in this area could
cause a loss of vehicle control, an
accident and serious bodily injuryor death.
Do not place any movable objects around the driver’s seat as they
may move whilst driving, interferewith the driver and lead to an acci-dent.
WARNING
Always wear appropriate shoes
when operating your vehicle.
Unsuitable shoes (high heels, ski
boots,etc.) may interfere with yourability to use the brake and acceler-
ator pedal, and the clutch (ifequipped).
EL UK 5.QXP 1/25/2010 9:54 AM Page 5