Page 473 of 560
461
Features of your vehicle
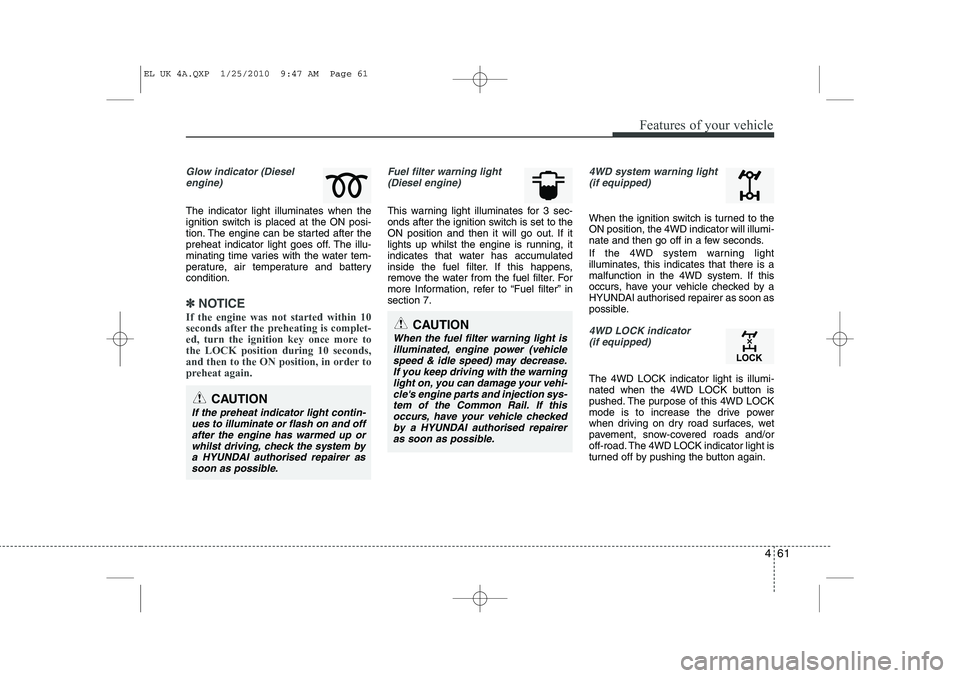
Glow indicator (Dieselengine)
The indicator light illuminates when the
ignition switch is placed at the ON posi-
tion. The engine can be started after the
preheat indicator light goes off. The illu-
minating time varies with the water tem-
perature, air temperature and batterycondition.
✽✽ NOTICE
If the engine was not started within 10
seconds after the preheating is complet-
ed, turn the ignition key once more tothe LOCK position during 10 seconds,
and then to the ON position, in order to
preheat again.
Fuel filter warning light (Diesel engine)
This warning light illuminates for 3 sec-
onds after the ignition switch is set to the
ON position and then it will go out. If it
lights up whilst the engine is running, it
indicates that water has accumulated
inside the fuel filter. If this happens,
remove the water from the fuel filter. For
more Information, refer to “Fuel filter” insection 7.
4WD system warning light (if equipped)
When the ignition switch is turned to the ON position, the 4WD indicator will illumi-
nate and then go off in a few seconds.
If the 4WD system warning light
illuminates, this indicates that there is a
malfunction in the 4WD system. If this
occurs, have your vehicle checked by a
HYUNDAI authorised repairer as soon as
possible.
4WD LOCK indicator (if equipped)
The 4WD LOCK indicator light is illumi-
nated when the 4WD LOCK button is
pushed. The purpose of this 4WD LOCK
mode is to increase the drive power
when driving on dry road surfaces, wet
pavement, snow-covered roads and/or
off-road. The 4WD LOCK indicator light is
turned off by pushing the button again.
CAUTION
When the fuel filter warning light is
illuminated, engine power (vehicle speed & idle speed) may decrease.If you keep driving with the warning
light on, you can damage your vehi-cle's engine parts and injection sys- tem of the Common Rail. If thisoccurs, have your vehicle checked by a HYUNDAI authorised repairer
as soon as possible.
CAUTION
If the preheat indicator light contin- ues to illuminate or flash on and off
after the engine has warmed up orwhilst driving, check the system bya HYUNDAI authorised repairer as soon as possible.
EL UK 4A.QXP 1/25/2010 9:47 AM Page 61
Page 475 of 560
463
Features of your vehicle
LCD display warning (if equipped)
Key is not in vehicle If the smart key is
not in the vehicle
and if any door isopened or closedwith the ENGINE
START/STOP but-
ton in the ACC,
ON, or START position, the warning illu-
minates on the LCD display. Also, the
chime sounds for 5 seconds when the
smart key is not in the vehicle and thedoor is closed.
Always have the smart key with you. Key is not detected
If the smart key is
not in the vehicleor is not detected
and you press the
ENGINE START/
STOP button, the
warning illumi-
nates on the LCD display for 10 seconds.
Also, the immobiliser indicator and the
key holder light blinks for 10 seconds. Low key battery
If the ENGINE
START/STOP but-
ton turns to theOFF position
when the smart
key in the vehicle
discharges, the
warning illuminates on the LCD display
for about 10 seconds. Also, the warning
chime sounds once.
Replace the battery with a new one.
EL UK 4A.QXP 1/25/2010 9:47 AM Page 63
Page 484 of 560
Features of your vehicle
72
4
LIGHTING
Battery saver function
The purpose of this feature is to pre-
vent the battery from being dis-
charged. The system automatically
turns off the parking lights when the
driver removes the ignition key and
opens the driver- side door.
With this feature, the parking lights will be turned off automatically if the driver
parks on the side of road at night.
If necessary, to keep the lights on
when the ignition key is removed, per-
form the following :
1) Open the driver-side door.
2) Turn the parking lights OFF and ON
again using the light switch on the
steering column. Headlight escort function (if equipped)
If you turn the ignition switch to the ACC or OFF position with the headlights ON,the headlights (and/or tail lights) remain
on for about 20 minutes. However, if the
driver’s door is opened and closed, the
headlights are turned off after 30 sec-
onds.
The headlights can be turned off by
pressing the lock button on the transmit-
ter (or smart key) twice or turning the
light switch to the OFF or Auto position.
However, if you turn the light switch to the
Auto position when it is dark outside, the
headlights will not be turned off.
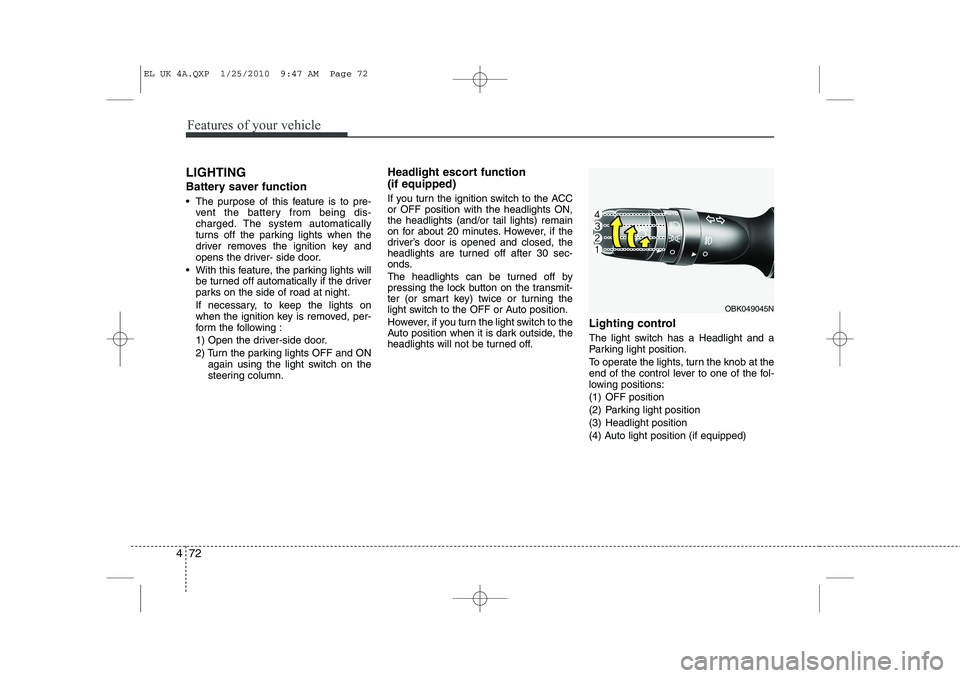
Lighting control
The light switch has a Headlight and a
Parking light position.
To operate the lights, turn the knob at the
end of the control lever to one of the fol-
lowing positions:
(1) OFF position
(2) Parking light position
(3) Headlight position
(4) Auto light position (if equipped)
OBK049045N
EL UK 4A.QXP 1/25/2010 9:47 AM Page 72
Page 486 of 560
Features of your vehicle
74
4
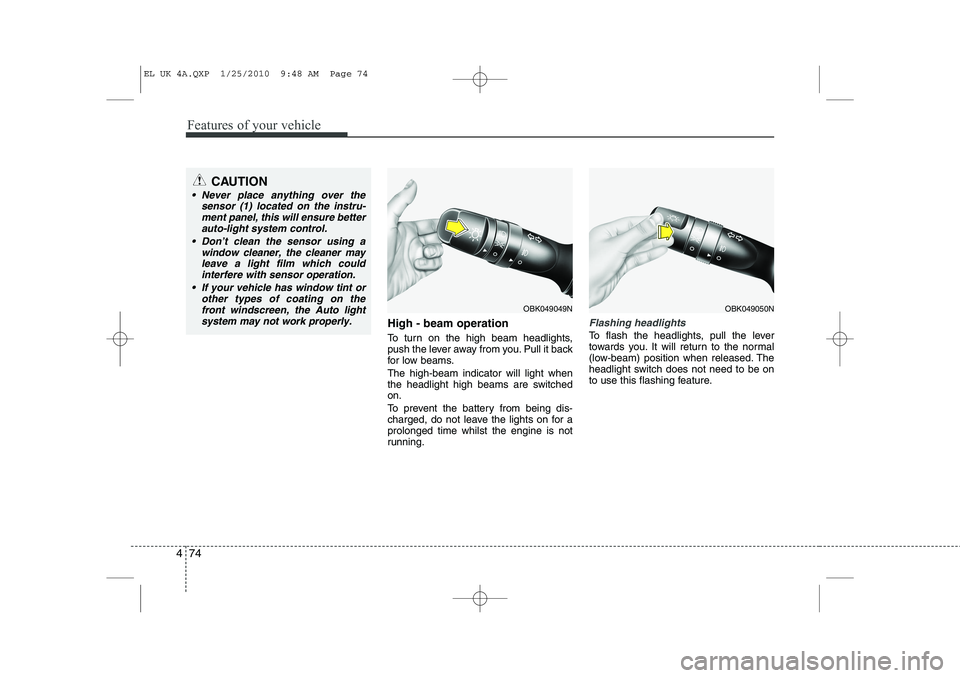
High - beam operation
To turn on the high beam headlights,
push the lever away from you. Pull it back
for low beams. The high-beam indicator will light when
the headlight high beams are switchedon.
To prevent the battery from being dis-
charged, do not leave the lights on for aprolonged time whilst the engine is not
running.Flashing headlights
To flash the headlights, pull the lever
towards you. It will return to the normal
(low-beam) position when released. The
headlight switch does not need to be on
to use this flashing feature.
OBK049049NOBK049050N
CAUTION
Never place anything over the
sensor (1) located on the instru-
ment panel, this will ensure betterauto-light system control.
Don’t clean the sensor using a window cleaner, the cleaner may
leave a light film which could interfere with sensor operation.
If your vehicle has window tint or other types of coating on thefront windscreen, the Auto light
system may not work properly.
EL UK 4A.QXP 1/25/2010 9:48 AM Page 74
Page 494 of 560
Features of your vehicle
82
4
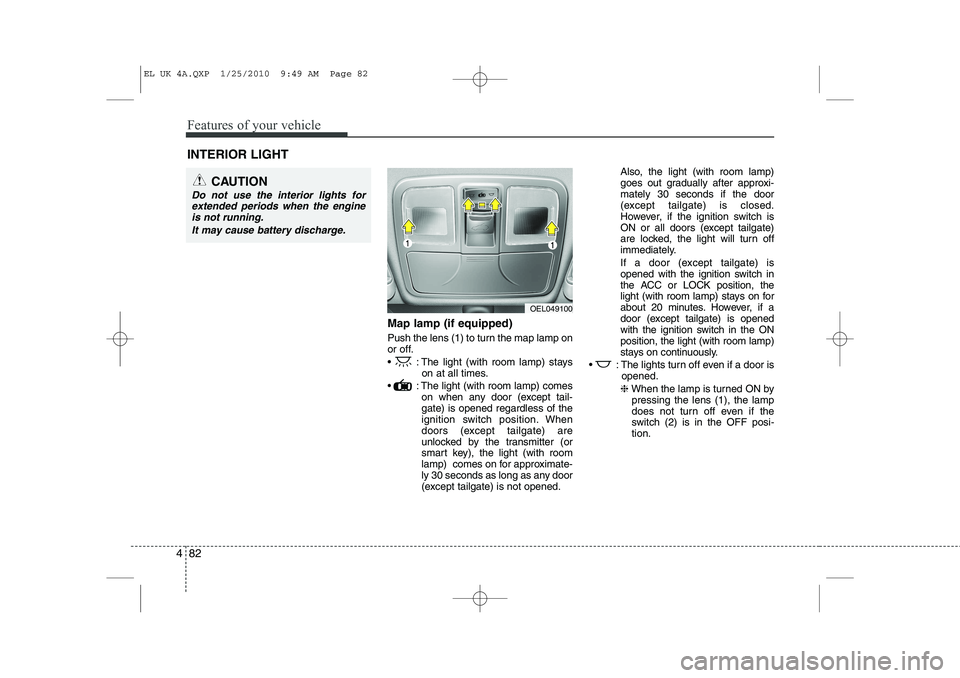
Map lamp (if equipped)
Push the lens (1) to turn the map lamp on
or off.
: The light (with room lamp) stays
on at all times.
: The light (with room lamp) comes on when any door (except tail- gate) is opened regardless of the
ignition switch position. When
doors (except tailgate) are
unlocked by the transmitter (or
smart key), the light (with room
lamp) comes on for approximate-
ly 30 seconds as long as any door
(except tailgate) is not opened. Also, the light (with room lamp)
goes out gradually after approxi-mately 30 seconds if the door
(except tailgate) is closed.
However, if the ignition switch is
ON or all doors (except tailgate)
are locked, the light will turn off
immediately.
If a door (except tailgate) is
opened with the ignition switch in
the ACC or LOCK position, the
light (with room lamp) stays on for
about 20 minutes. However, if a
door (except tailgate) is opened
with the ignition switch in the ONposition, the light (with room lamp)
stays on continuously.
: The lights turn off even if a door is opened.
❈ When the lamp is turned ON by
pressing the lens (1), the lamp
does not turn off even if the
switch (2) is in the OFF posi-tion.
INTERIOR LIGHT
CAUTION
Do not use the interior lights for
extended periods when the engine
is not running.
It may cause battery discharge.
OEL049100
EL UK 4A.QXP 1/25/2010 9:49 AM Page 82
Page 495 of 560
483
Features of your vehicle
Room lamp
Press the button to turn the light on or off.Vanity mirror lamp (if equipped)
: The lamp will turn on if this but-
ton is pressed.
: The lamp will turn off if this but- ton is pressed. Luggage room lamp (if equipped)The luggage room lamp comes on when
the trunk lid is opened.
OLM049105/HOLM049103OEL049101
CAUTION
- Vanity mirror
lamp (if equipped)
Always have the switch in the off position when the vanity mirrorlamp is not in use. If the sunvisor is closed without the lamp off, it
may discharge the battery or damage the sunvisor.
Turn off the lamp before return the sunvisor to its original posi-tion.
EL UK 4A.QXP 1/25/2010 9:49 AM Page 83
Page 512 of 560
Features of your vehicle
100
4
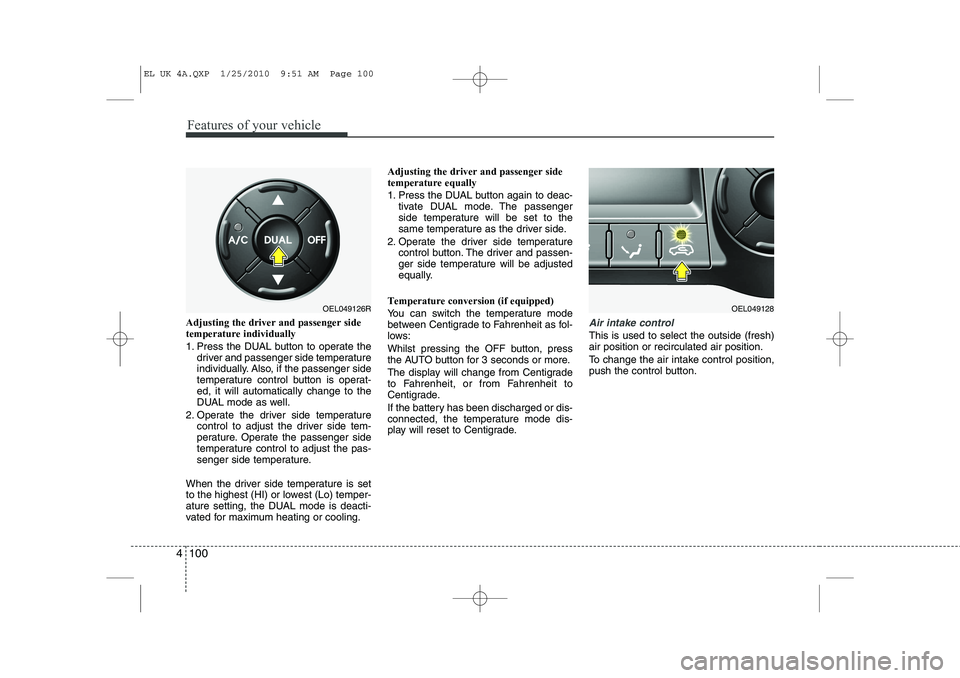
Adjusting the driver and passenger side temperature individually
1. Press the DUAL button to operate the
driver and passenger side temperature
individually. Also, if the passenger side
temperature control button is operat-ed, it will automatically change to the
DUAL mode as well.
2. Operate the driver side temperature control to adjust the driver side tem-
perature. Operate the passenger side
temperature control to adjust the pas-
senger side temperature.
When the driver side temperature is set
to the highest (HI) or lowest (Lo) temper-
ature setting, the DUAL mode is deacti-
vated for maximum heating or cooling. Adjusting the driver and passenger sidetemperature equally
1. Press the DUAL button again to deac-
tivate DUAL mode. The passenger
side temperature will be set to the
same temperature as the driver side.
2. Operate the driver side temperature control button. The driver and passen-
ger side temperature will be adjusted
equally.
Temperature conversion (if equipped)
You can switch the temperature mode
between Centigrade to Fahrenheit as fol-
lows:
Whilst pressing the OFF button, press
the AUTO button for 3 seconds or more.
The display will change from Centigrade
to Fahrenheit, or from Fahrenheit to
Centigrade.
If the battery has been discharged or dis-
connected, the temperature mode dis-
play will reset to Centigrade.Air intake control
This is used to select the outside (fresh) air position or recirculated air position.
To change the air intake control position,
push the control button.
OEL049126ROEL049128
EL UK 4A.QXP 1/25/2010 9:51 AM Page 100
Page 522 of 560
Features of your vehicle
110
4
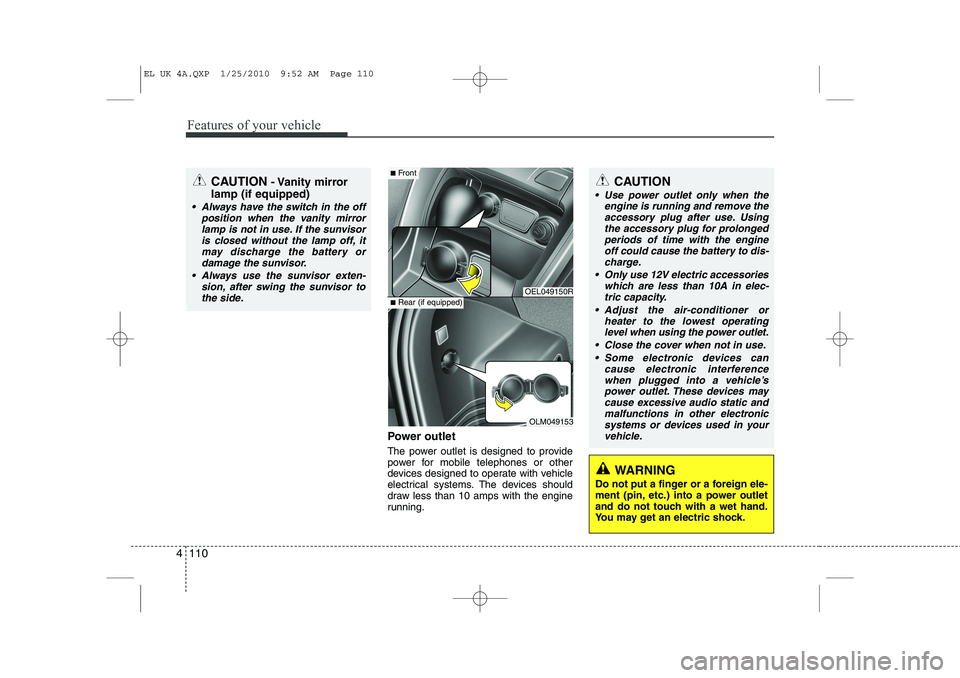
Power outlet
The power outlet is designed to provide
power for mobile telephones or other
devices designed to operate with vehicle
electrical systems. The devices should
draw less than 10 amps with the engine
running.
CAUTION - Vanity mirror
lamp (if equipped)
Always have the switch in the off position when the vanity mirror
lamp is not in use. If the sunvisoris closed without the lamp off, itmay discharge the battery or damage the sunvisor.
Always use the sunvisor exten- sion, after swing the sunvisor tothe side.
OEL049150R
OLM049153
■ Front
■Rear (if equipped)
CAUTION
Use power outlet only when the
engine is running and remove the
accessory plug after use. Using the accessory plug for prolongedperiods of time with the engineoff could cause the battery to dis-
charge.
Only use 12V electric accessories which are less than 10A in elec-tric capacity.
Adjust the air-conditioner or heater to the lowest operatinglevel when using the power outlet.
Close the cover when not in use. Some electronic devices can cause electronic interference
when plugged into a vehicle’s power outlet. These devices maycause excessive audio static and malfunctions in other electronic
systems or devices used in yourvehicle.
WARNING
Do not put a finger or a foreign ele-
ment (pin, etc.) into a power outlet
and do not touch with a wet hand.
You may get an electric shock.
EL UK 4A.QXP 1/25/2010 9:52 AM Page 110