2011 HYUNDAI IX35 ECO mode
[x] Cancel search: ECO modePage 462 of 560
Features of your vehicle
50
4
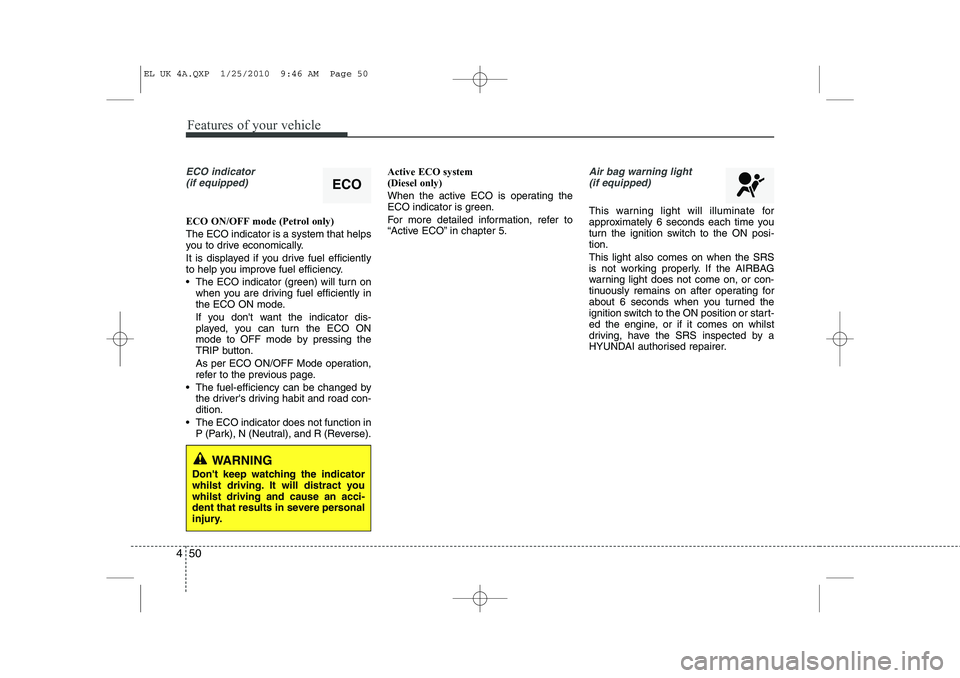
ECO indicator
(if equipped)
ECO ON/OFF mode (Petrol only) The ECO indicator is a system that helps
you to drive economically.
It is displayed if you drive fuel efficiently
to help you improve fuel efficiency.
The ECO indicator (green) will turn on when you are driving fuel efficiently in
the ECO ON mode.
If you don't want the indicator dis-
played, you can turn the ECO ON
mode to OFF mode by pressing the
TRIP button.
As per ECO ON/OFF Mode operation,
refer to the previous page.
The fuel-efficiency can be changed by the driver's driving habit and road con-dition.
The ECO indicator does not function in P (Park), N (Neutral), and R (Reverse). Active ECO system (Diesel only)
When the active ECO is operating the
ECO indicator is green.
For more detailed information, refer to
“Active ECO” in chapter 5.
Air bag warning light
(if equipped)
This warning light will illuminate for
approximately 6 seconds each time you
turn the ignition switch to the ON posi-tion. This light also comes on when the SRS
is not working properly. If the AIRBAG
warning light does not come on, or con-
tinuously remains on after operating for
about 6 seconds when you turned the
ignition switch to the ON position or start-
ed the engine, or if it comes on whilst
driving, have the SRS inspected by a
HYUNDAI authorised repairer.
ECO
WARNING
Don't keep watching the indicator
whilst driving. It will distract youwhilst driving and cause an acci-
dent that results in severe personal
injury.
EL UK 4A.QXP 1/25/2010 9:46 AM Page 50
Page 467 of 560
455
Features of your vehicle
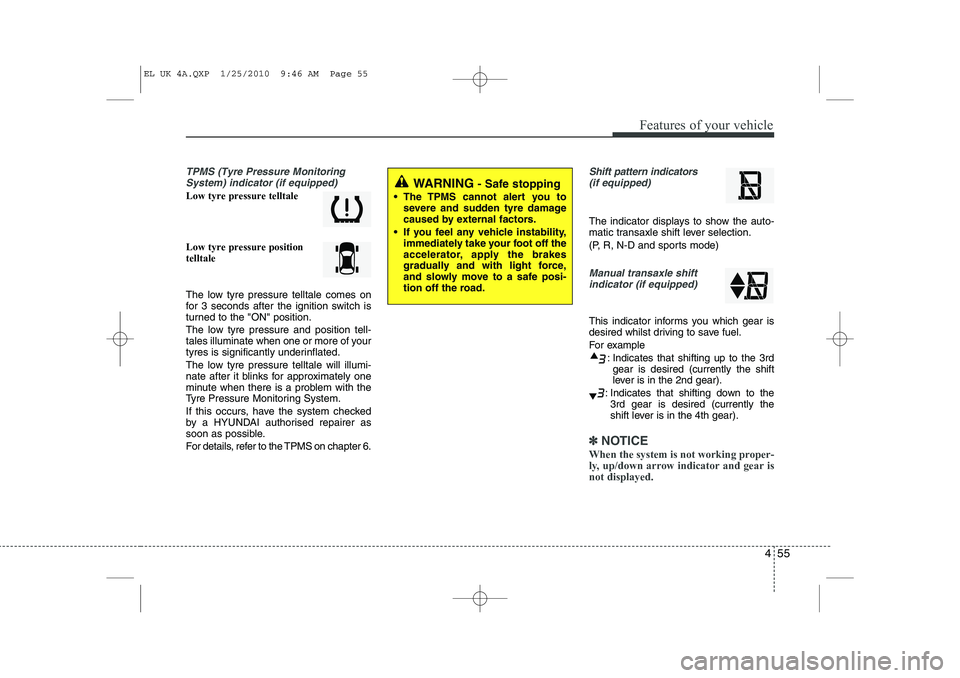
TPMS (Tyre Pressure MonitoringSystem) indicator (if equipped)
Low tyre pressure telltale Low tyre pressure position telltale
The low tyre pressure telltale comes on
for 3 seconds after the ignition switch is
turned to the "ON" position.
The low tyre pressure and position tell-
tales illuminate when one or more of your
tyres is significantly underinflated.
The low tyre pressure telltale will illumi-
nate after it blinks for approximately one
minute when there is a problem with the
Tyre Pressure Monitoring System.
If this occurs, have the system checked
by a HYUNDAI authorised repairer as
soon as possible.
For details, refer to the TPMS on chapter 6.
Shift pattern indicators(if equipped)
The indicator displays to show the auto-
matic transaxle shift lever selection.
(P, R, N-D and sports mode)
Manual transaxle shiftindicator (if equipped)
This indicator informs you which gear is
desired whilst driving to save fuel.
For example
: Indicates that shifting up to the 3rdgear is desired (currently the shift
lever is in the 2nd gear).
: Indicates that shifting down to the 3rd gear is desired (currently the
shift lever is in the 4th gear).
✽✽
NOTICE
When the system is not working proper-
ly, up/down arrow indicator and gear isnot displayed.
WARNING - Safe stopping
The TPMS cannot alert you to severe and sudden tyre damage
caused by external factors.
If you feel any vehicle instability, immediately take your foot off the
accelerator, apply the brakes
gradually and with light force,
and slowly move to a safe posi-
tion off the road.
EL UK 4A.QXP 1/25/2010 9:46 AM Page 55
Page 471 of 560
459
Features of your vehicle
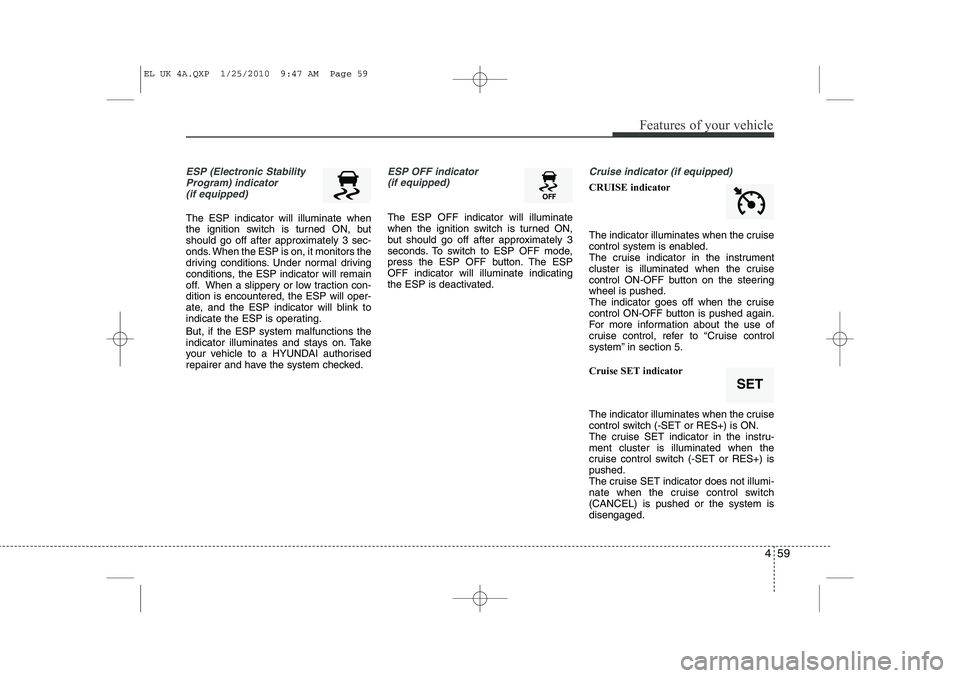
ESP (Electronic StabilityProgram) indicator(if equipped)
The ESP indicator will illuminate when
the ignition switch is turned ON, but
should go off after approximately 3 sec-
onds. When the ESP is on, it monitors the
driving conditions. Under normal driving
conditions, the ESP indicator will remain
off. When a slippery or low traction con-dition is encountered, the ESP will oper-
ate, and the ESP indicator will blink to
indicate the ESP is operating. But, if the ESP system malfunctions the
indicator illuminates and stays on. Take
your vehicle to a HYUNDAI authorised
repairer and have the system checked.
ESP OFF indicator (if equipped)
The ESP OFF indicator will illuminate
when the ignition switch is turned ON,
but should go off after approximately 3
seconds. To switch to ESP OFF mode,
press the ESP OFF button. The ESPOFF indicator will illuminate indicating
the ESP is deactivated.
Cruise indicator (if equipped)
CRUISE indicator
The indicator illuminates when the cruise
control system is enabled.
The cruise indicator in the instrument
cluster is illuminated when the cruise
control ON-OFF button on the steeringwheel is pushed.
The indicator goes off when the cruise
control ON-OFF button is pushed again.
For more information about the use of
cruise control, refer to “Cruise control
system” in section 5. Cruise SET indicator
The indicator illuminates when the cruise
control switch (-SET or RES+) is ON.
The cruise SET indicator in the instru-ment cluster is illuminated when the
cruise control switch (-SET or RES+) ispushed.
The cruise SET indicator does not illumi-
nate when the cruise control switch(CANCEL) is pushed or the system isdisengaged.
SET
EL UK 4A.QXP 1/25/2010 9:47 AM Page 59
Page 473 of 560
461
Features of your vehicle
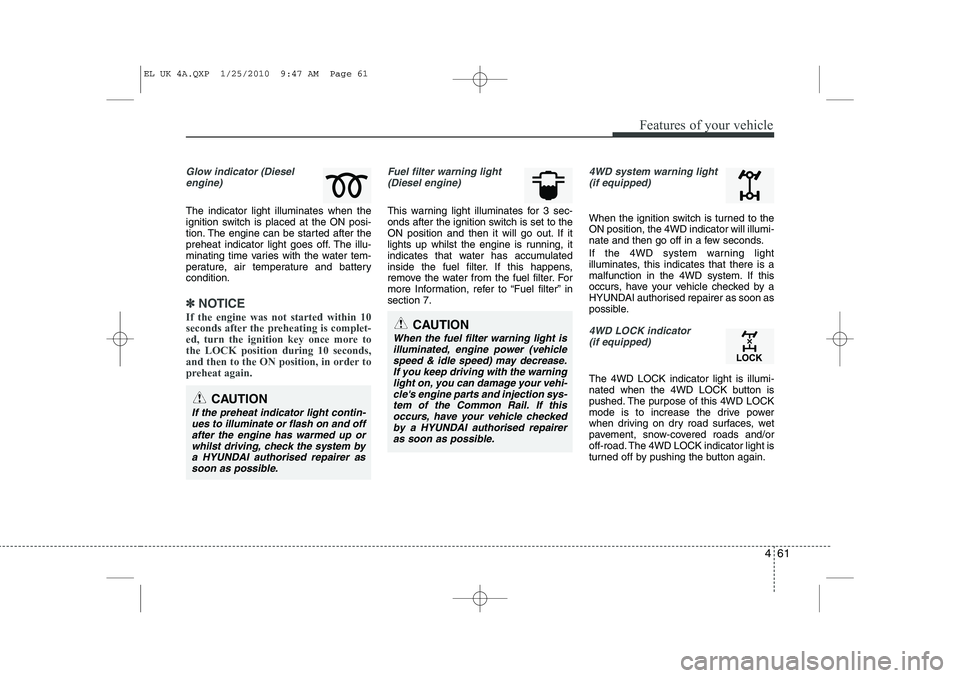
Glow indicator (Dieselengine)
The indicator light illuminates when the
ignition switch is placed at the ON posi-
tion. The engine can be started after the
preheat indicator light goes off. The illu-
minating time varies with the water tem-
perature, air temperature and batterycondition.
✽✽ NOTICE
If the engine was not started within 10
seconds after the preheating is complet-
ed, turn the ignition key once more tothe LOCK position during 10 seconds,
and then to the ON position, in order to
preheat again.
Fuel filter warning light (Diesel engine)
This warning light illuminates for 3 sec-
onds after the ignition switch is set to the
ON position and then it will go out. If it
lights up whilst the engine is running, it
indicates that water has accumulated
inside the fuel filter. If this happens,
remove the water from the fuel filter. For
more Information, refer to “Fuel filter” insection 7.
4WD system warning light (if equipped)
When the ignition switch is turned to the ON position, the 4WD indicator will illumi-
nate and then go off in a few seconds.
If the 4WD system warning light
illuminates, this indicates that there is a
malfunction in the 4WD system. If this
occurs, have your vehicle checked by a
HYUNDAI authorised repairer as soon as
possible.
4WD LOCK indicator (if equipped)
The 4WD LOCK indicator light is illumi-
nated when the 4WD LOCK button is
pushed. The purpose of this 4WD LOCK
mode is to increase the drive power
when driving on dry road surfaces, wet
pavement, snow-covered roads and/or
off-road. The 4WD LOCK indicator light is
turned off by pushing the button again.
CAUTION
When the fuel filter warning light is
illuminated, engine power (vehicle speed & idle speed) may decrease.If you keep driving with the warning
light on, you can damage your vehi-cle's engine parts and injection sys- tem of the Common Rail. If thisoccurs, have your vehicle checked by a HYUNDAI authorised repairer
as soon as possible.
CAUTION
If the preheat indicator light contin- ues to illuminate or flash on and off
after the engine has warmed up orwhilst driving, check the system bya HYUNDAI authorised repairer as soon as possible.
EL UK 4A.QXP 1/25/2010 9:47 AM Page 61
Page 501 of 560
489
Features of your vehicle
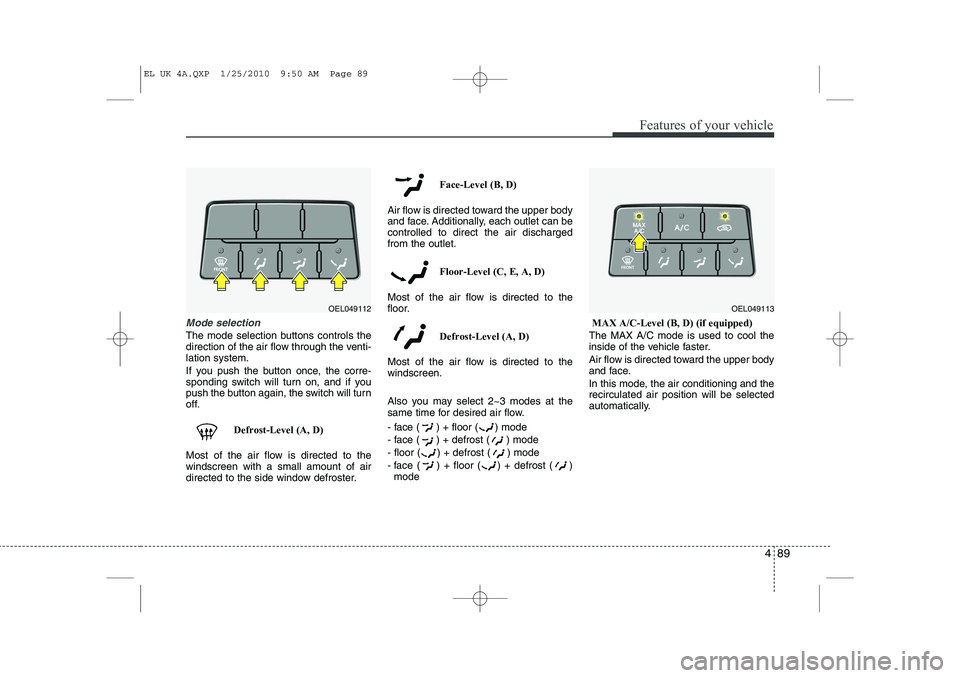
Mode selection
The mode selection buttons controls the
direction of the air flow through the venti-lation system.
If you push the button once, the corre-
sponding switch will turn on, and if you
push the button again, the switch will turn
off.Defrost-Level (A, D)
Most of the air flow is directed to thewindscreen with a small amount of air
directed to the side window defroster. Face-Level (B, D)
Air flow is directed toward the upper body
and face. Additionally, each outlet can becontrolled to direct the air dischargedfrom the outlet.
Floor-Level (C, E, A, D)
Most of the air flow is directed to the
floor.
Defrost-Level (A, D)
Most of the air flow is directed to thewindscreen.
Also you may select 2~3 modes at the
same time for desired air flow.
- face ( ) + floor ( ) mode
- face ( ) + defrost ( ) mode
- floor ( ) + defrost ( ) mode
- face ( ) + floor ( ) + defrost ( ) mode MAX A/C-Level (B, D) (if equipped)
The MAX A/C mode is used to cool the
inside of the vehicle faster.
Air flow is directed toward the upper body
and face.
In this mode, the air conditioning and the recirculated air position will be selected
automatically.
OEL049112OEL049113
EL UK 4A.QXP 1/25/2010 9:50 AM Page 89
Page 506 of 560
Features of your vehicle
94
4
Air conditioning system operation tips
If the vehicle has been parked in direct
sunlight during hot weather, open the
windows for a short time to let the hot
air inside the vehicle escape.
To help reduce moisture inside of the windows on rainy or humid days,
decrease the humidity inside the vehi-
cle by operating the air conditioningsystem.
During air conditioning system opera- tion, you may occasionally notice aslight change in engine speed as the
air conditioning compressor cycles.
This is a normal system operation
characteristic.
Use the air conditioning system every month only for a few minutes to ensure
maximum system performance. When using the air conditioning sys-
tem, you may notice clear water drip-
ping (or even puddling) on the ground
under the passenger side of the vehi-
cle. This is a normal system operation
characteristic.
Operating the air conditioning system in the recirculated air position provides
maximum cooling, however, continual
operation in this mode may cause the
air inside the vehicle to become stale.
During cooling operation, you may occasionally notice a misty air flow
because of rapid cooling and humid air
intake. This is a normal system opera-
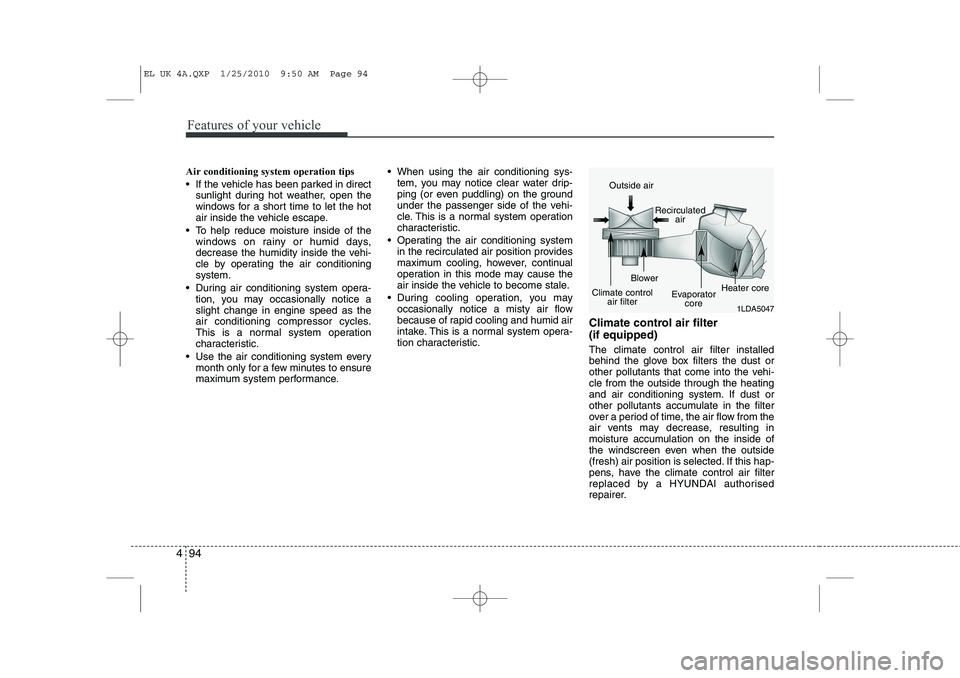
tion characteristic. Climate control air filter (if equipped) The climate control air filter installed
behind the glove box filters the dust or
other pollutants that come into the vehi-cle from the outside through the heating
and air conditioning system. If dust or
other pollutants accumulate in the filter
over a period of time, the air flow from the
air vents may decrease, resulting in
moisture accumulation on the inside of
the windscreen even when the outside
(fresh) air position is selected. If this hap-
pens, have the climate control air filter
replaced by a HYUNDAI authorised
repairer.
1LDA5047
Outside air
Recirculatedair
Climate control air filter Blower
Evaporatorcore Heater core
EL UK 4A.QXP 1/25/2010 9:50 AM Page 94
Page 510 of 560
Features of your vehicle
98
4
Manual heating and air condition- ing The heating and cooling system can be
controlled manually by pressing buttons
or turning knob(s) other than the AUTO
button. In this case, the system workssequentially according to the order of
buttons or knob(s) selected.
1. Start the engine.
2. Set the mode to the desired position.
For improving the effectiveness of heating and cooling;- Heating: - Cooling:
3. Set the temperature control to the desired position.
4. Set the air intake control to the outside (fresh) air position.
5. Set the fan speed control to the desired speed.
6. If air conditioning is desired, turn the air conditioning system on.
Press the AUTO button in order to con-
vert to full automatic control of the sys-tem.
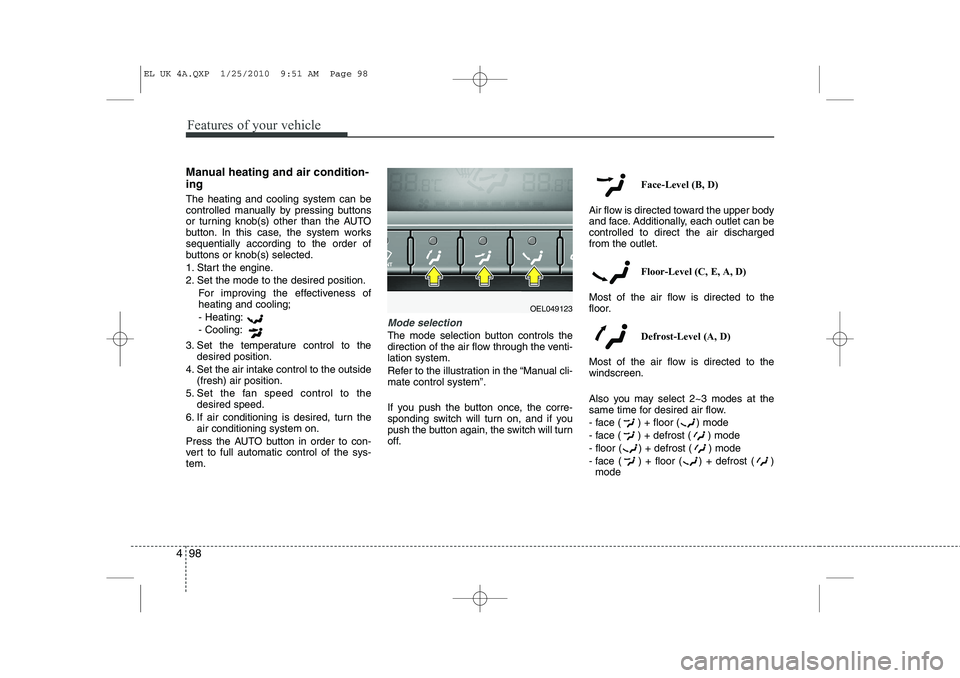
Mode selection
The mode selection button controls the
direction of the air flow through the venti-lation system.
Refer to the illustration in the “Manual cli- mate control system”.
If you push the button once, the corre-
sponding switch will turn on, and if you
push the button again, the switch will turn
off. Face-Level (B, D)
Air flow is directed toward the upper body
and face. Additionally, each outlet can becontrolled to direct the air dischargedfrom the outlet.
Floor-Level (C, E, A, D)
Most of the air flow is directed to the
floor.
Defrost-Level (A, D)
Most of the air flow is directed to thewindscreen.
Also you may select 2~3 modes at the
same time for desired air flow.
- face ( ) + floor ( ) mode
- face ( ) + defrost ( ) mode
- floor ( ) + defrost ( ) mode
- face ( ) + floor ( ) + defrost ( ) mode
OEL049123
EL UK 4A.QXP 1/25/2010 9:51 AM Page 98
Page 512 of 560
Features of your vehicle
100
4
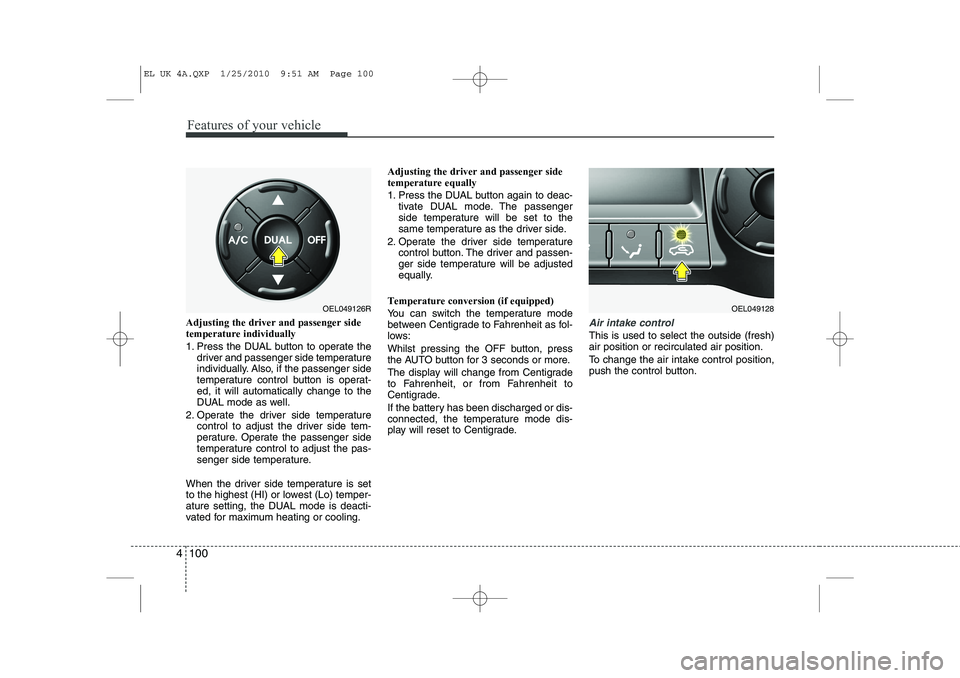
Adjusting the driver and passenger side temperature individually
1. Press the DUAL button to operate the
driver and passenger side temperature
individually. Also, if the passenger side
temperature control button is operat-ed, it will automatically change to the
DUAL mode as well.
2. Operate the driver side temperature control to adjust the driver side tem-
perature. Operate the passenger side
temperature control to adjust the pas-
senger side temperature.
When the driver side temperature is set
to the highest (HI) or lowest (Lo) temper-
ature setting, the DUAL mode is deacti-
vated for maximum heating or cooling. Adjusting the driver and passenger sidetemperature equally
1. Press the DUAL button again to deac-
tivate DUAL mode. The passenger
side temperature will be set to the
same temperature as the driver side.
2. Operate the driver side temperature control button. The driver and passen-
ger side temperature will be adjusted
equally.
Temperature conversion (if equipped)
You can switch the temperature mode
between Centigrade to Fahrenheit as fol-
lows:
Whilst pressing the OFF button, press
the AUTO button for 3 seconds or more.
The display will change from Centigrade
to Fahrenheit, or from Fahrenheit to
Centigrade.
If the battery has been discharged or dis-
connected, the temperature mode dis-
play will reset to Centigrade.Air intake control
This is used to select the outside (fresh) air position or recirculated air position.
To change the air intake control position,
push the control button.
OEL049126ROEL049128
EL UK 4A.QXP 1/25/2010 9:51 AM Page 100