Page 461 of 560

449
Features of your vehicle
Elapsed time
This mode indicates the total time trav-
eled since the last driving time reset.
Even if the vehicle is not in motion, the
driving time keeps going whilst the
engine is running.
The meter’s working range is from 0:00~99:59.
Pressing the TRIP button for more than 1
second, when the driving time is being
displayed, clears the driving time to zero(0:00).ECO ON/OFF mode (Petrol only, if equipped)
You can turn the ECO indicator on/off on
the instrument cluster in this mode.
If you push the TRIP button more than 1
second in the ECO ON mode, ECO OFF
is displayed in the screen and the ECO
indicator turns off whilst driving.
If you want to display the ECO indicator
again, press the TRIP button more than 1second in the ECO OFF mode and then
ECO ON mode is displayed in thescreen.
When you press the TRIP button less
than 1 second in the ECO mode, the
mode is changed to tripmeter.Warnings and indicators
All warning lights are checked by turning
the ignition switch ON (do not start the
engine). Any light that does not illuminate
should be checked by a HYUNDAI autho-
rised repairer.
After starting the engine, check to make
sure that all warning lights are off. If anyare still on, this indicates a situation that
needs attention. When releasing the
parking brake, the brake system warning
light should go off. The fuel warning light
will stay on if the fuel level is low.
OEL049327OEL049326
EL UK 4A.QXP 1/25/2010 9:46 AM Page 49
Page 512 of 560

Features of your vehicle
100
4
Adjusting the driver and passenger side temperature individually
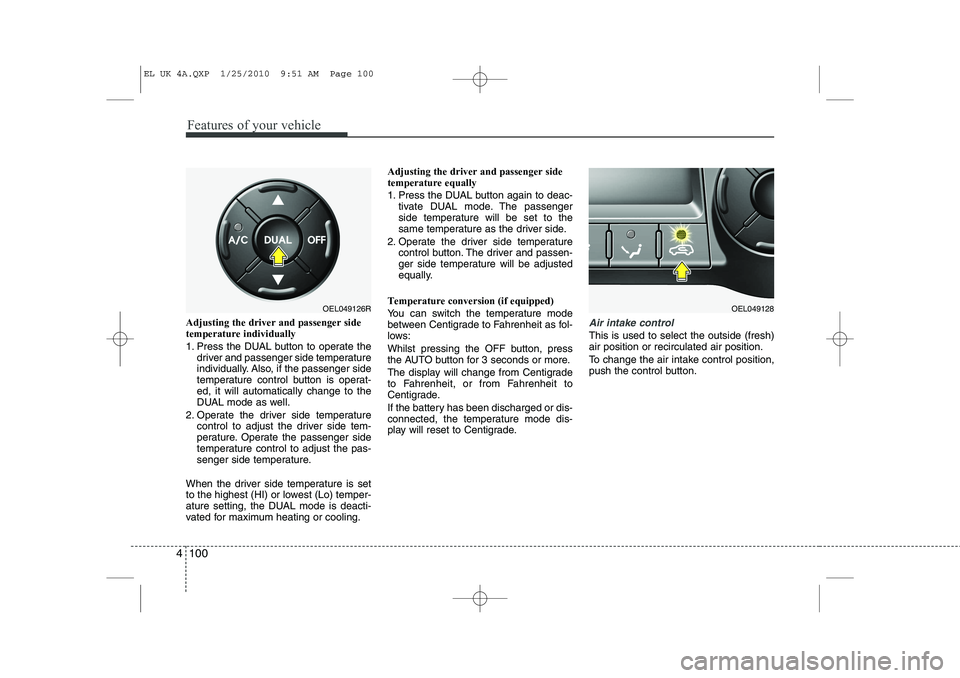
1. Press the DUAL button to operate the
driver and passenger side temperature
individually. Also, if the passenger side
temperature control button is operat-ed, it will automatically change to the
DUAL mode as well.
2. Operate the driver side temperature control to adjust the driver side tem-
perature. Operate the passenger side
temperature control to adjust the pas-
senger side temperature.
When the driver side temperature is set
to the highest (HI) or lowest (Lo) temper-
ature setting, the DUAL mode is deacti-
vated for maximum heating or cooling. Adjusting the driver and passenger sidetemperature equally
1. Press the DUAL button again to deac-
tivate DUAL mode. The passenger
side temperature will be set to the
same temperature as the driver side.
2. Operate the driver side temperature control button. The driver and passen-
ger side temperature will be adjusted
equally.
Temperature conversion (if equipped)
You can switch the temperature mode
between Centigrade to Fahrenheit as fol-
lows:
Whilst pressing the OFF button, press
the AUTO button for 3 seconds or more.
The display will change from Centigrade
to Fahrenheit, or from Fahrenheit to
Centigrade.
If the battery has been discharged or dis-
connected, the temperature mode dis-
play will reset to Centigrade.Air intake control
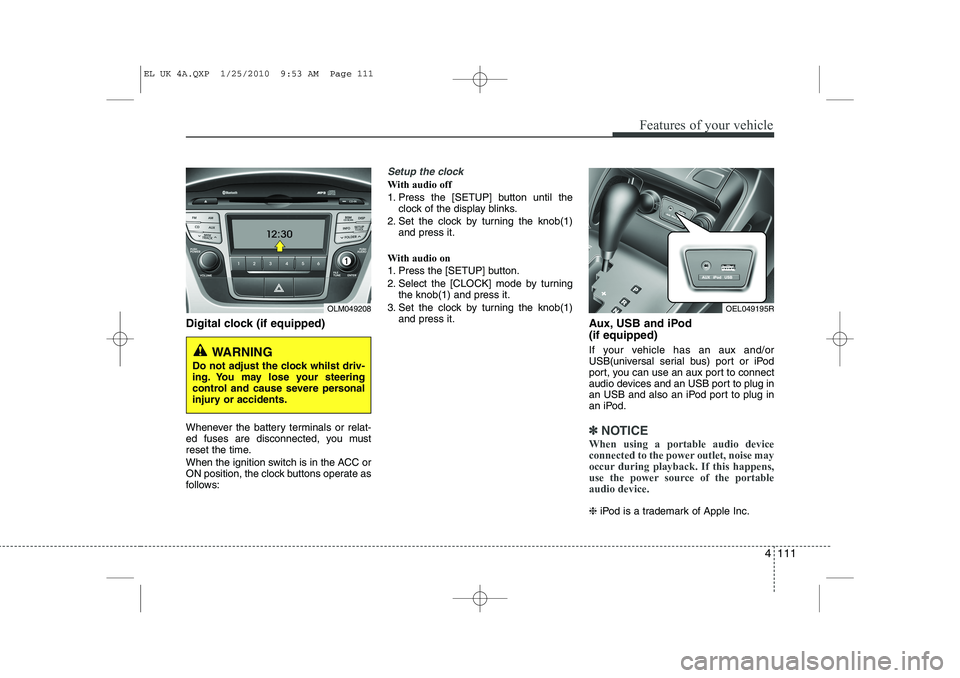
This is used to select the outside (fresh) air position or recirculated air position.
To change the air intake control position,
push the control button.
OEL049126ROEL049128
EL UK 4A.QXP 1/25/2010 9:51 AM Page 100
Page 523 of 560

4 111
Features of your vehicle
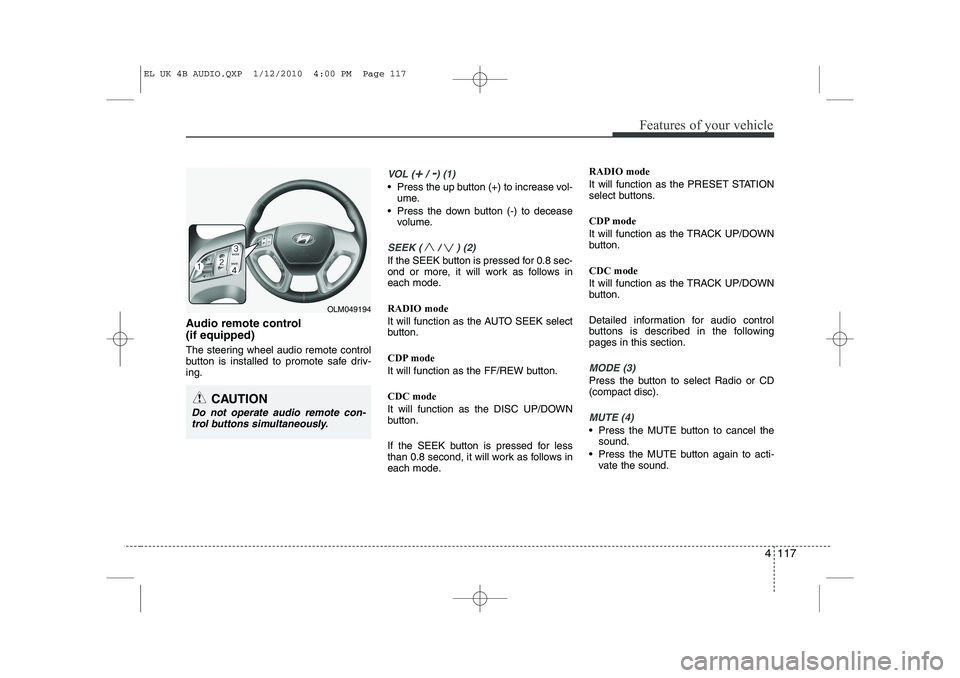
Digital clock (if equipped)
Whenever the battery terminals or relat-
ed fuses are disconnected, you must
reset the time.
When the ignition switch is in the ACC or
ON position, the clock buttons operate as
follows:
Setup the clock
With audio off
1. Press the [SETUP] button until theclock of the display blinks.
2. Set the clock by turning the knob(1) and press it.
With audio on
1. Press the [SETUP] button.
2. Select the [CLOCK] mode by turning the knob(1) and press it.
3. Set the clock by turning the knob(1) and press it. Aux, USB and iPod (if equipped)
If your vehicle has an aux and/or
USB(universal serial bus) port or iPod
port, you can use an aux port to connect
audio devices and an USB port to plug in
an USB and also an iPod port to plug in
an iPod.
✽✽NOTICE
When using a portable audio device
connected to the power outlet, noise may
occur during playback. If this happens,
use the power source of the portableaudio device.
❈ iPod is a trademark of Apple Inc.
OLM049208
WARNING
Do not adjust the clock whilst driv-
ing. You may lose your steering
control and cause severe personal
injury or accidents.
OEL049195R
EL UK 4A.QXP 1/25/2010 9:53 AM Page 111
Page 529 of 560

4 117
Features of your vehicle
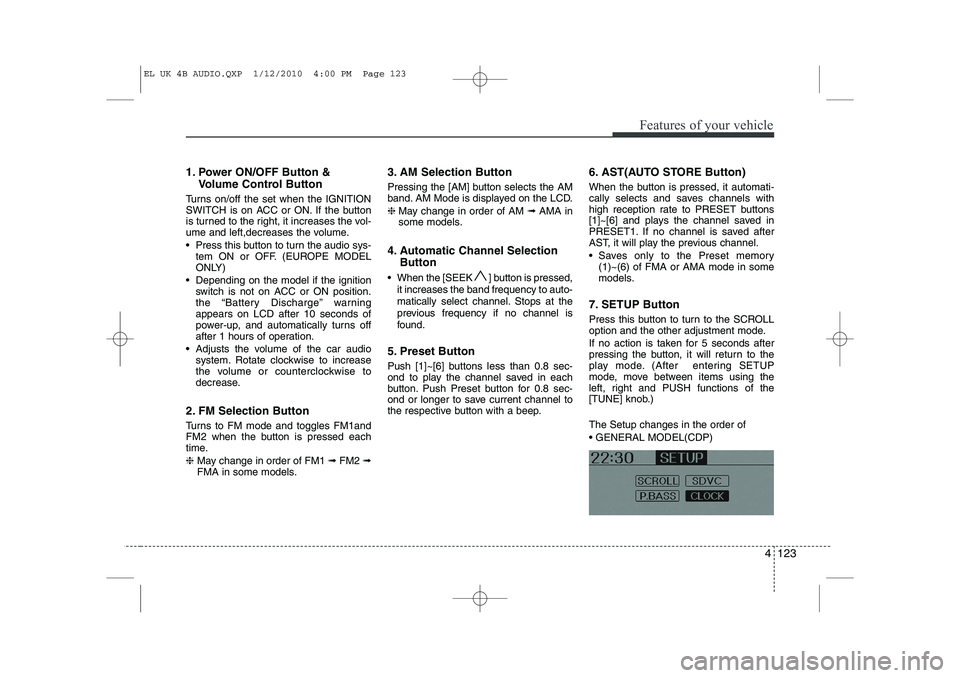
Audio remote control (if equipped)
The steering wheel audio remote control
button is installed to promote safe driv-ing.
VOL (+/ -) (1)
• Press the up button (+) to increase vol-ume.
Press the down button (-) to decease volume.
SEEK ( / ) (2)
If the SEEK button is pressed for 0.8 sec-
ond or more, it will work as follows in
each mode. RADIO mode
It will function as the AUTO SEEK select
button.
CDP mode
It will function as the FF/REW button. CDC mode
It will function as the DISC UP/DOWN
button.
If the SEEK button is pressed for less
than 0.8 second, it will work as follows in
each mode. RADIO mode
It will function as the PRESET STATION
select buttons.
CDP mode
It will function as the TRACK UP/DOWN
button. CDC mode
It will function as the TRACK UP/DOWN
button.
Detailed information for audio control
buttons is described in the followingpages in this section.
MODE (3)
Press the button to select Radio or CD (compact disc).
MUTE (4)
Press the MUTE button to cancel the
sound.
Press the MUTE button again to acti- vate the sound.
CAUTION
Do not operate audio remote con-
trol buttons simultaneously.
OLM049194
EL UK 4B AUDIO.QXP 1/12/2010 4:00 PM Page 117
Page 533 of 560
4 121
Features of your vehicle
1. Power ON/OFF Button & Volume ControlKnob
2. FM Selection Button
3. AM Selection Button
4. Automatic Channel Selection Button
5. Preset Button
6. AST (AUTO STORE Button)
7. SETUP Button
8. Manual Channel Selector & Sound Quality Control Knob
9. DISP (DARK) Button
RADIO, SET UP, VOLUME, AUDIO CONTROL (GENERAL)
❋
There will be no logo if the Bluetooth feature is not supported.
EL UK 4B AUDIO.QXP 1/12/2010 4:00 PM Page 121
Page 534 of 560
Features of your vehicle
122
4
RADIO, SET UP, VOLUME, AUDIO CONTROL (EUROPE_RDS)
1. Power ON/OFF Button & Volume ControlKnob
2. FM Selection Button
3. AM Selection Button
4. Automatic Channel Selection Button
5. Preset Button
6. AST (AUTO STORE Button)
7. SETUP Button
8. Manual Channel Selector & Sound Quality Control Knob
9. DISP (DARK) Button
10. TA Selection Button
11. PTY (FOLDER) Button
❋ There will be no logo if the Bluetooth feature is not supported.
EL UK 4B AUDIO.QXP 1/12/2010 4:00 PM Page 122
Page 535 of 560

4 123
Features of your vehicle
1. Power ON/OFF Button &Volume Control Button
Turns on/off the set when the IGNITION
SWITCH is on ACC or ON. If the button
is turned to the right, it increases the vol-
ume and left,decreases the volume.
Press this button to turn the audio sys- tem ON or OFF. (EUROPE MODEL
ONLY)
Depending on the model if the ignition switch is not on ACC or ON position.
the “Battery Discharge” warningappears on LCD after 10 seconds of
power-up, and automatically turns off
after 1 hours of operation.
Adjusts the volume of the car audio system. Rotate clockwise to increase
the volume or counterclockwise to
decrease.
2. FM Selection Button
Turns to FM mode and toggles FM1and
FM2 when the button is pressed each
time. ❈ May change in order of FM1 ➟FM2 ➟
FMA in some models. 3. AM Selection Button
Pressing the [AM] button selects the AM
band. AM Mode is displayed on the LCD. ❈
May change in order of AM ➟AMA in
some models.
4. Automatic Channel Selection Button
When the [SEEK ] button is pressed, it increases the band frequency to auto-
matically select channel. Stops at the
previous frequency if no channel is
found.
5. Preset Button
Push [1]~[6] buttons less than 0.8 sec-
ond to play the channel saved in each
button. Push Preset button for 0.8 sec-
ond or longer to save current channel to
the respective button with a beep. 6. AST(AUTO STORE Button)
When the button is pressed, it automati-
cally selects and saves channels with
high reception rate to PRESET buttons
[1]~[6] and plays the channel saved in
PRESET1. If no channel is saved after
AST, it will play the previous channel.
Saves only to the Preset memory
(1)~(6) of FMA or AMA mode in some
models.
7. SETUP Button
Press this button to turn to the SCROLL
option and the other adjustment mode.
If no action is taken for 5 seconds after
pressing the button, it will return to the
play mode. (After entering SETUP
mode, move between items using the
left, right and PUSH functions of the
[TUNE] knob.) The Setup changes in the order of GENERAL MODEL(CDP)
EL UK 4B AUDIO.QXP 1/12/2010 4:00 PM Page 123
Page 547 of 560
4 135
Features of your vehicle
1. INFO Selection Button
2. Track Moving Button
3. RANDOM Playback Button
4. REPEAT Button
5. iPod (AUX) Selection Button
6. PRESET 6 (MENU) Button
7. Search/ENTER Button
RUNNING iPod
®
(GENERAL)
iPod®
is a trademark of Apple Inc.
❋ There will be no logo if the Bluetooth feature is not supported.
EL UK 4B AUDIO.QXP 1/12/2010 4:01 PM Page 135