2011 Hyundai H-100 Truck change time
[x] Cancel search: change timePage 1 of 211
F1
All information in the Owner's Manual is current at the time of publication. Hyundai reserves the right to make changes at any time as part of our policy of continual product improvement may be carried out. This manual applies to current Hyundai models and explanations of optional as well as standard equipment are included. As a result, you may find material in this manual that does not apply to your specific vehicle. Please note that some models are equipped with Right-Hand Drive (RHD). The explanations and illustrations for some operations in RHD models areopposite of those written in this manual.
OWNER'S MANUAL A030A01O-GAT Operation Maintenance Specifications
Page 52 of 211
1FEATURES OF YOUR HYUNDAI
40
CAUTION:
Do not use electric accessories or equipment other than the Hyundai genuine parts in the socket.
!
Reset: Press the switch for more than 1 sec- ond to reset minutes to ":00" or to facilitate resetting the clock to the cor-rect time. When this is done: Pressing the switch between 9 : 01 and 9 : 29 changes the readout to 9 : 00. Pressing the switch between 9 : 30 and 9 : 59 changes the readout to 10 : 00.
!
CIGARETTE LIGHTER
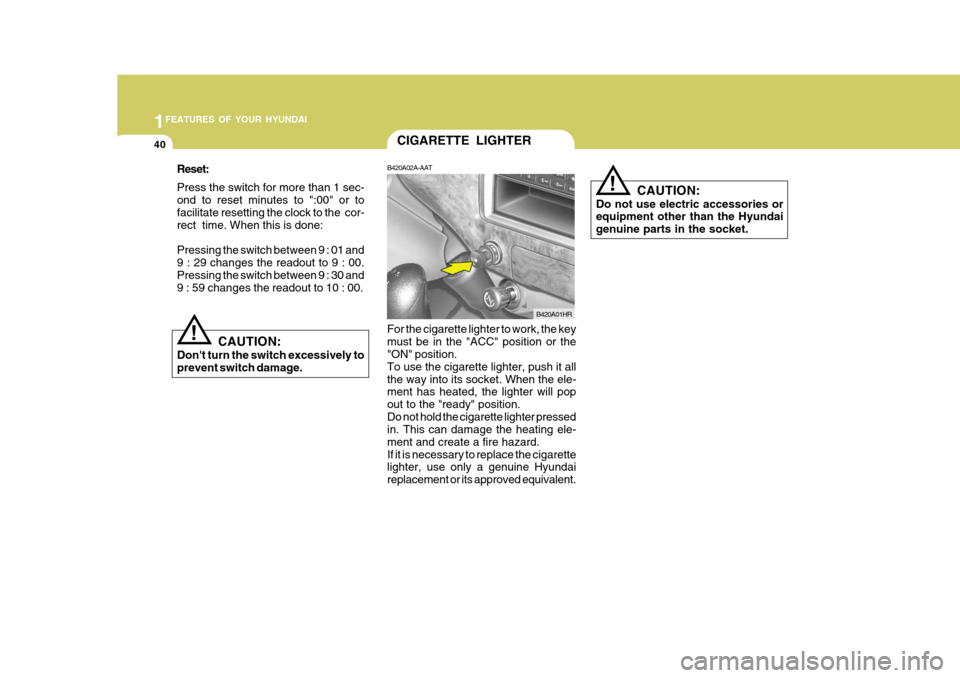
B420A02A-AAT For the cigarette lighter to work, the key must be in the "ACC" position or the "ON" position. To use the cigarette lighter, push it allthe way into its socket. When the ele- ment has heated, the lighter will pop out to the "ready" position.Do not hold the cigarette lighter pressed in. This can damage the heating ele- ment and create a fire hazard.If it is necessary to replace the cigarette lighter, use only a genuine Hyundai replacement or its approved equivalent. B420A01HR
CAUTION:
Don't turn the switch excessively toprevent switch damage.
Page 78 of 211
1FEATURES OF YOUR HYUNDAI
66
Care of discs
o When the temperature inside yourcar is high, open the window for ventilation, and then operate the unit.
o Be sure to use only the disc with the mark shown below. Depending onthe type of CD-R/RW CD, surfavecondition of the disc, as well as the performance and condition of the CD writer, certain CD-R/RW CD may notoperate normally on this unit.
o Take care not to cause any damage
to the surface of the disc when han-dling it. Hold the both ends of the disc or the disc hole and edge of the disc with your hand as shown in the fig-ure.
o Take care not to damage the surface
of the disc attached with the label.Do not attach any tape or paper to it. Keep in a case the discs which are not used.
o Wipe of f any dust or fingerprint on the playing face of the disc with asoft cloth before playback. (The wip-ing direction should be from the cen- ter to the outer sides as shown in the figure.) o Do not use any gasoline, thinner,
benzene or any other organic sol-vents to clean the unit. Use a dry cloth to clean the unit.
o Take care not to let any other objects than the CD player enter the CDloading slot. Do not load more than one CD at the same time.
NOTE - Playing a “copy pro- tected” non-conform- ing audio CD
Due to use of copy protection schemes of some audio CDs which are non conformance to international audio CDs standards(Red Book),these type of copy protected disc(s) may not play on this unit. In this case, please change the CDs be-cause the copy protected technol- ogy might be the reason for the re- sult above instead of audio malfunc-tion.
Page 80 of 211
1FEATURES OF YOUR HYUNDAI
68
1. Power/Volume This electronic encoder type button is used for power on/off, and controllingthe designations of the MODE button. You can always adjust the volume when the audio is turned on for the first timeor unless the MODE button is pressed separately. 2. Display (LCD) The LCD shows the radio reception information such as the AM, FM, ste- reo, CH No., reception frequency, vol- ume. 3. RADIO (FM/AM) Button Press this button to select FM1, FM2, AM. Press this button when using theCompact disc player to switch to radio operation. FM1 ➟ FM2 ➟ AM... 4. MODE Button
1) This button controls all the functions
related to the sound quality of the AUDIO.
2) When you press this button during operation of the audio, you can se-lect the functions in the followingorder. BAS ➟ TRE ➟ FAD ➟ BALL ➟
VOL...
❋ FAD function doesn't work becauseof no rear Speaker.
3) You can always control the volume when you turn on the audio for thefirst time or you do not press the MODE button separately.If you don’t change the selected function within 5 seconds, the func- tion becomes the volume function. 5. SCAN Button When you press the button, the fre- quency is changed and the next station is received automatically for 5 sec-onds. When you press this button again at this moment, you can receive the broad-casting that you choose. (If you don’t press this button, Auto scanning is continued.) 6. PRESET MEMORY Button The buttons labeled 1-6 can be preset for 12 FM and 6 AM stations. (12 FMand 6MW, 6LW stations available in Europe)
1) Select the desired band by pressing
the FM/AM button.
2) Select the station you want preset.
3) Press and hold one of the preset
buttons for at least 2 seconds.
4) When the channel number, such as
CH2, appears in the display, releasethe button.
5) Repeat steps 1) - 4) for each preset
button.
Page 98 of 211
2 DRIVING YOUR HYUNDAI
2
C010A01HR-GAT
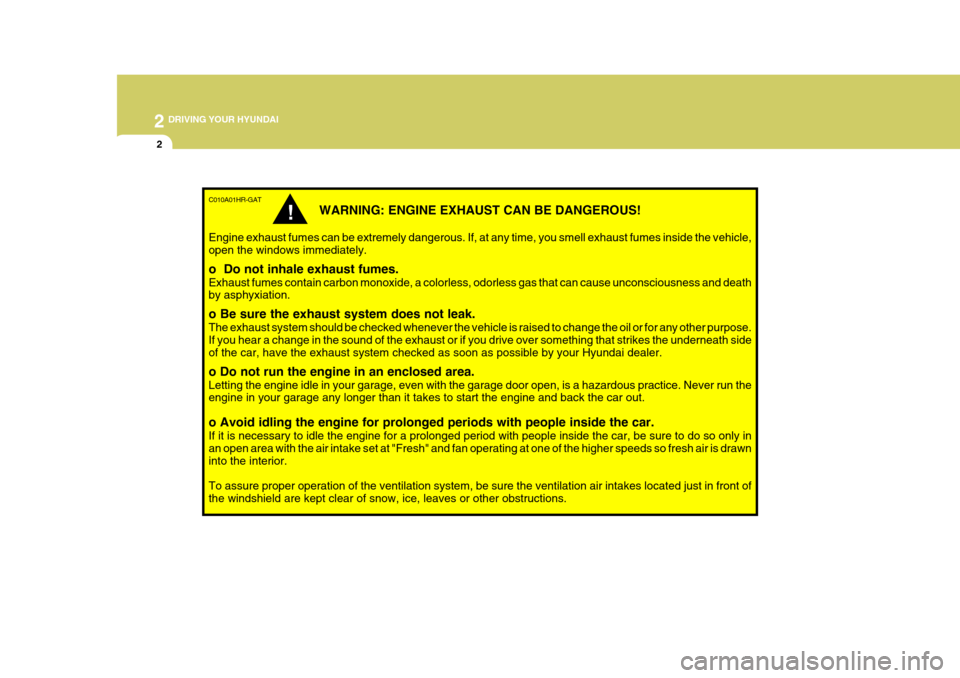
WARNING: ENGINE EXHAUST CAN BE DANGEROUS!
Engine exhaust fumes can be extremely dangerous. If, at any time, you smell exhaust fumes inside the vehicle, open the windows immediately. o Do not inhale exhaust fumes. Exhaust fumes contain carbon monoxide, a colorless, odorless gas that can cause unconsciousness and death by asphyxiation. o Be sure the exhaust system does not leak. The exhaust system should be checked whenever the vehicle is raised to change the oil or for any other purpose. If you hear a change in the sound of the exhaust or if you drive over something that strikes the underneath side of the car, have the exhaust system checked as soon as possible by your Hyundai dealer. o Do not run the engine in an enclosed area. Letting the engine idle in your garage, even with the garage door open, is a hazardous practice. Never run the engine in your garage any longer than it takes to start the engine and back the car out. o Avoid idling the engine for prolonged periods with people inside the car. If it is necessary to idle the engine for a prolonged period with people inside the car, be sure to do so only in an open area with the air intake set at "Fresh" and fan operating at one of the higher speeds so fresh air is drawn into the interior. To assure proper operation of the ventilation system, be sure the ventilation air intakes located just in front of the windshield are kept clear of snow, ice, leaves or other obstructions.
!
Page 114 of 211

2 DRIVING YOUR HYUNDAI
18
8. When parking your car and trailer,especially on a hill, be sure to fol- low all the normal precautions. Turn your front wheel into the curb, set the parking brake firmly, and putthe transmission in 1st or Reverse. In addition, place wheel chocks at each of the trailer's tires.
9. If the trailer has electric brakes, start your vehicle and trailer mov-ing, and then apply the trailer brakecontroller by hand to be sure the brakes are working. This lets you check your electrical connection atthe same time.
10. During your trip, check occasion-
ally to be sure that the load issecure, and that the lights and any trailer brakes are still working.
11. Avoid jerky starts, sudden accel- eration or sudden stops.
12. Avoid sharp turns and rapid lane
changes.
13. Avoid holding the brake pedal down too long or too frequently. This could cause the brakes to over-heat, resulting in reduced braking efficiency.
!WARNING:
Improperly loading your car and trailer can seriously affect its steer- ing and braking performance caus- ing a crash which could cause seri-ous injury or death. C190F01HR-GAT Trailer or Vehicle Towing Tips
1. Before towing, check hitch and
safety chain connections as well as proper operation of the trailer running lights, brake lights, and turn signals.
2. Always drive your vehicle at a mod- erate speed (Less than 100 km/h).
3. Trailer towing requires more fuel than normal conditions.
4. To maintain engine braking effi-
ciency, do not tow a trailer withtransmission in fifth gear.
5. Always secure items in the trailer
to prevent load shift while driving.
6. Check the condition and air pres- sure of all tires on the trailer andyour car. Low tire pressure canseriously affect the handling. Also check the spare tire.
7. The vehicle/trailer combination is more affected by crosswind andbuffeting. When being passed by a largevehicle, keep a constant speed and steer straight ahead. If there is too much wind buffeting, slow downto get out of the other vehicle's air turbulence.
Page 125 of 211
3 WHAT TO DO IN AN EMERGENCY
10
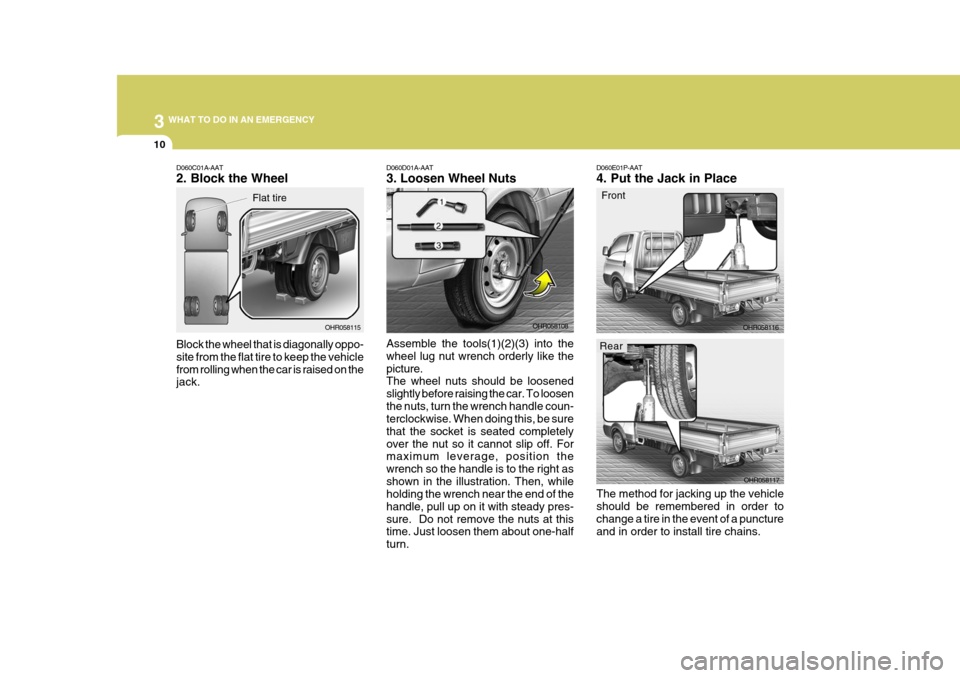
D060E01P-AAT 4. Put the Jack in Place
Front
The method for jacking up the vehicle should be remembered in order to change a tire in the event of a puncture and in order to install tire chains. OHR058116
OHR058117D060D01A-AAT 3. Loosen Wheel Nuts Assemble the tools(1)(2)(3) into the wheel lug nut wrench orderly like thepicture. The wheel nuts should be loosened slightly before raising the car. To loosenthe nuts, turn the wrench handle coun- terclockwise. When doing this, be sure that the socket is seated completelyover the nut so it cannot slip off. For maximum leverage, position the wrench so the handle is to the right asshown in the illustration. Then, while holding the wrench near the end of the handle, pull up on it with steady pres-sure. Do not remove the nuts at this time. Just loosen them about one-half turn. OHR058108D060C01A-AAT 2. Block the Wheel Block the wheel that is diagonally oppo- site from the flat tire to keep the vehiclefrom rolling when the car is raised on the jack.
OHR058115
Flat tire
Rear
Page 172 of 211
6
DO-IT-YOURSELF MAINTENANCE
21
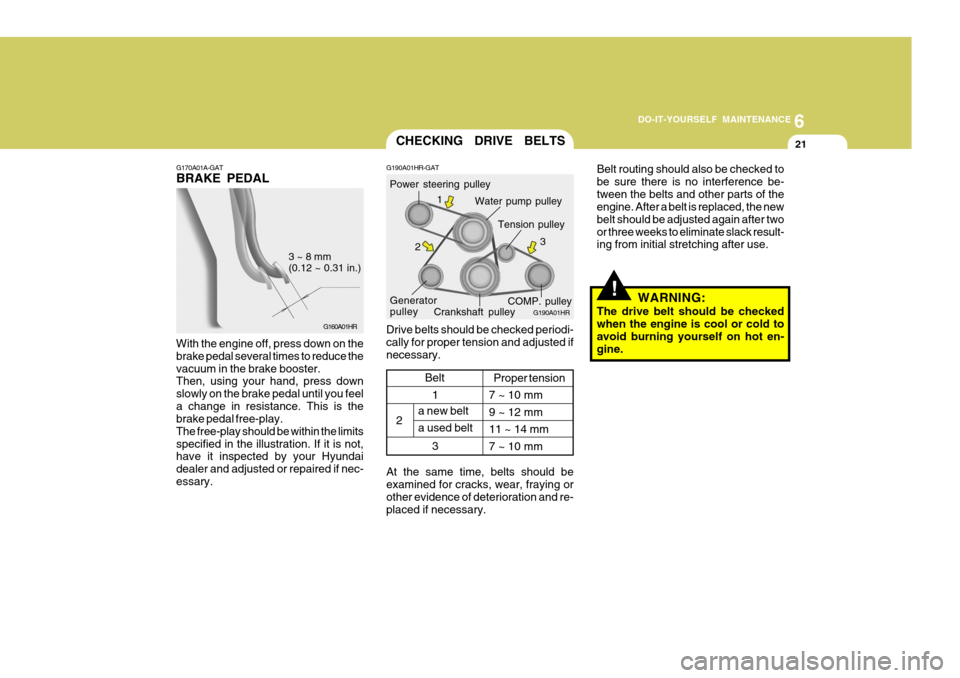
G170A01A-GAT BRAKE PEDAL
G160A01HR
3 ~ 8 mm (0.12 ~ 0.31 in.)
With the engine off, press down on the brake pedal several times to reduce thevacuum in the brake booster. Then, using your hand, press down slowly on the brake pedal until you feela change in resistance. This is the brake pedal free-play. The free-play should be within the limitsspecified in the illustration. If it is not, have it inspected by your Hyundai dealer and adjusted or repaired if nec-essary.
1
2
3
CHECKING DRIVE BELTS
Water pump pulley
G190A01HR-GAT
G190A01HR
Drive belts should be checked periodi- cally for proper tension and adjusted ifnecessary. Power steering pulley
Crankshaft pulley
Generator pulley Tension pulley
COMP. pulley
1
2 3
a new belt a used beltProper tension
7 ~ 10 mm9 ~ 12 mm11 ~ 14 mm7 ~ 10 mm
Belt
At the same time, belts should be examined for cracks, wear, fraying or other evidence of deterioration and re-placed if necessary.
!
Belt routing should also be checked to be sure there is no interference be-tween the belts and other parts of the engine. After a belt is replaced, the new belt should be adjusted again after twoor three weeks to eliminate slack result- ing from initial stretching after use. WARNING:
The drive belt should be checked when the engine is cool or cold to avoid burning yourself on hot en- gine.