2011 Hyundai H-1 (Grand Starex) key
[x] Cancel search: keyPage 161 of 338

491
Features of your vehicle
5. Best Station Memory (BSM)
Button
When the BSM button is pressed, the six
channels from the highest field intensity
are selected next and stored in memory.
The stations selected are stored in the
sequence frequency from the first preset
key.
6. EQ Button
Press the EQ button to select the CLAS-
SIC, POP, ROCK, JAZZ and OFF MODE
for the desired tone quality. Each press of
the button changes the display as fol-
lows;
7. PRESET STATION Select
Buttons
Six stations for AM(MW, LW), FM1 and
FM2 respectively can be preset in the
electronic memory circuit.
HOW TO PRESET STATIONS
Six AM(MW, LW) and twelve FM stations
may be programmed into the memory of
the radio. Then, by simply pressing the
AM(MW, LW) / FM select button and/or
one of the six station select buttons, you
may recall any of these stations instantly.
To program the stations, follow these
steps:
• Press AM(MW, LW)/FM selector to set
the band for AM(MW, LW), FM1 and
FM2.
• Select the desired station to be stored
by seek or manual tuning.
• Determine the preset station select
button you wish to use to access that
station.
• Press the station select button for more
than two seconds. A select button indi-
cator will show in the display indicating
which select button you have
depressed. The frequency display will
flash after it has been stored into the
memory. You should then release the
button, and proceed to program the
next desired station. A total of 24 sta-
tions can be programmed by selecting
one AM(MW, LW) and two FM station
per button.• When completed, any preset station
may be recalled by selecting AM(MW,
LW), FM1 or FM2 band and the appro-
priate station button.
8. AUDIO Mode select Button
Pressing the AUDIO Mode select button
changes the BASS, MIDDLE, TREBLE,
FADER and BALANCE mode. The mode
selected is shown on the display.
After selecting the each mode, rotate the
TUNE knob clockwise or counterclock-
wise.
CLASSIC➟POP➟ROCK➟JAZZ➟DEFEATCAUTION
• Do not place beverages close to
the audio system. The audio sys-
tem mechanism may be damaged
if you spill them.
• Do not strike or allow anything to
impact the audio system, damage
to the system mechanisms could
occur.
Page 176 of 338
Features of your vehicle
106 4
(Continued)
• If you use devices such as a USB
hub purchased separately, the
vehicle’s audio system may not
recognize the USB device. In that
case, connect the USB device
directly to the multimedia termi-
nal of the vehicle.
• If USB device is divided by logical
drives, only the music files on the
highest-priority drive are recog-
nized by car audio.
• Devices such as MP3 players, cel-
lular phones and digital cameras
may not be compatible with a
standard USB I/F.
• Some non-standard USB devices
(METAL COVER TYPE USB) can
be unrecognizable.
• Some USB flash memory readers
(such as CF, SD, microSD, etc.) or
external-HDD type devices can be
unrecognizable.
• Music files protected by DRM
(DIGITAL RIGHTS MANAGE-
MENT) are not recognizable.
(Continued)(Continued)
• The data in the USB memory may
be lost while using this audio.
Always back up important data on
a personal storage device.
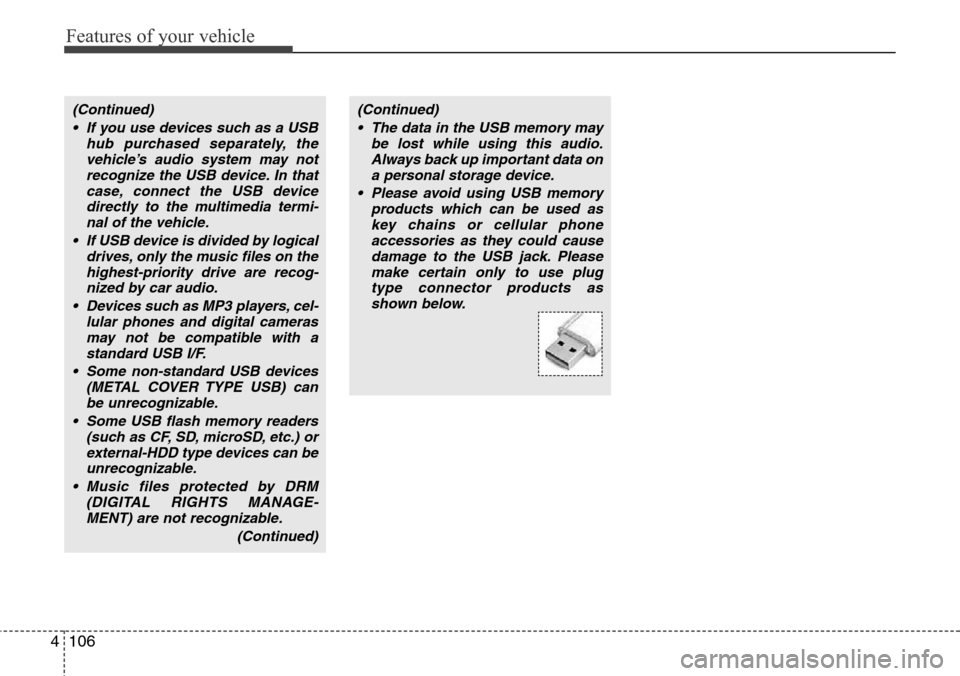
• Please avoid using USB memory
products which can be used as
key chains or cellular phone
accessories as they could cause
damage to the USB jack. Please
make certain only to use plug
type connector products as
shown below.
Page 185 of 338
4115
Features of your vehicle
(Continued)
• If you disconnect the external
USB device during playback in
USB mode, the external USB
device can be damaged or may
malfunction. Therefore, discon-
nect the external USB device
when the audio is turned off or in
another mode. (e.g, Radio or AUX)
• Depending on the type and
capacity of the external USB
device or the type of the files
stored in the device, there is a dif-
ference in the time taken for
recognition of the device.
• Do not use the USB device for
purposes other than playing
music files.
• Use of USB accessories such as
rechargers or heaters using USB
I/F may lower performance or
cause trouble.
• If you use devices such as a USB
hub purchased separately, the
vehicle’s audio system may not
recognize the USB device. In that
case, connect the USB device
directly to the multimedia termi-
nal of the vehicle.
(Continued)(Continued)
• If the USB device is divided by
logical drives, only the music files
on the highest-priority drive are
recognized by car audio.
• Devices such as MP3 Player/
Cellular phone/Digital camera can
be unrecognizable by standard
USB I/F can be unrecognizable.
• Some non-standard USB devices
(METAL COVER TYPE USB) can
be unrecognizable.
• Some USB flash memory readers
(such as CF, SD, microSD, etc.) or
external-HDD type devices can be
unrecognizable.
• Music files protected by DRM
(DIGITAL RIGHTS MANAGE-
MENT) are not recognizalbe.
• The data in the USB memory may
be lost while using this audio.
Always back up important data on
a personal storage device.
(Continued)(Continued)
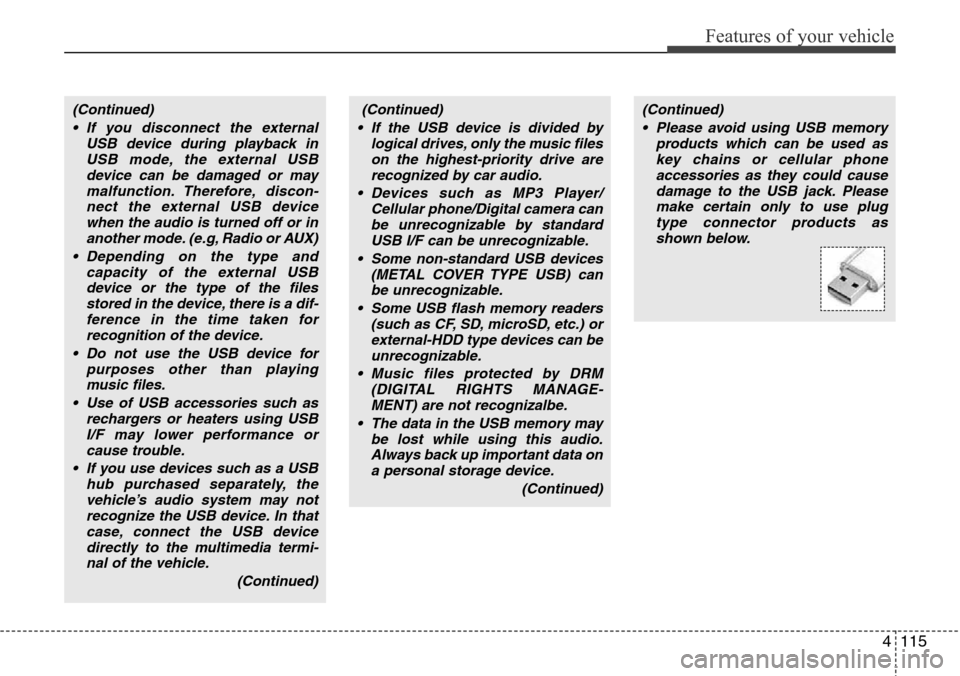
• Please avoid using USB memory
products which can be used as
key chains or cellular phone
accessories as they could cause
damage to the USB jack. Please
make certain only to use plug
type connector products as
shown below.
Page 189 of 338
5
Before driving / 5-3
Key positions / 5-4
Starting the engine / 5-6
Manual transmission / 5-8
Automatic transmission / 5-11
Brake system / 5-18
Locking differential / 5-28
Economical operation / 5-29
Special driving conditions / 5-31
Winter driving / 5-36
Trailer towing (for Europe) / 5-40
Vehicle weight / 5-47
Driving your vehicle
Page 192 of 338
Driving your vehicle
4 5
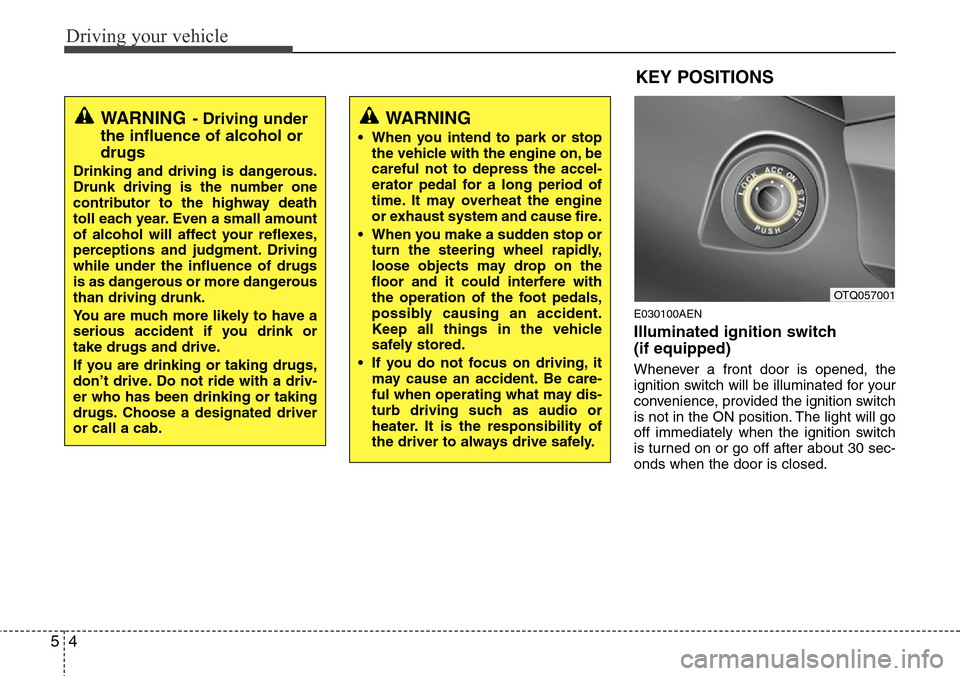
E030100AEN
Illuminated ignition switch
(if equipped)
Whenever a front door is opened, the
ignition switch will be illuminated for your
convenience, provided the ignition switch
is not in the ON position. The light will go
off immediately when the ignition switch
is turned on or go off after about 30 sec-
onds when the door is closed.
KEY POSITIONS
OTQ057001
WARNING- Driving under
the influence of alcohol or
drugs
Drinking and driving is dangerous.
Drunk driving is the number one
contributor to the highway death
toll each year. Even a small amount
of alcohol will affect your reflexes,
perceptions and judgment. Driving
while under the influence of drugs
is as dangerous or more dangerous
than driving drunk.
You are much more likely to have a
serious accident if you drink or
take drugs and drive.
If you are drinking or taking drugs,
don’t drive. Do not ride with a driv-
er who has been drinking or taking
drugs. Choose a designated driver
or call a cab.
WARNING
• When you intend to park or stop
the vehicle with the engine on, be
careful not to depress the accel-
erator pedal for a long period of
time. It may overheat the engine
or exhaust system and cause fire.
• When you make a sudden stop or
turn the steering wheel rapidly,
loose objects may drop on the
floor and it could interfere with
the operation of the foot pedals,
possibly causing an accident.
Keep all things in the vehicle
safely stored.
• If you do not focus on driving, it
may cause an accident. Be care-
ful when operating what may dis-
turb driving such as audio or
heater. It is the responsibility of
the driver to always drive safely.
Page 193 of 338
55
Driving your vehicle
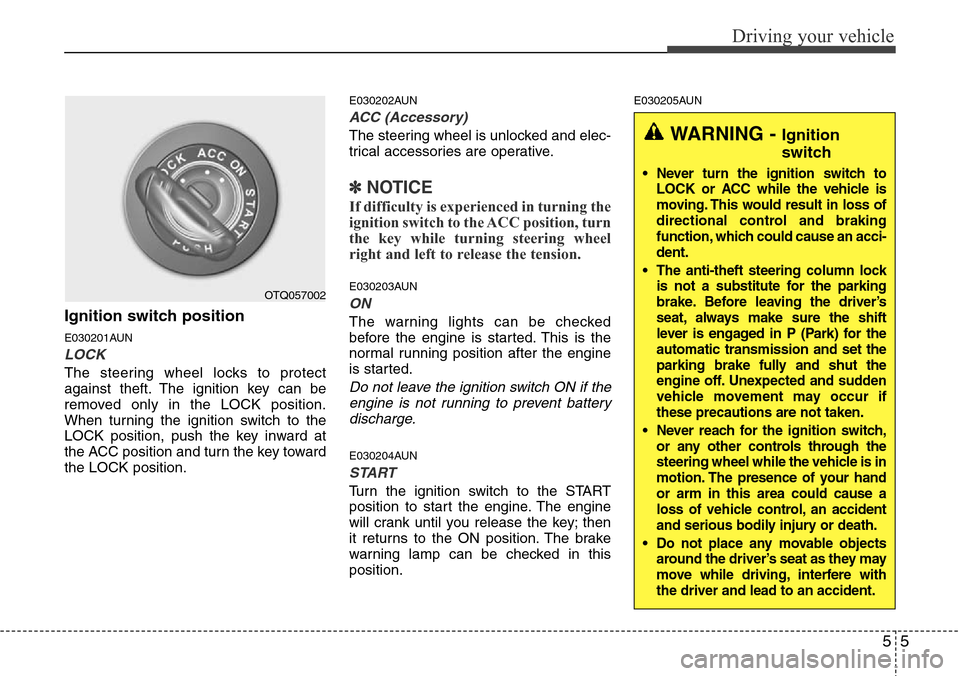
Ignition switch position
E030201AUN
LOCK
The steering wheel locks to protect
against theft. The ignition key can be
removed only in the LOCK position.
When turning the ignition switch to the
LOCK position, push the key inward at
the ACC position and turn the key toward
the LOCK position.
E030202AUN
ACC (Accessory)
The steering wheel is unlocked and elec-
trical accessories are operative.
✽NOTICE
If difficulty is experienced in turning the
ignition switch to the ACC position, turn
the key while turning steering wheel
right and left to release the tension.
E030203AUN
ON
The warning lights can be checked
before the engine is started. This is the
normal running position after the engine
is started.
Do not leave the ignition switch ON if the
engine is not running to prevent battery
discharge.
E030204AUN
START
Turn the ignition switch to the START
position to start the engine. The engine
will crank until you release the key; then
it returns to the ON position. The brake
warning lamp can be checked in this
position.
E030205AUN
WARNING - Ignition
switch
• Never turn the ignition switch to
LOCK or ACC while the vehicle is
moving. This would result in loss of
directional control and braking
function, which could cause an acci-
dent.
• The anti-theft steering column lock
is not a substitute for the parking
brake. Before leaving the driver’s
seat, always make sure the shift
lever is engaged in P (Park) for the
automatic transmission and set the
parking brake fully and shut the
engine off. Unexpected and sudden
vehicle movement may occur if
these precautions are not taken.
• Never reach for the ignition switch,
or any other controls through the
steering wheel while the vehicle is in
motion. The presence of your hand
or arm in this area could cause a
loss of vehicle control, an accident
and serious bodily injury or death.
• Do not place any movable objects
around the driver’s seat as they may
move while driving, interfere with
the driver and lead to an accident.
OTQ057002
Page 194 of 338
Driving your vehicle
6 5
E040000AUN
E040100AUN
Starting the gasoline engine
1. Make sure the parking brake is
applied.
2.Manual Transmission- Depress the
clutch pedal fully and shift the trans-
mission into Neutral. Keep the clutch
pedal and brake pedal depressed
while turning the ignition switch to the
start position.
Automatic Transmission- Place the
transmission shift lever in P (Park).
Depress the brake pedal fully.
You can also start the engine when
the shift lever is in the N (Neutral)
position.
3. Turn the ignition switch to START and
hold it there until the engine starts (a
maximum of 10 seconds), then
release the key.4. In extremely cold weather (below
-18°C / 0°F) or after the vehicle has
not been operated for several days, let
the engine warm up without depress-
ing the accelerator.
Whether the engine is cold or warm, it
should be started without depressing
the accelerator.
E040101AUN
Starting the diesel engine
To start the diesel engine when the
engine is cold, it has to be pre-heated
before starting the engine and then have
to be warmed up before starting to drive.
1. Make sure the parking brake is
applied.
2.Manual Transmission- Depress the
clutch pedal fully and shift the trans-
mission into Neutral. Keep the clutch
pedal and brake pedal depressed
while turning the ignition switch to the
start position.
Automatic Transmission- Place the
transmission shift lever in P(park).
Depress the brake pedal fully.
You can also start the engine when the
shift lever is in the N(neutral) position.
STARTING THE ENGINE
WARNING
Always wear appropriate shoes
when operating your vehicle.
Unsuitable shoes (high heels, ski
boots,etc.) may interfere with your
ability to use the brake and acceler-
ator pedal, and the clutch (if
equipped).
CAUTION
If the engine stalls while you are in
motion, do not attempt to move the
shift lever to the P (Park) position. If
traffic and road conditions permit,
you may put the shift lever in the N
(Neutral) position while the vehicle
is still moving and turn the ignition
switch to the START position in an
attempt to restart the engine.
CAUTION
Do not engage the starter for more
than 10 seconds. If the engine stalls
or fails to start, wait 5 to 10 seconds
before re-engaging the starter.
Improper use of the starter may
damage it.
Page 195 of 338
57
Driving your vehicle
3. Turn the ignition switch to the ON posi-
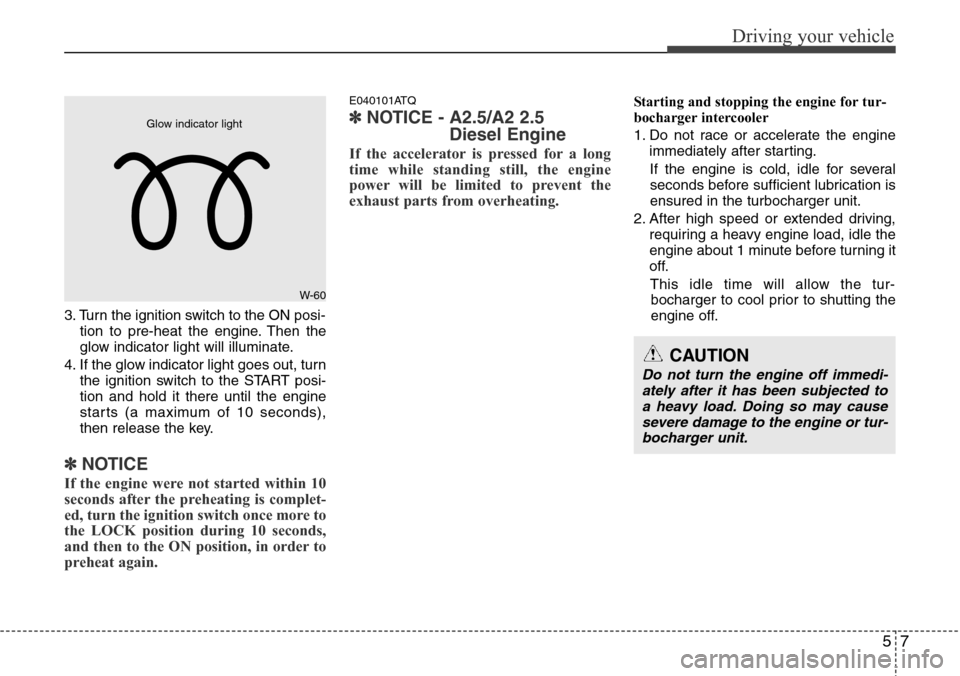
tion to pre-heat the engine. Then the
glow indicator light will illuminate.
4. If the glow indicator light goes out, turn
the ignition switch to the START posi-
tion and hold it there until the engine
starts (a maximum of 10 seconds),
then release the key.
✽ NOTICE
If the engine were not started within 10
seconds after the preheating is complet-
ed, turn the ignition switch once more to
the LOCK position during 10 seconds,
and then to the ON position, in order to
preheat again.
E040101ATQ
✽ NOTICE - A2.5/A2 2.5
Diesel Engine
If the accelerator is pressed for a long
time while standing still, the engine
power will be limited to prevent the
exhaust parts from overheating.
Starting and stopping the engine for tur-
bocharger intercooler
1. Do not race or accelerate the engine
immediately after starting.
If the engine is cold, idle for several
seconds before sufficient lubrication is
ensured in the turbocharger unit.
2. After high speed or extended driving,
requiring a heavy engine load, idle the
engine about 1 minute before turning it
off.
This idle time will allow the tur-
bocharger to cool prior to shutting the
engine off.
W-60
Glow indicator light
CAUTION
Do not turn the engine off immedi-
ately after it has been subjected to
a heavy load. Doing so may cause
severe damage to the engine or tur-
bocharger unit.