Page 179 of 369

�µ�µ �µ
�µ
�µ
�Û �Ý
You can use the preset buttons while
a card is playing to select or change
f iles. Each preset button’s f unction is
shownonthebottomof thescreen. Each time you press and
release (preset 6 button), the
player skips f orward to the
beginning of the next f ile. Press and
release (preset 5 button), to
skip backward to the beginning of
the current f ile. Press it again to skip
to the beginning of the previous file.
To move rapidly within
a f ile, press and hold (preset 4
button) or (preset 3 button). To continuously replay
a f ile, press and release the RPT
button (preset 1). You will see
TRACK REPEAT in the display.
Press the RPT button again to turn it
off.
This f eature, when
activated, replays all the files in the
selected f older/artist/album in the
order they are recorded or listed. To
activate each repeat mode, press and
hold the RPT button (preset 1) f or 2
seconds. You will see FOLDER
REPEAT, ARTIST REPEAT or
ALBUM REPEAT in the display.
The system continuously replays the
current f older/artist/album. Press
andholdtheRPTbuttonfor2
seconds again to turn it of f . Pressing
the RDM button, or selecting a
dif f erent f older/artist/album with
the TUNE bar also turns off the
repeat f eature.
Iconsonthescreencanalsobe
selected with the joystick. Move the
joystick lef t or right and up or down
until the icon is highlighted, then
press ENT on the top of the joystick
to select the icon. To
select a dif f erent f older, press either
side of the TUNE bar to move to the
beginning of the next f older. Press
the side of the TUNE bar to skip
the next f older, and press the side
to move to the beginning of the
current f older. Press it again to skip
to the beginning of the previous
f older.
CONT INUED
T o Change or Select T racks/FilesSK IP
FF/REW T RA CK REPEA T (FIL E
REPEAT)
FOLDER/ARTIST/ALBUM
REPEAT
FOLDER SELECTION
Playing a PC Card (Models with navigation system)
Features
175
PRESET BUTTONS
U.S. model is shown. PRESET BUTTON’S FUNCTION
Main Menu
Page 185 of 369

�Î
�Î
�Î
To play an audio unit connected to
the auxiliary input jack or the USB
adapter cable when a PC card is
playing, touch the AUX or USB icon.
If you turn the system of f while a PC
card is playing, either with the
power/volume knob or by turning
of f the ignition switch, the card will
stay in the drive. When you turn the
system back on, the card will begin
playing where it lef t of f . When you leave the vehicle, always
remove the PC card from the audio
unit.
To remove a PC card from the audio
unit, f old back the screen by
pressing the OPEN button (see page
). Press the eject button ( )
to remove the card. If you do not
remove it f rom the slot, you cannot
return the screen to the upright
position.
To return the screen to the upright
position, press the CLOSE button.
You can also eject a card when the
ignition switch is of f . If there is a problem with the PC
card player, see your dealer.
U.S. models only
To play the radio when a PC card is
playing, press the AM/FM button or
touch the FM1, FM2, AM, XM1 , or
XM2 icon. If a disc is in the audio
unit, press the CD/XM button or
touch the CD icon to play the disc.
Touch the CARD icon to switch back
to the PC card player.
: 162
Playing a PC Card (Models with navigation system)
T o Stop Playing a PC Card
PC Card Player Malf unction
Removing a PC Card
Features
181
Main Menu
Page 188 of 369

iPods compatible with your audio
system using the USB adapter cable
are:
This audio system can select and
play the audio f iles on the iPod
with
the same controls used f or the in-
dash disc player. To play an iPod,
connect it to the USB adapter cable
in the console compartment by using
your dock connector. Press the
AUDIO button beside the screen to
show the audio display and touch the
AUX icon. The ignition switch must
be in the ACCESSORY (I) or ON (II)
position. The iPod will also be
recharged with the ignition switch in
these positions.
You can also select an icon by
moving the joystick. Move it to lef t,
right, up, or down to change the
highlighting and scroll through lists,
then press ENT on the top of the
joystick to set your selection. To select the USB mode without
using the icon, press the CD/XM
button repeatedly. The status bar
appears on the bottom of the screen.
The audio system reads and plays
playable sound f iles on the iPod. The
system cannot operate an iPod as a
mass storage device. The system will
only play songs stored on the iPod
with iTunes.
iPod and iTunes are registered
trademarks owned by Apple Inc.
You can select the AUX mode by
using the navigation system voice
control buttons, but cannot operate
theplaymodefunctions.
Model
iPod classic
(80/160 G)
iPod classic
(120 G)
iPod with video
(iPod 5th
generation)
iPod nano
iPod nano
2nd generation
iPod nano
3rd generation
iPod nano
4th generation
iPod nano
5th generation
iPod touch
iPod touch
2nd generation Sof tware
Ver. 1.1.2 or more
Ver. 2.0.1 or more
Ver. 1.3.0 or more
Ver. 1.3.1 or more
Ver. 1.1.3 or more
Ver. 1.1.3 or more
Ver. 1.0.3 or more
Ver. 1.0.1 or more
Ver. 1.1.5 or more
Ver. 2.2.1 or more
To Play an iPod
Playing an iPod(Models wit h navigation system)
Voice Cont rol Syst em
184
Main Menu
Page 191 of 369
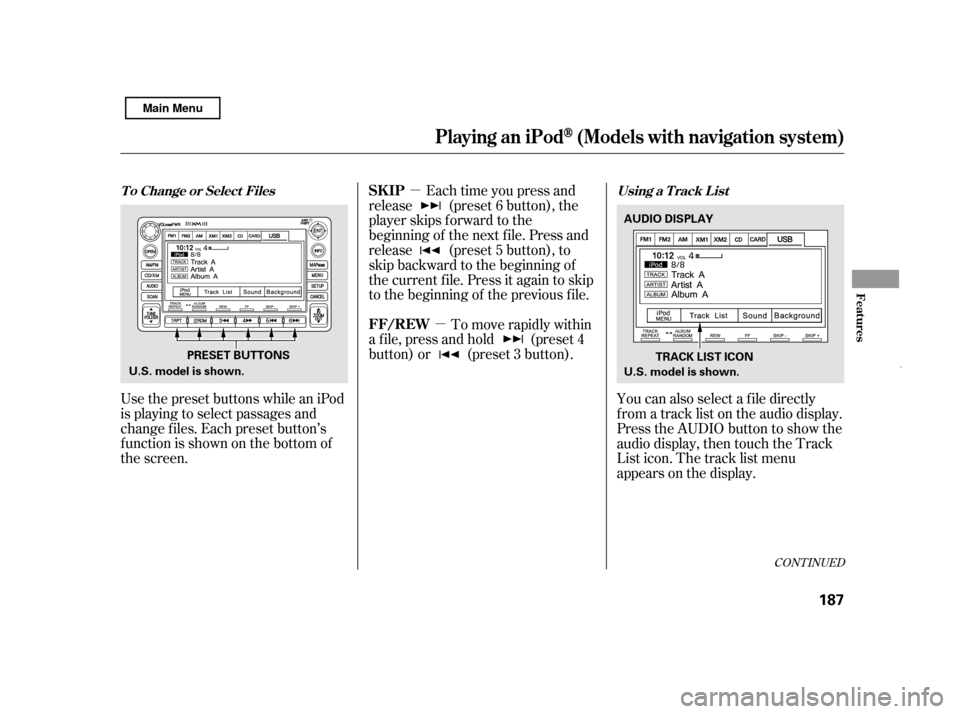
�µ�µ
CONT INUED
Use the preset buttons while an iPod
is playing to select passages and
change f iles. Each preset button’s
f unction is shown on the bottom of
the screen. Each time you press and
release (preset 6 button), the
player skips f orward to the
beginning of the next f ile. Press and
release (preset 5 button), to
skip backward to the beginning of
the current f ile. Press it again to skip
to the beginning of the previous file.
To move rapidly within
a f ile, press and hold (preset 4
button) or (preset 3 button).
You can also select a file directly
f rom a track list on the audio display.
Press the AUDIO button to show the
audio display, then touch the Track
List icon. The track list menu
appears on the display.
Playing an iPod(Models wit h navigation system)
T o Change or Select Files Using a T rack L istSK IP
FF/REW
Features
187
PRESET BUTTONS
AUDIO DISPLAY
TRACK LIST ICON
U.S. model is shown. U.S. model is shown.
Main Menu
Page 198 of 369

�Î
�Î
You can also select an icon by
moving the joystick. Move it to lef t,
right, up, or down to change the
highlighting and scroll through lists,
then press ENT on the top of the
joystick to set your selection. The audio system reads and plays
the audio f iles on the USB f lash
memory device in MP3, WMA or
AAC f ormats. Depending on the
f ormat, the display shows MP3,
WMA or AAC when a USB flash
memory device is playing. The USB
f lash memory device limit is up to
700 f olders or up to 65535 f iles.
To select the USB mode without
using the icon, press the CD/XM
button repeatedly. The status bar
appears on the bottom of the screen.
Only AAC f ormat f iles recorded
with iTunes are playable on this
audio unit.
This audio system can select and
play the audio f iles f rom a USB f lash
memory device with the same
controls used f or the in-dash disc
player. To play a USB f lash memory
device, connect it to the USB adapter
cable in the console compartment.
The ignition switch must be in the
ACCESSORY (I) or ON (II) position.
Press the AUDIO button beside the
screen to show the audio display and
touch the AUX icon.
The recommended USB f lash
memory devices are 256 MB or
higher, and f ormatted with the FAT
f ile system. Some digital audio
players may be compatible as well.
Some USB f lash memory devices
(such as devices with security lock-
out f eatures, etc.) will not work in
this audio unit.
:
Playing a USB Flash Memory Device (Models wit h navigation system)
To Play a USB Flash Memory
Device 194
Main Menu
Page 201 of 369
�µ�µ
CONT INUED
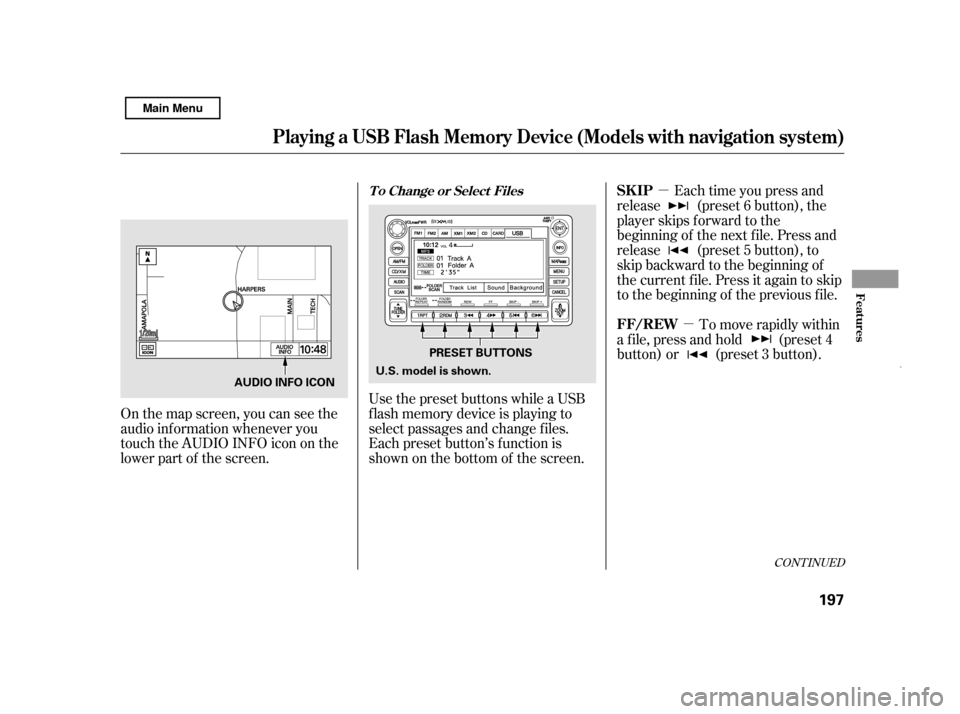
On the map screen, you can see the
audio inf ormation whenever you
touch the AUDIO INFO icon on the
lower part of the screen. Use the preset buttons while a USB
f lash memory device is playing to
select passages and change f iles.
Each preset button’s f unction is
shownonthebottomof thescreen. Each time you press and
release (preset 6 button), the
player skips f orward to the
beginning of the next f ile. Press and
release (preset 5 button), to
skip backward to the beginning of
the current f ile. Press it again to skip
to the beginning of the previous file.
To move rapidly within
a f ile, press and hold (preset 4
button) or (preset 3 button).
Playing a USB Flash Memory Device (Models wit h navigation system)
T o Change or Select FilesSK IP
FF/REW
Features
197
AUDIO INFO ICON
PRESET BUTTONS
U.S. model is shown.
Main Menu
Page 210 of 369

When a disc is not being played,
store it in its case to protect it f rom
dust and other contamination. To
prevent warpage, keep discs out of
direct sunlight and extreme heat.
To clean a disc, use a clean sof t cloth.
Wipe across the disc f rom the center
to the outside edge.
A new disc may be rough on the
inner and outer edges. The small
plastic pieces causing this roughness
can f lake of f and f all on the
recording surf ace of the disc,
causing skipping or other problems.
Remove these pieces by rubbing the
inner and outer edges with the side
of a pencil or pen.Handle a disc by its edges; never
touch either surf ace. Do not place
stabilizer rings or labels on the disc.
These, along with contamination
f rom f inger prints, liquids, and f elt-
tip pens, can cause the disc to not
play properly, or possibly jam in the
drive.
When recording a CD-R or
CD-RW, the recording must be
closedforittobeusedbythe
system.
When using CD-R or CD-RW discs,
use only high quality discs labeled
f or audio use.
Never try to insert f oreign objects in
the disc player.
Handle your discs properly to
prevent damage and skipping.
Play only standard round discs.
Odd-shaped discs may jam in the
driveorcauseotherproblems.
General Inf ormation Protecting Discs
Protecting Your Discs
206
Do not use discs with adhesive labels.
The label can curl up and cause the
disc to jam in the unit.
Main Menu
Page 211 of 369
The in-dash disc player/changer has
a sophisticated and delicate
mechanism. If you insert a damaged
disc as indicated in this section, it
maybecomestuckinsideand
damage the audio unit.
Examples of these discs are shown
to the right:Bubbled, wrinkled, labeled, and excessively thick discs
Damaged discs Poor quality discs
1.
2. 3.
CONT INUED
Additional Inf ormation on
Recommended Discs
Protecting Your Discs
Features
207
Sealed
Warped Burrs
Chipped/ Cracked With Label/Sticker
With Plastic
Ring
Using Printer
Label Kit
Bubbled/
Wrinkled
Main Menu