2011 FORD SUPER DUTY manual transmission
[x] Cancel search: manual transmissionPage 255 of 441

•The TBC interacts with the brake system of the vehicle, including
ABS, in order to reduce the likelihood of trailer wheel lockup.
Therefore, if these systems are not functioning properly the TBC may
not function at full performance.
•When the vehicle is turned off, the TBC Output is disabled and the
display is shut down. Reactivation of the ignition from off to on will
awaken the TBC module.
•The TBC is only a factory or dealer installed item. Ford is not
responsible for warranty or performance of the TBC due to misuse or
customer installation.
•Do not attempt removal of the TBC without consulting the
Workshop Manual.Damage to the unit may result.
Trailer lamps
Trailer lamps are required on most towed vehicles. Make sure all running
lights, brake lights, turn signals and hazard lights are working. Contact
your authorized dealer or trailer rental agency for proper instructions
and equipment for hooking-up trailer lamps.
Driving while you tow
When towing a trailer:
•Consult your local motor vehicle laws for towing a trailer.
•Do not drive faster than 70 mph (113 km/h) during the first 500 miles
(800 km) of trailer towing and don’t make full-throttle starts.
•Turn off the speed control. The speed control may shut off
automatically when you are towing on long, steep grades.
•Activate the tow/haul feature to eliminate excessive transmission
shifting and assist in transmission cooling. For additional information,
refer toAutomatic transmission operationin theDrivingchapter.
•Allow more distance for stopping with a trailer attached; anticipate
stops and brake gradually.
•Your vehicle may be equipped with a temporary or conventional spare
tire. If the spare tire is different in size (diameter and/or width), tread
type (All-Season or All-Terrain) or is from a different manufacturer
other than the road tires on your vehicle, your spare tire is considered
“temporary”. Consult information on the Tire Label or Safety
Compliance Certification Label for limitations when using.
Tires, Wheels and Loading
255
2011 F-250/350/450/550(f23)
Owners Guide, 1st Printing
USA(fus)
Page 258 of 441
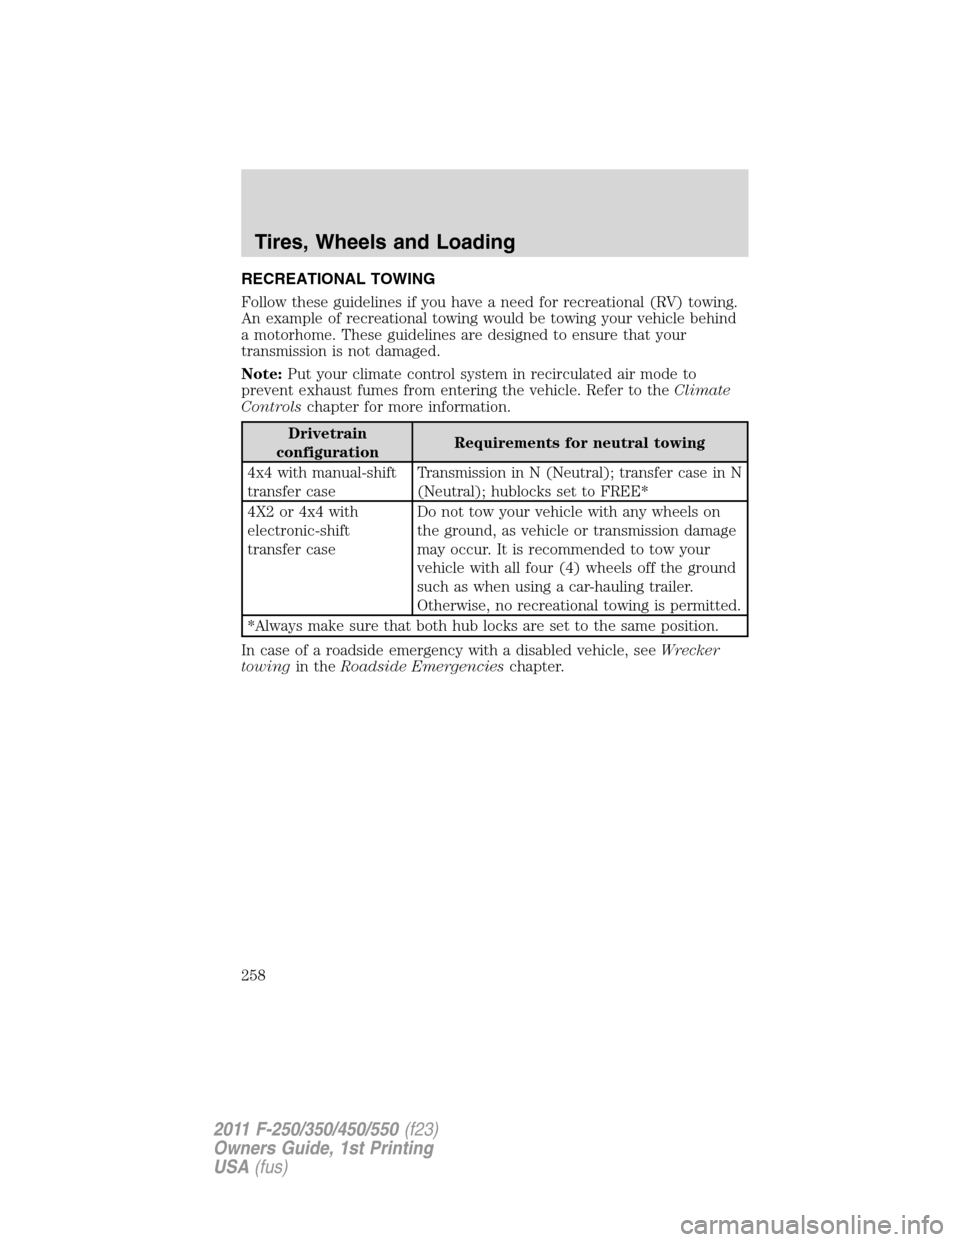
RECREATIONAL TOWING
Follow these guidelines if you have a need for recreational (RV) towing.
An example of recreational towing would be towing your vehicle behind
a motorhome. These guidelines are designed to ensure that your
transmission is not damaged.
Note:Put your climate control system in recirculated air mode to
prevent exhaust fumes from entering the vehicle. Refer to theClimate
Controlschapter for more information.
Drivetrain
configurationRequirements for neutral towing
4x4 with manual-shift
transfer caseTransmission in N (Neutral); transfer case in N
(Neutral); hublocks set to FREE*
4X2 or 4x4 with
electronic-shift
transfer caseDo not tow your vehicle with any wheels on
the ground, as vehicle or transmission damage
may occur. It is recommended to tow your
vehicle with all four (4) wheels off the ground
such as when using a car-hauling trailer.
Otherwise, no recreational towing is permitted.
*Always make sure that both hub locks are set to the same position.
In case of a roadside emergency with a disabled vehicle, seeWrecker
towingin theRoadside Emergencieschapter.
Tires, Wheels and Loading
258
2011 F-250/350/450/550(f23)
Owners Guide, 1st Printing
USA(fus)
Page 285 of 441
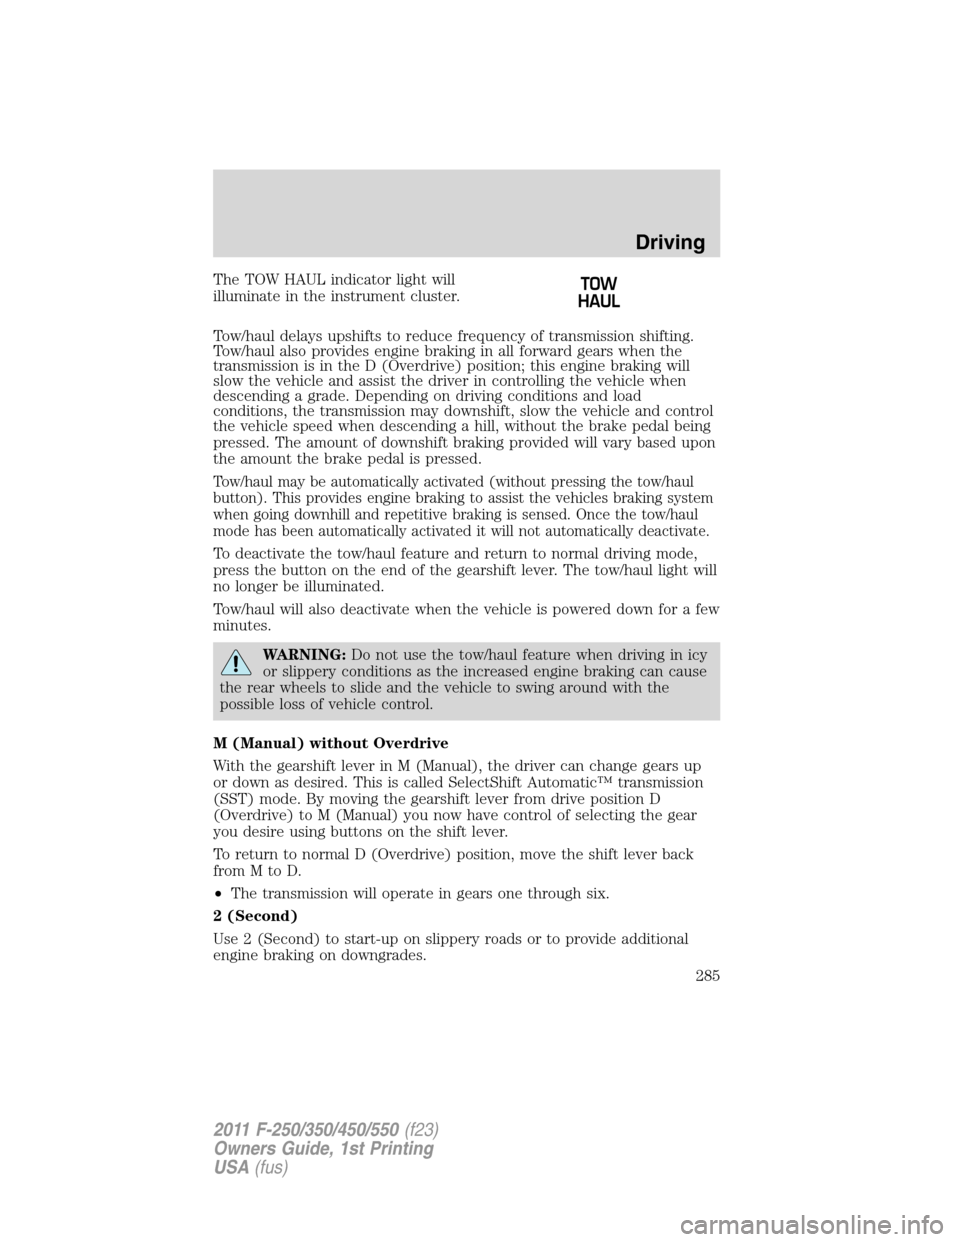
The TOW HAUL indicator light will
illuminate in the instrument cluster.
Tow/haul delays upshifts to reduce frequency of transmission shifting.
Tow/haul also provides engine braking in all forward gears when the
transmission is in the D (Overdrive) position; this engine braking will
slow the vehicle and assist the driver in controlling the vehicle when
descending a grade. Depending on driving conditions and load
conditions, the transmission may downshift, slow the vehicle and control
the vehicle speed when descending a hill, without the brake pedal being
pressed. The amount of downshift braking provided will vary based upon
the amount the brake pedal is pressed.
Tow/haul may be automatically activated (without pressing the tow/haul
button). This provides engine braking to assist the vehicles braking system
when going downhill and repetitive braking is sensed. Once the tow/haul
mode has been automatically activated it will not automatically deactivate.
To deactivate the tow/haul feature and return to normal driving mode,
press the button on the end of the gearshift lever. The tow/haul light will
no longer be illuminated.
Tow/haul will also deactivate when the vehicle is powered down for a few
minutes.
WARNING:Do not use the tow/haul feature when driving in icy
or slippery conditions as the increased engine braking can cause
the rear wheels to slide and the vehicle to swing around with the
possible loss of vehicle control.
M (Manual) without Overdrive
With the gearshift lever in M (Manual), the driver can change gears up
or down as desired. This is called SelectShift Automatic™ transmission
(SST) mode. By moving the gearshift lever from drive position D
(Overdrive) to M (Manual) you now have control of selecting the gear
you desire using buttons on the shift lever.
To return to normal D (Overdrive) position, move the shift lever back
fromMtoD.
•The transmission will operate in gears one through six.
2 (Second)
Use 2 (Second) to start-up on slippery roads or to provide additional
engine braking on downgrades.
Driving
285
2011 F-250/350/450/550(f23)
Owners Guide, 1st Printing
USA(fus)
Page 286 of 441
1 (First)
•Provides maximum engine braking.
•Allows upshifts by moving gearshift lever.
•The transmission will not downshift into 1 (First) at high speeds; it
will downshift to a lower gear and then shift into 1 (First) when the
vehicle reaches slower speeds.
Forced downshifts
•Allowed in D (Overdrive).
•Press the accelerator to the floor.
•Allows transmission to select an appropriate gear.
Understanding your SelectShift Automatic™ transmission (SST)
gearshift lever
This vehicle is equipped with a SelectShift Automatic™ transmission
(SST) gearshift lever. The SST is an automatic transmission with the
ability for the driver to change gears up or down (without a clutch) as
desired.
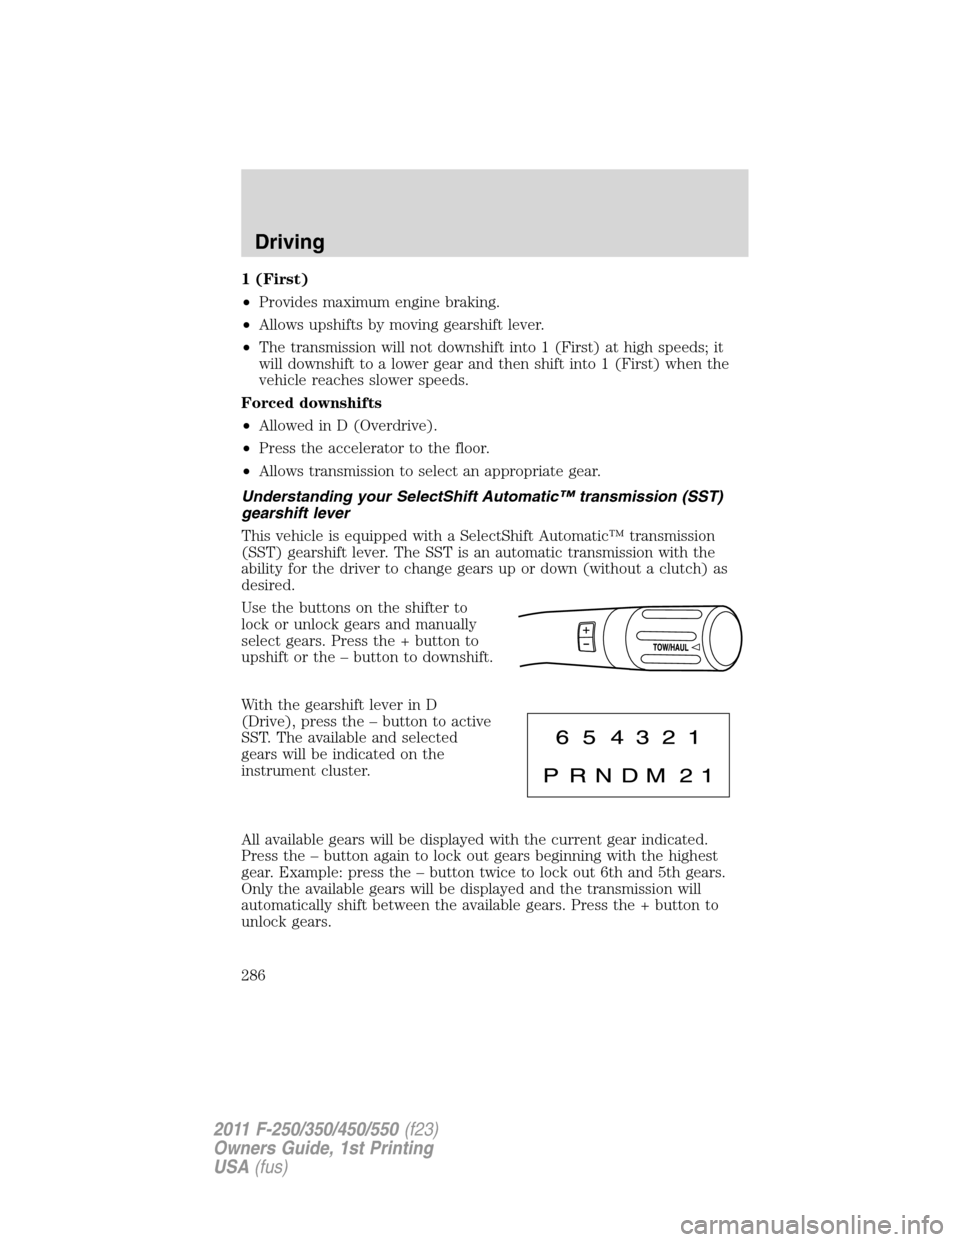
Use the buttons on the shifter to
lock or unlock gears and manually
select gears. Press the + button to
upshift or the – button to downshift.
With the gearshift lever in D
(Drive), press the – button to active
SST. The available and selected
gears will be indicated on the
instrument cluster.
All available gears will be displayed with the current gear indicated.
Press the – button again to lock out gears beginning with the highest
gear. Example: press the – button twice to lock out 6th and 5th gears.
Only the available gears will be displayed and the transmission will
automatically shift between the available gears. Press the + button to
unlock gears.
Driving
286
2011 F-250/350/450/550(f23)
Owners Guide, 1st Printing
USA(fus)
Page 287 of 441
By moving the gearshift lever from the D (Drive) position to the M
(Manual) position you may now manually select the gear you desire.
Only the current gear will be displayed. Press the + button or the –
button to upshift or downshift. If the – button is pressed at a vehicle
speed that would cause an engine overspeed, the requested gear will
flash then disappear and the transmission will remain in the current gear.
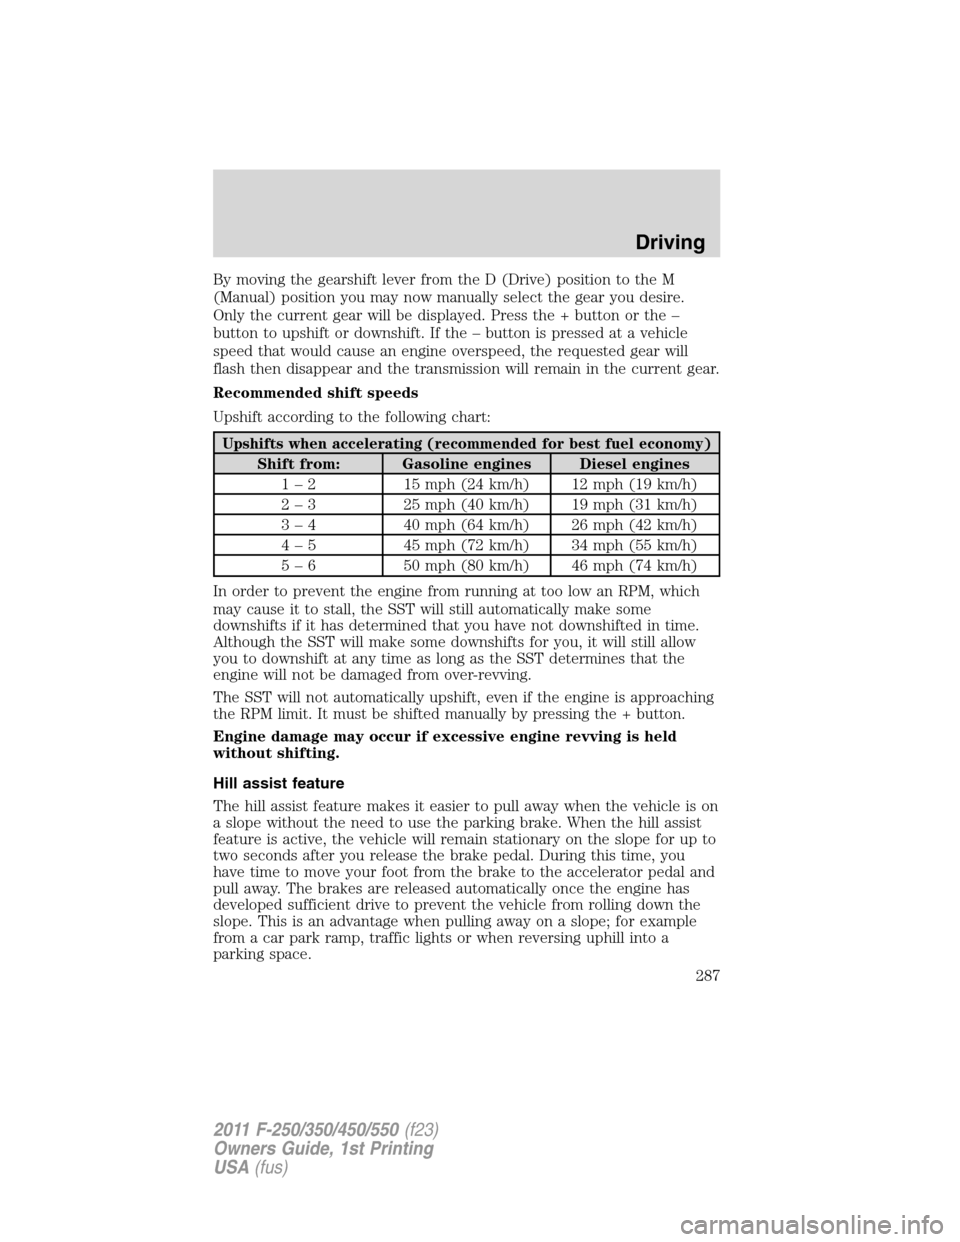
Recommended shift speeds
Upshift according to the following chart:
Upshifts when accelerating (recommended for best fuel economy)
Shift from: Gasoline engines Diesel engines
1 – 2 15 mph (24 km/h) 12 mph (19 km/h)
2 – 3 25 mph (40 km/h) 19 mph (31 km/h)
3 – 4 40 mph (64 km/h) 26 mph (42 km/h)
4 – 5 45 mph (72 km/h) 34 mph (55 km/h)
5 – 6 50 mph (80 km/h) 46 mph (74 km/h)
In order to prevent the engine from running at too low an RPM, which
may cause it to stall, the SST will still automatically make some
downshifts if it has determined that you have not downshifted in time.
Although the SST will make some downshifts for you, it will still allow
you to downshift at any time as long as the SST determines that the
engine will not be damaged from over-revving.
The SST will not automatically upshift, even if the engine is approaching
the RPM limit. It must be shifted manually by pressing the + button.
Engine damage may occur if excessive engine revving is held
without shifting.
Hill assist feature
The hill assist feature makes it easier to pull away when the vehicle is on
a slope without the need to use the parking brake. When the hill assist
feature is active, the vehicle will remain stationary on the slope for up to
two seconds after you release the brake pedal. During this time, you
have time to move your foot from the brake to the accelerator pedal and
pull away. The brakes are released automatically once the engine has
developed sufficient drive to prevent the vehicle from rolling down the
slope. This is an advantage when pulling away on a slope; for example
from a car park ramp, traffic lights or when reversing uphill into a
parking space.
Driving
287
2011 F-250/350/450/550(f23)
Owners Guide, 1st Printing
USA(fus)
Page 299 of 441
Shifting to/from 4L (4X4 low)
1. Bring the vehicle to a speed of 3 mph (5 km/h) or less.
2. Place the transmission in N (Neutral).
3. Move the 4WD control to the desired position.
The message center will display4X4 SHIFT IN PROGRESSduring the
shift. The message center will then display the system mode selected. If
any of the above shift conditions are not met, the shift will not occur and
the message center will display information guiding the driver through
the proper shifting procedures.
IfSHIFT DELAYED PULL FORWARDis displayed in the message
center, transfer case gear tooth blockage is present. To alleviate this
condition, place the transmission in a forward gear, move the vehicle
forward approximately 5 feet (1.5 m), and shift the transmission back to
neutral to allow the transfer case to complete the range shift.
Note:Some noise may be heard as the system shifts or engages; this is
normal.
Note:4x4 low mode is not intended for use on dry pavement.
Driving off-road with truck and utility vehicles
4WD vehicles are specially equipped for driving on sand, snow, mud and
rough terrain and have operating characteristics that are somewhat
different from conventional vehicles, both on and off the road.
Your vehicle may be equipped with a long front air dam that may become
damaged (due to reduced ground clearance) when taking your vehicle
off-road. This air dam can either be removed or a shorter air dam can be
purchased from your authorized dealer. In either case, if the air dam is
to be removed (or replaced) before going off-road, refer to the
Workshop Manualfor the procedure or have your authorized dealer
perform the work for you.
How your vehicle differs from other vehicles
Truck and utility vehicles can differ from some other vehicles. Your
vehicle may be higher to allow it to travel over rough terrain without
getting hung up or damaging underbody components.
The differences that make your vehicle so versatile also make it handle
differently than an ordinary passenger car.
Maintain steering wheel control at all times, especially in rough terrain.
Since sudden changes in terrain can result in abrupt steering wheel
motion, make sure you grip the steering wheel from the outside. Do not
grip the spokes.
Driving
299
2011 F-250/350/450/550(f23)
Owners Guide, 1st Printing
USA(fus)
Page 308 of 441
•The Total Accessory Reserve Capacity (TARC) is shown on the lower
right side of the vehicle’s Safety Compliance Certification Label. This
applies to Ford-completed vehicles of 10,000 lb. (4,536 kg) GVWR or
less. This is the weight of permanently-attached auxiliary equipment,
such as snowplow frame-mounting hardware, that can be added to the
vehicle and satisfy Ford compliance certification to FMVSS. Exceeding
this weight may require the auxiliary equipment installer additional
safety certification responsibility. The Front Accessory Reserve
Capacity (FARC) is added for customer convenience.
•Rear ballast weight behind the rear axle may be required to prevent
exceeding the FGAWR, and provide front-to-rear weight balance for
proper braking and steering.
•Front wheel toe may require re-adjustment to prevent premature
uneven tire wear. Specifications are found in the FordWorkshop
Manual.
•Headlight aim may require re-adjustment.
•The tire air pressures recommended for general driving are found on
the vehicle’s Safety Certification Label. The maximum cold inflation
pressure for the tire and associated load rating is imprinted on the tire
sidewall. Tire air pressure may require re-adjustment within these
pressure limits to accommodate the additional weight of the snowplow
installation.
•Federal and some local regulations require additional exterior lamps
for snowplow-equipped vehicles. Consult your authorized dealer for
additional information.
Operating the vehicle with the snowplow attached
Do not use your vehicle for snow removal until it has been driven at
least 500 miles (800 km).
The attached snowplow blade restricts airflow to the radiator, and may
cause the engine to run at a higher temperature: Attention to engine
temperature is especially important when outside temperatures are
above freezing. Angle the blade to maximize airflow to the radiator and
monitor engine temperature to determine whether a left or right angle
provides the best performance.
Follow the severe duty schedule in yourscheduled maintenance
informationfor engine oil and transmission fluid change intervals.
Driving
308
2011 F-250/350/450/550(f23)
Owners Guide, 1st Printing
USA(fus)
Page 326 of 441
Spare tire information
Note:If your vehicle is equipped the tire pressure monitoring system
(TPMS), the system indicator light will illuminate when the spare is in
use. To restore the full functionality of the TPMS system, all road wheels
equipped with the tire pressure monitoring sensors must be mounted on
the vehicle.
If your vehicle is equipped with TPMS, have a flat tire serviced by an
authorized dealer in order to prevent damage to the TPMS sensor; refer
toTire Pressure Monitoring System (TPMS)in theTires, Wheel and
Loadingchapter. Replace the spare tire with the road tire as soon as
possible.
Stopping and securing the vehicle
WARNING:To help prevent the vehicle from moving when you
change a tire, be sure the parking brake is set, then block (in
both directions) the wheel that is diagonally opposite to the tire being
changed.
Refer to the instruction sheet (located under the jack tool kit) for
detailed tire change instructions.
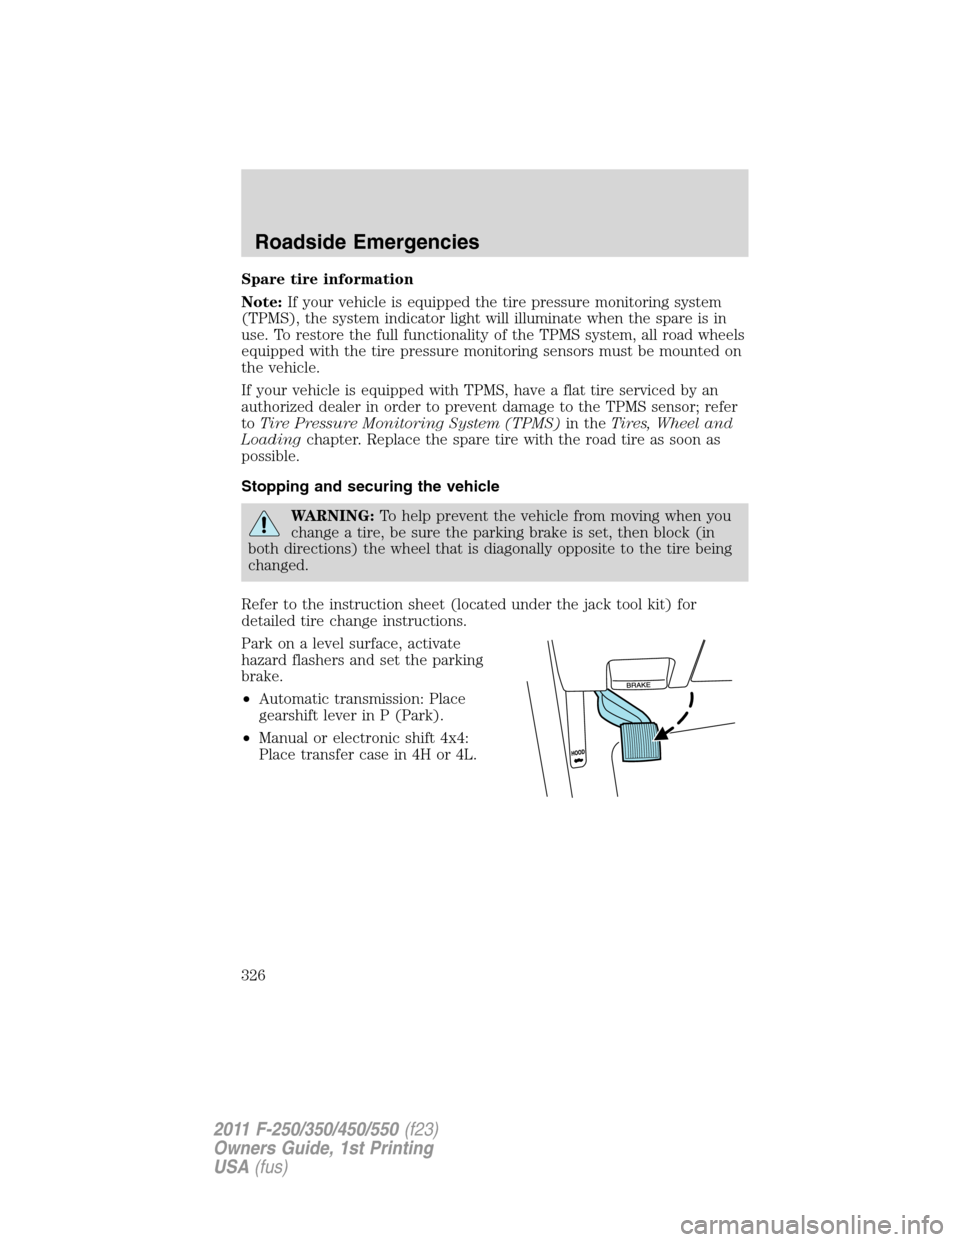
Park on a level surface, activate
hazard flashers and set the parking
brake.
•Automatic transmission: Place
gearshift lever in P (Park).
•Manual or electronic shift 4x4:
Place transfer case in 4H or 4L.
Roadside Emergencies
326
2011 F-250/350/450/550(f23)
Owners Guide, 1st Printing
USA(fus)