Page 30 of 441

PASSENGER DOOR AJAR— Displayed when the passenger’s door is
not completely closed.
REAR LEFT DOOR AJAR— Displayed when the rear left door is not
completely closed.
REAR RIGHT DOOR AJAR— Displayed when the rear right door is
not completely closed.
CHECK FUEL CAP— Displayed when the fuel cap may not be
properly closed. Refer toWhat you should know about automotive
fuelsin theMaintenance and Specificationschapter.
PARK BRAKE ENGAGED— Displayed when the parking brake is set,
the engine is running and the vehicle is driven more than 3 mph
(5 km/h). If the warning stays on after the parking brake is released,
contact your authorized dealer as soon as possible.
CHECK BRAKE SYSTEM— Displayed when a fault has been detected
by the ABS module.
BRAKE FLUID LEVEL LOW— Indicates the brake fluid level is low
and the brake system should be inspected immediately. Refer toBrake
fluidin theMaintenance and Specificationschapter.
CHECK PARK AID (if equipped)— Displayed when the transmission
is in R (Reverse) and the reverse sensing system (park aid) is disabled.
Refer toRear park aidin this section to enable.
TIRE PRESSURE SENSOR FAULT (if equipped)— Displayed when
a tire pressure sensor is malfunctioning, or your spare tire is in use. For
more information on how the system operates under these conditions,
refer toUnderstanding Your Tire Pressure Monitoring System
(TPMS)in theTires, Wheels and Loadingchapter. If the warning stays
on or continues to come on, contact your authorized dealer as soon as
possible.
LOW TIRE PRESSURE (if equipped)— Displayed when one or more
tires on your vehicle have low tire pressure. Refer toInflating your
tiresin theTires, Wheels and Loadingchapter.
TIRE PRESSURE MONITOR FAULT (if equipped)— Displayed
when the tire pressure monitoring system (TPMS) is functioning. If the
warning stays on or continues to come on, contact your authorized
dealer as soon as possible.
TRAIN LEFT FRONT TIRE (if equipped)— Displayed when training
the TPMS. Refer toTPMS reset procedurein theTires, Wheels and
Loadingchapter for more information.
Instrument Cluster
30
2011 F-250/350/450/550(f23)
Owners Guide, 1st Printing
USA(fus)
Page 288 of 441

WARNING:The hill assist feature does not replace the parking
brake. When you leave the vehicle, always apply the parking
brake and select first or reverse gear.
Using the hill assist feature
The hill assist feature is activated automatically when the vehicle is
stopped on a slope greater than five degrees. The hill assist feature
operates with the vehicle facing downhill if reverse gear is selected. The
hill assist feature will not operate if the parking brake is activated.
WARNING:You must remain in the vehicle once you have
activated the hill assist feature.
Activating the hill assist feature
1. Press the brake pedal to bring the vehicle to a complete standstill.
Keep the brake pedal pressed.
2. If the sensors detect that the vehicle is on a slope, the hill assist
feature will be activated automatically.
3. When you remove your foot from the brake pedal, the vehicle will
remain on the slope without rolling away for approximately up to two
seconds. This hold time will automatically be extended if you are in the
process of driving off.
4. Drive off in the normal manner. The brakes will be released
automatically.
WARNING:If the engine is revved excessively, or if a
malfunction is detected when the hill assist feature is active, the
hill assist feature will be deactivated.
If your vehicle gets stuck in mud or snow
If your vehicle gets stuck in mud or snow, it may be rocked out by
shifting between forward and reverse gears, stopping between shifts in a
steady pattern. Press lightly on the accelerator in each gear.
Do not rock the vehicle if the engine is not at normal operating
temperature or damage to the transmission may occur.
Do not rock the vehicle for more than a minute or damage to the
transmission and tires may occur, or the engine may overheat.
Driving
288
2011 F-250/350/450/550(f23)
Owners Guide, 1st Printing
USA(fus)
Page 323 of 441

Fuse/Relay
LocationFuse Amp
RatingProtected Circuits
93 20A* Auxiliary power point #3
94 25A* Upfitter #1
95 25A* Upfitter #2
96 50A* ABS pump
97 40A* Invertor
98 — Not used
99 — Not used
100 25A* Trailer tow turn signals
101 Relay Starter
102 Relay Trailer tow battery charge
103 — Not used
104 — Not used
105 — Not used
106 — Not used
107 — Not used
* Cartridge fuses ** Mini fuses
CHANGING THE TIRES
If you get a flat tire while driving, do not apply the brake heavily.
Instead, gradually decrease your speed. Hold the steering wheel firmly
and slowly move to a safe place on the side of the road.
Note:If your vehicle is equipped with the tire pressure monitoring
system (TPMS), the indicator light will illuminate when the spare tire is
in use. To restore the full functionality of the monitoring system, all road
wheels equipped with tire pressure monitoring sensors must be mounted
on the vehicle.
If your vehicle is equipped with TPMS, have a flat serviced by an
authorized dealer in order to prevent damage to the TPMS sensors, refer
toTire pressure monitoring system (TPMS)in theTires, Wheels and
Loadingchapter.
WARNING:The use of tire sealants may damage your tire
pressure monitoring system (TPMS) and should not be used.
However, if you must use a sealant, the TPMS sensor and valve stem
on the wheel must be replaced by an authorized Ford dealer.
Roadside Emergencies
323
2011 F-250/350/450/550(f23)
Owners Guide, 1st Printing
USA(fus)
Page 326 of 441

Spare tire information
Note:If your vehicle is equipped the tire pressure monitoring system
(TPMS), the system indicator light will illuminate when the spare is in
use. To restore the full functionality of the TPMS system, all road wheels
equipped with the tire pressure monitoring sensors must be mounted on
the vehicle.
If your vehicle is equipped with TPMS, have a flat tire serviced by an
authorized dealer in order to prevent damage to the TPMS sensor; refer
toTire Pressure Monitoring System (TPMS)in theTires, Wheel and
Loadingchapter. Replace the spare tire with the road tire as soon as
possible.
Stopping and securing the vehicle
WARNING:To help prevent the vehicle from moving when you
change a tire, be sure the parking brake is set, then block (in
both directions) the wheel that is diagonally opposite to the tire being
changed.
Refer to the instruction sheet (located under the jack tool kit) for
detailed tire change instructions.
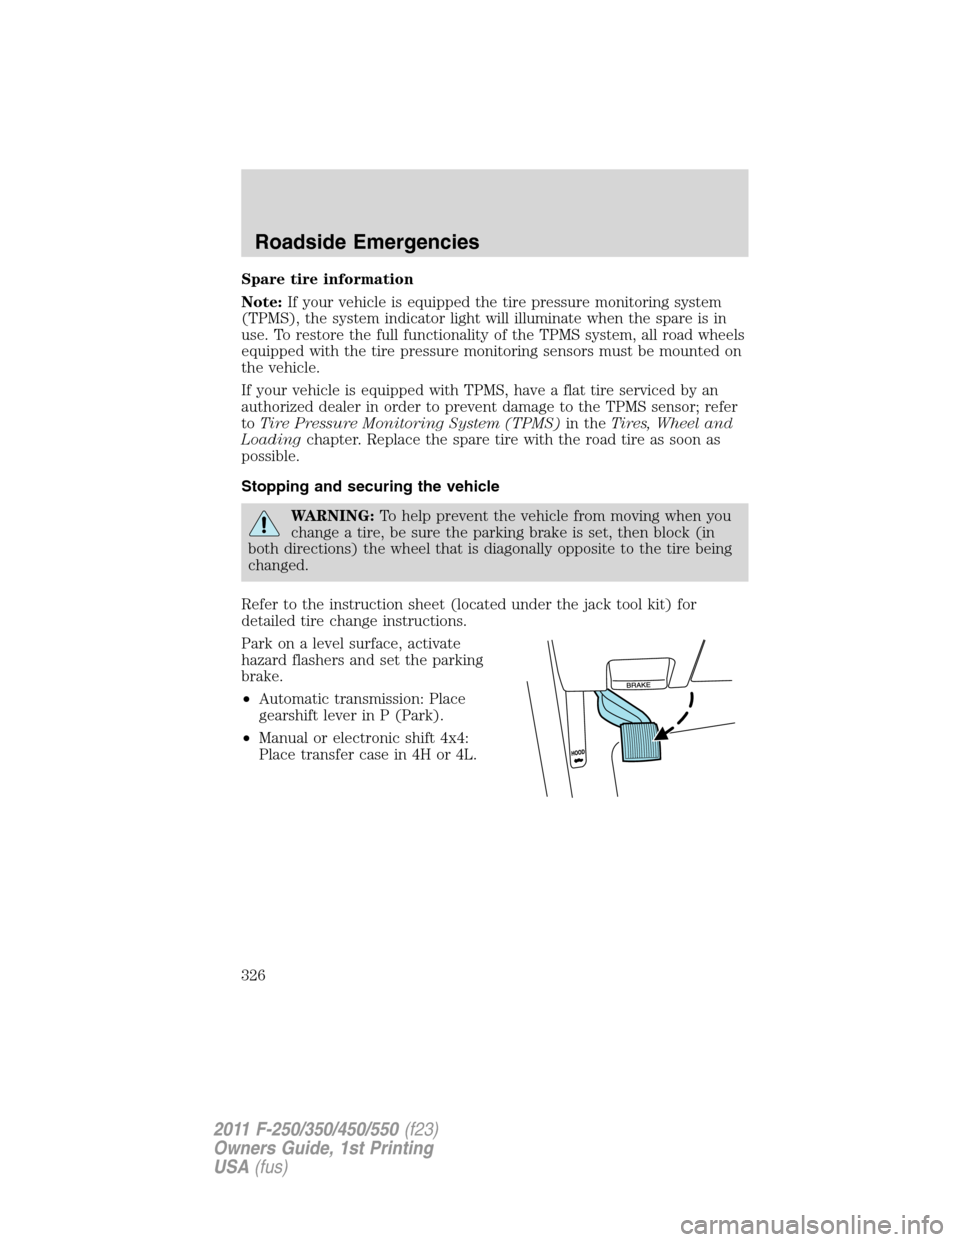
Park on a level surface, activate
hazard flashers and set the parking
brake.
•Automatic transmission: Place
gearshift lever in P (Park).
•Manual or electronic shift 4x4:
Place transfer case in 4H or 4L.
Roadside Emergencies
326
2011 F-250/350/450/550(f23)
Owners Guide, 1st Printing
USA(fus)