2011 FORD SUPER DUTY stop start
[x] Cancel search: stop startPage 253 of 441
2.Manual control lever:Slide the control lever to the left to activate
power to the trailer’s electric brakes independent of the tow vehicle’s
brakes (see the followingProcedure for adjusting GAINsection for
instructions on proper use of this feature). If the manual control is
activated while the brake is also applied, the greater of the two inputs
determines the power sent to the trailer brakes.
•Stop Lamps:Activating the TBC manual control lever will illuminate
both the trailer brake lamps and the tow vehicle brake lamps except
the center high-mount stop lamp (presuming proper trailer electrical
connection). Pressing the vehicle brake pedal will also illuminate both
trailer and vehicle brake lamps.
Procedure for adjusting GAIN:
The GAIN setting is used to set the TBC for the specific towing
condition and should be changed as towing conditions change. Changes
to towing conditions include trailer load, vehicle load, road conditions
and weather.
The GAIN should be set to provide the maximum trailer braking
assistance while ensuring the trailer wheels do not lock when braking.
Locked trailer wheels may lead to trailer instability.
Note:This should only be performed in a traffic free environment at
speeds of approximately 20–25 mph (30–40 km/h).
1. Make sure the trailer brakes are in good working condition,
functioning normally, and properly adjusted. See your trailer dealer if
necessary.
2. Hook up the trailer and make the electrical connections according to
the trailer manufacturer’s instructions.
3. When a trailer with electric brakes is plugged in, theTRAILER
CONNECTEDmessage will display in the instrument cluster message
center.
4. Use the GAIN adjustment (+/-) buttons to increase or decrease the
GAIN setting to the desired starting point. A GAIN setting of 6.0 is a
good starting point for heavier loads.
5. In a traffic-free environment, tow the trailer on a dry, level surface at
a speed of 20–25 mph (30–40 km/h) and squeeze the manual control
lever completely.
Tires, Wheels and Loading
253
2011 F-250/350/450/550(f23)
Owners Guide, 1st Printing
USA(fus)
Page 255 of 441

•The TBC interacts with the brake system of the vehicle, including
ABS, in order to reduce the likelihood of trailer wheel lockup.
Therefore, if these systems are not functioning properly the TBC may
not function at full performance.
•When the vehicle is turned off, the TBC Output is disabled and the
display is shut down. Reactivation of the ignition from off to on will
awaken the TBC module.
•The TBC is only a factory or dealer installed item. Ford is not
responsible for warranty or performance of the TBC due to misuse or
customer installation.
•Do not attempt removal of the TBC without consulting the
Workshop Manual.Damage to the unit may result.
Trailer lamps
Trailer lamps are required on most towed vehicles. Make sure all running
lights, brake lights, turn signals and hazard lights are working. Contact
your authorized dealer or trailer rental agency for proper instructions
and equipment for hooking-up trailer lamps.
Driving while you tow
When towing a trailer:
•Consult your local motor vehicle laws for towing a trailer.
•Do not drive faster than 70 mph (113 km/h) during the first 500 miles
(800 km) of trailer towing and don’t make full-throttle starts.
•Turn off the speed control. The speed control may shut off
automatically when you are towing on long, steep grades.
•Activate the tow/haul feature to eliminate excessive transmission
shifting and assist in transmission cooling. For additional information,
refer toAutomatic transmission operationin theDrivingchapter.
•Allow more distance for stopping with a trailer attached; anticipate
stops and brake gradually.
•Your vehicle may be equipped with a temporary or conventional spare
tire. If the spare tire is different in size (diameter and/or width), tread
type (All-Season or All-Terrain) or is from a different manufacturer
other than the road tires on your vehicle, your spare tire is considered
“temporary”. Consult information on the Tire Label or Safety
Compliance Certification Label for limitations when using.
Tires, Wheels and Loading
255
2011 F-250/350/450/550(f23)
Owners Guide, 1st Printing
USA(fus)
Page 261 of 441
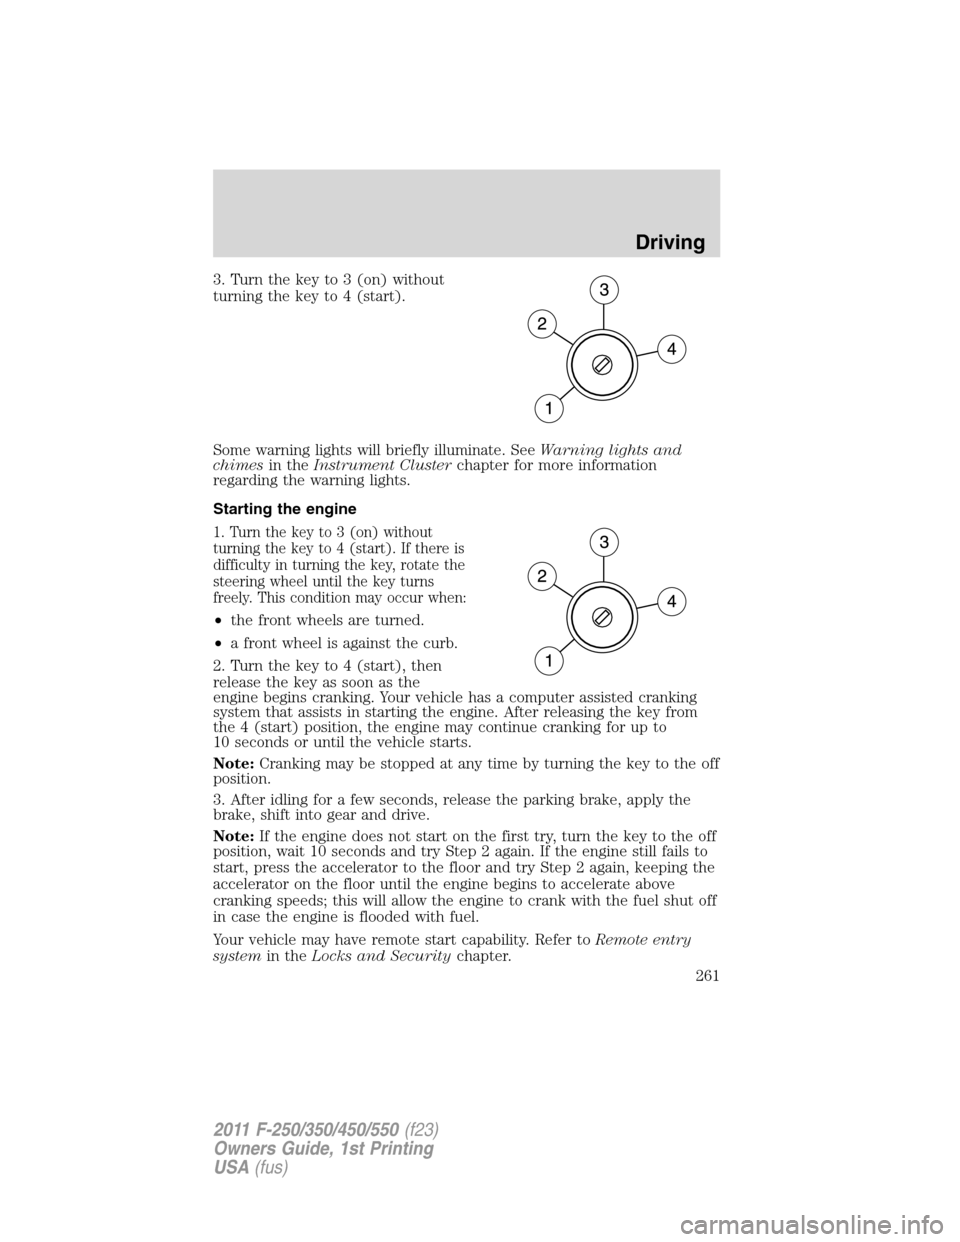
3. Turn the key to 3 (on) without
turning the key to 4 (start).
Some warning lights will briefly illuminate. SeeWarning lights and
chimesin theInstrument Clusterchapter for more information
regarding the warning lights.
Starting the engine
1. Turn the key to 3 (on) without
turning the key to 4 (start). If there is
difficulty in turning the key, rotate the
steering wheel until the key turns
freely. This condition may occur when:
•the front wheels are turned.
•a front wheel is against the curb.
2. Turn the key to 4 (start), then
release the key as soon as the
engine begins cranking. Your vehicle has a computer assisted cranking
system that assists in starting the engine. After releasing the key from
the 4 (start) position, the engine may continue cranking for up to
10 seconds or until the vehicle starts.
Note:Cranking may be stopped at any time by turning the key to the off
position.
3. After idling for a few seconds, release the parking brake, apply the
brake, shift into gear and drive.
Note:If the engine does not start on the first try, turn the key to the off
position, wait 10 seconds and try Step 2 again. If the engine still fails to
start, press the accelerator to the floor and try Step 2 again, keeping the
accelerator on the floor until the engine begins to accelerate above
cranking speeds; this will allow the engine to crank with the fuel shut off
in case the engine is flooded with fuel.
Your vehicle may have remote start capability. Refer toRemote entry
systemin theLocks and Securitychapter.
Driving
261
2011 F-250/350/450/550(f23)
Owners Guide, 1st Printing
USA(fus)
Page 263 of 441
Important ventilating information
If the engine is idling while the vehicle is stopped for a long period of
time, open the windows at least 1 inch (2.5 cm) or adjust the heating or
air conditioning to bring in fresh air.
ENGINE BLOCK HEATER (IF EQUIPPED)
An engine block heater warms the engine coolant which aids in starting
and allows the heater/defroster system to respond quickly. If your vehicle
is equipped with this system, your equipment includes a heater element
which is installed in your engine block and a wire harness which allows
the user to connect the system to a grounded 120 volt A/C electrical
source. The block heater system is most effective when outdoor
temperatures reach below 0°F (-18°C).
For flexible fuel vehicles, if operating with E
85ethanol, an engine block
heater must be used if ambient temperature is below 0°F (-18°C).
SeeCold weather startingearlier in this chapter for more information
on starting with ethanol.
WARNING:Failure to follow engine block heater instructions
could result in property damage or physical injury.
WARNING:To reduce the risk of electrical shock, do not use
your heater with ungrounded electrical systems or two-pronged
(cheater) adapters.
Prior to using the engine block heater, follow these recommendations for
proper and safe operation:
•For your safety, use an outdoor extension cord that is product
certified by Underwriter’s Laboratory (UL) or Canadian Standards
Association (CSA). Use only an extension cord that can be used
outdoors, in cold temperatures, and is clearly marked “Suitable for Use
with Outdoor Appliances.” Never use an indoor extension cord
outdoors; it could result in an electric shock or fire hazard.
•Use a 16 gauge outdoor extension cord, minimum.
•Use as short an extension cord as possible.
•Do not use multiple extension cords. Instead, use one extension cord
which is long enough to reach from the engine block heater cord to
the outlet without stretching.
Driving
263
2011 F-250/350/450/550(f23)
Owners Guide, 1st Printing
USA(fus)
Page 266 of 441
ABS warning lamp
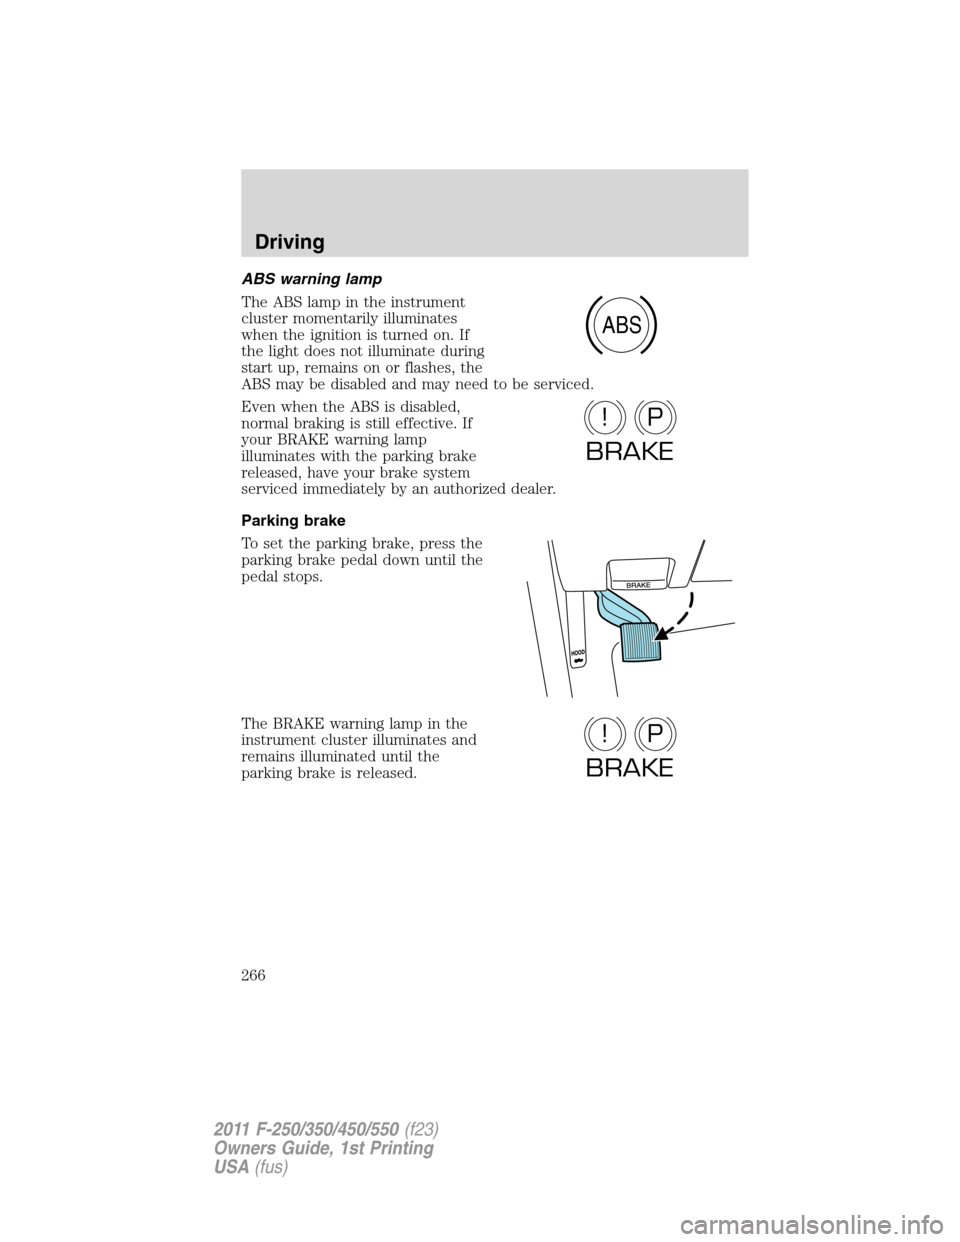
The ABS lamp in the instrument
cluster momentarily illuminates
when the ignition is turned on. If
the light does not illuminate during
start up, remains on or flashes, the
ABS may be disabled and may need to be serviced.
Even when the ABS is disabled,
normal braking is still effective. If
your BRAKE warning lamp
illuminates with the parking brake
released, have your brake system
serviced immediately by an authorized dealer.
Parking brake
To set the parking brake, press the
parking brake pedal down until the
pedal stops.
The BRAKE warning lamp in the
instrument cluster illuminates and
remains illuminated until the
parking brake is released.
ABS
P!
BRAKE
P!
BRAKE
Driving
266
2011 F-250/350/450/550(f23)
Owners Guide, 1st Printing
USA(fus)
Page 281 of 441
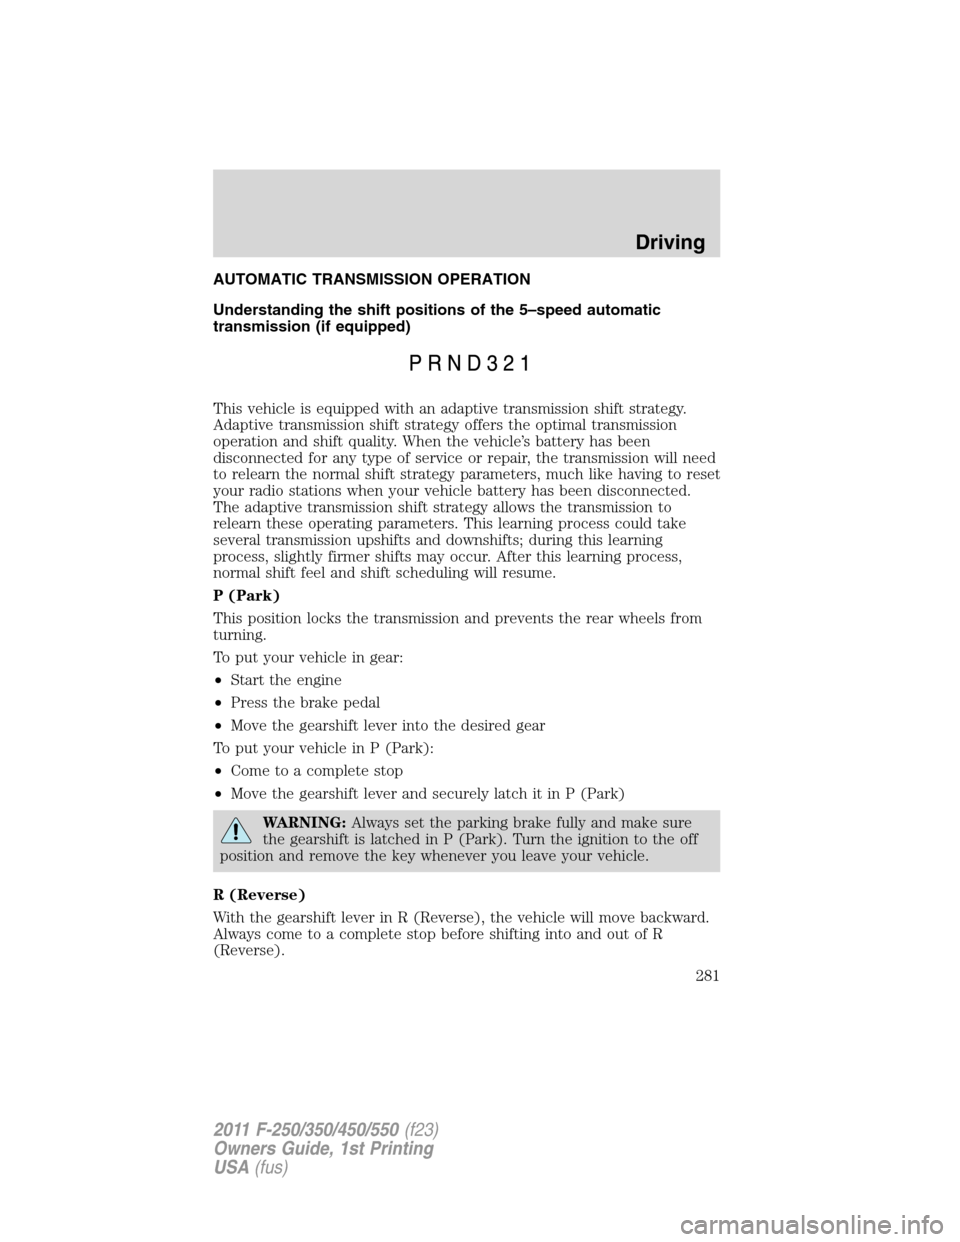
AUTOMATIC TRANSMISSION OPERATION
Understanding the shift positions of the 5–speed automatic
transmission (if equipped)
This vehicle is equipped with an adaptive transmission shift strategy.
Adaptive transmission shift strategy offers the optimal transmission
operation and shift quality. When the vehicle’s battery has been
disconnected for any type of service or repair, the transmission will need
to relearn the normal shift strategy parameters, much like having to reset
your radio stations when your vehicle battery has been disconnected.
The adaptive transmission shift strategy allows the transmission to
relearn these operating parameters. This learning process could take
several transmission upshifts and downshifts; during this learning
process, slightly firmer shifts may occur. After this learning process,
normal shift feel and shift scheduling will resume.
P (Park)
This position locks the transmission and prevents the rear wheels from
turning.
To put your vehicle in gear:
•Start the engine
•Press the brake pedal
•Move the gearshift lever into the desired gear
To put your vehicle in P (Park):
•Come to a complete stop
•Move the gearshift lever and securely latch it in P (Park)
WARNING:Always set the parking brake fully and make sure
the gearshift is latched in P (Park). Turn the ignition to the off
position and remove the key whenever you leave your vehicle.
R (Reverse)
With the gearshift lever in R (Reverse), the vehicle will move backward.
Always come to a complete stop before shifting into and out of R
(Reverse).
Driving
281
2011 F-250/350/450/550(f23)
Owners Guide, 1st Printing
USA(fus)
Page 284 of 441
P (Park)
This position locks the transmission and prevents the rear wheels from
turning.
To put your vehicle in gear:
1. Start the engine
2. Press the brake pedal
3. Move the gearshift lever into the desired gear
To put your vehicle in P (Park):
1. Come to a complete stop
2. Move the gearshift lever and securely latch it in P (Park)
WARNING:Always set the parking brake fully and make sure
the gearshift is latched in P (Park). Turn the ignition to the off
position and remove the key whenever you leave your vehicle.
R (Reverse)
With the gearshift lever in R (Reverse), the vehicle will move backward.
Always come to a complete stop before shifting into and out of R (Reverse).
N (Neutral)
With the gearshift lever in N (Neutral), the vehicle can be started and is
free to roll. Hold the brake pedal down while in this position.
D (Overdrive) with Tow/Haul Off
D (Overdrive) with tow/haul off is the normal driving position for the
best fuel economy. The overdrive function allows automatic upshifts and
downshifts through gears one through six.
D (Overdrive) with Tow/Haul On
The tow/haul feature improves transmission operation when towing a
trailer or a heavy load. All transmission gear ranges are available when
using tow/haul.
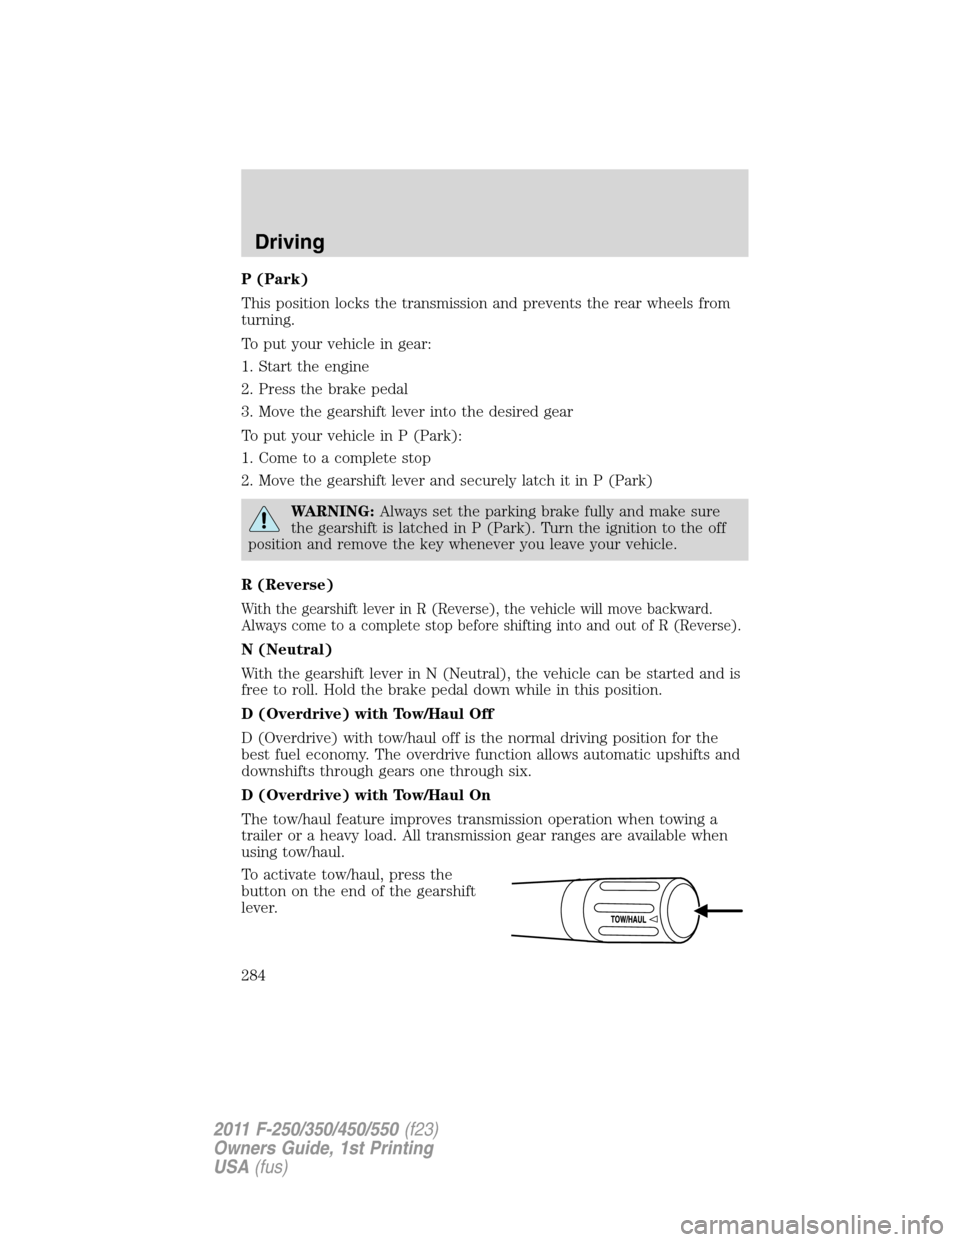
To activate tow/haul, press the
button on the end of the gearshift
lever.
Driving
284
2011 F-250/350/450/550(f23)
Owners Guide, 1st Printing
USA(fus)
Page 305 of 441
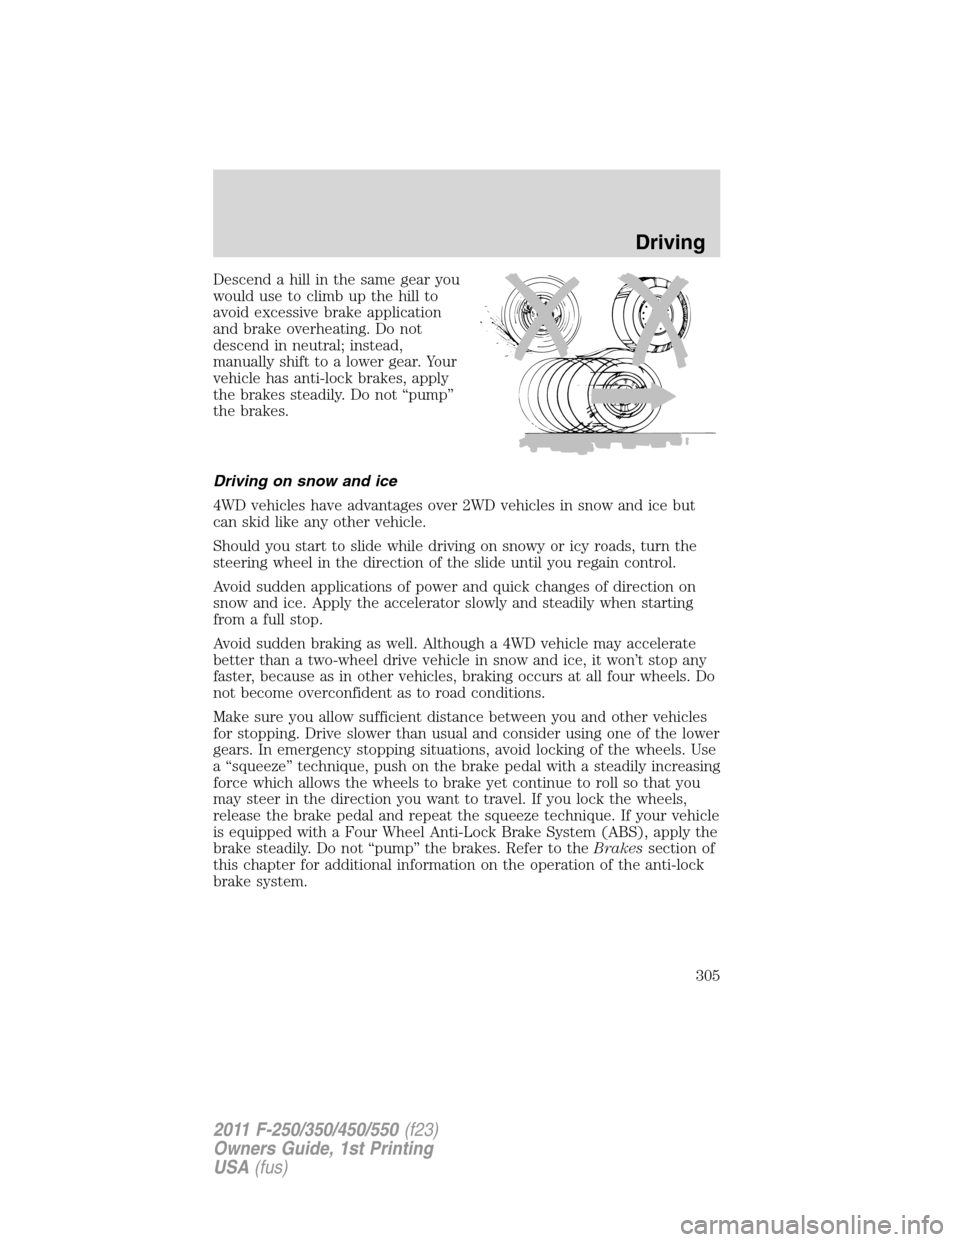
Descend a hill in the same gear you
would use to climb up the hill to
avoid excessive brake application
and brake overheating. Do not
descend in neutral; instead,
manually shift to a lower gear. Your
vehicle has anti-lock brakes, apply
the brakes steadily. Do not “pump”
the brakes.
Driving on snow and ice
4WD vehicles have advantages over 2WD vehicles in snow and ice but
can skid like any other vehicle.
Should you start to slide while driving on snowy or icy roads, turn the
steering wheel in the direction of the slide until you regain control.
Avoid sudden applications of power and quick changes of direction on
snow and ice. Apply the accelerator slowly and steadily when starting
from a full stop.
Avoid sudden braking as well. Although a 4WD vehicle may accelerate
better than a two-wheel drive vehicle in snow and ice, it won’t stop any
faster, because as in other vehicles, braking occurs at all four wheels. Do
not become overconfident as to road conditions.
Make sure you allow sufficient distance between you and other vehicles
for stopping. Drive slower than usual and consider using one of the lower
gears. In emergency stopping situations, avoid locking of the wheels. Use
a “squeeze” technique, push on the brake pedal with a steadily increasing
force which allows the wheels to brake yet continue to roll so that you
may steer in the direction you want to travel. If you lock the wheels,
release the brake pedal and repeat the squeeze technique. If your vehicle
is equipped with a Four Wheel Anti-Lock Brake System (ABS), apply the
brake steadily. Do not “pump” the brakes. Refer to theBrakessection of
this chapter for additional information on the operation of the anti-lock
brake system.
Driving
305
2011 F-250/350/450/550(f23)
Owners Guide, 1st Printing
USA(fus)