Page 87 of 461
Function Number of
bulbsTrade number
Rear
stop/turn/sidemarker/tail
lamp (styleside)4 3057K
High-mount brakelamp 1 912
Cargo lamp 2 912
License plate lamp 2 194
Exterior mounted mirror
turn signal indicator
(if equipped)2 See your dealer
Puddle lamp
(if equipped)2 See your dealer
All replacement bulbs are clear in color except where noted.
To replace all instrument panel lights - see your authorized dealer
Replacing exterior bulbs
Check the operation of all the bulbs frequently.
Replacing headlamp bulbs
1. Make sure that the headlamp control is in the off position and open
the hood.
2. Remove the pushpin that holds
the air deflector/protective cover
from the upper inboard corner of
the lamp.
Lights
87
2011 F-150(f12)
Owners Guide, 1st Printing
USA(fus)
Page 89 of 461
Replacing front parking lamp/turn signal/sidemarker bulbs
1. Make sure that the headlamp control is in the off position and open
the hood.
2. Remove the pushpin that holds
the air deflector/protective cover
from the upper inboard corner of
the lamp.
3. Loosen the three retaining bolts
(two at top of lamp, one at lower
inboard corner).
4. Once the three retaining bolts
have been removed, slide the
headlamp assembly forward,
disconnecting the two snap attachments at the fender.
5. Remove the bulb and socket by
turning it counterclockwise, then
pull it straight out.
6. Pull the bulb straight out of the
socket.
Install the new bulb(s) in reverse order.
Replacing tail/brake/turn signal/backup lamp bulbs
1. Make sure the headlamp control
is in the off position.
2. Open the tailgate to expose the
lamp assembly and remove the two
bolts from the tail lamp assembly.
Lights
89
2011 F-150(f12)
Owners Guide, 1st Printing
USA(fus)
Page 90 of 461
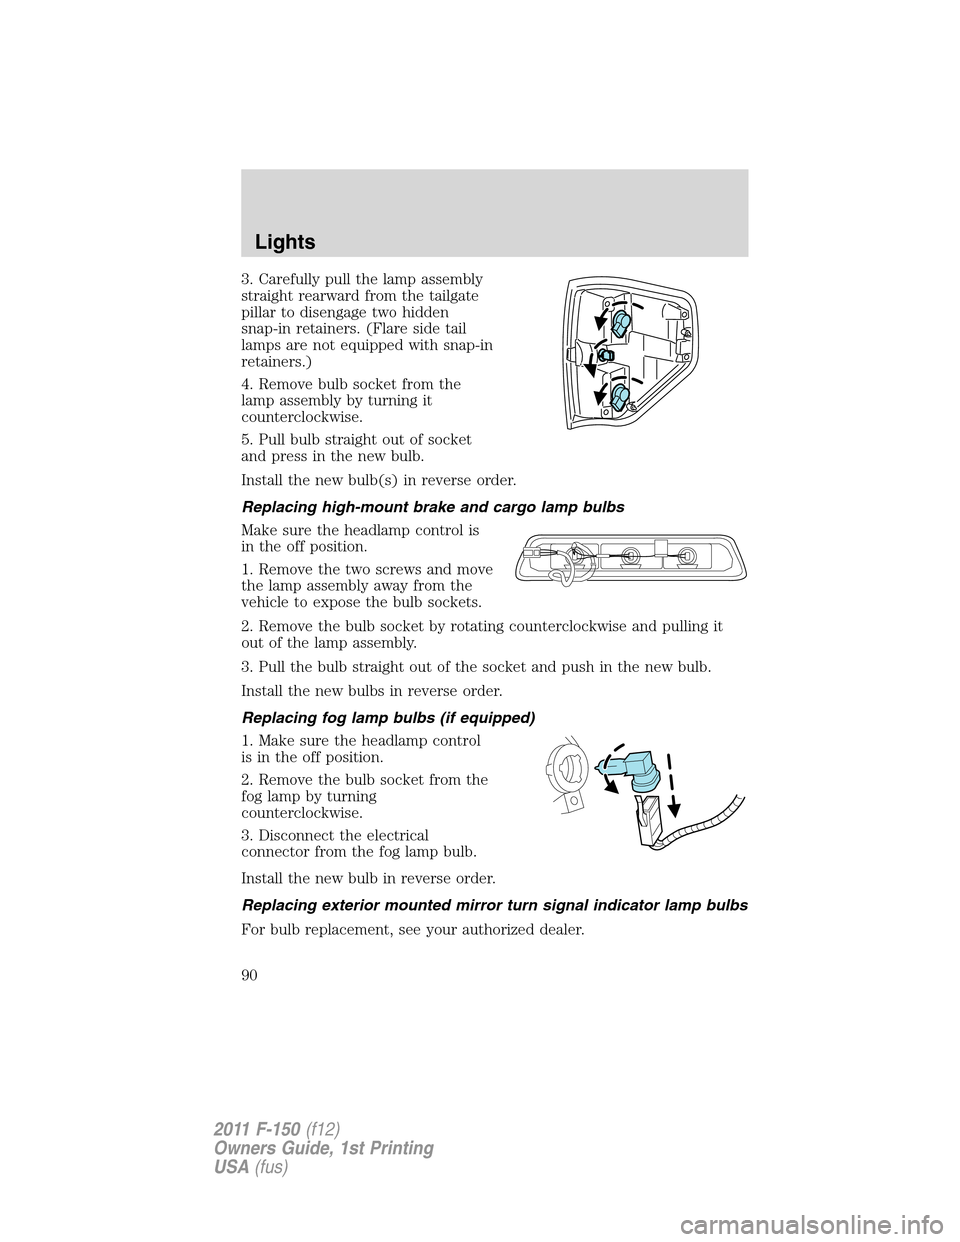
3. Carefully pull the lamp assembly
straight rearward from the tailgate
pillar to disengage two hidden
snap-in retainers. (Flare side tail
lamps are not equipped with snap-in
retainers.)
4. Remove bulb socket from the
lamp assembly by turning it
counterclockwise.
5. Pull bulb straight out of socket
and press in the new bulb.
Install the new bulb(s) in reverse order.
Replacing high-mount brake and cargo lamp bulbs
Make sure the headlamp control is
in the off position.
1. Remove the two screws and move
the lamp assembly away from the
vehicle to expose the bulb sockets.
2. Remove the bulb socket by rotating counterclockwise and pulling it
out of the lamp assembly.
3. Pull the bulb straight out of the socket and push in the new bulb.
Install the new bulbs in reverse order.
Replacing fog lamp bulbs (if equipped)
1. Make sure the headlamp control
is in the off position.
2. Remove the bulb socket from the
fog lamp by turning
counterclockwise.
3. Disconnect the electrical
connector from the fog lamp bulb.
Install the new bulb in reverse order.
Replacing exterior mounted mirror turn signal indicator lamp bulbs
For bulb replacement, see your authorized dealer.
Lights
90
2011 F-150(f12)
Owners Guide, 1st Printing
USA(fus)
Page 107 of 461
POWER ADJUSTABLE FOOT PEDALS (IF EQUIPPED)
The accelerator and brake pedal should only be adjusted when the
vehicle is stopped and the gearshift lever is in the P (Park) position. The
control is located on the side of the steering column.
Press and hold the rear of the
control to adjust the pedals toward
you. Press and hold the front of the
control to adjust the pedals away from you.
WARNING:Never adjust the accelerator and brake pedal with
feet on the pedals while the vehicle is moving.
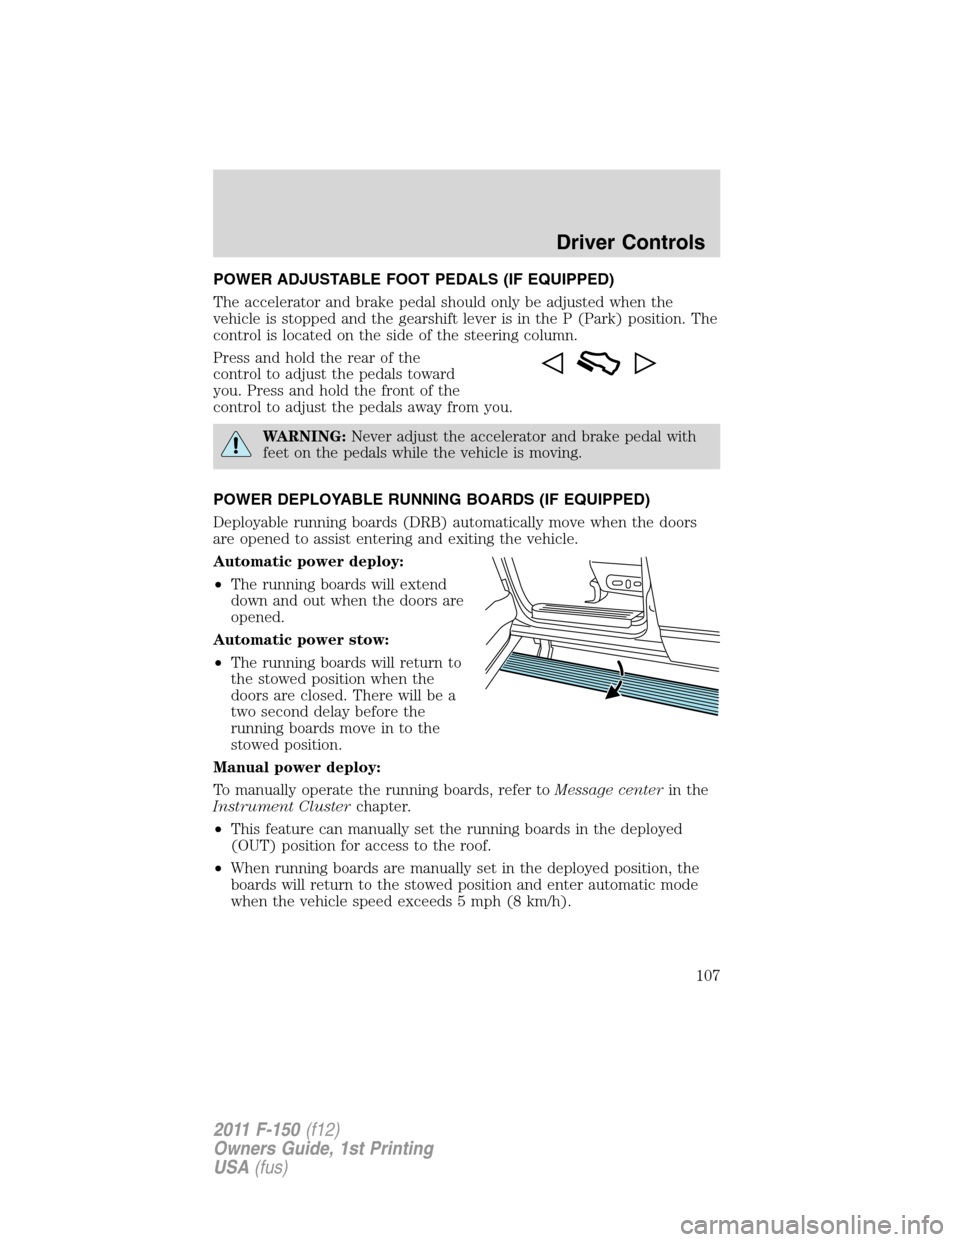
POWER DEPLOYABLE RUNNING BOARDS (IF EQUIPPED)
Deployable running boards (DRB) automatically move when the doors
are opened to assist entering and exiting the vehicle.
Automatic power deploy:
•The running boards will extend
down and out when the doors are
opened.
Automatic power stow:
•The running boards will return to
the stowed position when the
doors are closed. There will be a
two second delay before the
running boards move in to the
stowed position.
Manual power deploy:
To manually operate the running boards, refer toMessage centerin the
Instrument Clusterchapter.
•This feature can manually set the running boards in the deployed
(OUT) position for access to the roof.
•When running boards are manually set in the deployed position, the
boards will return to the stowed position and enter automatic mode
when the vehicle speed exceeds 5 mph (8 km/h).
Driver Controls
107
2011 F-150(f12)
Owners Guide, 1st Printing
USA(fus)
Page 109 of 461

WARNING:Do not use the speed control in heavy traffic or on
roads that are winding, slippery or unpaved.
Using speed controls
The speed controls are located on the steering wheel. The following
buttons work with speed control:
– SET +:Press to set a speed or to
increase or decrease the set speed.
CNCL (Cancel)/RSM (Resume):
Press to return cancel or resume a
set speed.
ON/OFF:Press to turn speed
control on or off.
The speed control system uses two
indicator lights in the
instrument cluster:
•an amber indicator light which illuminates when the system is on, and
•a green indicator light which illuminates when the system is engaged.
Setting speed control
To set speed control:
1. Press and release ON.
2. Accelerate to the desired speed.
3. Press and release SET +.
4. Take your foot off the accelerator pedal.
5. The green indicator
light on the instrument cluster will turn on.
Note:
•Vehicle speed may vary momentarily when driving up and down a
steep hill.
•If the vehicle speed increases above the set speed on a downhill, you
may want to apply the brakes to reduce the speed.
•If the vehicle speed decreases more than 10 mph (16 km/h) below
your set speed on an uphill, your speed control will disengage.
Driver Controls
109
2011 F-150(f12)
Owners Guide, 1st Printing
USA(fus)
Page 110 of 461
Disengaging speed control
To disengage speed control, tap the brake pedal or clutch pedal (if
equipped) or press CNCL.
Disengaging the speed control will not erase the previous set speed.
Note:When you use the clutch pedal to disengage the speed control,
the engine speed may briefly increase, this is normal.
Resuming a set speed
Press and release RSM. This will automatically return the vehicle to the
previously set speed.
Increasing speed while using speed control
To increase the set speed:
•Press and hold SET + until you get to the desired speed, then release.
You can also use SET + to operate the tap-up function. Press and
release SET + to increase the vehicle set speed in 1 mph (1.6 km/h)
increments.
•Use the accelerator pedal to get to the desired speed then press and
release SET +.
Reducing speed while using speed control
To reduce the set speed:
•Press and hold – SET until you get to the desired speed, then release.
You can also use – SET to operate the tap-down function. Press and
release – SET to decrease the vehicle set speed in 1 mph (1.6 km/h)
increments.
•Press the brake pedal or the clutch pedal (if equipped) until the
desired vehicle speed is reached then press SET +.
Turning off speed control
To turn off the speed control, press OFF or turn off the ignition.
Note:When you turn off the speed control or the ignition, your speed
control set speed memory is erased.
Driver Controls
110
2011 F-150(f12)
Owners Guide, 1st Printing
USA(fus)
Page 120 of 461
FCC and RSS-210 Industry Canada Compliance
The Car2U�system complies with Part 15 of the FCC rules and with
RSS-210 of Industry Canada. Operation is subject to the following two
conditions: (1) This device may not cause harmful interference, and (2)
This device must accept any interference received including interference
that may cause undesired operation.
Changes and modifications to the Car2U�system transmitter by other
than an authorized service facility could void authorization to use the
equipment.
POSITIVE RETENTION FLOOR MAT (IF EQUIPPED)
WARNING:Do not install additional floor mats on top of the
factory installed floor mats as they may interfere with the
accelerator or the brake pedals.
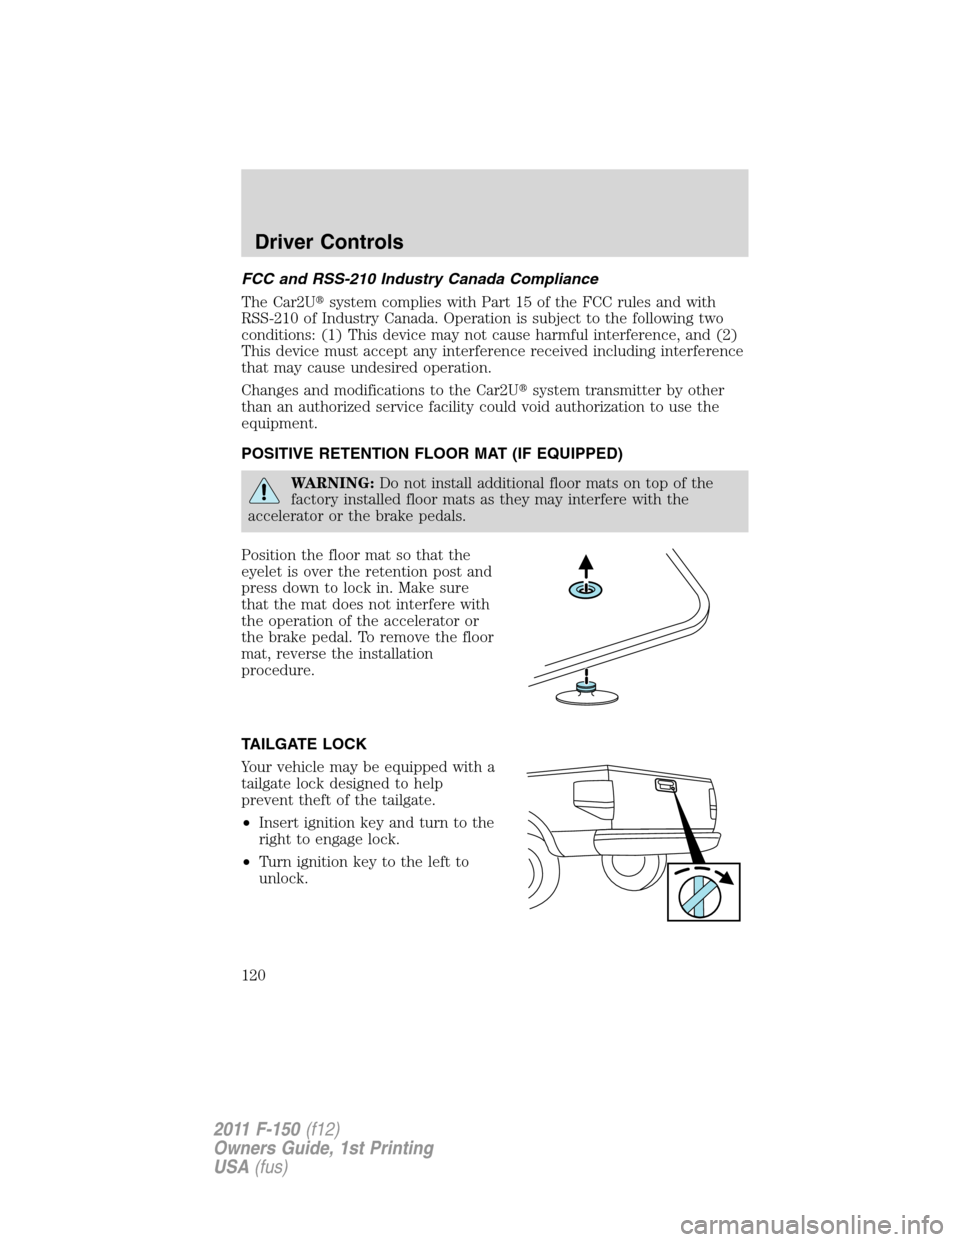
Position the floor mat so that the
eyelet is over the retention post and
press down to lock in. Make sure
that the mat does not interfere with
the operation of the accelerator or
the brake pedal. To remove the floor
mat, reverse the installation
procedure.
TAILGATE LOCK
Your vehicle may be equipped with a
tailgate lock designed to help
prevent theft of the tailgate.
•Insert ignition key and turn to the
right to engage lock.
•Turn ignition key to the left to
unlock.
Driver Controls
120
2011 F-150(f12)
Owners Guide, 1st Printing
USA(fus)
Page 179 of 461
WARNING:Each seating position in your vehicle has a specific
safety belt assembly which is made up of one buckle and one
tongue that are designed to be used as a pair. 1) Use the shoulder belt
on the outside shoulder only. Never wear the shoulder belt under the
arm. 2) Never swing the safety belt around your neck over the inside
shoulder. 3) Never use a single belt for more than one person.
While you are fastened in the safety belt, the combination lap/shoulder
belt with a cinch tongue adjusts to your movement. However, if you
brake hard, turn hard, or if your vehicle receives an impact of 5 mph
(8 km/h) or more, the safety belt will become locked and help reduce
your forward movement.
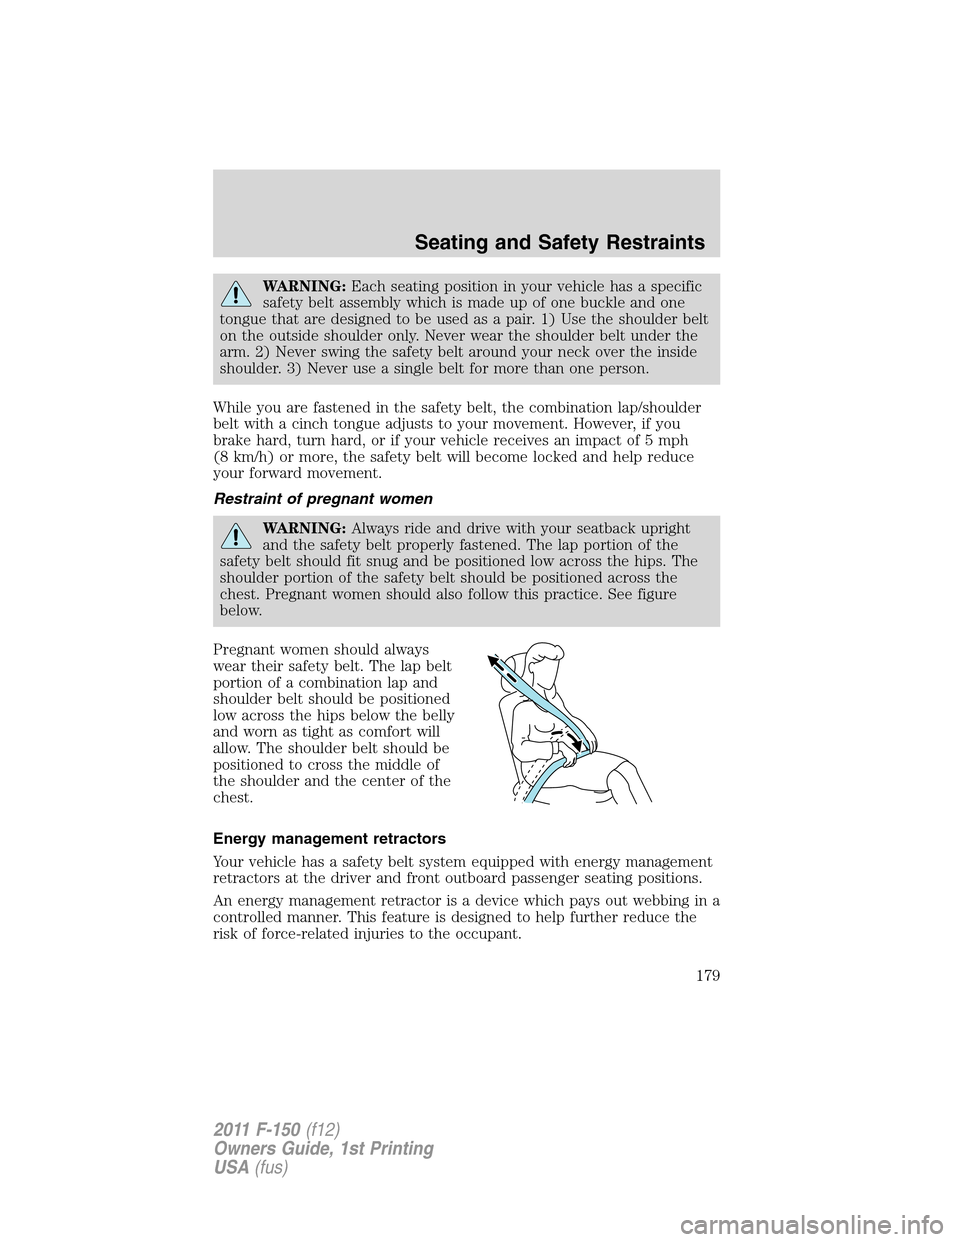
Restraint of pregnant women
WARNING:Always ride and drive with your seatback upright
and the safety belt properly fastened. The lap portion of the
safety belt should fit snug and be positioned low across the hips. The
shoulder portion of the safety belt should be positioned across the
chest. Pregnant women should also follow this practice. See figure
below.
Pregnant women should always
wear their safety belt. The lap belt
portion of a combination lap and
shoulder belt should be positioned
low across the hips below the belly
and worn as tight as comfort will
allow. The shoulder belt should be
positioned to cross the middle of
the shoulder and the center of the
chest.
Energy management retractors
Your vehicle has a safety belt system equipped with energy management
retractors at the driver and front outboard passenger seating positions.
An energy management retractor is a device which pays out webbing in a
controlled manner. This feature is designed to help further reduce the
risk of force-related injuries to the occupant.
Seating and Safety Restraints
179
2011 F-150(f12)
Owners Guide, 1st Printing
USA(fus)