Page 48 of 395
7. Adjust the sound on your portable music player until it reaches the
level of the FM station or CD by switching back and forth between the
AUX and FM or CD controls.
Troubleshooting:
1. Do not connect the audio input jack to a line level output. Line level
outputs are intended for connection to a home stereo and are not
compatible with the AIJ. The AIJ will only work correctly with devices
that have a headphone output with a volume control.
2. Do not set the portable music player’s volume level higher than is
necessary to match the volume of the CD or FM radio in your audio
system as this will cause distortion and will reduce sound quality. Many
portable music players have different output levels, so not all players
should be set at the same levels. Some players will sound best at full
volume and others will need to be set at a lower volume.
3. If the music sounds distorted at lower listening levels, turn the
portable music player volume down. If the problems persists, replace or
recharge the batteries in the portable music player.
4. The portable music player must be controlled in the same manner
when it is used with headphones as the AIJ does not provide control
(play, pause, etc.) over the attached portable music player.
5. For safety reasons, connecting or adjusting the settings on your
portable music player should not be attempted while the vehicle is
moving. Also, the portable music player should be stored in a secure
location, such as the center console or the glove box, when the vehicle is
in motion. The audio extension cable must be long enough to allow the
portable music player to be safely stored while the vehicle is in motion.
USB port (if equipped)
WARNING:Driving while distracted can result in loss of vehicle
control, accident and injury. Ford strongly recommends that
drivers use extreme caution when using any device or feature that may
take their focus off the road. Your primary responsibility is the safe
operation of the vehicle. We recommend against the use of any
handheld device while driving and that you comply with all applicable
laws.
Entertainment Systems
48
2011 Expedition(exd)
Owners Guide, 1st Printing
USA(fus)
Page 52 of 395
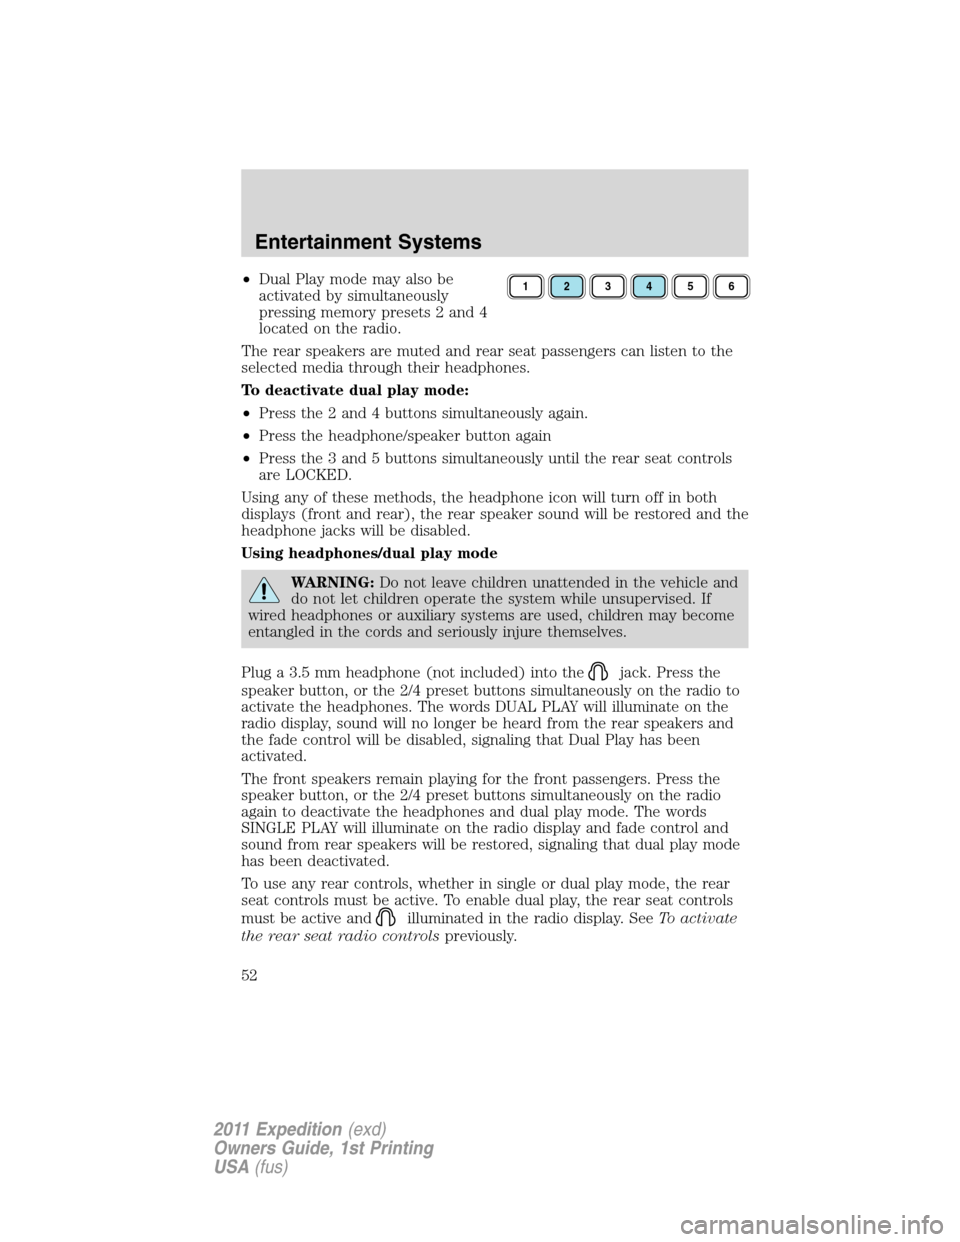
•Dual Play mode may also be
activated by simultaneously
pressing memory presets 2 and 4
located on the radio.
The rear speakers are muted and rear seat passengers can listen to the
selected media through their headphones.
To deactivate dual play mode:
•Press the 2 and 4 buttons simultaneously again.
•Press the headphone/speaker button again
•Press the 3 and 5 buttons simultaneously until the rear seat controls
are LOCKED.
Using any of these methods, the headphone icon will turn off in both
displays (front and rear), the rear speaker sound will be restored and the
headphone jacks will be disabled.
Using headphones/dual play mode
WARNING:Do not leave children unattended in the vehicle and
do not let children operate the system while unsupervised. If
wired headphones or auxiliary systems are used, children may become
entangled in the cords and seriously injure themselves.
Plug a 3.5 mm headphone (not included) into the
jack. Press the
speaker button, or the 2/4 preset buttons simultaneously on the radio to
activate the headphones. The words DUAL PLAY will illuminate on the
radio display, sound will no longer be heard from the rear speakers and
the fade control will be disabled, signaling that Dual Play has been
activated.
The front speakers remain playing for the front passengers. Press the
speaker button, or the 2/4 preset buttons simultaneously on the radio
again to deactivate the headphones and dual play mode. The words
SINGLE PLAY will illuminate on the radio display and fade control and
sound from rear speakers will be restored, signaling that dual play mode
has been deactivated.
To use any rear controls, whether in single or dual play mode, the rear
seat controls must be active. To enable dual play, the rear seat controls
must be active and
illuminated in the radio display. SeeTo activate
the rear seat radio controlspreviously.
123456
Entertainment Systems
52
2011 Expedition(exd)
Owners Guide, 1st Printing
USA(fus)
Page 72 of 395
High beams
Push the lever toward the
instrument panel to activate. Pull
the lever toward you to deactivate.
Flash-to-pass
Pull toward you slightly to activate
and release to deactivate.
Daytime running lamps (DRL) (if equipped)
Turns the headlamps on at reduced intensity output. To activate:
•the ignition must be in the on position and
•the headlamp control must be in the off, autolamps or parking lamps
position.
WARNING:Always remember to turn on your headlamps at
dusk or during inclement weather. The Daytime Running Lamp
(DRL) system does not activate the tail lamps and generally may not
provide adequate lighting during these conditions. Failure to activate
your headlamps under these conditions may result in a collision.
Lights
72
2011 Expedition(exd)
Owners Guide, 1st Printing
USA(fus)
Page 76 of 395
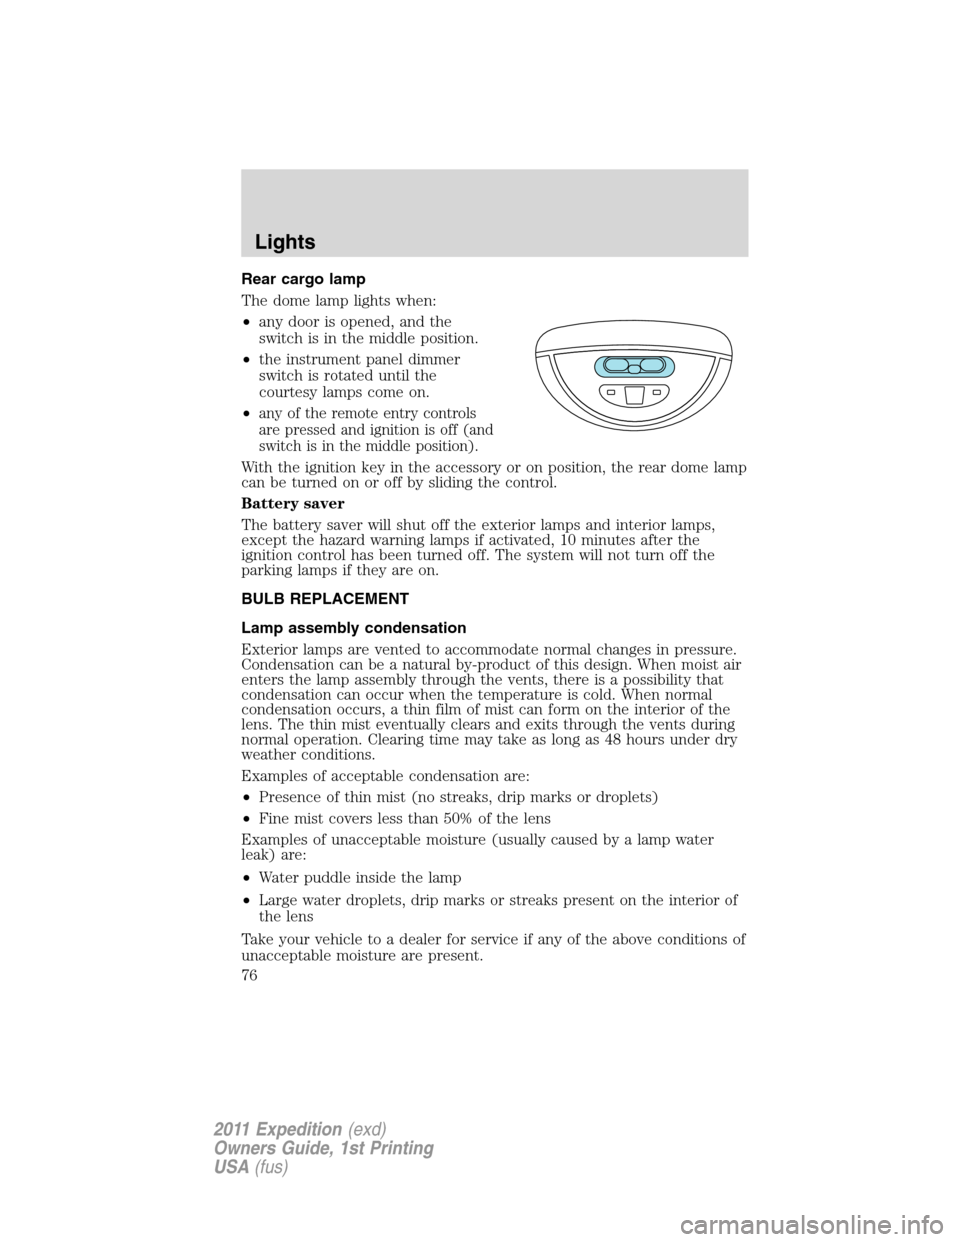
Rear cargo lamp
The dome lamp lights when:
•any door is opened, and the
switch is in the middle position.
•the instrument panel dimmer
switch is rotated until the
courtesy lamps come on.
•
any of the remote entry controls
are pressed and ignition is off (and
switch is in the middle position).
With the ignition key in the accessory or on position, the rear dome lamp
can be turned on or off by sliding the control.
Battery saver
The battery saver will shut off the exterior lamps and interior lamps,
except the hazard warning lamps if activated, 10 minutes after the
ignition control has been turned off. The system will not turn off the
parking lamps if they are on.
BULB REPLACEMENT
Lamp assembly condensation
Exterior lamps are vented to accommodate normal changes in pressure.
Condensation can be a natural by-product of this design. When moist air
enters the lamp assembly through the vents, there is a possibility that
condensation can occur when the temperature is cold. When normal
condensation occurs, a thin film of mist can form on the interior of the
lens. The thin mist eventually clears and exits through the vents during
normal operation. Clearing time may take as long as 48 hours under dry
weather conditions.
Examples of acceptable condensation are:
•Presence of thin mist (no streaks, drip marks or droplets)
•Fine mist covers less than 50% of the lens
Examples of unacceptable moisture (usually caused by a lamp water
leak) are:
•Water puddle inside the lamp
•Large water droplets, drip marks or streaks present on the interior of
the lens
Take your vehicle to a dealer for service if any of the above conditions of
unacceptable moisture are present.
Lights
76
2011 Expedition(exd)
Owners Guide, 1st Printing
USA(fus)
Page 78 of 395
Replacing interior bulbs
Check the operation of all bulbs frequently.
Replacing exterior bulbs
Check the operation of all the bulbs frequently.
Replacing headlamp bulbs
1. Make sure that the headlamp control is in the off position.
2. Open the hood.
3. At the back of the headlamp,
remove the two headlamp assembly
retainer bolts.
4. Slide headlamp assembly forward
and off the retaining tab to expose
the back of the bulb and electrical
connector.
5. Disconnect the electrical
connector.
6. Remove the bulb by turning it
counterclockwise and then pulling it
straight out.
WARNING:Handle a halogen headlamp bulb carefully and keep
out of children’s reach. Grasp the bulb only by its plastic base
and do not touch the glass. The oil from your hand could cause the
bulb to break the next time the headlamps are operated.
Lights
78
2011 Expedition(exd)
Owners Guide, 1st Printing
USA(fus)
Page 84 of 395
TILT STEERING WHEEL
1. Pull and hold the steering wheel
release control toward you.
2. Move the steering up or down
until you find the desired location.
3. Release the steering wheel
release control. This will lock the
steering wheel in position.
WARNING:Never adjust the steering column when the vehicle
is moving.
ILLUMINATED VISOR MIRROR (IF EQUIPPED)
Lift the mirror cover to turn on the
visor mirror lamp.
Slide-on-rod feature (if
equipped)
Rotate the visor towards the side
window and extend it rearward for
additional sunlight coverage.
Note:To stow the visor back into
the headliner, visor must be
retracted before moving it back
towards the windshield.
Driver Controls
84
2011 Expedition(exd)
Owners Guide, 1st Printing
USA(fus)
Page 85 of 395
OVERHEAD CONSOLE
The appearance of your vehicle’s overhead console will vary according to
your option package.
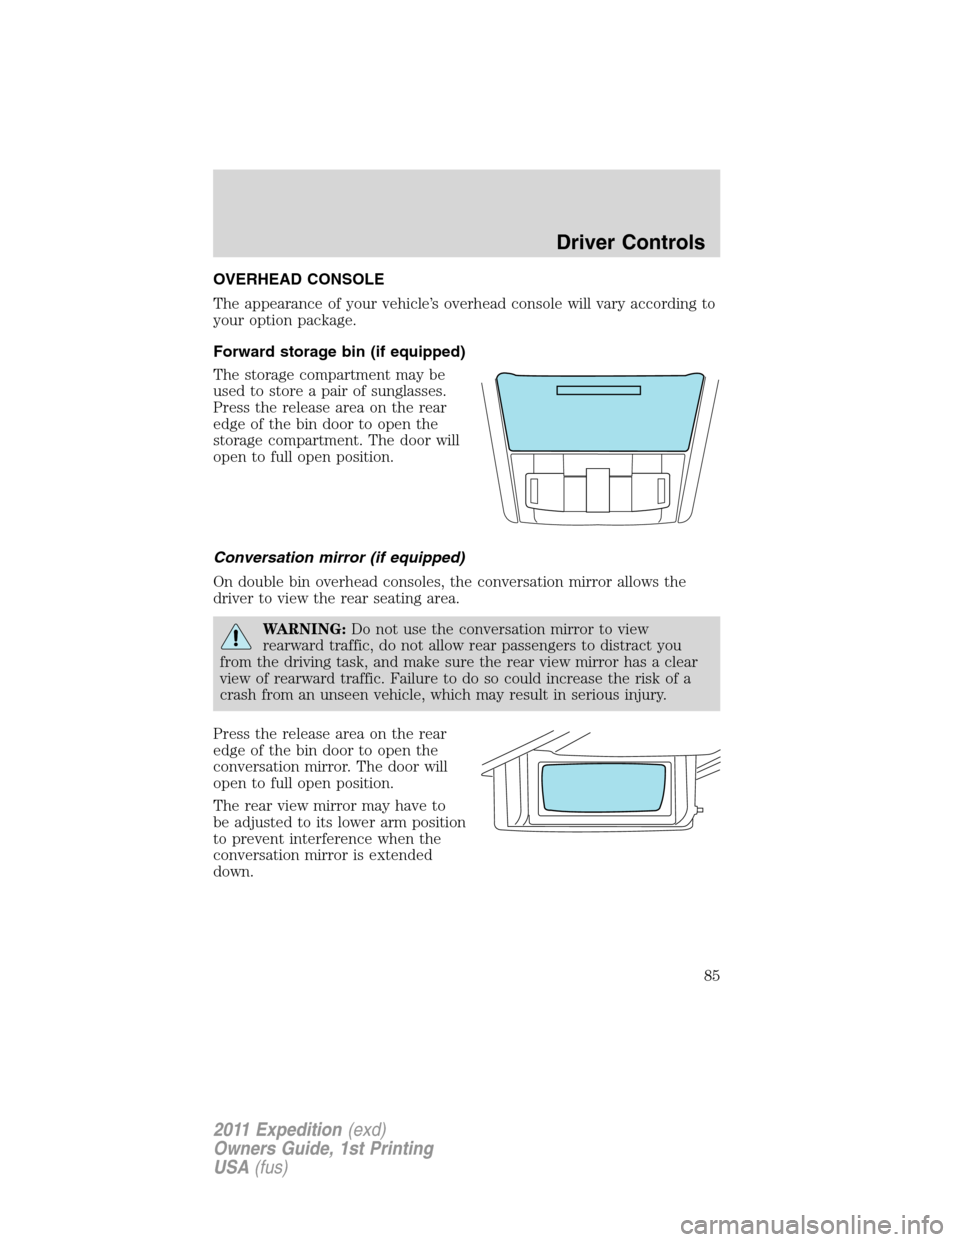
Forward storage bin (if equipped)
The storage compartment may be
used to store a pair of sunglasses.
Press the release area on the rear
edge of the bin door to open the
storage compartment. The door will
open to full open position.
Conversation mirror (if equipped)
On double bin overhead consoles, the conversation mirror allows the
driver to view the rear seating area.
WARNING:Do not use the conversation mirror to view
rearward traffic, do not allow rear passengers to distract you
from the driving task, and make sure the rear view mirror has a clear
view of rearward traffic. Failure to do so could increase the risk of a
crash from an unseen vehicle, which may result in serious injury.
Press the release area on the rear
edge of the bin door to open the
conversation mirror. The door will
open to full open position.
The rear view mirror may have to
be adjusted to its lower arm position
to prevent interference when the
conversation mirror is extended
down.
Driver Controls
85
2011 Expedition(exd)
Owners Guide, 1st Printing
USA(fus)
Page 86 of 395
Power quarter rear windows (if equipped)
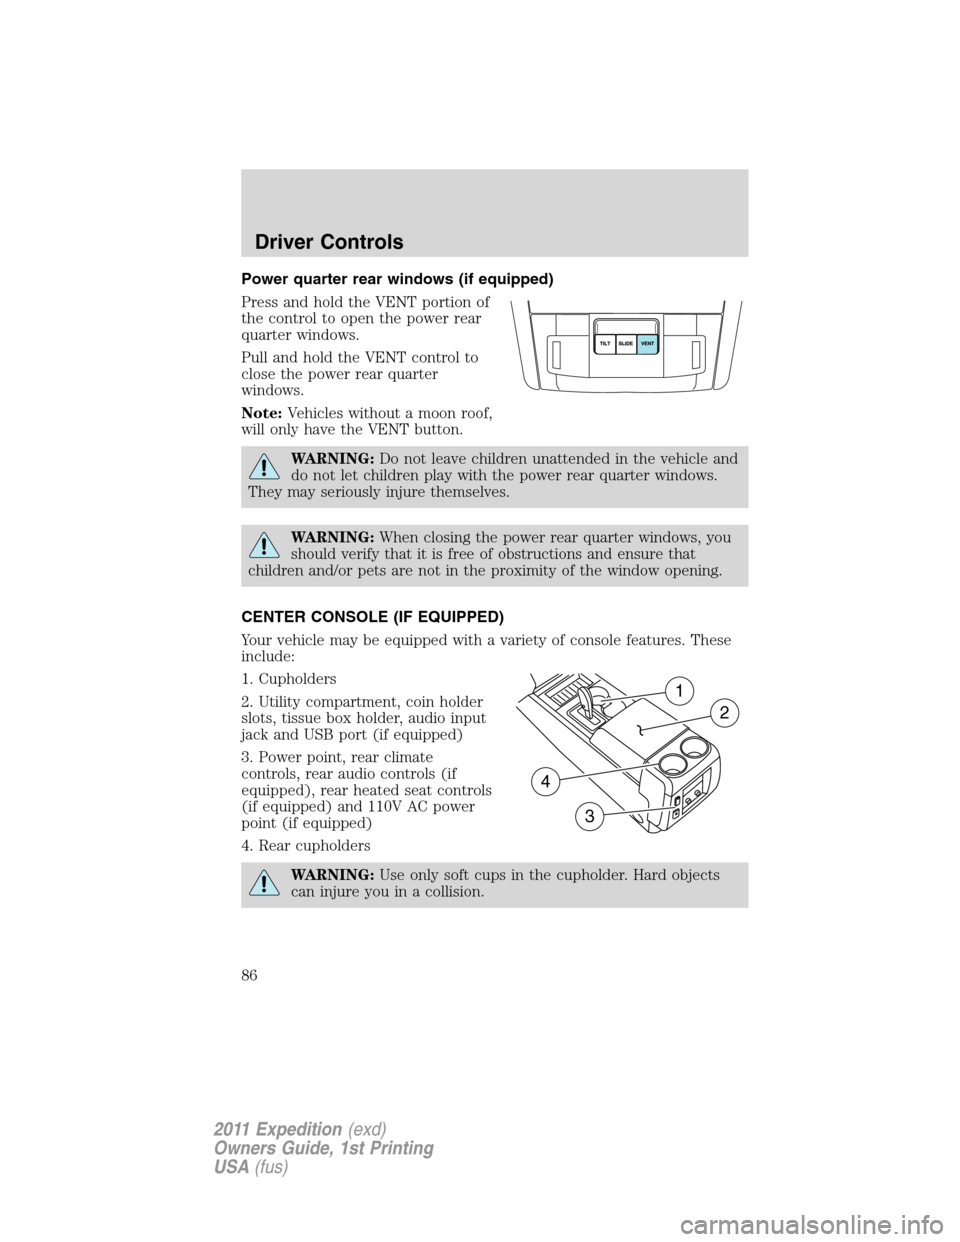
Press and hold the VENT portion of
the control to open the power rear
quarter windows.
Pull and hold the VENT control to
close the power rear quarter
windows.
Note:Vehicles without a moon roof,
will only have the VENT button.
WARNING:Do not leave children unattended in the vehicle and
do not let children play with the power rear quarter windows.
They may seriously injure themselves.
WARNING:When closing the power rear quarter windows, you
should verify that it is free of obstructions and ensure that
children and/or pets are not in the proximity of the window opening.
CENTER CONSOLE (IF EQUIPPED)
Your vehicle may be equipped with a variety of console features. These
include:
1. Cupholders
2. Utility compartment, coin holder
slots, tissue box holder, audio input
jack and USB port (if equipped)
3. Power point, rear climate
controls, rear audio controls (if
equipped), rear heated seat controls
(if equipped) and 110V AC power
point (if equipped)
4. Rear cupholders
WARNING:Use only soft cups in the cupholder. Hard objects
can injure you in a collision.
1
2
4
3
Driver Controls
86
2011 Expedition(exd)
Owners Guide, 1st Printing
USA(fus)