2011 FORD EXPEDITION washer fluid
[x] Cancel search: washer fluidPage 15 of 395
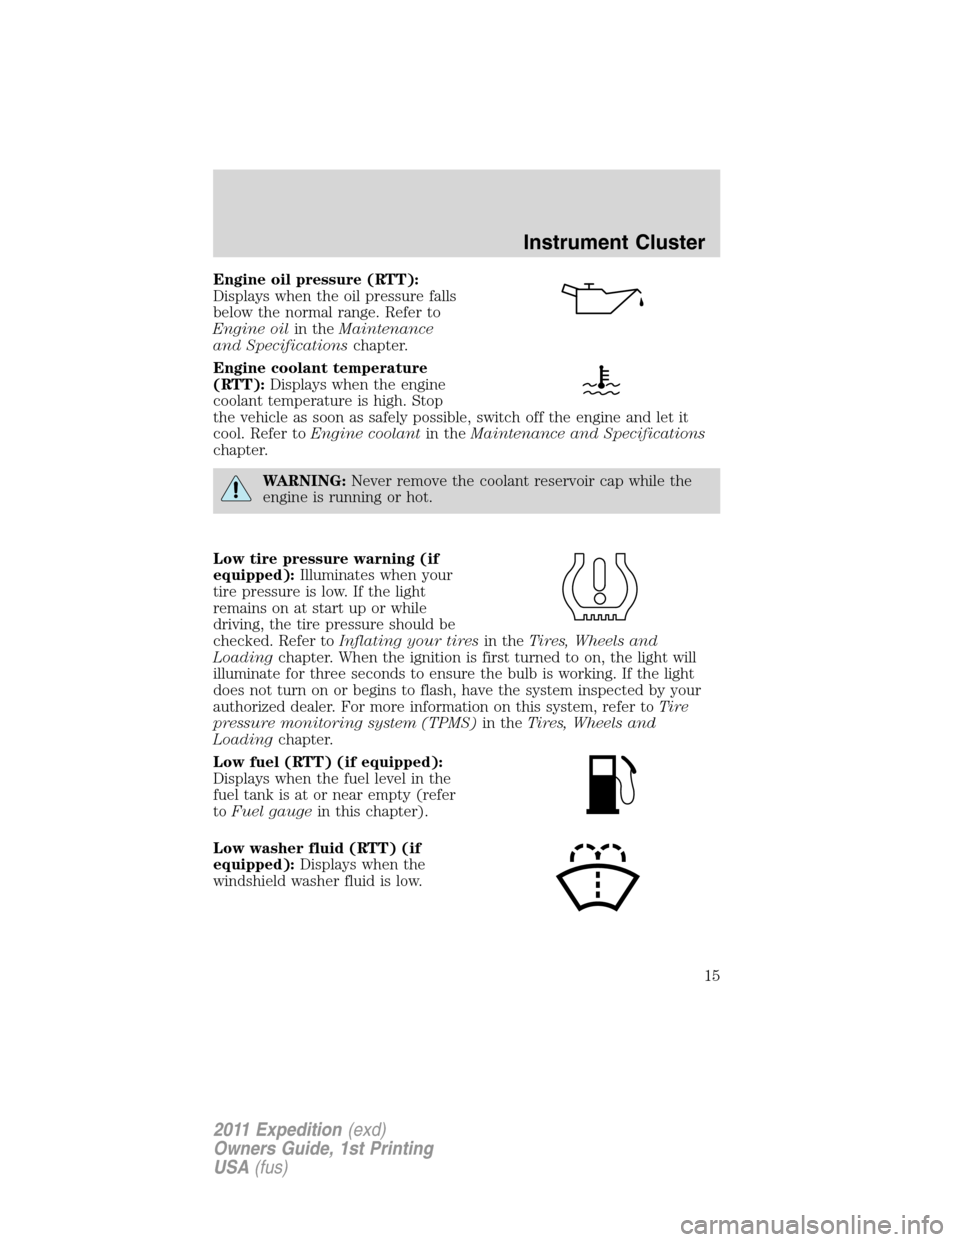
Engine oil pressure (RTT):
Displays when the oil pressure falls
below the normal range. Refer to
Engine oilin theMaintenance
and Specificationschapter.
Engine coolant temperature
(RTT):Displays when the engine
coolant temperature is high. Stop
the vehicle as soon as safely possible, switch off the engine and let it
cool. Refer toEngine coolantin theMaintenance and Specifications
chapter.
WARNING:Never remove the coolant reservoir cap while the
engine is running or hot.
Low tire pressure warning (if
equipped):Illuminates when your
tire pressure is low. If the light
remains on at start up or while
driving, the tire pressure should be
checked. Refer toInflating your tiresin theTires, Wheels and
Loadingchapter. When the ignition is first turned to on, the light will
illuminate for three seconds to ensure the bulb is working. If the light
does not turn on or begins to flash, have the system inspected by your
authorized dealer. For more information on this system, refer toTi r e
pressure monitoring system (TPMS)in theTires, Wheels and
Loadingchapter.
Low fuel (RTT) (if equipped):
Displays when the fuel level in the
fuel tank is at or near empty (refer
toFuel gaugein this chapter).
Low washer fluid (RTT) (if
equipped):Displays when the
windshield washer fluid is low.
Instrument Cluster
15
2011 Expedition(exd)
Owners Guide, 1st Printing
USA(fus)
Page 24 of 395
HOLD RESET FOR SYSTEM CHECK
Press and hold the SELECT/RESET stem to start the system check when
HOLD RESET FOR SYSTEM CHECK is displayed in the message center.
For each of the monitored systems, the message center will indicate
either an ok message or a warning message for two seconds. Pressing the
SELECT/RESET stem cycles the message center through each of the
systems being monitored.
Note:Some systems show a message only if a condition is present.
1. OIL LIFE
2. CHARGING SYSTEM
3. WASHER FLUID LEVEL
4. DOOR/LIFTGATE/GLASS AJAR
5. BRAKE SYSTEM
6. TIRE PRESSURE
7. FUEL LEVEL (will only display if 50 miles or less to empty)
8. MYKEY DISTANCE (if programmed)
9. MYKEY(S) PROGRAMMED
10. ADMIN KEYS PROGRAMMED
OIL LIFE
This displays the remaining oil life.
An oil change is required whenever indicated by the message center and
according to the recommended maintenance schedule. USE ONLY
RECOMMENDED ENGINE OILS.
To reset the oil monitoring system to 100% after each oil change perform
the following:
1. Press and release SETUP to display “OIL LIFE XXX% HOLD RESET =
NEW”.
2. Press and hold RESET for two seconds and release to reset the oil life
to 100%.
Note:To change oil life 100% value to another value, proceed to Step 3.
3. Once “OIL LIFE SET TO XXX%” is displayed, release and press
RESET to change the Oil Life Start Value. Each release and press will
reduce the value by 10%.
UNITS ENG / METRIC
Displays the current units English or Metric.
Instrument Cluster
24
2011 Expedition(exd)
Owners Guide, 1st Printing
USA(fus)
Page 28 of 395
BRAKE FLUID LEVEL LOW— Indicates the brake fluid level is low
and the brake system should be inspected immediately. Refer toBrake
fluidin theMaintenance and Specificationschapter.
XXX MILES TO E FUEL LEVEL LOW— Displayed as an early
reminder of a low fuel condition.
WASHER FLUID LEVEL LOW— Indicates the washer fluid reservoir
is less than one quarter full. Check the washer fluid level. Refer to
Windshield washer fluidin theMaintenance and Specifications
chapter.
ENGINE OIL CHANGE SOON— Displayed when the engine oil life
remaining is 10% or less.
OIL CHANGE REQUIRED— Displayed when the oil life left reaches
0%.
MYKEY ACTIVE DRIVE SAFELY— Displayed at startup when
MyKey™ is in use. Refer toMyKey™in theLocks and Securitychapter
for more information.
KEY COULD NOT PROGRAM— Displayed when an attempt is made
to program a spare key using two existing MyKeys. Refer toMyKey™in
theLocks and Securitychapter for more information.
VEHICLE SPEED 80 MPH MAX— Displayed when a MyKey™ is in
use and the Admin has enabled the MyKey speed limit and the vehicle
speed is 80 mph (130 km/h). Refer toMyKey™in theLocks and
Securitychapter for more information.
SPEED LIMITED TO 80 MPH— Displayed when starting the vehicle
and MyKey™ is in use and the MyKey speed limit is on. Refer to
MyKey™in theLocks and Securitychapter for more information.
CHECK SPEED DRIVE SAFELY— Displayed when a MyKey™ is in
use and the optional setting is on and the vehicle exceeds a preselected
speed. Refer toMyKey™in theLocks and Securitychapter for more
information.
VEHICLE NEAR TOP SPEED— Displayed when a MyKey™ is in use
and the MyKey speed limit is on and the vehicle speed is approaching
80 mph (130 km/h). Refer toMyKey™in theLocks and Security
chapter for more information.
TOP SPEED MYKEY SETTING— Displayed when a MyKey™ is in
use and the MyKey speed limit is on and the vehicle speed is 80 mph
(130 km/h). Refer toMyKey™in theLocks and Securitychapter for
more information.
Instrument Cluster
28
2011 Expedition(exd)
Owners Guide, 1st Printing
USA(fus)
Page 31 of 395
TIMER
Timer displays the trip elapsed drive time.
To operate, do the following:
1. Press and release RESET in order to start the timer.
2. Press and release RESET to pause the timer.
3. Press and hold RESET until the timer resets.
System check and vehicle feature customization
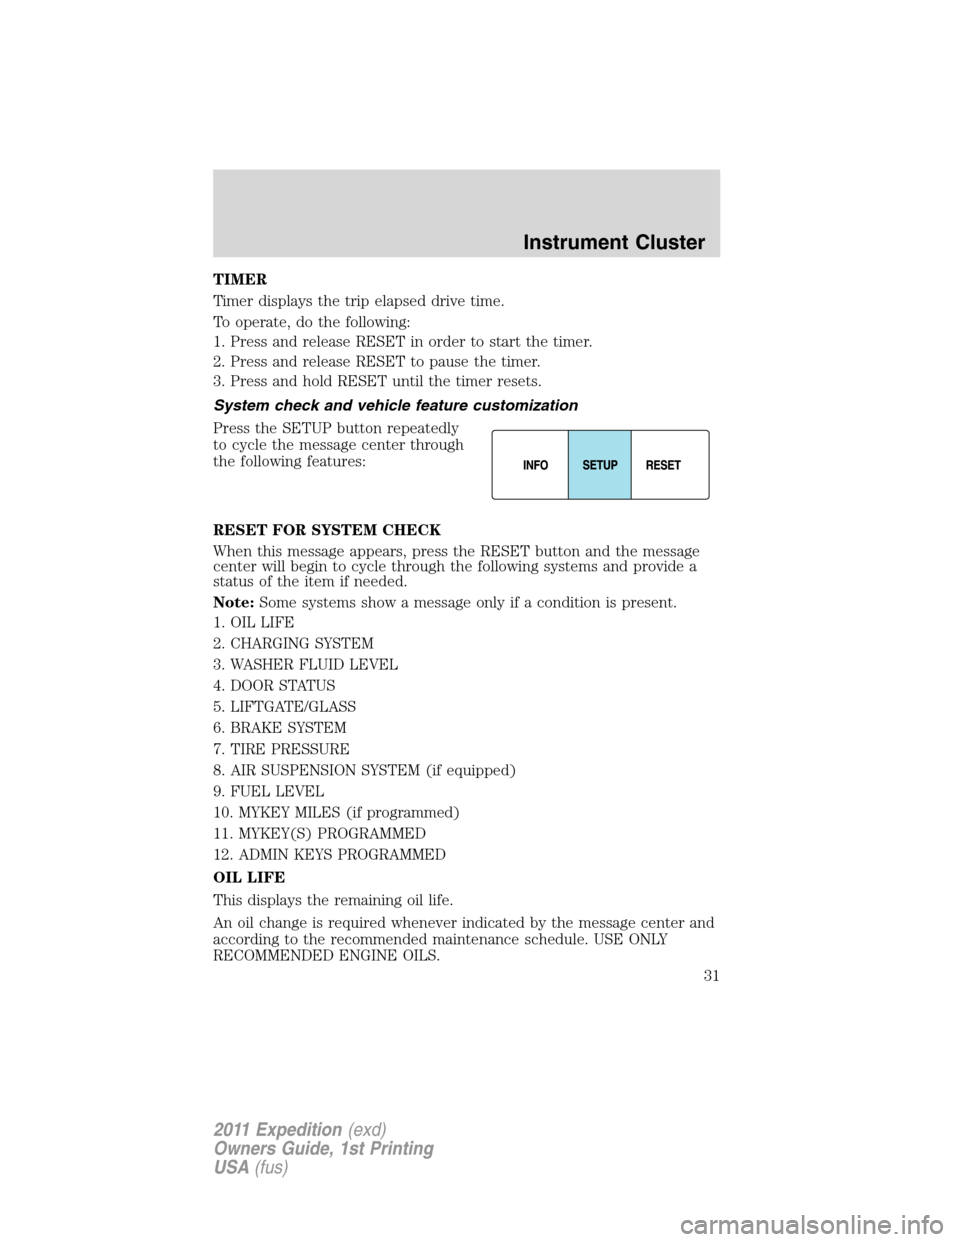
Press the SETUP button repeatedly
to cycle the message center through
the following features:
RESET FOR SYSTEM CHECK
When this message appears, press the RESET button and the message
center will begin to cycle through the following systems and provide a
status of the item if needed.
Note:Some systems show a message only if a condition is present.
1. OIL LIFE
2. CHARGING SYSTEM
3. WASHER FLUID LEVEL
4. DOOR STATUS
5. LIFTGATE/GLASS
6. BRAKE SYSTEM
7. TIRE PRESSURE
8. AIR SUSPENSION SYSTEM (if equipped)
9. FUEL LEVEL
10. MYKEY MILES (if programmed)
11. MYKEY(S) PROGRAMMED
12. ADMIN KEYS PROGRAMMED
OIL LIFE
This displays the remaining oil life.
An oil change is required whenever indicated by the message center and
according to the recommended maintenance schedule. USE ONLY
RECOMMENDED ENGINE OILS.
Instrument Cluster
31
2011 Expedition(exd)
Owners Guide, 1st Printing
USA(fus)
Page 36 of 395
CHECK CHARGING SYSTEM— Displayed when the electrical system
is not maintaining proper voltage when the engine is running. If you are
operating electrical accessories when the engine is idling at a low speed,
turn off as many of the electrical loads as soon as possible. If the
warning stays on or comes on when the engine is operating at normal
speeds, contact your authorized dealer as soon as possible.
CHECK FUEL FILL INLET— Displayed when the fuel fill inlet may
not be properly closed. Refer toEasy Fuel™ “no cap” fuel systemin
theMaintenance and Specificationschapter.
TIRE PRESSURE SENSOR FAULT— Displayed when a tire pressure
sensor is malfunctioning, or your spare tire is in use. For more
information on how the system operates under these conditions, refer to
Understanding Your Tire Pressure Monitoring System (TPMS)in the
Tires, Wheels and Loadingchapter. If the warning stays on or
continues to come on, contact your authorized dealer as soon as
possible.
LOW TIRE PRESSURE— Displayed when one or more tires on your
vehicle have low tire pressure. Refer toInflating your tiresin theTires,
Wheels and Loadingchapter.
TIRE PRESSURE MONITOR FAULT— Displayed when the Tire
Pressure Monitoring System is malfunctioning. If the warning stays on or
continues to come on, contact your authorized dealer as soon as
possible.
AIR SUSPENSION OFF (if equipped)— Displayed when the air
suspension is off. For more information, refer toAir suspension system
in theDrivingchapter.
BRAKE FLUID LEVEL LOW— Indicates the brake fluid level is low
and the brake system should be inspected immediately. Refer toBrake
fluidin theMaintenance and Specificationschapter.
WASHER FLUID LEVEL LOW— Indicates the washer fluid reservoir
is less than one quarter full. Check the washer fluid level. Refer to
Windshield washer fluidin theMaintenance and Specifications
chapter.
ENGINE OIL CHANGE SOON— Displayed when the engine oil life
remaining is 10% or less.
OIL CHANGE REQUIRED— Displayed when the oil life left reaches
0%.
Instrument Cluster
36
2011 Expedition(exd)
Owners Guide, 1st Printing
USA(fus)
Page 82 of 395
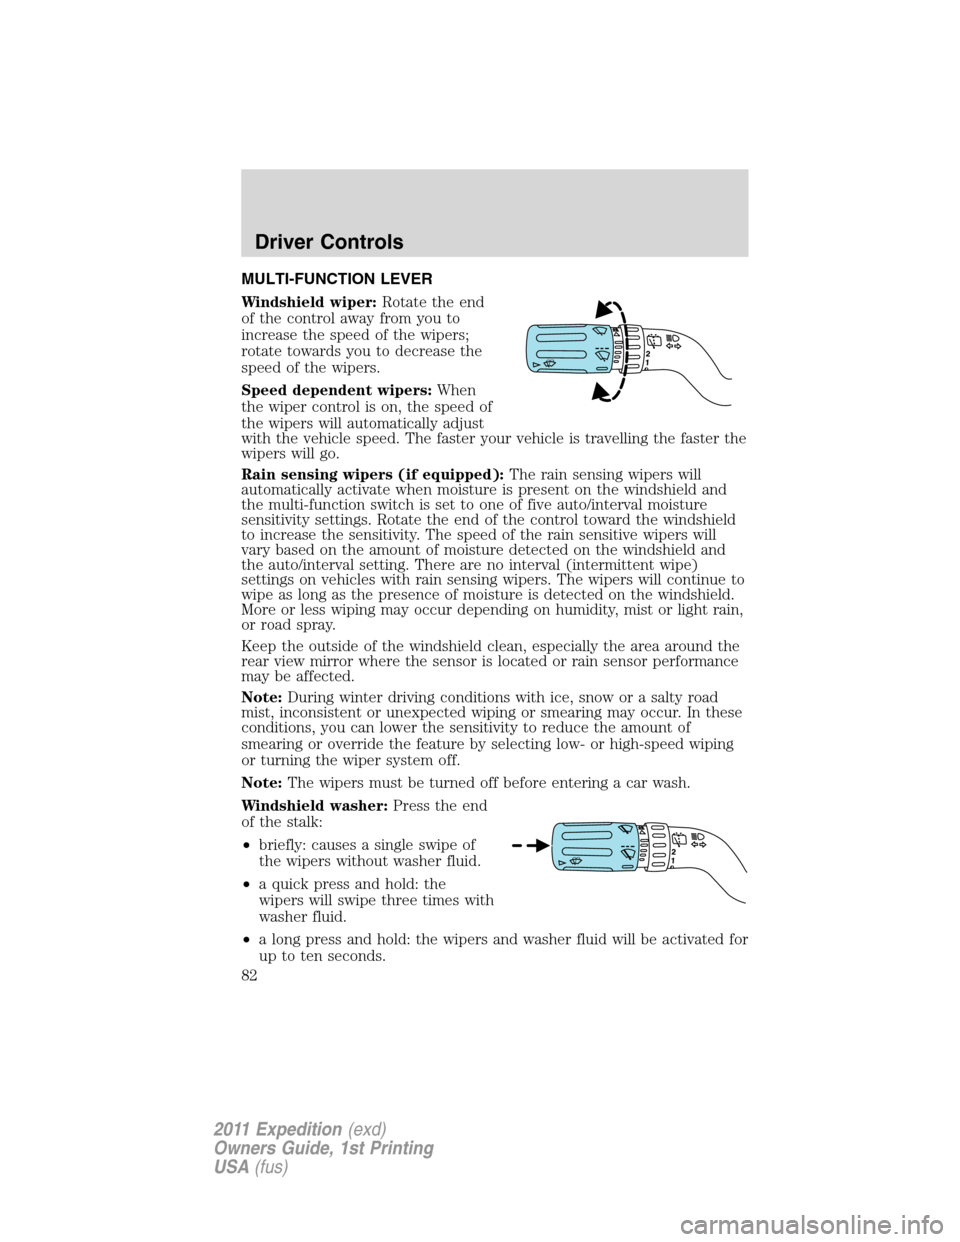
MULTI-FUNCTION LEVER
Windshield wiper:Rotate the end
of the control away from you to
increase the speed of the wipers;
rotate towards you to decrease the
speed of the wipers.
Speed dependent wipers:When
the wiper control is on, the speed of
the wipers will automatically adjust
with the vehicle speed. The faster your vehicle is travelling the faster the
wipers will go.
Rain sensing wipers (if equipped):The rain sensing wipers will
automatically activate when moisture is present on the windshield and
the multi-function switch is set to one of five auto/interval moisture
sensitivity settings. Rotate the end of the control toward the windshield
to increase the sensitivity. The speed of the rain sensitive wipers will
vary based on the amount of moisture detected on the windshield and
the auto/interval setting. There are no interval (intermittent wipe)
settings on vehicles with rain sensing wipers. The wipers will continue to
wipe as long as the presence of moisture is detected on the windshield.
More or less wiping may occur depending on humidity, mist or light rain,
or road spray.
Keep the outside of the windshield clean, especially the area around the
rear view mirror where the sensor is located or rain sensor performance
may be affected.
Note:During winter driving conditions with ice, snow or a salty road
mist, inconsistent or unexpected wiping or smearing may occur. In these
conditions, you can lower the sensitivity to reduce the amount of
smearing or override the feature by selecting low- or high-speed wiping
or turning the wiper system off.
Note:The wipers must be turned off before entering a car wash.
Windshield washer:Press the end
of the stalk:
•briefly: causes a single swipe of
the wipers without washer fluid.
•a quick press and hold: the
wipers will swipe three times with
washer fluid.
•a long press and hold: the wipers and washer fluid will be activated for
up to ten seconds.
Driver Controls
82
2011 Expedition(exd)
Owners Guide, 1st Printing
USA(fus)
Page 83 of 395
Courtesy wipe feature:One extra wipe will occur a few seconds after
washing the front window to clear any excess washer fluid remaining on
the windshield.
Note:Do not operate the washer when the washer reservoir is empty.
This may cause the washer pump to overheat. Check the washer fluid
level frequently. Do not operate the wipers when the windshield is dry.
This may scratch the glass, damage the wiper blades and cause the wiper
motor to burn out. Before operating the wiper on a dry windshield,
always use the windshield washer. In freezing weather, be sure the wiper
blades are not frozen to the windshield before operating the wipers.
Windshield wiper rainlamp feature (if equipped with autolamp)
When the windshield wipers are turned on during daylight, and the
headlamp control is in the autolamp position, the exterior lamps will turn
on after a brief delay and will remain on until the wipers are turned off.
Rear window wiper/washer controls
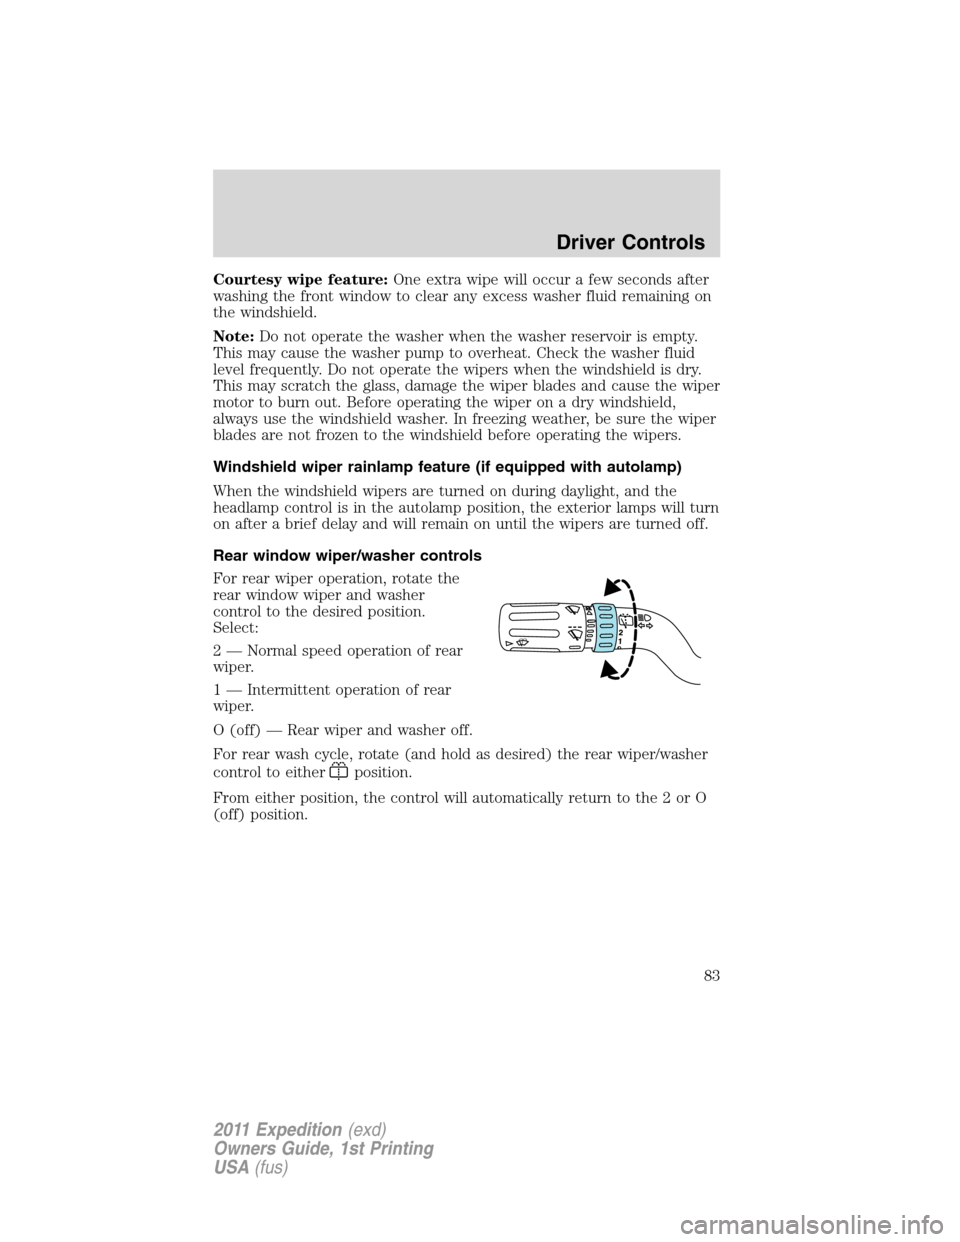
For rear wiper operation, rotate the
rear window wiper and washer
control to the desired position.
Select:
2 — Normal speed operation of rear
wiper.
1 — Intermittent operation of rear
wiper.
O (off) — Rear wiper and washer off.
For rear wash cycle, rotate (and hold as desired) the rear wiper/washer
control to either
position.
From either position, the control will automatically return to the 2 or O
(off) position.
Driver Controls
83
2011 Expedition(exd)
Owners Guide, 1st Printing
USA(fus)
Page 298 of 395
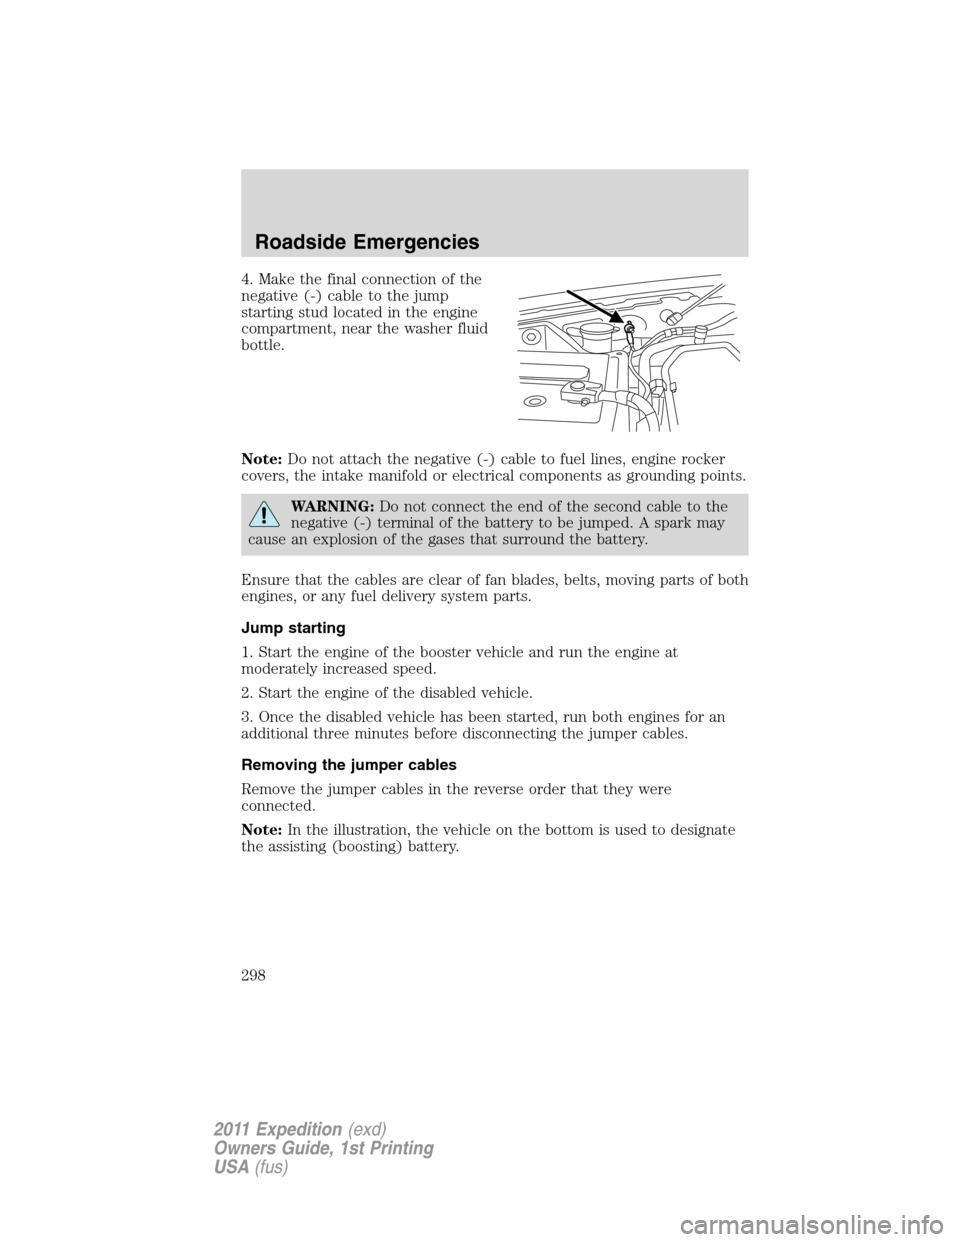
4. Make the final connection of the
negative (-) cable to the jump
starting stud located in the engine
compartment, near the washer fluid
bottle.
Note:Do not attach the negative (-) cable to fuel lines, engine rocker
covers, the intake manifold or electrical components as grounding points.
WARNING:Do not connect the end of the second cable to the
negative (-) terminal of the battery to be jumped. A spark may
cause an explosion of the gases that surround the battery.
Ensure that the cables are clear of fan blades, belts, moving parts of both
engines, or any fuel delivery system parts.
Jump starting
1. Start the engine of the booster vehicle and run the engine at
moderately increased speed.
2. Start the engine of the disabled vehicle.
3. Once the disabled vehicle has been started, run both engines for an
additional three minutes before disconnecting the jumper cables.
Removing the jumper cables
Remove the jumper cables in the reverse order that they were
connected.
Note:In the illustration, the vehicle on the bottom is used to designate
the assisting (boosting) battery.
Roadside Emergencies
298
2011 Expedition(exd)
Owners Guide, 1st Printing
USA(fus)