Page 75 of 497

WARNING!
Unapproved modifications or service procedures to
the front passenger seat assembly, its related compo-
nents or seat cover may inadvertently change the air
bag deployment in case of a frontal crash. This could
result in death or serious injury to the front seat
passenger if the vehicle is involved in a collision. A
modified vehicle may not comply with required
Federal Motor Vehicle Safety Standards (FMVSS)
and/or Canadian Motor Vehicle Safety Standards
(CMVSS).
Enhanced Accident Response System
In the event of an impact causing air bag deployment, if
the communication network remains intact, and the
power remains intact, depending on the nature of theevent the ORC will determine whether to have the
Enhanced Accident Response System perform the follow-
ing functions:
•Cut off fuel to the engine.
•Flash hazard lights as long as the battery has power or
until the ignition key is turned off.
•Turn on the interior lights, which remain on as long as
the battery has power or until the ignition key is
removed.
•Unlock the doors automatically.
If A Deployment Occurs
The front air bags are designed to deflate immediately
after deployment.
NOTE:
Front and/or side air bags will not deploy in all
collisions. This does not mean something is wrong with
the air bag system.
72 THINGS TO KNOW BEFORE STARTING YOUR VEHICLE
Page 94 of 497
Periodic Safety Checks You Should Make Outside
The Vehicle
Tires
Examine tires for excessive tread wear and uneven wear
patterns. Check for stones, nails, glass, or other objects
lodged in the tread or sidewall. Inspect the tread for cuts
and cracks. Inspect sidewalls for cuts, cracks and bulges.
Check the wheel nuts for tightness. Check the tires
(including spare) for proper cold inflation pressure.
Lights
Have someone observe the operation of exterior lights
while you work the controls. Check turn signal and high
beam indicator lights on the instrument panel.
Door Latches
Check for positive closing, latching, and locking.
Fluid Leaks
Check area under vehicle after overnight parking for fuel,
engine coolant, oil, or other fluid leaks. Also, if gasoline
fumes are detected or if fuel, power steering fluid, or
brake fluid leaks are suspected, the cause should be
located and corrected immediately.2
THINGS TO KNOW BEFORE STARTING YOUR VEHICLE 91
Page 97 of 497

▫Voice Training ...................... 135
� Seats .............................. 135
▫ Driver’s Power Seat — If Equipped ....... 136
▫ Heated Seats — If Equipped ............ 137
▫ Front Manual Seat Adjustment ........... 139
▫ Front Seat — Manual Recline ............ 140
▫ Fold-Flat Front Passenger Seat ........... 140
▫ Head Restraints ..................... 141
▫ 60/40 Split Folding Rear Seat With Fold-Flat
Feature ........................... 146
� To Open And Close The Hood ............ 149
� Lights ............................. 151
▫ Multifunction Lever .................. 151 ▫
Headlights And Parking Lights .......... 151
▫ Daytime Running Lights — If Equipped .... 152
▫ Lights-On Reminder .................. 152
▫ High/Low Beam Switch ............... 152
▫ Flash-To-Pass ....................... 152
▫ Front Fog Lights — If Equipped .......... 152
▫ Turn Signals ........................ 153
▫ Instrument Panel Dimmer .............. 154
▫ Interior Lights ...................... 155
� Windshield Wipers And Washers .......... 156
▫ Windshield Wiper Operation ............ 156
▫ Intermittent Wiper System .............. 158
▫ Windshield Washers .................. 158
94 UNDERSTANDING THE FEATURES OF YOUR VEHICLE
Page 103 of 497

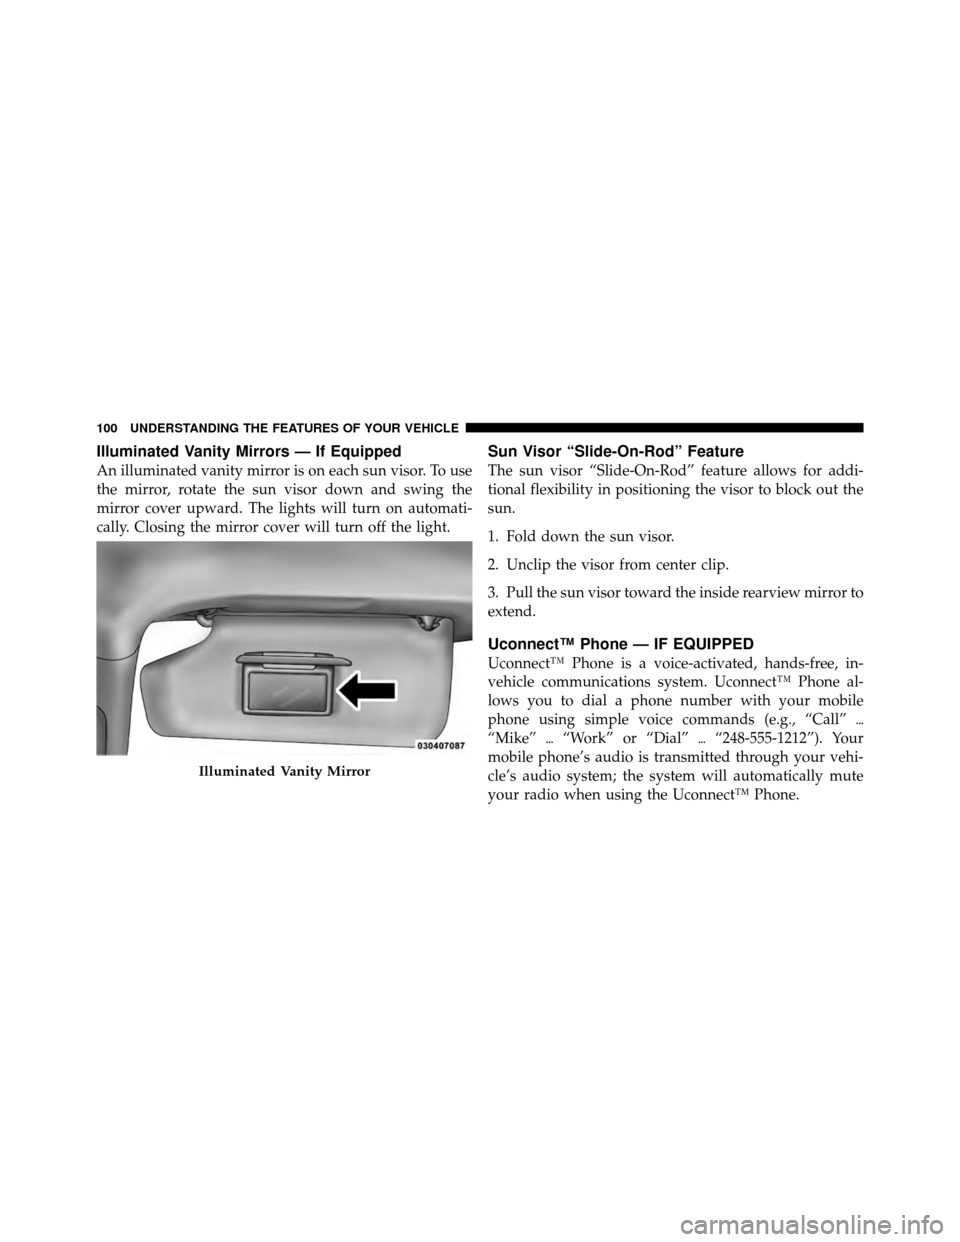
Illuminated Vanity Mirrors — If Equipped
An illuminated vanity mirror is on each sun visor. To use
the mirror, rotate the sun visor down and swing the
mirror cover upward. The lights will turn on automati-
cally. Closing the mirror cover will turn off the light.
Sun Visor “Slide-On-Rod” Feature
The sun visor “Slide-On-Rod” feature allows for addi-
tional flexibility in positioning the visor to block out the
sun.
1. Fold down the sun visor.
2. Unclip the visor from center clip.
3. Pull the sun visor toward the inside rearview mirror to
extend.
Uconnect™ Phone — IF EQUIPPED
Uconnect™ Phone is a voice-activated, hands-free, in-
vehicle communications system. Uconnect™ Phone al-
lows you to dial a phone number with your mobile
phone using simple voice commands (e.g., “Call”\b
“Mike” \b“Work” or “Dial” \b“248-555-1212”). Your
mobile phone’s audio is transmitted through your vehi-
cle’s audio system; the system will automatically mute
your radio when using the Uconnect™ Phone.
Illuminated Vanity Mirror
100 UNDERSTANDING THE FEATURES OF YOUR VEHICLE
Page 141 of 497

You can choose from HIGH, LOW or OFF heat settings.
Amber indicator lights in each switch indicate the level of
heat in use. Two indicator lights will illuminate for
HIGH, one for LOW and none for OFF.Press the switch once to select HIGH-level
heating. Press the switch a second time to select
LOW-level heating. Press the switch a third
time to shut the heating elements OFF.
When the HIGH-level setting is selected, the heater will
provide a boosted heat level during the first four minutes
of operation. Then, the heat output will drop to the
normal HIGH-level. If the HIGH-level setting is selected,
the system will automatically switch to LOW-level after
approximately 30 minutes of continuous operation. At
that time, the number of illuminated LEDs changes from
two to one, indicating the change. The LOW-level setting
will turn OFF automatically after approximately 30 min-
utes. NOTE:
Once a heat setting is selected, heat will be felt
within two to five minutes.
WARNING!
•Persons who are unable to feel pain to the skin
because of advanced age, chronic illness, diabetes,
spinal cord injury, medication, alcohol use, ex-
haustion or other physical condition must exercise
care when using the seat heater. It may cause burns
even at low temperatures, especially if used for
long periods of time.
•Do not place anything on the seat that insulates
against heat, such as a blanket or cushion. This
may cause the seat heater to overheat. Sitting in a
seat that has been overheated could cause serious
burns due to the increased surface temperature of
the seat.
138 UNDERSTANDING THE FEATURES OF YOUR VEHICLE
Page 154 of 497
LIGHTS
Multifunction Lever
The multifunction lever controls the operation of the
parking lights, headlights, headlight beam selection,
passing light, fog lights, instrument panel light dimming
and turn signals. The multifunction lever is located on
the left side of the steering column.
Headlights and Parking Lights
Turn the end of the multifunction lever to the first detent
for parking lights and instrument panel lights. Turn to
the second detent for headlight operation.
Multifunction Lever
Headlight Switch
3
UNDERSTANDING THE FEATURES OF YOUR VEHICLE 151
Page 155 of 497

To change the brightness of the instrument panel lights,
rotate the center portion of the multifunction lever up or
down.
NOTE:If the driver’s door is left open, and the head-
lights or parking lights are left on, a chime will sound.
Daytime Running Lights — If Equipped
The high beam headlights will turn on as Daytime
Running Lights (DRL) and operate at lower intensity
whenever the ignition is ON, the engine is running, the
headlight switch is off, the parking brake is released and
the shift lever is in any position except PARK.
NOTE: The Daytime Running Lights will turn off
automatically when a turn signal is in operation and turn
on again when the turn signal is not operating.
Lights-On Reminder
If the headlights or parking lights are on after the ignition
is turned OFF, a chime will sound when the driver’s door
is opened.
High/Low Beam Switch
Push the multifunction lever away from you to switch
the headlights to high beams. Pull the lever toward you
to switch the headlights back to low beams.
Flash-to-Pass
You can signal another vehicle with your headlights by
lightly pulling the multifunction lever toward the steer-
ing wheel. This will turn on the high beam headlights
until the lever is released.
Front Fog Lights — If Equipped
The front fog light switch is in the multifunction
lever. To activate the front fog lights, turn on the
parking or low beam headlights and pull out the
end of the lever.
152 UNDERSTANDING THE FEATURES OF YOUR VEHICLE
Page 156 of 497
NOTE:The fog lights will only operate with the parking
lights or the headlights on low beam. Selecting high
beam headlights will turn off the fog lights.
Turn Signals
Move the multifunction lever up or down and the arrows
on each side of the instrument cluster flash to show
proper operation of the front and rear turn signal lights.
Fog Light Operation
Turn Signal Operation
3
UNDERSTANDING THE FEATURES OF YOUR VEHICLE 153