2011 DODGE GRAND CARAVAN manual radio set
[x] Cancel search: manual radio setPage 22 of 100

HEADLIGHT SWITCH AND HALO LIGHT SWITCH
Automatic Headlights/Parking
Lights/Headlights
• Rotate the headlight switch, located onthe instrument panel to the left of the
steering wheel, to the first detent for
parking lights
andtothe
second detent for headlights
.
• With the parking lights or low beam headlights on, push the headlight
switch once for fog lights.
• Rotate the headlight switch to “AUTO” for AUTO headlights.
• When set to AUTO, the system automatically turns the headlights on or off based on ambient light levels.
SmartBeams™
• This system automatically controls the use of the headlight high beams. Refer toProgrammable Features in Electronics for further details.
Instrument Panel Dimmer
• Rotate the dimmer control to the extreme bottom position to fully dim theinstrument panel lights and prevent the interior lights from illuminating when a
door is opened.
• Rotate the dimmer control up to increase the brightness of the instrument panel when the parking lights or headlights are on.
• Rotate the dimmer control up to the next detent position to fully brighten the odometer and radio when the parking lights or headlights are on. Refer to your
Media Center/Radio User Manual on the DVD for display dimming.
• Rotate the dimmer control up to the last detent position to turn on the interior lighting.
Overhead (Halo) Light
• To activate the Halo lights, rotate the Halo switch control upward or downward toincrease or decrease the lighting.
OPERATING YOUR VEHICLE
20
Page 44 of 100

NOTE:SIRIUS Travel Link requires a subscription, sold separately after trial
subscription included with vehicle purchase.
• SIRIUS Travel Link brings a wealth of useful information into your vehicle and rightto your fingertips:
• Weather
• View detailed weather conditions at your current location.
• Ski Info
• View ski and snowboarding conditions at ski resorts.
• Fuel Prices
• Check detailed price information for fuel stations near your current location.
• Movie Listings
• Check which movies (includes start times, ratings, run lengths and summaries)
are playing at theaters near your current location.
• Sports Scores
• View scores and upcoming events for all major sports.
• Your favorite location, theater and sports teams can be stored for quick access.
• Refer to your Media Center 730N (RHR) User's Manual or Media Center 430/430N (RBZ/RHB) User's Manual for more details.
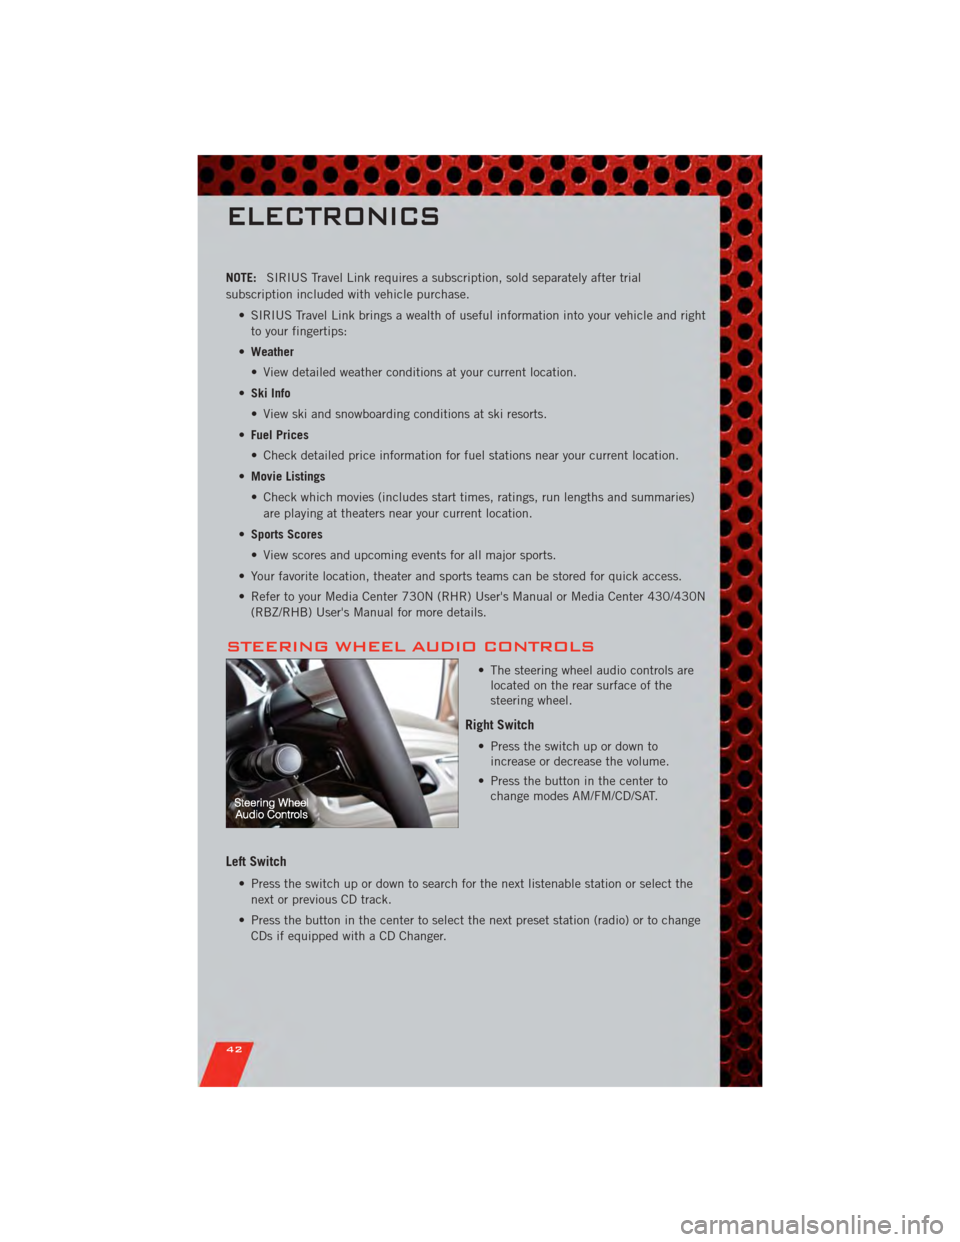
STEERING WHEEL AUDIO CONTROLS
• The steering wheel audio controls arelocated on the rear surface of the
steering wheel.
Right Switch
• Press the switch up or down toincrease or decrease the volume.
• Press the button in the center to change modes AM/FM/CD/SAT.
Left Switch
• Press the switch up or down to search for the next listenable station or select the
next or previous CD track.
• Press the button in the center to select the next preset station (radio) or to change CDs if equipped with a CD Changer.
ELECTRONICS
42
Page 45 of 100

Uconnect™ Phone
• To determine if your vehicle is equipped with Uconnect™ Phone, press theUconnect™ Phone button
. If your vehicle has this feature, after a couple
seconds you will hear a voice prompt. If not, you will see a message on the radio
“Uconnect phone not available”.
• The Uconnect™ Phone is a voice-activated, hands-free, in-vehicle communications system with Voice Command Capability (see Voice Command section).
• The Uconnect™ Phone allows you to dial a phone number with your mobile phone using simple voice commands.
• For vehicles equipped with Video Entertainment System (VES)™, refer to the Uconnect™ Phone section of the Uconnect™ User's Manual on the DVD for
further details.
• For vehicles not equipped with VES™, refer to your vehicle Owner's Manual on the DVD for further details.
NOTE: The Uconnect™ Phone requires a mobile phone equipped with the Bluetooth
®
Hands-Free Profile, Version 0.96 or higher. For Uconnect™ customer support, call
1–877–855–8400 or visit www.dodge.com/uconnect.
Phone Pairing
NOTE: Pairing is a one-time initial setup before using the phone. You will also need to
follow the Bluetooth®instructions in your cell phone user guide to complete the phone
pairing setup.
• Press the Phone button
to begin.
• Wait for the “ready” prompt and BEEP.
• (After the BEEP), say “Uconnect setup”.
• (After the BEEP), say “phone pairing”.
• (After the BEEP), say “pair a phone”.
• Follow the audible prompts.
• You will be asked to enter a four-digit Personal Identification Number (PIN), which you will later need to enter into your mobile phone. You can enter any four-digit
PIN. You will not need to remember this PIN after the initial pairing process.
• You will then be prompted to give the phone pairing a name (each phone paired should have a unique name).
• Next you will be asked to give this new pairing a priority of 1 thru 7 (up to seven phones may be paired); 1 is the highest and 7 is the lowest priority. The system
will only connect to the highest priority phone that exists within the proximity of
the vehicle.
Making A Phone Call
• Press the Phone button.
• (After the BEEP), say “dial” (or “call” a name).
• (After the BEEP), say number (or name).
ELECTRONICS
43
Page 47 of 100

Uconnect™ VOICE COMMAND
• The Uconnect™ Voice Command system allows you to control your AM, FM radio,satellite radio, disc player, HDD, Uconnect™ Phone, a memo recorder, and
supported portable media devices.
• When you press the Voice Command button
located on the radio faceplate
or steering wheel, you will hear a beep. The beep is your signal to give a command.
If you do not say a command within a few seconds, the system will present you
with a list of options. If you ever wish to interrupt the system while it lists options,
press the Voice Command button
, listen for the BEEP, and say your
command.
Voice Command for Text Messaging
• If equipped with Uconnect™ Voice Command, your Media Center 430N radio may be able to play incoming SMS messages through the vehicle sound system.
• It also allows you to respond by selecting from various pre-defined phrases.
• Not all phones are compatible with this feature. Refer to the phone compatibility list at www.dodge.com/uconnect. Connected mobile phones must be
bluetooth-compatible, and paired with your radio.
Changing The Volume
• Start a dialogue by pressing the Voice Command button, then say a
command (for example, “tutorial”).
• Use the radio ON/OFF VOLUME rotary knob to adjust the volume to a comfortable level while the Voice Command system is speaking. The volume setting for Voice
Command is different than the audio system.
• For vehicles equipped with Video Entertainment System (VES)™, refer to the Uconnect™ Voice Command section of the Uconnect™ User's Manual on the DVD
for further details.
• For vehicles not equipped with VES™, refer to your vehicle Owner's Manual on the DVD for Uconnect™ Voice Command information.
NOTE: To access the tutorial, press the Voice Command button
. After the
BEEP, say “tutorial”. Press any hard-key/button or touch the display (Touch-Screen
radio) to cancel the tutorial.
WARNING!
Any voice commanded system should be used only in safe driving conditions
following local laws and phone use. All attention should be kept on the roadway
ahead. Failure to do so may result in a collision causing you and others to be
severely injured or killed.
ELECTRONICS
45
Page 50 of 100

• Connect the video game or other external media devises to the AUX jacks followingthe color coding for the VES™ jacks.
• Using either the touch-screen radio or remote control, select AUX from the REAR VES™ CONTROL or the MODE SELECTION screen.
• Refer to the Uconnect™ Multimedia – Video Entertainment System (VES)™ section in the Uconnect™ User's Manual on the DVD for further details.
ELECTRONIC VEHICLE INFORMATION CENTER
(EVIC)
• The EVIC features a driver interactivedisplay that is located in the
instrument cluster. Pressing the
controls on the left side of the steering
wheel allows the driver to select
vehicle information and Personal
Settings. For additional information,
refer to Programmable Features in this
guide.
• Press and release the UP
button
to scroll upward through the main
menus (Fuel Economy, Vehicle Info,
Tire PSI, Cruise, Messages, Units, System Setup) and sub menus.
• Press and release the DOWN
button to scroll downward through the main
menus and sub menus.
• Press and release the SELECT
button for access to main menus, sub menus
or to select a personal setting in the setup menu.
• Press the BACK button to scroll back to a previous menu or sub menu.
Compass Calibration
• This compass is self-calibrating, which eliminates the need to set the compass manually. When the vehicle is new, the compass may appear erratic and the EVIC
will display “CAL” until the compass is calibrated.
• You may also calibrate the compass by completing one or more 360 degree turns (in an area free from large metal or metallic objects) until the “CAL” message
displayed in the EVIC turns off. The compass will now function normally.
ELECTRONICS
48