Page 133 of 562

WARNING!
•Persons who are unable to feel pain to the skin
because of advanced age, chronic illness, diabetes,
spinal cord injury, medication, alcohol use, ex-
haustion or other physical condition must exercise
care when using the seat heater. It may cause burns
even at low temperatures, especially if used for
long periods of time.
•Do not place anything on the seat that insulates
against heat, such as a blanket or cushion. This
may cause the seat heater to overheat. Sitting in a
seat that has been overheated could cause serious
burns due to the increased surface temperature of
the seat.
Vehicles Equipped With Remote Start
On models that are equipped with remote start, the
driver ’s heated seat and Heated Steering Wheel can beprogrammed to come on during a remote start. Refer to
“Remote Starting System — If Equipped” in “Things To
Know Before Starting Your Vehicle” for further
information.
Front Heated Seats
There are two heated seat switches that allow the driver
and passenger to operate the seats independently. The
controls for each heater are located on the switch bank
below the climate controls.
You can choose from HIGH, LOW or OFF heat settings.
Amber indicator lights in each switch indicate the level of
heat in use. Two indicator lights will illuminate for
HIGH, one for LOW and none for OFF.
Press the switch once to select HIGH-level
heating. Press the switch a second time to select
LOW-level heating. Press the switch a third
time to shut the heating elements OFF.3
UNDERSTANDING THE FEATURES OF YOUR VEHICLE 131
Page 177 of 562
•Remote Start Mode Inhibit— On vehicles equipped
with Remote Starting system, Rain Sensing wipers are
not operational when the vehicle is in the remote start
mode. Once the operator is in the vehicle and has
placed the ignition switch in the RUN position, rain
sensing wiper operation can resume, if it has been
selected, and no other inhibit conditions (mentioned
previously) exist.
TILT/TELESCOPING STEERING COLUMN
This feature allows you to tilt the steering column
upward or downward. It also allows you to lengthen or
shorten the steering column. The tilt/telescoping lever is
located below the steering wheel at the end of the
steering column.
To unlock the steering column, push the lever downward
(toward the floor). To tilt the steering column, move the
steering wheel upward or downward as desired. To
lengthen or shorten the steering column, pull the steering
Tilt/Telescoping Lever
1 — Locked Position
2 — Unlocked Position
3
UNDERSTANDING THE FEATURES OF YOUR VEHICLE 175
Page 178 of 562

wheel outward or push it inward as desired. To lock the
steering column in position, push the lever upward until
fully engaged.
WARNING!
Do not adjust the steering column while driving.
Adjusting the steering column while driving or driv-
ing with the steering column unlocked, could cause
the driver to lose control of the vehicle. Be sure the
steering column is locked before driving your ve-
hicle. Failure to follow this warning may result in
serious injury or death.
HEATED STEERING WHEEL — IF EQUIPPED
The steering wheel contains a heating element that helps
warm your hands in cold weather. The heated steering
wheel has only one temperature setting. Once the heated
steering wheel has been turned on it will operate for
approximately 58 to 70 minutes before automaticallyshutting off. The heated steering wheel can shut off early
or may not turn on when the steering wheel is already
warm.
The heated steering wheel switch is located on the switch
bank below the climate controls.
Press the switch to turn on the heated
steering wheel. The light on the switch
will illuminate to indicate the steering
wheel heater is on. Pressing the switch
a second time will turn off the heated
steering wheel and light indicator.
NOTE: The engine must be running for the heated
steering wheel to operate.
Vehicles Equipped With Remote Start
On models that are equipped with remote start, the
heated steering wheel can be programmed to come on
176 UNDERSTANDING THE FEATURES OF YOUR VEHICLE
Page 179 of 562

during a remote start. Refer to “Remote Starting System
— If Equipped” in “Things to Know Before Starting Your
Vehicle” for further information.
WARNING!
•Persons who are unable to feel pain to the skin
because of advanced age, chronic illness, diabetes,
spinal cord injury, medication, alcohol use, ex-
haustion, or other physical conditions must exer-
cise care when using the steering wheel heater. It
may cause burns even at low temperatures, espe-
cially if used for long periods.
•Do not place anything on the steering wheel that
insulates against heat, such as a blanket or cush-
ion. This may cause the steering wheel heater to
overheat.
ADJUSTABLE PEDALS — IF EQUIPPED
The adjustable pedals system is designed to allow a greater
range of driver comfort for steering wheel tilt and seat
position. This feature allows the brake, accelerator, and
clutch pedals (if equipped) to move toward or away from the
driver to provide improved position with the steering wheel.
The switch is located on the left side of the steering column.
Adjustable Pedal Switch
3
UNDERSTANDING THE FEATURES OF YOUR VEHICLE 177
Page 181 of 562

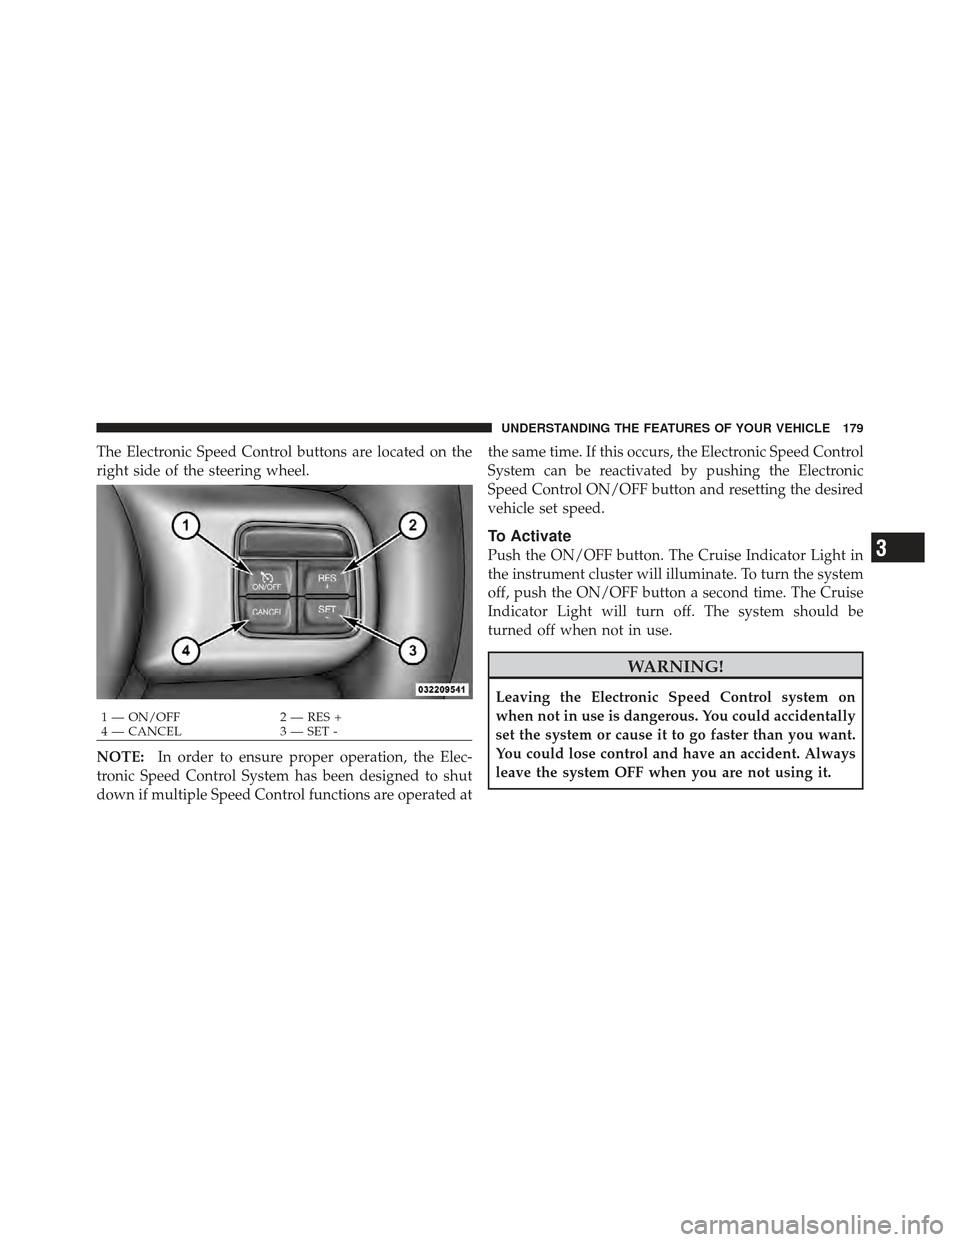
The Electronic Speed Control buttons are located on the
right side of the steering wheel.
NOTE:In order to ensure proper operation, the Elec-
tronic Speed Control System has been designed to shut
down if multiple Speed Control functions are operated at the same time. If this occurs, the Electronic Speed Control
System can be reactivated by pushing the Electronic
Speed Control ON/OFF button and resetting the desired
vehicle set speed.
To Activate
Push the ON/OFF button. The Cruise Indicator Light in
the instrument cluster will illuminate. To turn the system
off, push the ON/OFF button a second time. The Cruise
Indicator Light will turn off. The system should be
turned off when not in use.
WARNING!
Leaving the Electronic Speed Control system on
when not in use is dangerous. You could accidentally
set the system or cause it to go faster than you want.
You could lose control and have an accident. Always
leave the system OFF when you are not using it.
1 — ON/OFF
2 — RES +
4 — CANCEL 3 — SET -
3
UNDERSTANDING THE FEATURES OF YOUR VEHICLE 179
Page 247 of 562

▫Controlling The iPod� Or External USB
Device Using Radio Buttons ............. 312
▫ Play Mode ......................... 312
▫ List Or Browse Mode ................. 314
▫ Bluetooth Streaming Audio (BTSA) ........ 316
� Video Entertainment System (VES)™ — If
Equipped ............................ 317
� Steering Wheel Audio Controls —
If Equipped .......................... 319
▫ Radio Operation ..................... 319
▫ CD Player ......................... 320
� CD/DVD Disc Maintenance .............. 320
� Radio Operation And Mobile Phones ....... 321
� Climate Controls ...................... 321 ▫
Manual Heating And Air Conditioning
System — If Equipped ................. 321
▫ Three-Zone Temperature Control — If
Equipped .......................... 325
▫
Rear Manual Climate Control — If Equipped. . 330
▫ Automatic Temperature Control (ATC) — If
Equipped .......................... 333
▫ Summer Operation ................... 343
▫ Winter Operation .................... 343
▫ Vacation/Storage .................... 343
▫ Window Fogging .................... 344
▫ Outside Air Intake ................... 344
▫ Operating Tips ...................... 344
▫ A/C Air Filter— If Equipped ............ 345
4
UNDERSTANDING YOUR INSTRUMENT PANEL 245
Page 265 of 562

CMTC Reset Buttons
CMTC Reset Button
Press the STEP button located on the steering wheel to
scroll through sub menus (i.e., Trip Functions: AVG Fuel
Economy, DTE, Elapsed Time, and Units).
To reset the display shown, turn the ignition switch to the
ON position, then press and hold the RESET button for
approximately two seconds.
When the appropriate conditions exist, the following
messages will display:
NE....... Eight-point compass headings are displayed
(N, S, E, W, NE, NW, SE, SW)
14°F ............ T emperature (Fahrenheit or Celsius)
AV G ......... Average Fuel Economy (U.S. or Metric)
DTE ....................... Distance to Empty
ET ............................ Elapsed Time
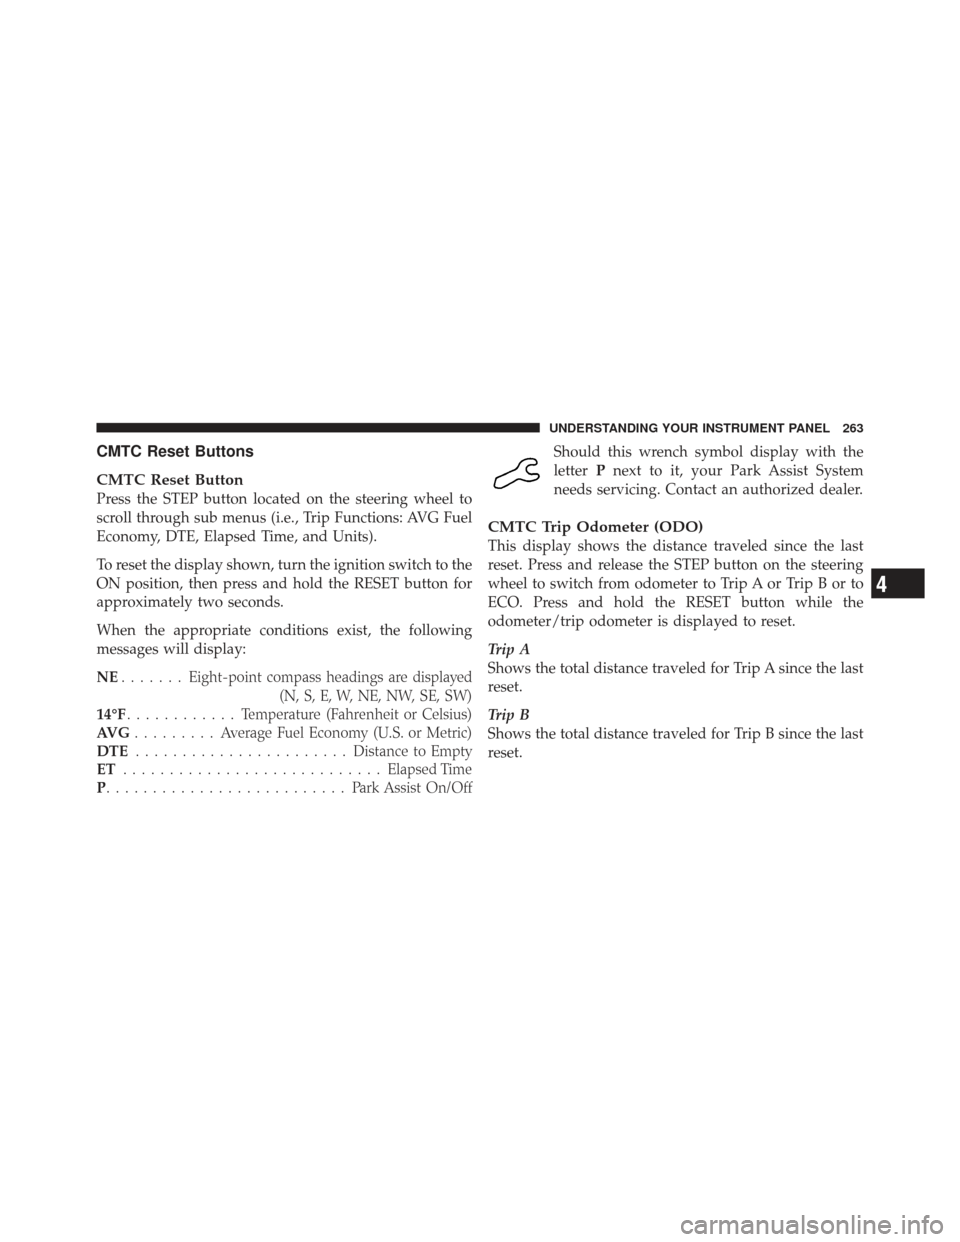
P .......................... Park Assist On/OffShould this wrench symbol display with the
letter
Pnext to it, your Park Assist System
needs servicing. Contact an authorized dealer.
CMTC Trip Odometer (ODO)
This display shows the distance traveled since the last
reset. Press and release the STEP button on the steering
wheel to switch from odometer to Trip A or Trip B or to
ECO. Press and hold the RESET button while the
odometer/trip odometer is displayed to reset.
Trip A
Shows the total distance traveled for Trip A since the last
reset.
Trip B
Shows the total distance traveled for Trip B since the last
reset.
4
UNDERSTANDING YOUR INSTRUMENT PANEL 263
Page 268 of 562
This system conveniently allows the driver to select a
variety of useful information by pressing the switches
mounted on the steering wheel. The EVIC consists of the
following:
•Radio Information
•Fuel Economy
•Vehicle Speed
•Trip Info
•Tire PSI
•Vehicle Info
•Messages
•Units
•System Setup (Personal Settings)
•Turn Menu OffElectronic Vehicle Information Center (EVIC)
266 UNDERSTANDING YOUR INSTRUMENT PANEL