2011 DODGE DAKOTA wheel torque
[x] Cancel search: wheel torquePage 192 of 452

alternate tires or wheels on the vehicle that prevent the
TPMS from functioning properly. Always check the
TPMS malfunction telltale after replacing one or more
tires or wheels on your vehicle, to ensure that the
replacement or alternate tires and wheels allow the TPMS
to continue to function properly.
CAUTION!
The TPMS has been optimized for the original
equipment tires and wheels. TPMS pressures and
warning have been established for the tire size
equipped on your vehicle. Undesirable system opera-
tion or sensor damage may result when using re-
placement equipment that is not of the same size,
type, and/or style. Aftermarket wheels can cause
sensor damage. Do not use tire sealant from a can or
balance beads if your vehicle is equipped with a
TPMS, as damage to the sensors may result.23. Airbag Warning Light
This light will turn on for four to eight seconds
as a bulb check when the ignition switch is first
turned to ON/RUN. If the light is either not on
during starting, stays on, or turns on while
driving, have the system inspected at an authorized
dealer as soon as possible. Refer to “Occupant Restraints”
in “Things To Know Before Starting Your Vehicle” for
further information.
24. 4WD Indicator This light indicates the vehicle is in four-wheel
drive and 4LOCK. 4WD allows all four wheels
to receive torque from the engine simultane-
ously.
190 UNDERSTANDING YOUR INSTRUMENT PANEL
Page 193 of 452
25. SVC (Service) 4WD Indicator
The SVC 4WD illuminates when the ignition key is
turned to the ON/RUN position and will stay on for two
seconds. If the light stays on or illuminates during
driving, it means that the 4WD system is not functioning
properly and that service is required.
26. Cruise Indicator
The cruise indicator illuminates when the electronic
speed control system is turned on.
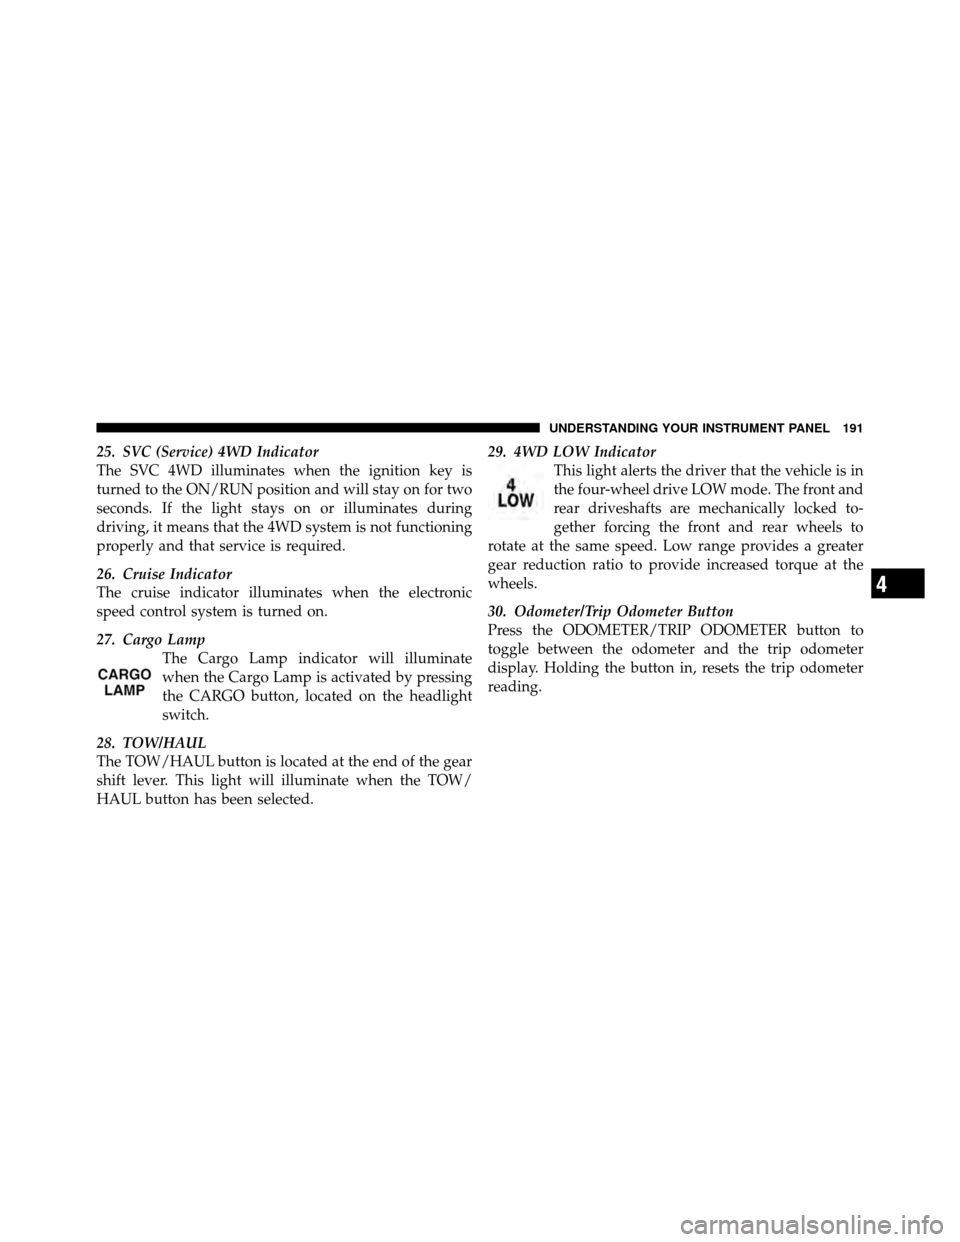
27. Cargo LampThe Cargo Lamp indicator will illuminate
when the Cargo Lamp is activated by pressing
the CARGO button, located on the headlight
switch.
28. TOW/HAUL
The TOW/HAUL button is located at the end of the gear
shift lever. This light will illuminate when the TOW/
HAUL button has been selected. 29. 4WD LOW Indicator
This light alerts the driver that the vehicle is in
the four-wheel drive LOW mode. The front and
rear driveshafts are mechanically locked to-
gether forcing the front and rear wheels to
rotate at the same speed. Low range provides a greater
gear reduction ratio to provide increased torque at the
wheels.
30. Odometer/Trip Odometer Button
Press the ODOMETER/TRIP ODOMETER button to
toggle between the odometer and the trip odometer
display. Holding the button in, resets the trip odometer
reading.
4
UNDERSTANDING YOUR INSTRUMENT PANEL 191
Page 260 of 452
transmission is sufficiently warm, will demonstrate
that the transmission is able to shift into, and out of
Overdrive.
•If the vehicle has not been driven in several days, the
first few seconds of operation after shifting the trans-
mission into gear may seem sluggish. This is due to the
fluid partially draining from the torque converter into
the transmission. This condition is normal and will not
cause damage to the transmission. The torque con-
verter will refill within five seconds of shifting from
PARK into any other gear position.
FOUR-WHEEL DRIVE OPERATION —
IF EQUIPPED
Transfer Case Operating Information/Precautions
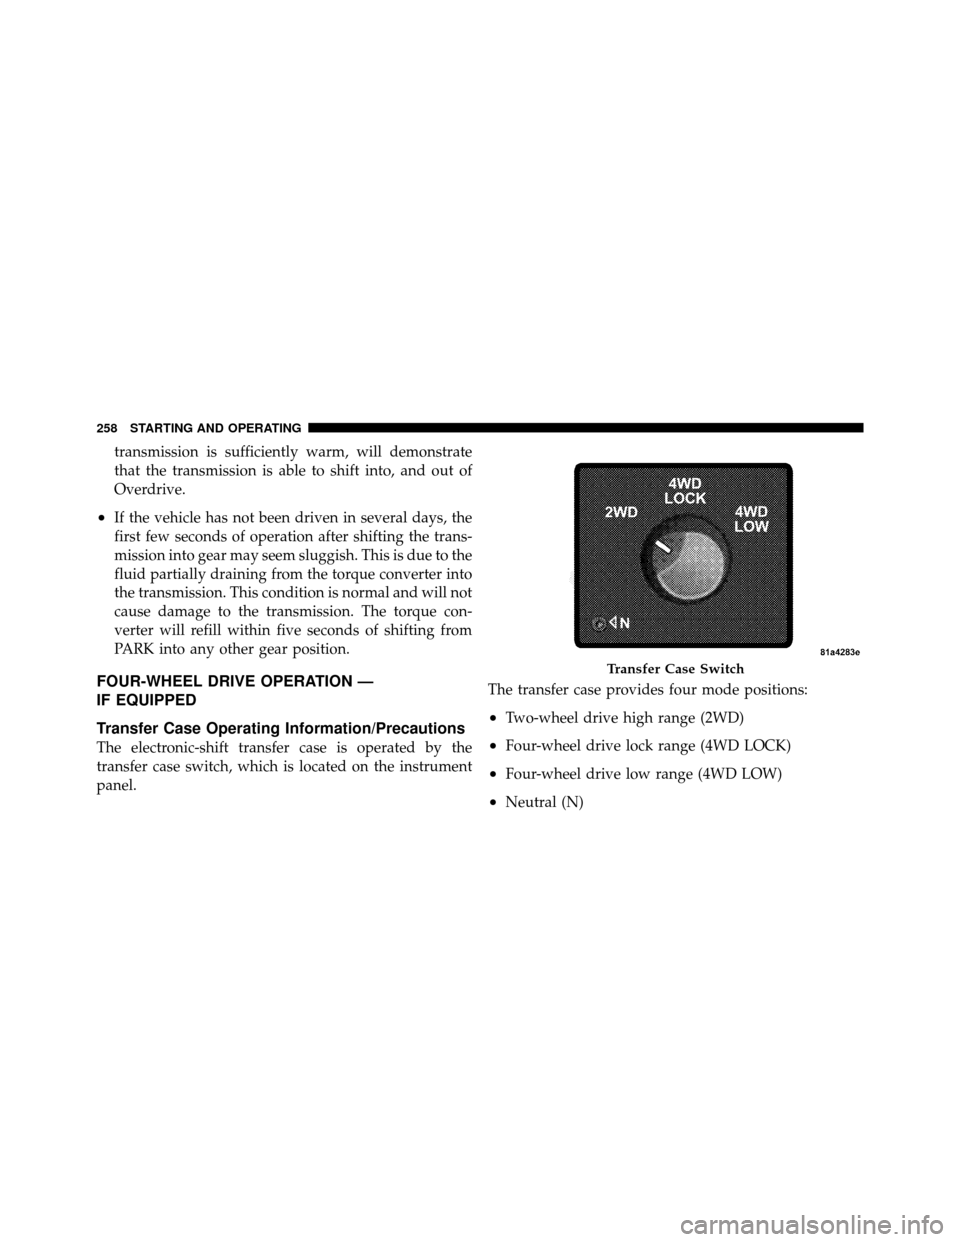
The electronic-shift transfer case is operated by the
transfer case switch, which is located on the instrument
panel.The transfer case provides four mode positions:
•Two-wheel drive high range (2WD)
•Four-wheel drive lock range (4WD LOCK)
•Four-wheel drive low range (4WD LOW)
•Neutral (N)
Transfer Case Switch
258 STARTING AND OPERATING
Page 270 of 452
OFF-ROAD DRIVING TIPS
Care should be taken when attempting to climb steep
hills or driving diagonally across a hill or slope. If natural
obstacles force you to travel diagonally up or down a hill,
choose a mild angle and keep as little side tilt as possible.
Keep the vehicle moving and make turns slowly and
cautiously.
If you must back down a hill, back straight down using
REVERSE gear. Never back down in NEUTRAL or diago-
nally across the hill.
When driving over sand, mud, and other soft terrain,
shift to low gear and drive steadily. Apply the accelerator
slowly to avoid spinning the wheels.
Do not reduce the tire pressures for this type of driving.
After Driving Off-Road
Off-road operation puts more stress on your vehicle than
does most on-road driving. After going off-road, it isalways a good idea to check for damage. That way you
can get any problems taken care of right away and have
your vehicle ready when you need it.
•Completely inspect the underbody of your vehicle.
Check tires, body structure, steering, suspension, and
exhaust system for damage.
•Inspect the radiator for mud and debris and clean as
required.
•Check threaded fasteners for looseness, particularly on
the chassis, drivetrain components, steering, and sus-
pension. Retighten them, if required, and torque to the
values specified in the Service Manual.
•Check for accumulations of plants or brush. These
things could be a fire hazard. They might hide damage
to fuel lines, brake hoses, axle pinion seals, and
propeller shafts.
268 STARTING AND OPERATING
Page 346 of 452
WARNING!
Raising the vehicle higher than necessary can make
the vehicle unstable and cause a collision. It could
slip off the jack and hurt someone near it. Raise the
vehicle only enough to remove the tire.
6. Remove the wheel nuts and pull the wheel off. Install
the spare wheel and wheel nuts with the cone shaped end
of the nuts toward the wheel. Lightly tighten the nuts. To
avoid risk of forcing the vehicle off the jack, do not fully
tighten the nuts until the vehicle has been lowered.
7. Using the wheel wrench, finish tightening the nuts in
a crisscross pattern. The correct nut tightness is 120 to
160 ft lbs (163 to 217 N·m). If in doubt about the correct
tightness, have them checked with a torque wrench by
your authorized dealer or at a service station.
WARNING!
A loose tire or jack thrown forward in a collision or
hard stop could injure someone in the vehicle. Al-
ways stow the jack, tools and the extra tire and wheel
in the places provided.
8. Lower the jack to its fully closed position. Stow the
replaced tire, jack, and tools as previously described.
9. Adjust the tire pressure when possible.
NOTE: Do not oil wheel studs. For chrome wheels, do
not substitute with chrome plated wheel nuts.
WARNING!
Carefully follow these tire changing warnings to
help prevent personal injury or damage to your
vehicle:
(Continued)
344 WHAT TO DO IN EMERGENCIES
Page 448 of 452
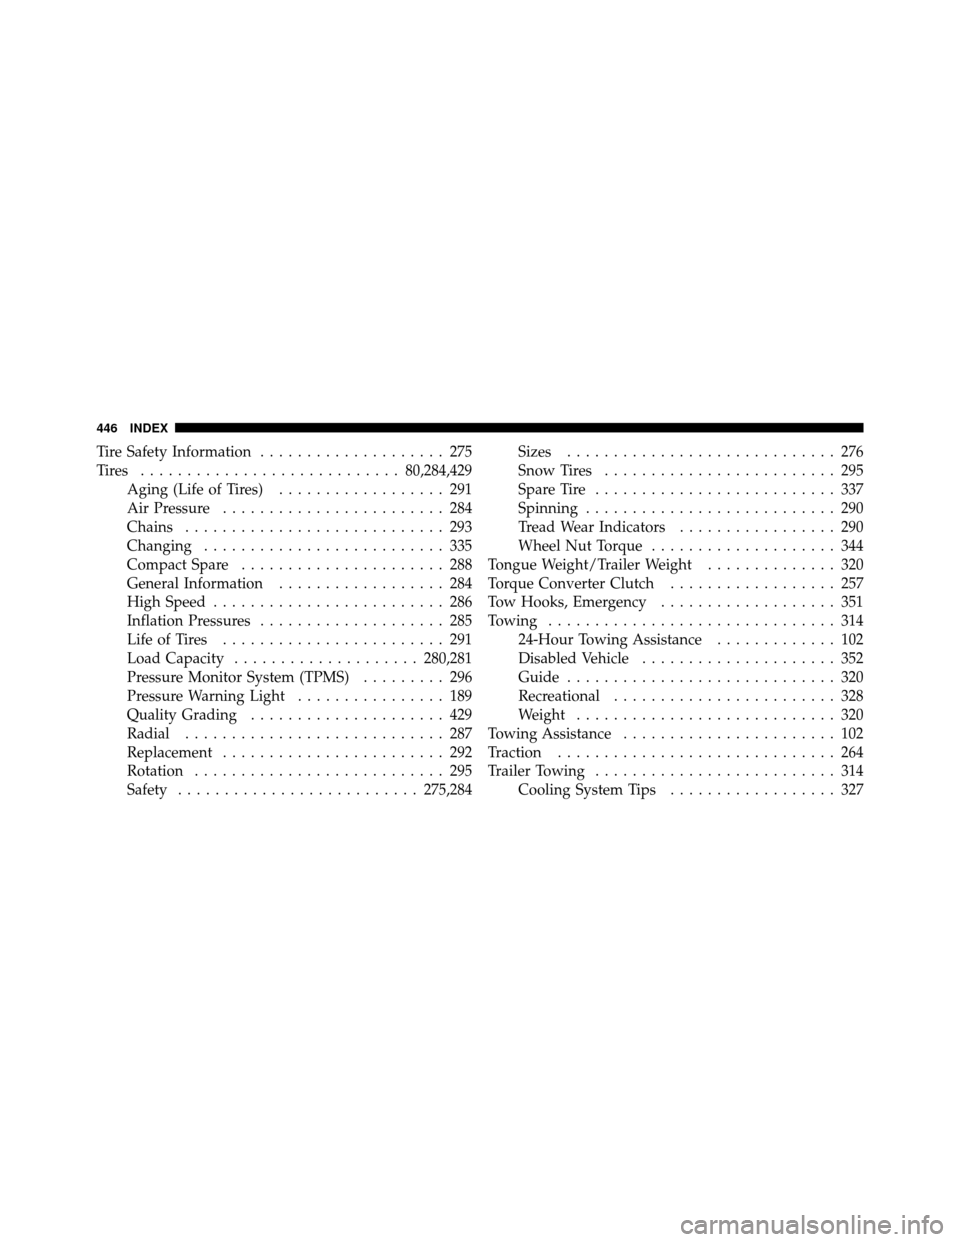
Tire Safety Information.................... 275
Tires ............................ 80,284,429
Aging (Life of Tires) .................. 291
Air Pressure ........................ 284
Chains ............................ 293
Changing .......................... 335
Compact Spare ...................... 288
General Information .................. 284
High Speed ......................... 286
Inflation Pressures .................... 285
Life of Tires ........................ 291
Load Capacity .................... 280,281
Pressure Monitor System (TPMS) ......... 296
Pressure Warning Light ................ 189
Quality Grading ..................... 429
Radial ............................ 287
Replacement ........................ 292
Rotation ........................... 295
Safety .......................... 275,284Sizes
............................. 276
Snow Tires ......................... 295
Spare Tire .......................... 337
Spinning ........................... 290
Tread Wear Indicators ................. 290
Wheel Nut Torque .................... 344
Tongue Weight/Trailer Weight .............. 320
Torque Converter Clutch .................. 257
Tow Hooks, Emergency ................... 351
Towing ............................... 314
24-Hour Towing Assistance ............. 102
Disabled Vehicle ..................... 352
Guide ............................. 320
Recreational ........................ 328
Weight ............................ 320
Towing Assistance ....................... 102
Traction .............................. 264
Trailer Towing .......................... 314
Cooling System Tips .................. 327
446 INDEX
Page 450 of 452
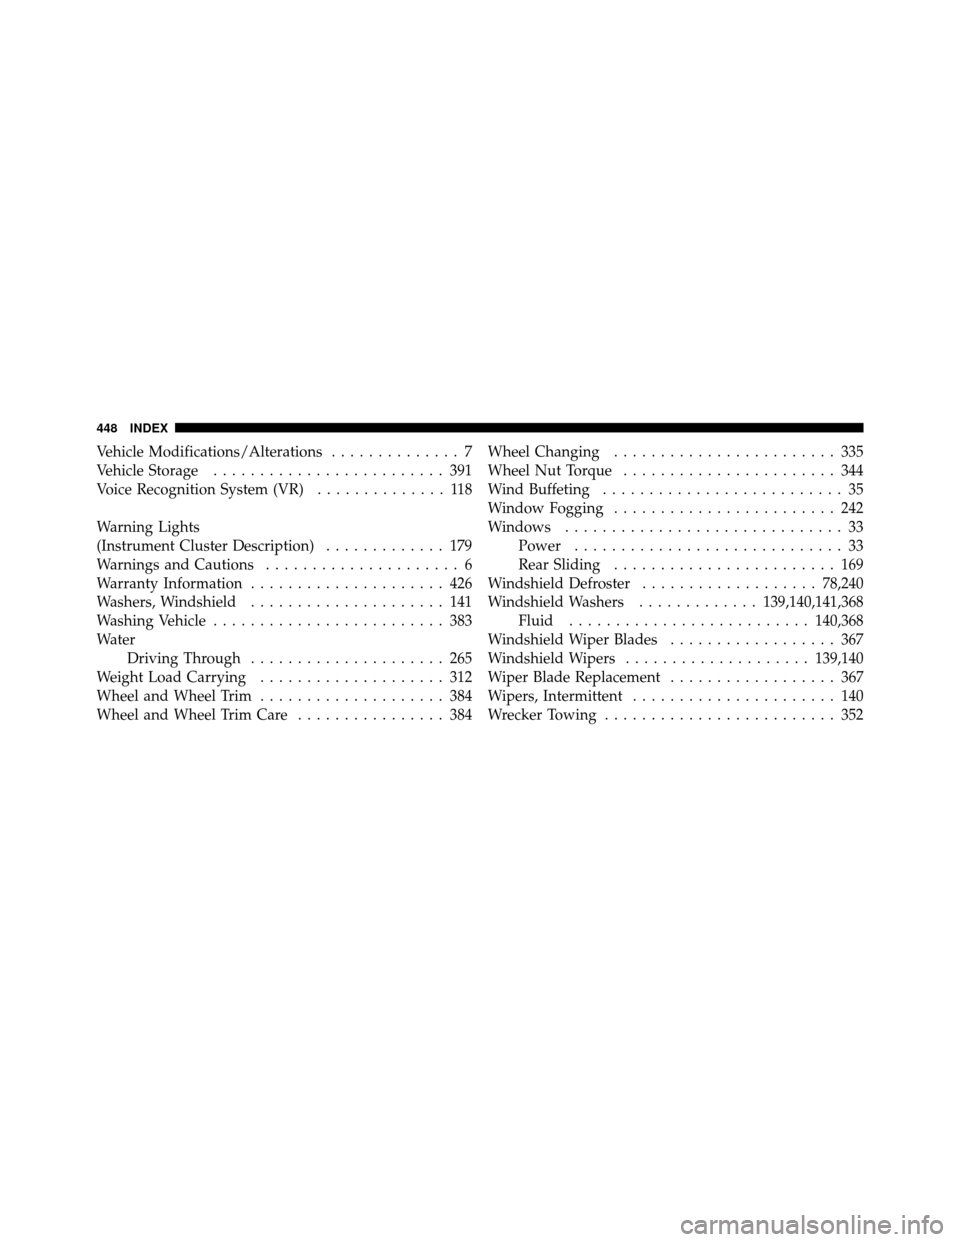
Vehicle Modifications/Alterations.............. 7
Vehicle Storage ......................... 391
Voice Recognition System (VR) .............. 118
Warning Lights
(Instrument Cluster Description) ............. 179
Warnings and Cautions ..................... 6
Warranty Information ..................... 426
Washers, Windshield ..................... 141
Washing Vehicle ......................... 383
Water Driving Through ..................... 265
Weight Load Carrying .................... 312
Wheel and Wheel Trim .................... 384
Wheel and Wheel Trim Care ................ 384Wheel Changing
........................ 335
Wheel Nut Torque ....................... 344
Wind Buffeting .......................... 35
Window Fogging ........................ 242
Windows .............................. 33
Power ............................. 33
Rear Sliding ........................ 169
Windshield Defroster ................... 78,240
Windshield Washers .............139,140,141,368
Fluid .......................... 140,368
Windshield Wiper Blades .................. 367
Windshield Wipers .................... 139,140
Wiper Blade Replacement .................. 367
Wipers, Intermittent ...................... 140
Wrecker Towing ......................... 352
448 INDEX