Page 248 of 566
Front Map/Reading Lights
Lights are mounted in the overhead console. Each light
can be turned on by pressing the switch on either side of
the console. These buttons are backlit for night time
visibility.To turn the lights off, press the switch a second time. The
lights also turn on when a door is opened. The lights will
also turn on when the UNLOCK button on the RKE is
pressed.
Sunglass Bin Door
At the front of the console a compartment is provided for
the storage of a pair of sunglasses. The storage compart-
ment access is a “push/push” design. Push the chrome
pad on the door to open. Push the chrome pad on the
door to close.
Front Map/Reading Lights
246 UNDERSTANDING THE FEATURES OF YOUR VEHICLE
Page 249 of 566
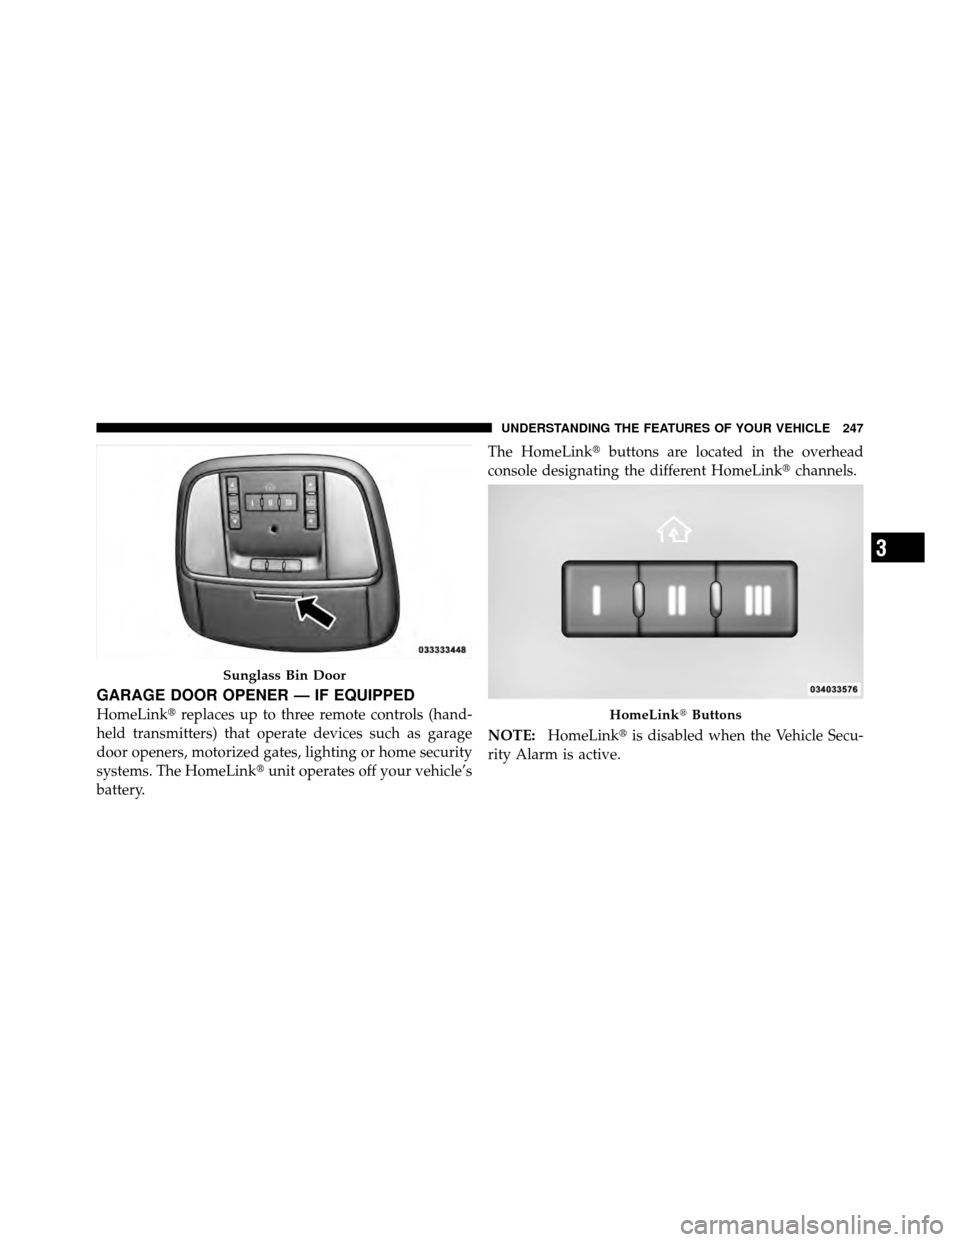
GARAGE DOOR OPENER — IF EQUIPPED
HomeLink�replaces up to three remote controls (hand-
held transmitters) that operate devices such as garage
door openers, motorized gates, lighting or home security
systems. The HomeLink� unit operates off your vehicle’s
battery. The HomeLink�
buttons are located in the overhead
console designating the different HomeLink� channels.
NOTE: HomeLink� is disabled when the Vehicle Secu-
rity Alarm is active.
Sunglass Bin Door
HomeLink� Buttons
3
UNDERSTANDING THE FEATURES OF YOUR VEHICLE 247
Page 253 of 566
 after several seconds of
transmission – which may not be long enough for
Ho")
Gate Operator/Canadian Programming
Canadian radio-frequency laws require transmitter sig-
nals to “time-out” (or quit) after several seconds of
transmission – which may not be long enough for
HomeLink�to pick up the signal during programming.
Similar to this Canadian law, some U.S. gate operators are
designed to “time-out” in the same manner.
It may be helpful to unplug the device during the cycling
process to prevent possible overheating of the garage
door or gate motor.
If you are having difficulties programming a garage door
opener or a gate operator, replace “Programming
HomeLink” Step 3 with the following:
3. Continue to press and hold the HomeLink� button,
while you press and release (“cycle”), your handheld
transmitter every two seconds until HomeLink� hassuccessfully accepted the frequency signal. The EVIC
display will change from “CHANNEL # TRAINING” to
“CHANNEL # TRAINED.”
If you unplugged the device for training, plug it back in
at this time.
Then proceed with Step 4 under “Programming
HomeLink�” earlier in this section.
Using HomeLink�
To operate, press and release the programmed
HomeLink�
button. Activation will now occur for the
trained device (i.e., garage door opener, gate operator,
security system, entry door lock, home/office lighting,
etc.,). The handheld transmitter of the device may also be
used at any time.
3
UNDERSTANDING THE FEATURES OF YOUR VEHICLE 251
Page 259 of 566
Sunroof Fully Closed
Press the switch forward and release to ensure that the
sunroof is fully closed.
ELECTRICAL POWER OUTLETS
There are three 12 Volt (13 Amps) electrical power outlets
on this vehicle. The power outlets are protected by a fuse.
Insert a cigar lighter or accessory plug into the power
outlets for use to ensure proper operation.
NOTE:To ensure proper operation, a MOPAR� knob
and element must be used.
CAUTION!
•Do not exceed the maximum power of 160 Watts
(13 Amps) at 12 Volts. If the 160 Watt (13 Amp)
power rating is exceeded, the fuse protecting the
system will need to be replaced.
•Power outlets are designed for accessory plugs
only. Do not insert any other object in the power
outlets as this will damage the outlet and blow the
fuse. Improper use of the power outlet can cause
damage not covered by your New Vehicle Limited
Warranty.
3
UNDERSTANDING THE FEATURES OF YOUR VEHICLE 257
Page 262 of 566
WARNING!
To avoid serious injury or death:
•Only devices designed for use in this type of
outlet should be inserted into any 12 Volt outlet.
•Do not touch with wet hands.
•Close the lid when not in use and while driving
the vehicle.
•If this outlet is mishandled, it may cause an
electric shock and failure.
Power Outlet Fuse Locations
1 — #12 Fuse 20 A Yellow Cigar Lighter Instrument Panel &
Power Outlet Console Rear
2 — #38 Fuse 20 A Yellow Power Outlet Inside Arm Rest
260 UNDERSTANDING THE FEATURES OF YOUR VEHICLE
Page 263 of 566
CAUTION!
•Many accessories that can be plugged in draw
power from the vehicle’s battery even when not in
use (i.e., cellular phones, etc.). Eventually, if
plugged in long enough, the vehicle’s battery will
discharge sufficiently to degrade battery life
and/or prevent the engine from starting.
•Accessories that draw higher power (i.e., coolers,
vacuum cleaners, lights, etc.) will degrade the
battery even more quickly. Only use these inter-
mittently and with greater caution.(Continued)
CAUTION! (Continued)
•After the use of high power draw accessories or
long periods of the vehicle not being started (with
accessories still plugged in), the vehicle must be
driven a sufficient length of time to allow the
alternator to recharge the vehicle’s battery.
•Power outlets are designed for accessory plugs
only. Do not hang any type of accessory or acces-
sory bracket from the plug. Improper use of the
power outlet can cause damage.
3
UNDERSTANDING THE FEATURES OF YOUR VEHICLE 261
Page 266 of 566
Rear Seat Cupholders
The rear seat cupholders are located in the center armrest
between the rear seats. The cupholders are positioned
forward in the armrest and side-by-side to provide con-
venient access to beverage cans or bottles while maintain-
ing a resting place for the rear occupant’ s elbows.
Lighted Cupholders — If Equipped
On some vehicles the rear cupholders are equipped with
a light ring that illuminates the cupholders for the rear
passengers. The light ring is controlled by the Dimmer
Control. Refer to “Lights” in “Understanding The Fea-
tures Of Your Vehicle” for further information.
Rear Seat CupholdersLight Ring In Rear Cupholder
264 UNDERSTANDING THE FEATURES OF YOUR VEHICLE
Page 273 of 566
UNDERSTANDING YOUR INSTRUMENT PANEL
CONTENTS
�Instrument Panel Features ............... 273
� Instrument Cluster .................... 274
� Instrument Cluster Descriptions ........... 275
� Electronic Vehicle Information Center (EVIC) . . 285
▫ Electronic Vehicle Information Center (EVIC)
Displays ........................... 287
▫ EVIC White Telltale Lights .............. 288
▫ EVIC Amber Telltale Lights ............. 289
▫ EVIC Red Telltale Lights ............... 290 ▫
Oil Change Due ..................... 293
▫ Fuel Economy ...................... 294
▫ Vehicle Speed ....................... 295
▫ Trip Info .......................... 295
▫ Units ............................. 296
▫ Vehicle Info
(Customer Information Features) ......... 297
▫ Messages # ......................... 297
▫ Turn Menu Off ...................... 298
4

 electrical power outlets
on this vehicl")

. Eventually, if
plugged in long enough, the vehicle’s b")