Page 361 of 566
6. Move the shift lever to the desired range. If the
problem is no longer detected, the transmission will
return to normal operation.
If the transmission cannot be reset, see your authorized
dealer.
NOTE:Even if the transmission can be reset, we recom-
mend that you visit your authorized dealer at your
earliest possible convenience. Your authorized dealer has
diagnostic equipment to determine if the problem could
recur.
Have the transmission checked at your authorized dealer
as soon as possible.
AUTOSTICK�
AutoStick� is a driver-interactive transmission feature
that offers manual gear shifting to provide you with more
control of the vehicle. AutoStick� allows you to maximize
engine braking, eliminate undesirable upshifts and downshifts, and improve overall vehicle performance.
This system can also provide you with more control
during passing, city driving, cold slippery conditions,
mountain driving, trailer towing, and many other situa-
tions.
Operation
When the shift lever is in the DRIVE position, the
transmission will operate automatically, shifting between
the five available gears. To engage AutoStick�, simply
move the shift lever to the right or left (D+/D-) while in
the DRIVE position. When AutoStick�
is active, the
current transmission gear is displayed in the instrument
cluster. In AutoStick� mode, the transmission will only
shift up and down when right or left (+/-) is manually
selected by the driver, or as described below. It will
remain in the selected gear until another upshift or
downshift is chosen.
5
STARTING AND OPERATING 359
Page 362 of 566
Fully pressing the accelerator pedal while in AutoStick�
mode will downshift the transmission as needed for
maximum acceleration (3.6L Models Only).
The transmission will automatically downshift as the
vehicle slows to a stop (to prevent engine lugging) and
will display the current gear. Tapping the shift lever to
the D+ position (at a stop) will allow starting in second
gear. After a stop, the driver should manually upshift
(D+) the transmission as the vehicle is accelerated.
To disengage AutoStick�mode, hold the shift lever to the
right (D+) for a few seconds. You can shift in or out of the
AutoStick� mode at any time without taking your foot off
the accelerator pedal.WARNING!
Do not downshift for additional engine braking on a
slippery surface. The drive wheels could lose their
grip and the vehicle could skid, causing a collision or
personal injury.
ALL-WHEEL DRIVE (AWD) — IF EQUIPPED
This vehicle is equipped with an active on-demand
All-Wheel Drive (AWD) system which makes available
optimum traction for a wide variety of road surface and
driving conditions. The system minimizes wheel slip by
automatically redirecting torque to the front and rear
wheels as necessary.
To maximize fuel economy, your AWD vehicle automati-
cally defaults to rear-wheel drive (RWD) when road and
environmental conditions are such that wheel slip is
unlikely to occur. When specific road and environmental
conditions require increased levels of road traction, the
360 STARTING AND OPERATING
Page 363 of 566
vehicle automatically shifts into AWD mode. Automatic
AWD operation could be activated by outside tempera-
ture, wheel slip, or other predetermined conditions (there
may be a slight delay for AWD engagement after a wheel
slip condition occurs). AWD can also be manually se-
lected by moving the shift lever into the AutoStick�mode
(+/-) or activating the windshield wipers for an extended
period of time. Drive mode, RWD or AWD, is displayed
momentarily in the Electronic Vehicle Information Center
(EVIC) in the gage area of the vehicle display when the
transmission is first shifted into gear, and if the drive
mode changes during vehicle operation.
NOTE: If the “SERVICE AWD SYSTEM” warning mes-
sage appears after engine start up, or during driving, it
means that the AWD system is not functioning properly
and that service is required. Refer to “Electronic Vehicle
Information Center (EVIC)” in “Understanding Your
Instrument Panel” for further information.CAUTION!
All wheels must have the same size and type tires.
Unequal tire sizes must not be used. Unequal tire
size may cause failure of the front differential and/or
the transfer case.
DRIVING ON SLIPPERY SURFACES
Acceleration
Rapid acceleration on snow covered, wet, or other slip-
pery surfaces may cause the driving wheels to pull
erratically to the right or left. This phenomenon occurs
when there is a difference in the surface traction under
the rear (driving) wheels.5
STARTING AND OPERATING 361
Page 366 of 566
CAUTION! (Continued)
•Driving through standing water may cause dam-
age to your vehicle’s drivetrain components. Al-
ways inspect your vehicle’s fluids (i.e., engine oil,
transmission, axle, etc.) for signs of contamination
(i.e., fluid that is milky or foamy in appearance)
after driving through standing water. Do not con-
tinue to operate the vehicle if any fluid appears
contaminated, as this may result in further dam-
age. Such damage is not covered by the New
Vehicle Limited Warranty.
•Getting water inside your vehicle’s engine can
cause it to lock up and stall out, and cause serious
internal damage to the engine. Such damage is not
covered by the New Vehicle Limited Warranty.
WARNING!
•Driving through standing water limits your vehi-
cle’s traction capabilities. Do not exceed 5 mph
(8 km/h) when driving through standing water.
•Driving through standing water limits your vehi-
cle’s braking capabilities, which increases stop-
ping distances. Therefore, after driving through
standing water, drive slowly and lightly press on
the brake pedal several times to dry the brakes.
•Getting water inside your vehicle’s engine can
cause it to lock up and stall out, and leave you
stranded.
•Failure to follow these warnings may result in
injuries that are serious or fatal to you, your
passengers, and others around you.
364 STARTING AND OPERATING
Page 369 of 566
When the parking brake is applied with the ignition
switch in the ON position, the “Brake Warning Light” in
the instrument cluster will illuminate.NOTE:
•When the parking brake is applied and the transmis-
sion is placed in gear, the “Brake Warning Light” will
flash. If vehicle speed is detected, a chime will sound
to alert the driver. Fully release the parking brake
before attempting to move the vehicle.
•This light only shows that the parking brake is ap-
plied. It does not show the degree of brake application.
When parking on a hill, it is important to turn the front
wheels toward the curb on a downhill grade and away
from the curb on an uphill grade. Apply the parking
brake before placing the shift lever in PARK, otherwise
the load on the transmission locking mechanism may
make it difficult to move the shift lever out of PARK. The
parking brake should always be applied whenever the
driver is not in the vehicle.
Parking Brake
5
STARTING AND OPERATING 367
Page 370 of 566
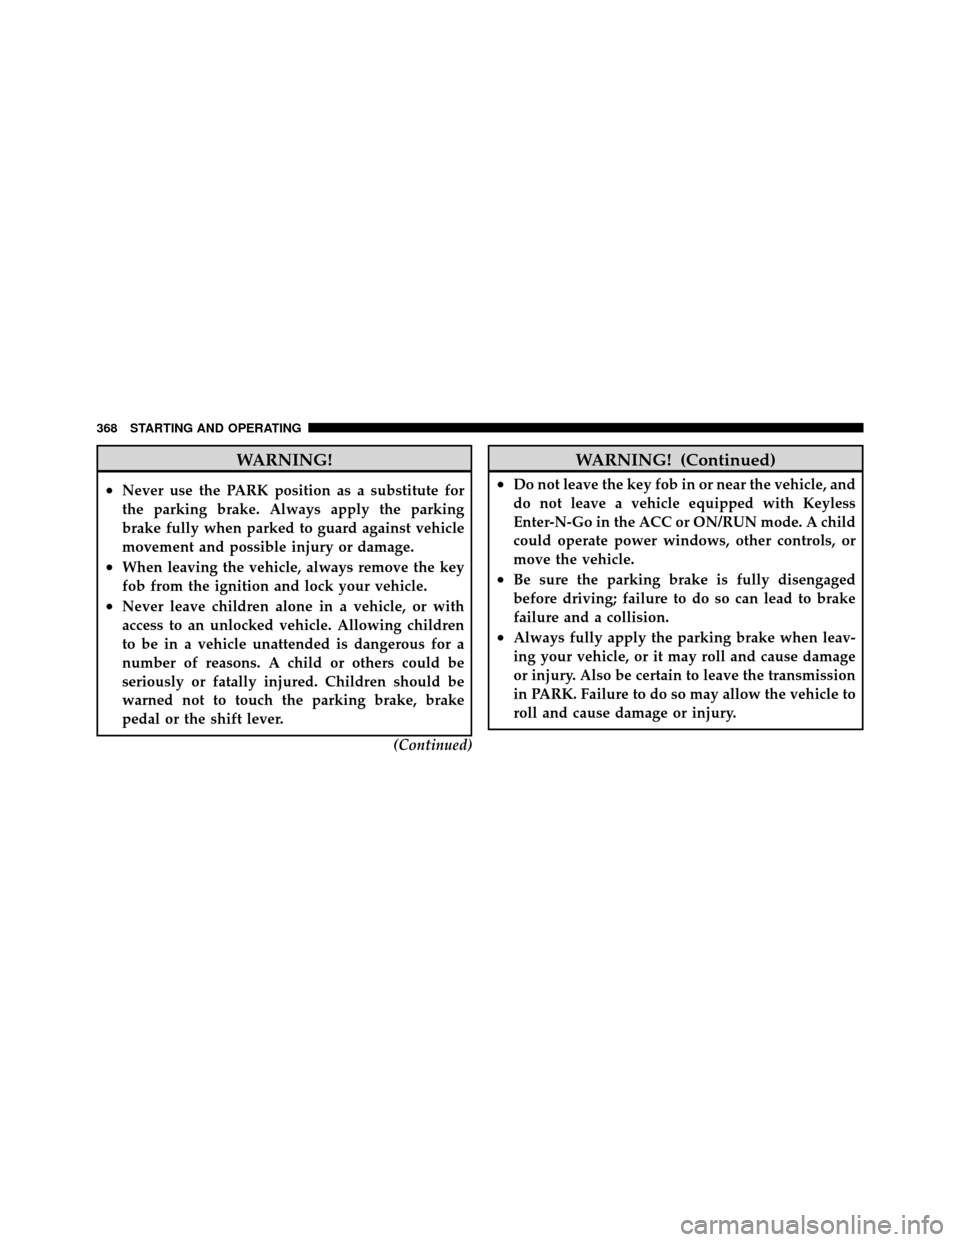
WARNING!
•Never use the PARK position as a substitute for
the parking brake. Always apply the parking
brake fully when parked to guard against vehicle
movement and possible injury or damage.
•When leaving the vehicle, always remove the key
fob from the ignition and lock your vehicle.
•Never leave children alone in a vehicle, or with
access to an unlocked vehicle. Allowing children
to be in a vehicle unattended is dangerous for a
number of reasons. A child or others could be
seriously or fatally injured. Children should be
warned not to touch the parking brake, brake
pedal or the shift lever.(Continued)
WARNING! (Continued)
•Do not leave the key fob in or near the vehicle, and
do not leave a vehicle equipped with Keyless
Enter-N-Go in the ACC or ON/RUN mode. A child
could operate power windows, other controls, or
move the vehicle.
•Be sure the parking brake is fully disengaged
before driving; failure to do so can lead to brake
failure and a collision.
•Always fully apply the parking brake when leav-
ing your vehicle, or it may roll and cause damage
or injury. Also be certain to leave the transmission
in PARK. Failure to do so may allow the vehicle to
roll and cause damage or injury.
368 STARTING AND OPERATING
Page 378 of 566
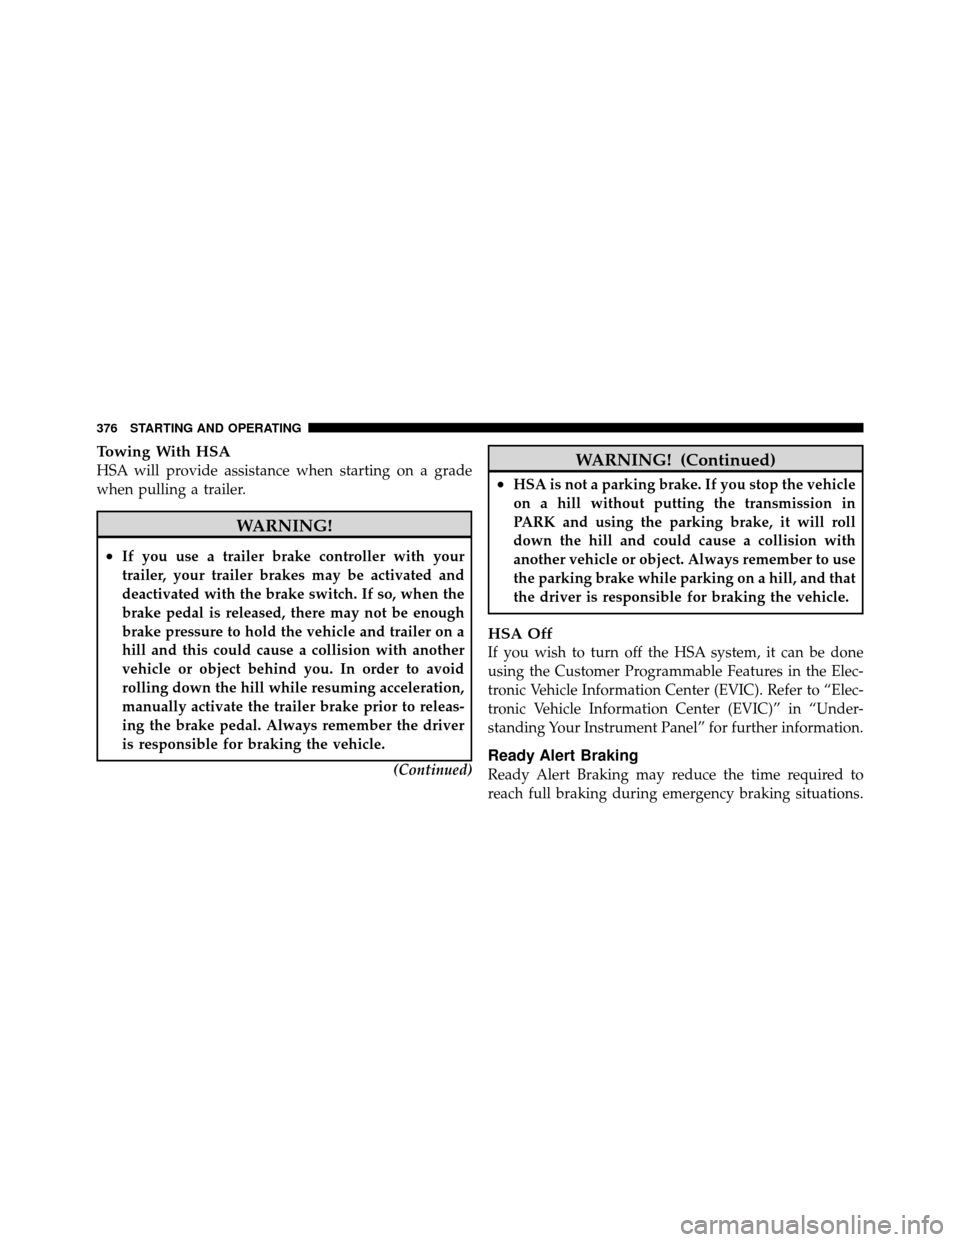
Towing With HSA
HSA will provide assistance when starting on a grade
when pulling a trailer.
WARNING!
•If you use a trailer brake controller with your
trailer, your trailer brakes may be activated and
deactivated with the brake switch. If so, when the
brake pedal is released, there may not be enough
brake pressure to hold the vehicle and trailer on a
hill and this could cause a collision with another
vehicle or object behind you. In order to avoid
rolling down the hill while resuming acceleration,
manually activate the trailer brake prior to releas-
ing the brake pedal. Always remember the driver
is responsible for braking the vehicle.(Continued)
WARNING! (Continued)
•HSA is not a parking brake. If you stop the vehicle
on a hill without putting the transmission in
PARK and using the parking brake, it will roll
down the hill and could cause a collision with
another vehicle or object. Always remember to use
the parking brake while parking on a hill, and that
the driver is responsible for braking the vehicle.
HSA Off
If you wish to turn off the HSA system, it can be done
using the Customer Programmable Features in the Elec-
tronic Vehicle Information Center (EVIC). Refer to “Elec-
tronic Vehicle Information Center (EVIC)” in “Under-
standing Your Instrument Panel” for further information.
Ready Alert Braking
Ready Alert Braking may reduce the time required to
reach full braking during emergency braking situations.
376 STARTING AND OPERATING
Page 430 of 566
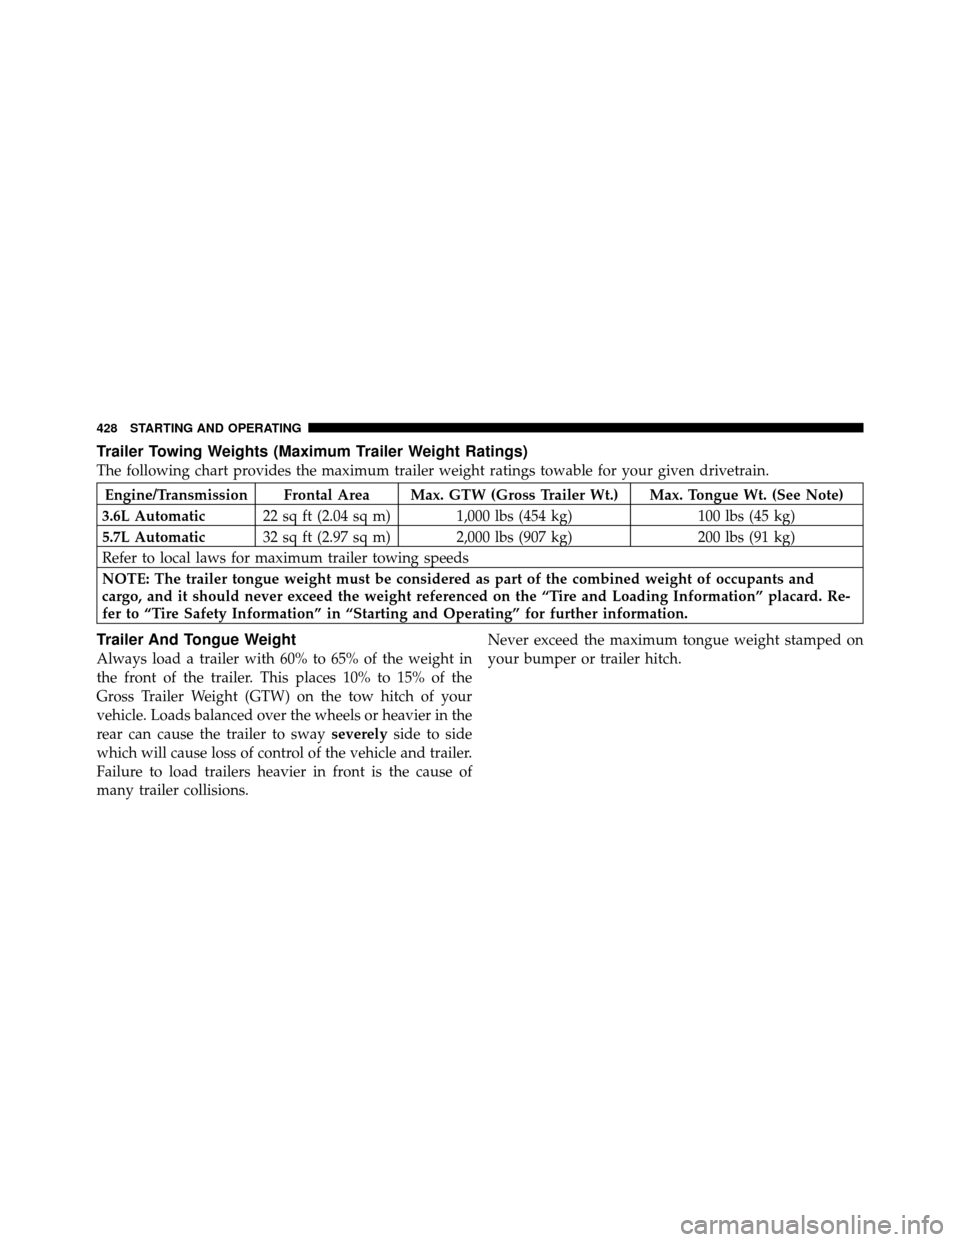
Trailer Towing Weights (Maximum Trailer Weight Ratings)
The following chart provides the maximum trailer weight ratings towable for your given drivetrain.
Engine/Transmission Frontal Area Max. GTW (Gross Trailer Wt.) Max. Tongue Wt. (See Note)
3.6L Automatic 22 sq ft (2.04 sq m) 1,000 lbs (454 kg) 100 lbs (45 kg)
5.7L Automatic 32 sq ft (2.97 sq m) 2,000 lbs (907 kg) 200 lbs (91 kg)
Refer to local laws for maximum trailer towing speeds
NOTE: The trailer tongue weight must be considered as part of the combined weight of occupants and
cargo, and it should never exceed the weight referenced on the “Tire and Loading Information” placard. Re-
fer to “Tire Safety Information” in “Starting and Operating” for further information.
Trailer And Tongue Weight
Always load a trailer with 60% to 65% of the weight in
the front of the trailer. This places 10% to 15% of the
Gross Trailer Weight (GTW) on the tow hitch of your
vehicle. Loads balanced over the wheels or heavier in the
rear can cause the trailer to sway severelyside to side
which will cause loss of control of the vehicle and trailer.
Failure to load trailers heavier in front is the cause of
many trailer collisions. Never exceed the maximum tongue weight stamped on
your bumper or trailer hitch.
428 STARTING AND OPERATING