Page 67 of 566

WARNING! (Continued)
•Being too close to the steering wheel or instrument
panel during Advanced Front Air Bag deployment
could cause serious injury, including death. Air
Bags need room to inflate. Sit back, comfortably
extending your arms to reach the steering wheel or
instrument panel.
•Side air bags also need room to inflate. Do not lean
against the door or window. Sit upright in the
center of the seat.
Air Bag Deployment Sensors And Controls
Occupant Restraint Controller (ORC)
TheORC is part of a Federally regulated safety system
required for this vehicle.
The ORC determines if deployment of the front and/or
side air bags in a frontal or side collision is required.
Based on the impact sensor’s signals, a central electronic ORC deploys the Advanced Front Air Bags, SABIC air
bags, SAB, Supplemental Driver Side Knee Air Bag, and
front seat belt pretensioners, as required, depending on
the severity and type of impact.
Advanced Front Air Bags and Supplemental Driver Side
Knee Air Bag are designed to provide additional protec-
tion by supplementing the seat belts in certain frontal
collisions depending on the severity and type of collision.
Advanced Front Air Bags are not expected to reduce the
risk of injury in rear, side, or rollover collisions.
The Advanced Front Air Bags and Supplemental Driver
Side Knee Air Bag will not deploy in all frontal collisions,
including some that may produce substantial vehicle
damage — for example, some pole collisions, truck
underrides, and angle offset collisions. On the other
hand, depending on the type and location of impact,
Advanced Front Air Bags may deploy in crashes with
little vehicle front-end damage but that produce a severe
initial deceleration.
2
THINGS TO KNOW BEFORE STARTING YOUR VEHICLE 65
Page 70 of 566

Driver Side Knee Air Bag. The trim cover separates and
folds out of the way allowing the air bag to inflate to the
full size. The air bag fully inflates in about 15 to 20
milliseconds. The Supplemental Driver Side Knee Air
Bag gas is vented through small vent holes in the side of
the air bag.
Supplemental Seat-Mounted Side Air Bag (SAB)
Inflator Units
The Supplemental Seat-Mounted Side Air Bags (SAB) are
designed to activate only in certain side collisions.
The ORC determines if a side collision requires the side
air bags to inflate, based on the severity and type of
collision.
Based on the severity and type of collision, the side air
bag inflator on the crash side of the vehicle may be
triggered, releasing a quantity of non-toxic gas. The
inflating SAB exits through the seat seam into the space
between the occupant and the door. The SAB fully inflatein about 10 milliseconds. The side air bag moves at a very
high speed and with such a high force that it could injure
you if you are not seated properly, or if items are
positioned in the area where the side air bag inflates. This
especially applies to children.
Supplemental Side Air Bag Inflatable Curtain
(SABIC) Inflator Units
During collisions where the impact is confined to a
particular area of the side of the vehicle, the ORC may
deploy the SABIC air bags, depending on the severity
and type of collision. In these events, the ORC will
deploy the SABIC only on the impact side of the vehicle.
A quantity of non-toxic gas is generated to inflate the side
curtain air bag. The inflating side curtain air bag pushes
the outside edge of the headliner out of the way and
covers the window. The air bag inflates in about 30
milliseconds (about one-quarter of the time that it takes
to blink your eyes) with enough force to injure you if you
68 THINGS TO KNOW BEFORE STARTING YOUR VEHICLE
Page 81 of 566

Again, carefully follow the installation instructions that
are provided with the child restraint system.The rear seat lower anchorages are round bars
located at the rear of the seat cushion where it
meets the seatback and are located just below
the button with the anchorage symbol on the
rear seat, but are not visible. You will easily feel them if
you run your finger along the intersection of the seatback
and seat cushion surfaces.
In addition, there are tether strap anchorages
behind each rear seating position located in the
panel between the rear seatback and the rear
window. These tether strap anchorages are
under a plastic cover with this symbol on it.
Many, but not all, restraint systems will be equipped with
separate straps on each side, with each having a hook or
connector for attachment to the lower anchorage and a means of adjusting the tension in the strap. Forward-
facing toddler restraints and some rear-facing infant
restraints will also be equipped with a tether strap, a
hook for attachment to the tether strap anchorage and a
means of adjusting the tension of the strap.
You will first loosen the child seat adjusters on the lower
straps and on the tether strap so that you can more easily
attach the hooks or connectors to the vehicle anchorages.
Next, attach the lower hooks or connectors over the top
of the seatcover material. Then, rotate the tether anchor-
age cover directly behind the seat where you are placing
the child restraint and attach the tether strap to the
anchorage, being careful to route the tether strap to
provide the most direct path between the anchor and the
child restraint. Finally, tighten all three straps as you
push the child restraint rearward and downward into the
seat, removing slack in the straps according to the child
restraint manufacturer’s instructions.
2
THINGS TO KNOW BEFORE STARTING YOUR VEHICLE 79
Page 82 of 566
For center seating position route the tether strap over the
seatback and adjustable headrest (with the headrest in
the full down position) then attach the hook to the tether
anchor located in the panel between the rear seatback
and the rear window.
Adjustable Headrest Release Push Button
Adjustable Headrest Downward Position
80 THINGS TO KNOW BEFORE STARTING YOUR VEHICLE
Page 88 of 566

If you are required to drive with the trunk/liftgate open,
make sure that all windows are closed and the climate
control BLOWER switch is set at high speed. DO NOT
use the recirculation mode.
The best protection against carbon monoxide entry into
the vehicle body is a properly maintained engine exhaust
system.
Whenever a change is noticed in the sound of the exhaust
system, when exhaust fumes can be detected inside the
vehicle, or when the underside or rear of the vehicle is
damaged, have a competent mechanic inspect the com-
plete exhaust system and adjacent body areas for broken,
damaged, deteriorated, or mispositioned parts. Open
seams or loose connections could permit exhaust fumes
to seep into the passenger compartment. In addition,
inspect the exhaust system each time the vehicle is raised
for lubrication or oil change. Replace as required.Safety Checks You Should Make Inside The
Vehicle
Seat Belts
Inspect the belt system periodically, checking for cuts,
frays, and loose parts. Damaged parts must be replaced
immediately. Do not disassemble or modify the system.
Front seat belt assemblies must be replaced after a
collision. Rear seat belt assemblies must be replaced after
a collision if they have been damaged (i.e., bent retractor,
torn webbing, etc.). If there is any question regarding belt
or retractor condition, replace the belt.
Air Bag Warning Light
The light should come on and remain on for four to eight
seconds as a bulb check when the ignition switch is first
turned ON. If the light is not lit during starting, see your
authorized dealer. If the light stays on, flickers, or comes
on while driving, have the system checked by an autho-
rized dealer.
86 THINGS TO KNOW BEFORE STARTING YOUR VEHICLE
Page 97 of 566
�Cupholders .......................... 262
▫ Front Seat Cupholders ................. 262
▫ Rear Seat Cupholders ................. 264
� Storage ............................. 265
▫ Glovebox Storage .................... 265
▫ Console Features .................... 265 ▫
Door Storage ....................... 267
▫ Cargo Area — Vehicles Equipped With 60/40
Split-Folding Rear Seat ................ 267
� Rear Window Features .................. 269
▫ Rear Window Defroster ................ 269
� Load Leveling System — If Equipped ....... 270
3
UNDERSTANDING THE FEATURES OF YOUR VEHICLE 95
Page 98 of 566
MIRRORS
Inside Day/Night Mirror
A two-point pivot system allows for horizontal and
vertical adjustment of the mirror. Adjust the mirror to
center on the view through the rear window.
Headlight glare can be reduced by moving the small
control under the mirror to the night position (toward the
rear of the vehicle). The mirror should be adjusted while
set in the day position (toward the windshield).
Automatic Dimming Mirror — If Equipped
This mirror automatically adjusts for headlight glare
from vehicles behind you. This feature will be defaulted
on, and only be disabled when the vehicle is moving in
reverse.
Adjusting Rearview Mirror
96 UNDERSTANDING THE FEATURES OF YOUR VEHICLE
Page 102 of 566

Using the mirror control switch, press on any of the four
arrows for the direction that you want the mirror to
move.
Power mirror preselected positions can be controlled by
the optional Memory Seat Feature. Refer to “Driver
Memory Seat” in “Understanding The Features Of Your
Vehicle” for further information.
Heated Mirrors — If Equipped
These mirrors are heated to melt frost or ice. This
feature is activated whenever you turn on the rear
window defroster. Refer to “Rear Window Features” in
“Understanding The Features Of Your Vehicle” for fur-
ther information.
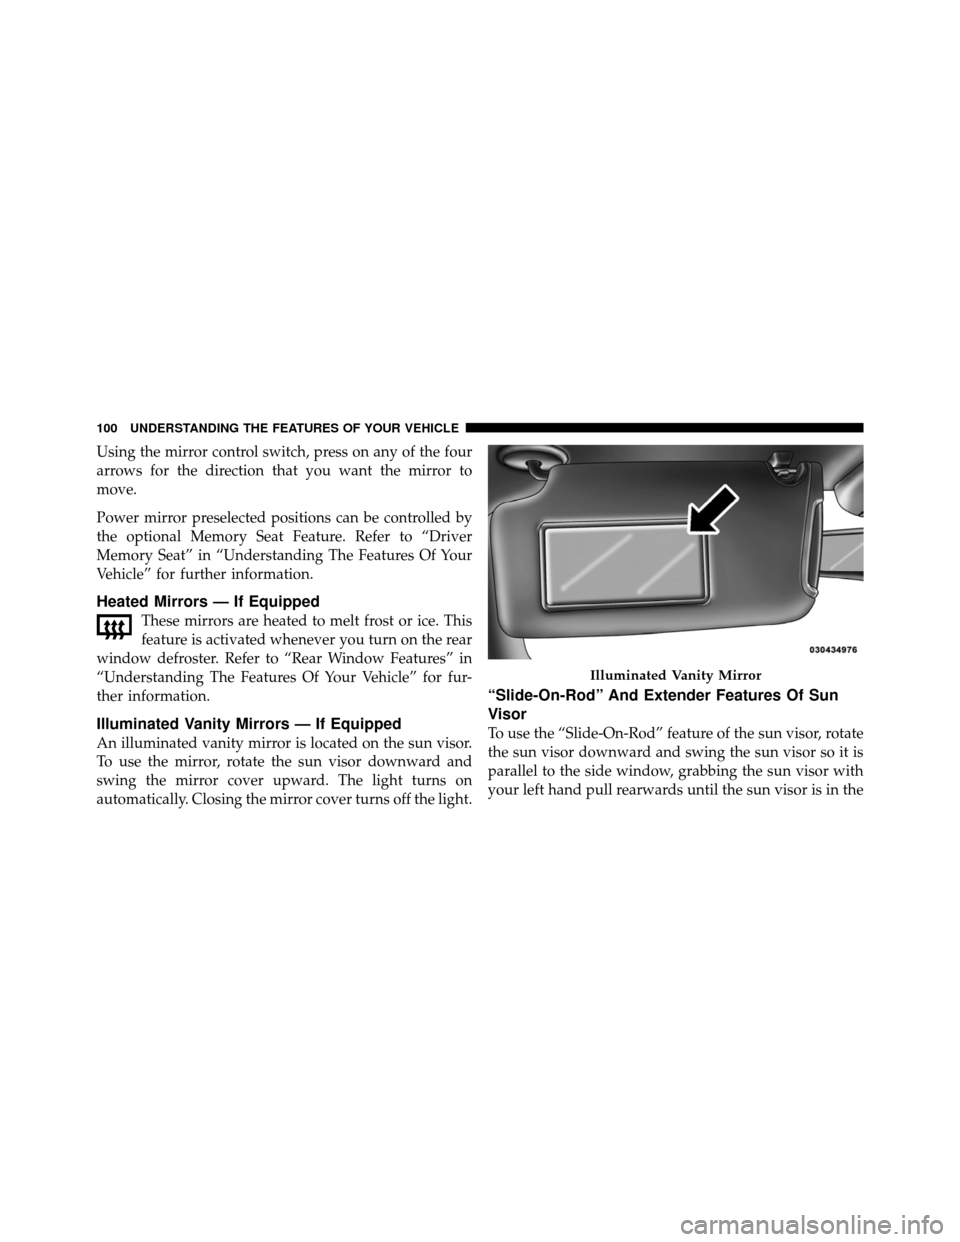
Illuminated Vanity Mirrors — If Equipped
An illuminated vanity mirror is located on the sun visor.
To use the mirror, rotate the sun visor downward and
swing the mirror cover upward. The light turns on
automatically. Closing the mirror cover turns off the light.
“Slide-On-Rod” And Extender Features Of Sun
Visor
To use the “Slide-On-Rod” feature of the sun visor, rotate
the sun visor downward and swing the sun visor so it is
parallel to the side window, grabbing the sun visor with
your left hand pull rearwards until the sun visor is in the
Illuminated Vanity Mirror
100 UNDERSTANDING THE FEATURES OF YOUR VEHICLE