Page 249 of 566
GARAGE DOOR OPENER — IF EQUIPPED
HomeLink�replaces up to three remote controls (hand-
held transmitters) that operate devices such as garage
door openers, motorized gates, lighting or home security
systems. The HomeLink� unit operates off your vehicle’s
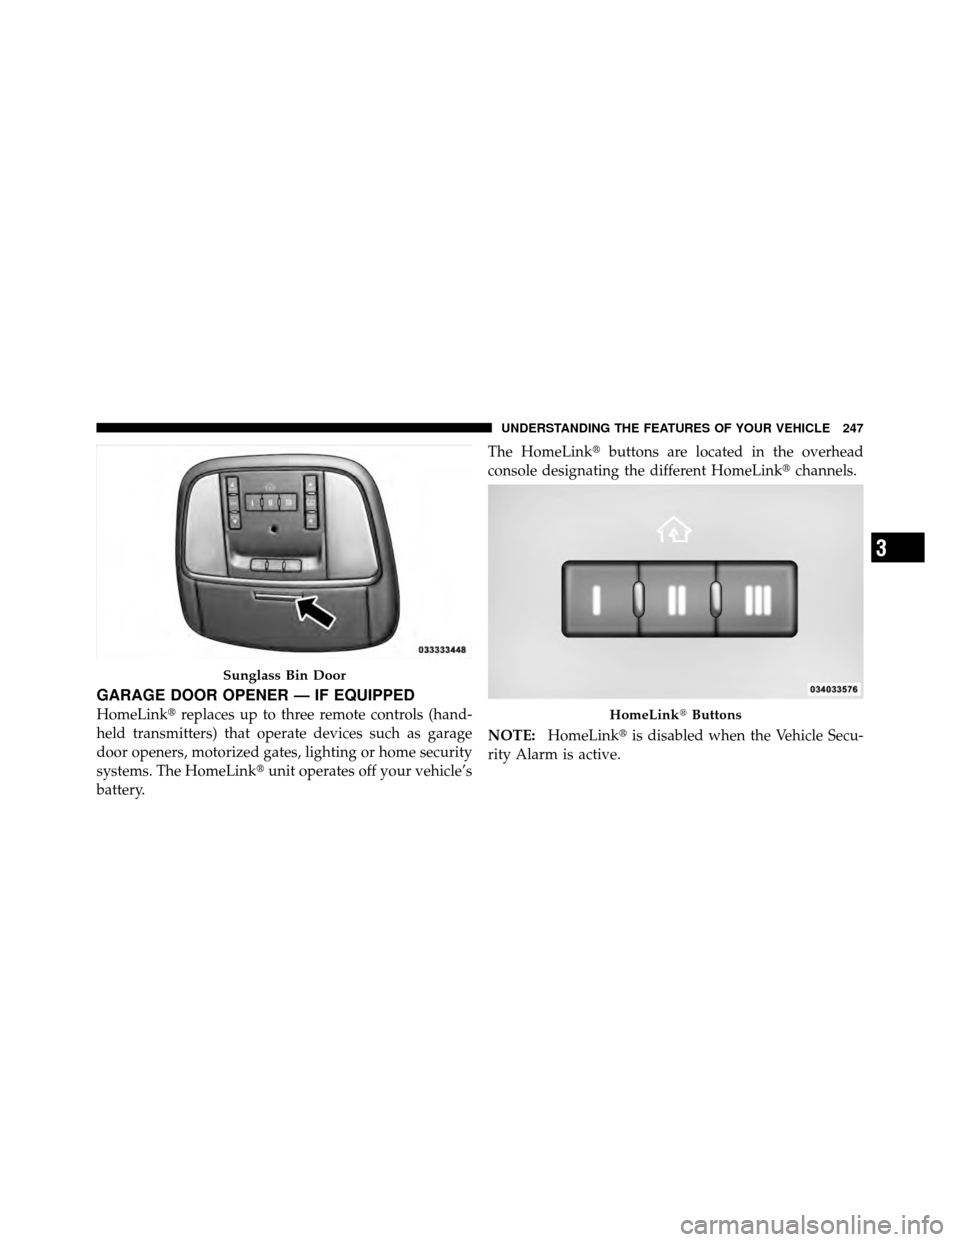
battery. The HomeLink�
buttons are located in the overhead
console designating the different HomeLink� channels.
NOTE: HomeLink� is disabled when the Vehicle Secu-
rity Alarm is active.
Sunglass Bin Door
HomeLink� Buttons
3
UNDERSTANDING THE FEATURES OF YOUR VEHICLE 247
Page 250 of 566

WARNING!
•Your motorized door or gate will open and close
while you are training the Universal Transceiver.
Do not train the transceiver if people, pets, or
other objects are in the path of the door or gate.
•Do not run your vehicle in the garage while
training the transceiver. Exhaust gas from your
vehicle contains Carbon Monoxide (CO) which is
odorless and colorless. Carbon Monoxide is poi-
sonous when inhaled and cause you and others to
be severely injured or killed.
NOTE:
Only use this transceiver with a garage door
opener that has a “stop and reverse” feature as required
by federal safety standards. This includes most garage
door opener models manufactured after 1982. Do not use
a garage door opener without these safety features. Call
toll-free 1–800–355–3515 or, on the Internet at
www.HomeLink.com for safety information or assistance.
Programming HomeLink�
Before You Begin
If you have not trained any of the HomeLink� buttons,
erase all channels before you begin training.
To do this, press and hold the two outside buttons for up
to 20 seconds. The EVIC will display “CLEARING
CHANNELS.” Release the buttons when the EVIC mes-
sage states “CHANNELS CLEARED.”
It is recommended that a new battery be placed in the
handheld transmitter of the device that is being copied to
HomeLink� for more efficient training and accurate
transmission of the radio-frequency signal.
Your vehicle should be parked outside of the garage
while training.
1. Place the ignition in the RUN position.
248 UNDERSTANDING THE FEATURES OF YOUR VEHICLE
Page 251 of 566

from the HomeLink�buttons while keeping the EVIC
display in view.
For optimal training, point the battery end of the hand-
held transmitter away")
2. Place the handheld transmitter 1 to 3 in (3 to 8 cm)
from the HomeLink�buttons while keeping the EVIC
display in view.
For optimal training, point the battery end of the hand-
held transmitter away from the HomeLink�.
3. Simultaneously, press and hold both the chosen
HomeLink� button and the handheld transmitter button
until the EVIC display changes from “CHANNEL #
TRAINING” to “CHANNEL # TRAINED.”
Then release both the HomeLink� and handheld trans-
mitter buttons.
If the EVIC display states “DID NOT TRAIN” repeat
Step 3. If the signal is too weak, replace the battery in the
handheld transmitter.
It may take up to 30 seconds or longer in rare cases. The
garage door may open and close while you train. NOTE:
Some gate operators and garage door openers
may require you to replace Step 3 with procedures noted
in the “Gate Operator/Canadian Programming” section.
4. Press and hold the just-trained HomeLink� button. If
the channel has been trained, the EVIC display will now
state “CHANNEL # TRANSMIT.”
If the EVIC display still states “CHANNEL # TRAIN-
ING” repeat Step 3.
NOTE: After training a HomeLink� channel, if the
garage door does not operate with HomeLink� and the
garage door opener was manufactured after 1995, the
garage door opener may have rolling code. If so, proceed
to Step 5.
5. Programming A Rolling Code System
At the garage door opener motor (in the garage), locate
the “Learn” or “Training” button.
3
UNDERSTANDING THE FEATURES OF YOUR VEHICLE 249
Page 254 of 566

Reprogramming A Single HomeLink�Button
To reprogram a channel that has been previously trained,
follow these steps:
1. Place the ignition in the RUN position.
2. Press and hold the desired HomeLink� button for
20 seconds until the EVIC display states “CHANNEL #
TRAINING.” Do not release the button.
3. Without releasing the button, proceed with Program-
ming HomeLink� Step 2 and follow all remaining steps.
Security
It is advised to erase all channels before you sell or turn
in your vehicle.
To do this, press and hold the two outside buttons for
20 seconds until the EVIC message states “CHANNELS
CLEARED.” Note that all channels will be erased. Indi-
vidual channels cannot be erased. The HomeLink�
Universal Transceiver is disabled when
the Vehicle Security Alarm is active.
Troubleshooting Tips
If you are having trouble programming HomeLink �, here
are some of the most common solutions:
•Replace the battery in the original transmitter.
•Press the LEARN button on the garage door opener to
complete the training for rolling code.
•Did you unplug the device for training, and remember
to plug it back in?
If you are having any problems or require assistance,
please call toll-free 1–800–355–3515 or, on the Internet at
www.HomeLink.com for information or assistance.
252 UNDERSTANDING THE FEATURES OF YOUR VEHICLE
Page 260 of 566
The front 12 Volt power outlet has power available only
when the ignition is placed in the ACC or RUN position.WARNING!
Do not place ashes inside the cubby bin located on
the center console on vehicles not equipped with the
ash receiver tray. A fire leading to bodily injury could
result.
The center console outlet is powered directly from the
battery (power available at all times). Items plugged into
this outlet may discharge the battery and/or prevent the
engine from starting.
Front Power Outlet
258 UNDERSTANDING THE FEATURES OF YOUR VEHICLE
Page 263 of 566
CAUTION!
•Many accessories that can be plugged in draw
power from the vehicle’s battery even when not in
use (i.e., cellular phones, etc.). Eventually, if
plugged in long enough, the vehicle’s battery will
discharge sufficiently to degrade battery life
and/or prevent the engine from starting.
•Accessories that draw higher power (i.e., coolers,
vacuum cleaners, lights, etc.) will degrade the
battery even more quickly. Only use these inter-
mittently and with greater caution.(Continued)
CAUTION! (Continued)
•After the use of high power draw accessories or
long periods of the vehicle not being started (with
accessories still plugged in), the vehicle must be
driven a sufficient length of time to allow the
alternator to recharge the vehicle’s battery.
•Power outlets are designed for accessory plugs
only. Do not hang any type of accessory or acces-
sory bracket from the plug. Improper use of the
power outlet can cause damage.
3
UNDERSTANDING THE FEATURES OF YOUR VEHICLE 261
Page 353 of 566

If Engine Fails To Start
WARNING!
•Never pour fuel or other flammable liquids into
the throttle body air inlet opening in an attempt to
start the vehicle. This could result in a flash fire
causing serious personal injury.
•Do not attempt to push or tow your vehicle to get it
started. Vehicles equipped with an automatic trans-
mission cannot be started this way. Unburned fuel
could enter the catalytic converter and once the
engine has started, ignite and damage the converter
and vehicle. If the vehicle has a discharged battery,
booster cables may be used to obtain a start from a
booster battery or the battery in another vehicle.
This type of start can be dangerous if done improp-
erly. Refer to “Jump Starting” in “What To Do In
Emergencies” for further information.
Clearing A Flooded Engine
(Using ENGINE START/STOP Button)
If the engine fails to start after you have followed the
“Normal Starting” or “Extreme Cold Weather�proce-
dures, it may be flooded. To clear any excess fuel, press
and hold the brake pedal, push the accelerator pedal all
the way to the floor and hold it, then press and release the
ENGINE START/STOP button once. The starter motor
will engage automatically, run for 10 seconds, and then
disengage. Once this occurs, release the accelerator pedal
and the brake pedal, wait 10 to 15 seconds, then repeat
the “Normal Starting” procedure.
After Starting
The idle speed is controlled automatically and it will
decrease as the engine warms up.
5
STARTING AND OPERATING 351
Page 368 of 566

NOTE:
•Even if power steering assistance is no longer opera-
tional, it is still possible to steer the vehicle. Under
these conditions there will be a substantial increase in
steering effort, especially at very low vehicle speeds
and during parking maneuvers.
•If the condition persists, see your authorized dealer for
service.
MULTI-DISPLACEMENT SYSTEM (MDS) (IF
EQUIPPED) — 5.7L ENGINE ONLY
This feature offers improved fuel economy by shutting
off four of the engine’s eight cylinders during light load
and cruise conditions. The system is automatic with no
driver inputs or additional driving skills required.
NOTE:The MDS system may take some time to return
to full functionality after a battery disconnect.
PARKING BRAKE
Before leaving the vehicle, make sure that the parking
brake is fully applied and place the shift lever in the
PARK position.
The foot operated parking brake is located below the
lower left corner of the instrument panel. To apply the
park brake, firmly push the park brake pedal fully. To
release the parking brake, press the park brake pedal a
second time and let your foot up as you feel the brake
disengage.
366 STARTING AND OPERATING

. Eventually, if
plugged in long enough, the vehicle’s b")