Page 215 of 566
The Cruise Control system has two control modes:
•Adaptive Cruise Control mode for maintaining an
appropriate distance between vehicles.
•Normal (fixed speed) cruise control mode is for cruis-
ing at a constant preset speed. For additional informa-
tion, refer to “Normal (Fixed Speed) Cruise Control
Mode” in this section.
NOTE: The system will not react to preceding vehicles.
Always be aware of the mode selected.
You can change the mode by using the Cruise Control
buttons. The two control modes function differently.
Always confirm which mode is selected.
Adaptive Cruise Control (ACC) Operation
The speed control buttons (located on the right side of the
steering wheel) operates the ACC system.
1 — DISTANCE SETTING
2 — RES +
3 — SET -
4 — CANCEL
5 — ON/OFF
6 — MODE
3
UNDERSTANDING THE FEATURES OF YOUR VEHICLE 213
Page 248 of 566
Front Map/Reading Lights
Lights are mounted in the overhead console. Each light
can be turned on by pressing the switch on either side of
the console. These buttons are backlit for night time
visibility.To turn the lights off, press the switch a second time. The
lights also turn on when a door is opened. The lights will
also turn on when the UNLOCK button on the RKE is
pressed.
Sunglass Bin Door
At the front of the console a compartment is provided for
the storage of a pair of sunglasses. The storage compart-
ment access is a “push/push” design. Push the chrome
pad on the door to open. Push the chrome pad on the
door to close.
Front Map/Reading Lights
246 UNDERSTANDING THE FEATURES OF YOUR VEHICLE
Page 249 of 566
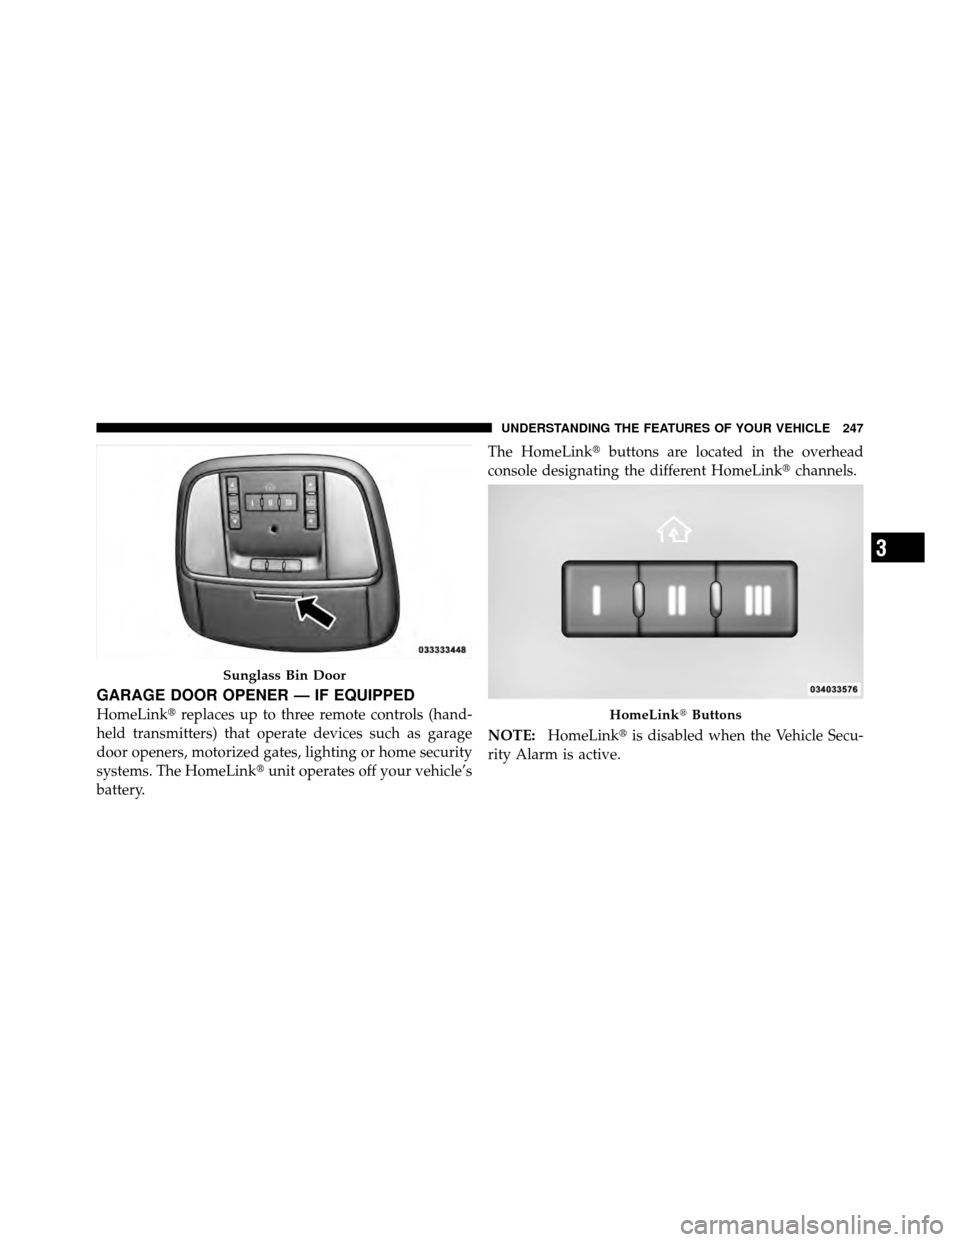
GARAGE DOOR OPENER — IF EQUIPPED
HomeLink�replaces up to three remote controls (hand-
held transmitters) that operate devices such as garage
door openers, motorized gates, lighting or home security
systems. The HomeLink� unit operates off your vehicle’s
battery. The HomeLink�
buttons are located in the overhead
console designating the different HomeLink� channels.
NOTE: HomeLink� is disabled when the Vehicle Secu-
rity Alarm is active.
Sunglass Bin Door
HomeLink� Buttons
3
UNDERSTANDING THE FEATURES OF YOUR VEHICLE 247
Page 250 of 566

WARNING!
•Your motorized door or gate will open and close
while you are training the Universal Transceiver.
Do not train the transceiver if people, pets, or
other objects are in the path of the door or gate.
•Do not run your vehicle in the garage while
training the transceiver. Exhaust gas from your
vehicle contains Carbon Monoxide (CO) which is
odorless and colorless. Carbon Monoxide is poi-
sonous when inhaled and cause you and others to
be severely injured or killed.
NOTE:
Only use this transceiver with a garage door
opener that has a “stop and reverse” feature as required
by federal safety standards. This includes most garage
door opener models manufactured after 1982. Do not use
a garage door opener without these safety features. Call
toll-free 1–800–355–3515 or, on the Internet at
www.HomeLink.com for safety information or assistance.
Programming HomeLink�
Before You Begin
If you have not trained any of the HomeLink� buttons,
erase all channels before you begin training.
To do this, press and hold the two outside buttons for up
to 20 seconds. The EVIC will display “CLEARING
CHANNELS.” Release the buttons when the EVIC mes-
sage states “CHANNELS CLEARED.”
It is recommended that a new battery be placed in the
handheld transmitter of the device that is being copied to
HomeLink� for more efficient training and accurate
transmission of the radio-frequency signal.
Your vehicle should be parked outside of the garage
while training.
1. Place the ignition in the RUN position.
248 UNDERSTANDING THE FEATURES OF YOUR VEHICLE
Page 251 of 566

from the HomeLink�buttons while keeping the EVIC
display in view.
For optimal training, point the battery end of the hand-
held transmitter away")
2. Place the handheld transmitter 1 to 3 in (3 to 8 cm)
from the HomeLink�buttons while keeping the EVIC
display in view.
For optimal training, point the battery end of the hand-
held transmitter away from the HomeLink�.
3. Simultaneously, press and hold both the chosen
HomeLink� button and the handheld transmitter button
until the EVIC display changes from “CHANNEL #
TRAINING” to “CHANNEL # TRAINED.”
Then release both the HomeLink� and handheld trans-
mitter buttons.
If the EVIC display states “DID NOT TRAIN” repeat
Step 3. If the signal is too weak, replace the battery in the
handheld transmitter.
It may take up to 30 seconds or longer in rare cases. The
garage door may open and close while you train. NOTE:
Some gate operators and garage door openers
may require you to replace Step 3 with procedures noted
in the “Gate Operator/Canadian Programming” section.
4. Press and hold the just-trained HomeLink� button. If
the channel has been trained, the EVIC display will now
state “CHANNEL # TRANSMIT.”
If the EVIC display still states “CHANNEL # TRAIN-
ING” repeat Step 3.
NOTE: After training a HomeLink� channel, if the
garage door does not operate with HomeLink� and the
garage door opener was manufactured after 1995, the
garage door opener may have rolling code. If so, proceed
to Step 5.
5. Programming A Rolling Code System
At the garage door opener motor (in the garage), locate
the “Learn” or “Training” button.
3
UNDERSTANDING THE FEATURES OF YOUR VEHICLE 249
Page 252 of 566
.6. Firmly press and release the LEA")
This can usually be found where the hanging antenna
wire is attached to the garage door opener motor (it is
NOT the button normally used to open and close the
door).6. Firmly press and release the LEARN or TRAINING
button. The name and color of the button may vary by
manufacturer.
NOTE:
You have 30 seconds in which to initiate the next
step after the LEARN button has been pressed.
7. Return to the vehicle and press the programmed
HomeLink� button twice (holding the button for two
seconds each time). If the device is plugged in and
activates, programming is complete.
If the device does not activate, press the button a third
time (for two seconds) to complete the training.
If you have any problems, or require assistance, please
call toll-free 1–800–355–3515 or, on the Internet at
www.HomeLink.com for information or assistance.
To program the remaining two HomeLink� buttons,
repeat each step for each remaining button. DO NOT
erase the channels.
1 — Garage Door Opener
2 — Training Button
250 UNDERSTANDING THE FEATURES OF YOUR VEHICLE
Page 254 of 566

Reprogramming A Single HomeLink�Button
To reprogram a channel that has been previously trained,
follow these steps:
1. Place the ignition in the RUN position.
2. Press and hold the desired HomeLink� button for
20 seconds until the EVIC display states “CHANNEL #
TRAINING.” Do not release the button.
3. Without releasing the button, proceed with Program-
ming HomeLink� Step 2 and follow all remaining steps.
Security
It is advised to erase all channels before you sell or turn
in your vehicle.
To do this, press and hold the two outside buttons for
20 seconds until the EVIC message states “CHANNELS
CLEARED.” Note that all channels will be erased. Indi-
vidual channels cannot be erased. The HomeLink�
Universal Transceiver is disabled when
the Vehicle Security Alarm is active.
Troubleshooting Tips
If you are having trouble programming HomeLink �, here
are some of the most common solutions:
•Replace the battery in the original transmitter.
•Press the LEARN button on the garage door opener to
complete the training for rolling code.
•Did you unplug the device for training, and remember
to plug it back in?
If you are having any problems or require assistance,
please call toll-free 1–800–355–3515 or, on the Internet at
www.HomeLink.com for information or assistance.
252 UNDERSTANDING THE FEATURES OF YOUR VEHICLE
Page 288 of 566
The system allows the driver to select information by
pressing the following buttons mounted on the steering
wheel:UP Button
Press and release the UP button to scroll up-
ward through the main menu and Vehicle Info
and Trip Info sub-menus (Fuel Economy, Ve-
hicle Info, Tire PSI, Cruise, Messages, Trip Info,
Vehicle Speed, and Turn Menu OFF) and sub-menus.
DOWN Button Press and release the DOWN button to scroll
downward through the main menu and Ve-
hicle Info and Trip Info sub-menus (Fuel
Economy, Vehicle Info, Tire PSI, Cruise, Mes-
sages, Trip Info, Vehicle Speed, and Turn Menu OFF) and
sub-menus.
SELECT Button
Press and release the SELECT button for access to
main menus, sub-menus or to select a personal
setting in the setup menu. Press and hold the
SELECT button for two seconds to reset features.EVIC Steering Wheel Buttons
286 UNDERSTANDING YOUR INSTRUMENT PANEL
 cruise control mode is for cruis-
ing")